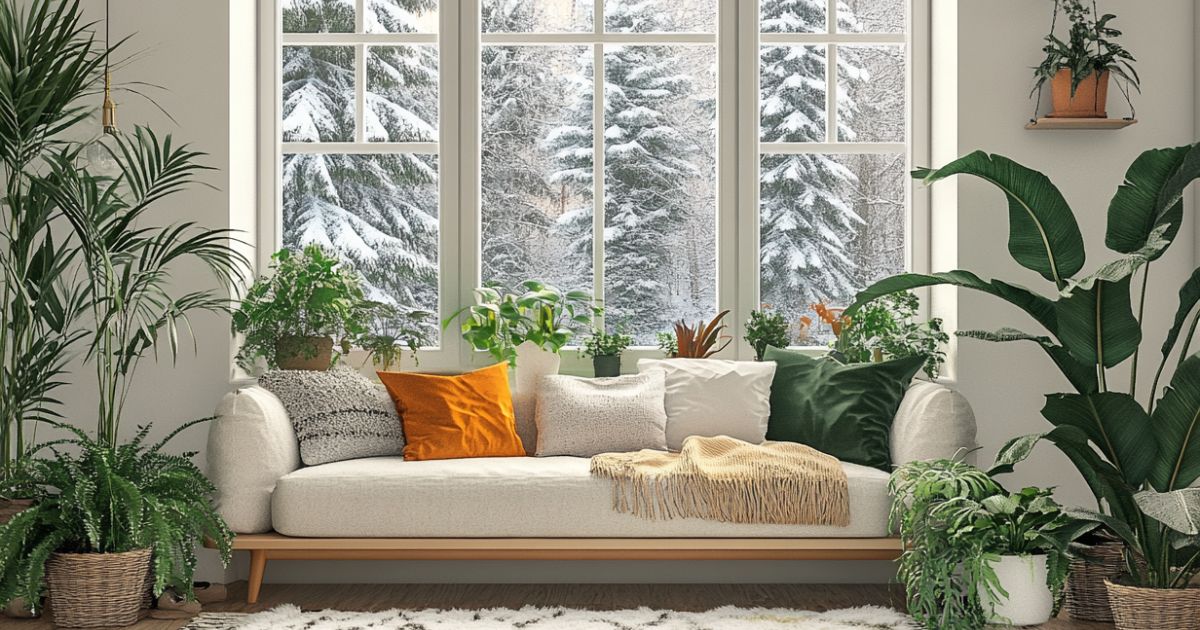
Fall is in full swing, and while it’s a magical season with its cool weather and warm colors, it also signals the time to start preparing your outdoor plants for winter.
If you’re like me, you probably have a bunch of plants that have thrived all summer long, soaking up that sunshine, and now they need to come inside for the colder months.

But before you bring them indoors, there’s one important thing to do: give them a good clean and make sure you’re not inviting any pests to set up camp in your home.
You might think, “Do I really need to go through the trouble of debugging my plants?” The answer is yes! Bringing outdoor plants inside without properly cleaning them can result in unwanted house guests—tiny bugs that will happily invade your home.
Not only do you want to avoid pests, but keeping your plants healthy throughout the winter starts with making sure they’re in tip-top shape when they transition to life indoors.
Let’s walk through five simple steps to help you debug and clean your plants before giving them a cozy winter home inside.
Step 1: Give Your Plants a Gentle Wash
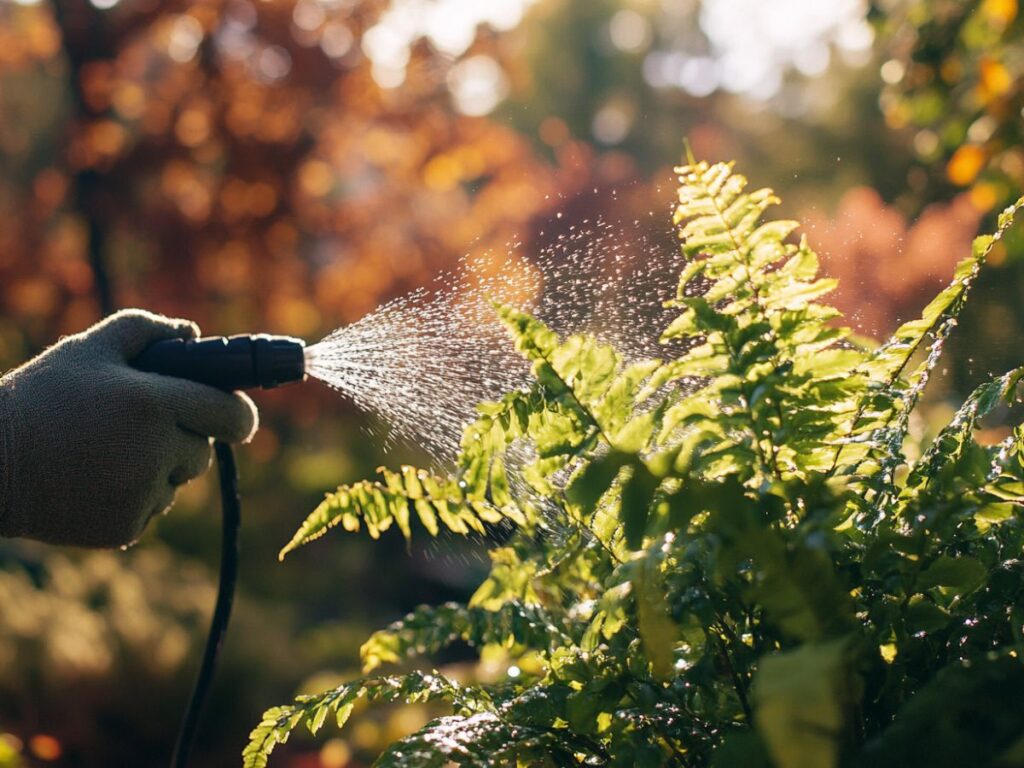
The first thing you want to do is give your plants a gentle shower. Think of it like a mini-spa day for them! This step is crucial because it helps remove dirt, dust, and any insects that might be hiding in the foliage. But don’t worry—it’s easier than it sounds.
Start by filling up a bucket, tub, or using a garden hose, depending on the size of your plants. If you have smaller plants, you can easily dunk the whole pot (soil and all) into a tub of lukewarm water for a few seconds.
This will flush out any pests hiding in the soil. If your plants are larger, you’ll want to focus on spraying down the leaves. Use a hose with a gentle spray setting or a spray bottle filled with water to carefully wash down the tops and undersides of the leaves.
While you’re at it, check for any bugs like aphids, spider mites, or whiteflies. These tiny critters can be a nuisance once indoors, so it’s worth taking a bit of extra time to make sure your plants are pest-free.
A good rinse helps knock off any stowaways and gives your plants a clean slate.
Pro Tip: Use Soapy Water for Stubborn Bugs
If you notice a few stubborn insects, mix a mild dish soap with water and use that to spray the leaves. It’s a natural way to get rid of pests without harming your plant. Just make sure to rinse the soap off after letting it sit for about 15 minutes.
Step 2: Check and Prune Dead Leaves
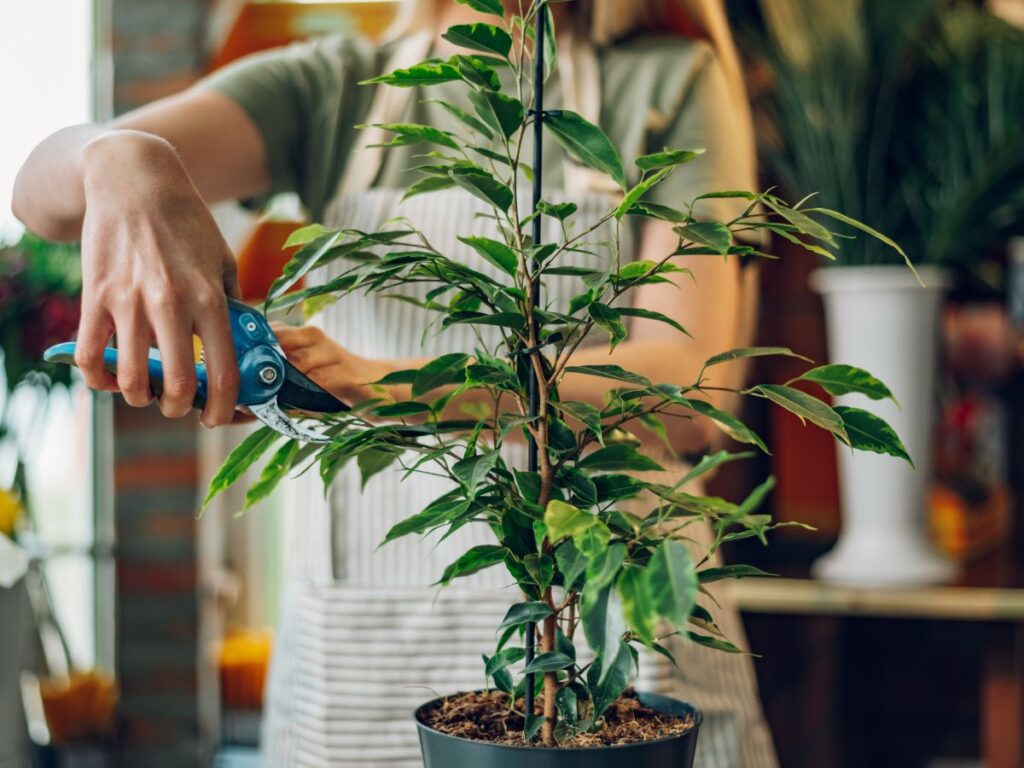
Once your plants are nice and clean, it’s time to play plant doctor and check for any dead or damaged leaves. Pruning is essential before bringing your plants indoors because it prevents the spread of disease and encourages new, healthy growth.
Grab a pair of clean, sharp scissors or pruning shears and carefully inspect each plant. Remove any yellowing, brown, or damaged leaves, as these are the ones most likely to harbor pests or disease.
If you see any dead stems or branches, go ahead and trim those back as well.
By pruning away the unhealthy parts of the plant, you’re allowing it to focus its energy on thriving instead of wasting resources on parts that are already on their way out.
Plus, trimming your plant helps make sure it fits comfortably in its indoor space—especially if it’s grown a lot over the summer.
Pro Tip: Sterilize Your Tools
Between cuts, be sure to wipe down your scissors or shears with rubbing alcohol. This prevents the potential spread of any plant diseases. Keeping things clean helps ensure your plants stay healthy throughout the winter.
Step 3: Repot and Refresh the Soil
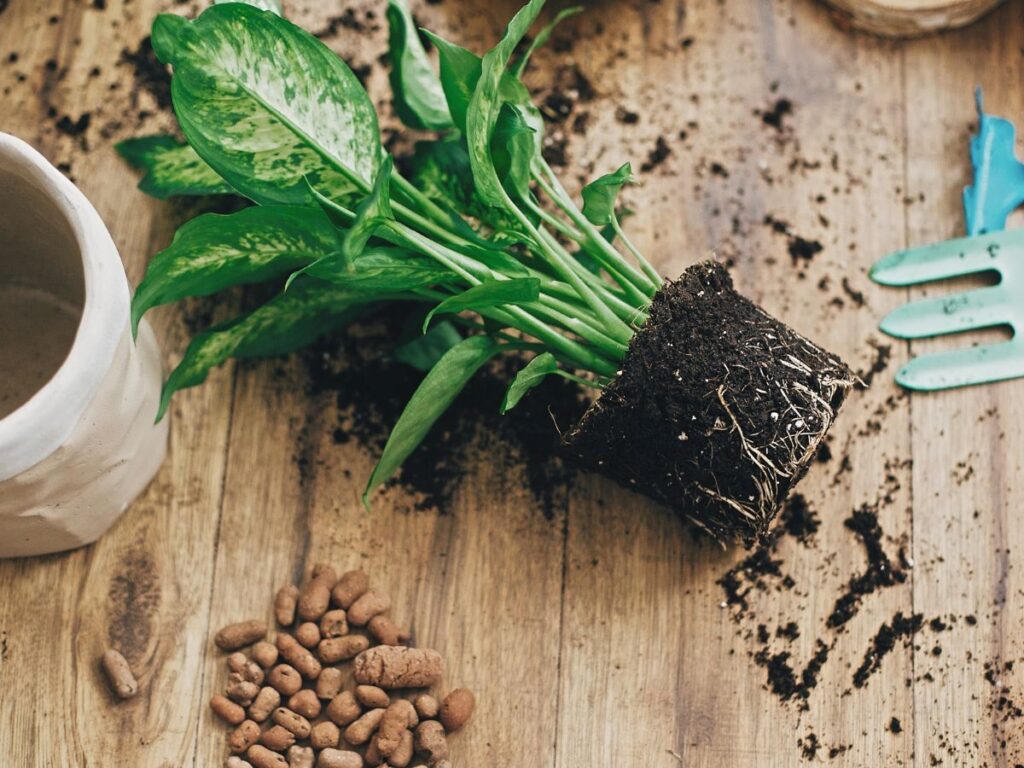
Now, let’s talk about soil. Your plant has likely been outside for several months, soaking up nutrients and maybe even growing roots that have filled up the pot.
Before you bring your plant indoors, it’s a good idea to refresh the soil or even repot the plant if needed.
Check the roots of your plant—are they crowded or circling the pot’s edges? If so, it might be time to give your plant a bit more room by repotting it into a slightly larger container. This will allow the roots to spread out and continue to grow, even while indoors.
Even if your plant doesn’t need a new pot, it’s still a good idea to replace the top layer of soil. Scrape off about an inch of soil from the surface of the pot and replace it with fresh, nutrient-rich potting mix.
This helps get rid of any pests that may be hiding in the soil and gives your plant a fresh start before the winter season.
Pro Tip: Choose the Right Soil Mix
When replacing the soil, make sure to use a well-draining potting mix that’s appropriate for your specific plant. Different plants have different needs, so a cactus will need different soil than a fern. Keep your plant’s preferences in mind for the best results.
Step 4: Treat the Soil for Pests
While you’ve already rinsed the leaves and checked for bugs, the soil is another area that can house unwanted pests.
Soil-dwelling bugs like fungus gnats can easily hitch a ride into your home, so it’s important to treat the soil before bringing your plants inside.
There are a few ways you can treat the soil to get rid of pests:
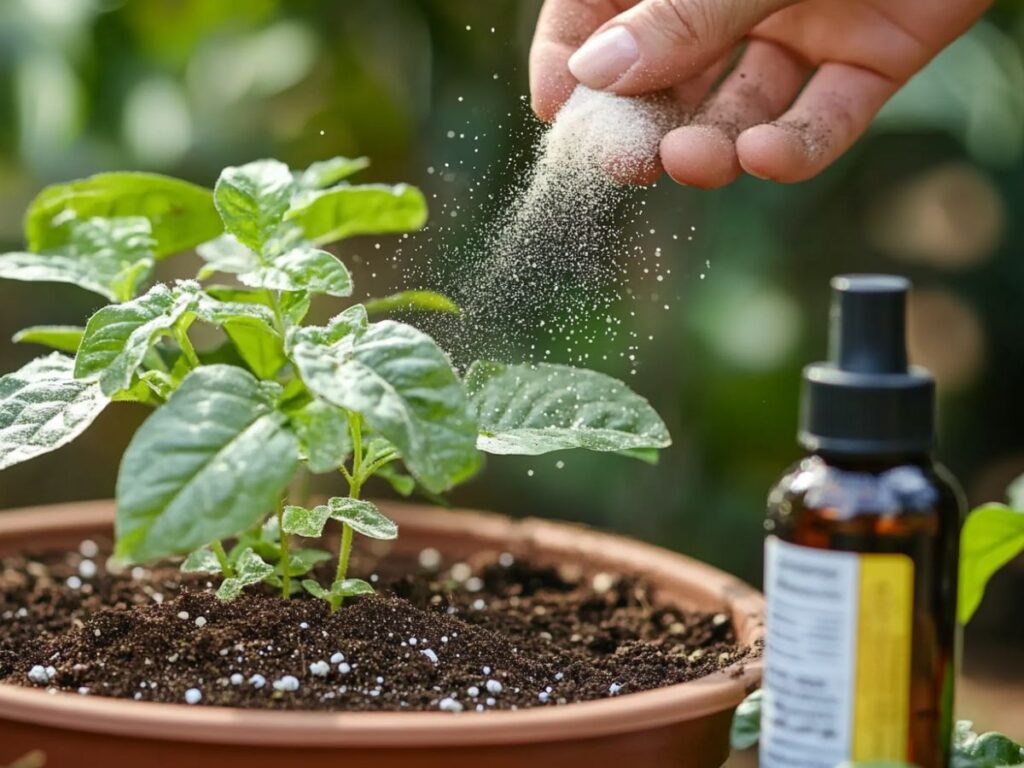
Diatomaceous Earth: Sprinkle food-grade diatomaceous earth on the surface of the soil. This is a natural, non-toxic way to kill any bugs living in the soil. It works by dehydrating the insects and is safe to use around your plants.
Neem Oil: Mix a little neem oil with water and spray it directly onto the soil. Neem oil is a natural pesticide that disrupts the life cycle of many common pests without harming your plants.
Hydrogen Peroxide: Mix one part hydrogen peroxide with four parts water and use it to water your plants. This solution helps kill any bugs or larvae that might be hiding in the soil without harming the plant roots.
Whichever method you choose, make sure to treat the soil thoroughly. This extra step will help ensure that you’re not accidentally bringing any bugs into your home.
Pro Tip: Repeat the Treatment
If you notice any persistent pests after the initial treatment, don’t hesitate to repeat the process a few days later. Sometimes it takes a couple of rounds to fully eliminate any remaining bugs.
Step 5: Acclimate Your Plants to Indoor Life
Now that your plants are clean, pest-free, and ready to go, it’s time to bring them indoors—but don’t just shove them into a dark corner! Plants need time to adjust to the lower light and indoor environment, so you’ll want to acclimate them gradually.
Start by bringing your plants inside for a few hours each day, and then gradually increase the time they spend indoors over the course of a week. This gives them a chance to adjust to the indoor conditions, such as lower humidity and less sunlight.
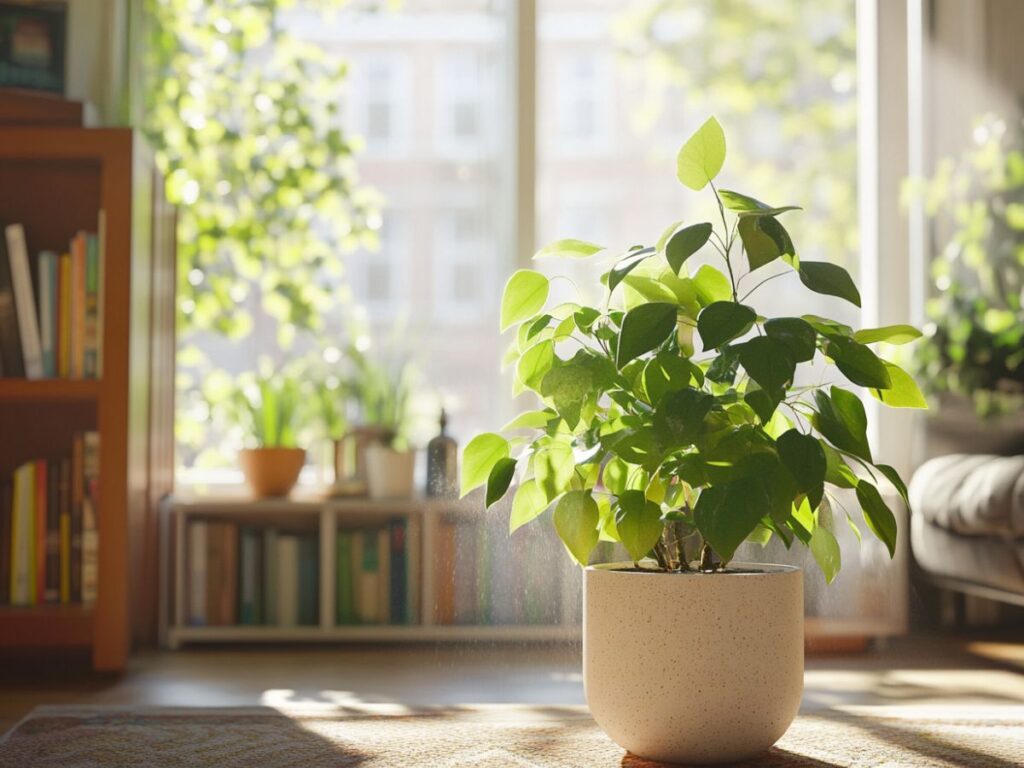
Once they’re fully indoors, find a spot that provides enough light. Most plants thrive near a sunny window, but if your home doesn’t get a lot of natural light, consider using a grow light to help your plants get the light they need during the darker months.
Keep an eye on the temperature as well. While you’re probably keeping your home nice and cozy, some plants are sensitive to drafts or direct heat from vents, so make sure your plants are in a stable environment.
Pro Tip: Maintain Humidity Levels
Indoor air tends to be drier, especially during the winter months. If your plants start looking a bit dry or droopy, consider misting them regularly or placing a humidifier nearby.
You can also place your plants on a tray filled with pebbles and water to help boost the humidity around them.
By following these five steps, you’ll be giving your plants the best possible start to their indoor winter stay.
Debugging and cleaning your plants might take a bit of extra effort, but trust me—it’s worth it. Your plants will stay healthier, and you’ll avoid the hassle of dealing with unwanted pests in your home.
Plus, there’s nothing quite like having a bit of greenery to brighten up your space during those cold winter months!
So go ahead, roll up your sleeves, and give your plants the care they need. They’ll reward you with fresh, vibrant growth all winter long.