Imagine transforming your living space into a lush, serene haven with just a hint of nature’s elegance. Enter Kokedama – the enchanting Japanese art of crafting moss-covered ball planters that bring a forest-like charm right to your home.
The best part? Making your own Kokedama is surprisingly simple, using only a handful of materials and easy steps.
Whether you’re a seasoned gardener or a complete beginner, this fun and rewarding project is perfect for anyone looking to elevate their indoor garden game.
Forget complicated potting – Kokedama offers an adaptable, mess-free way to showcase your favorite plants, making it ideal for small apartments, cozy corners, or even spacious gardens.
Ready to explore this soothing blend of nature and creativity? Dive in to discover how you can craft your own captivating Kokedama and transform your space effortlessly.
History and Origins
Kokedama presents a delightful fusion of tradition and modern aesthetics. Its historical roots intertwine with Japanese bonsai, while its popularity blooms across the globe as a unique decorative art form.
Kokedama, meaning “moss ball” in Japanese, has its origins rooted in the Edo period of Japan. During this time, bonsai enthusiasts began experimenting with soil and botanical compositions. The technique evolved, focusing on minimalism and natural beauty.
In the context of Japanese gardening, Kokedama transforms a simple plant into a piece of art. The moss ball acts as a vessel, drawing inspiration from the ancient practices of nearai and bonsai.
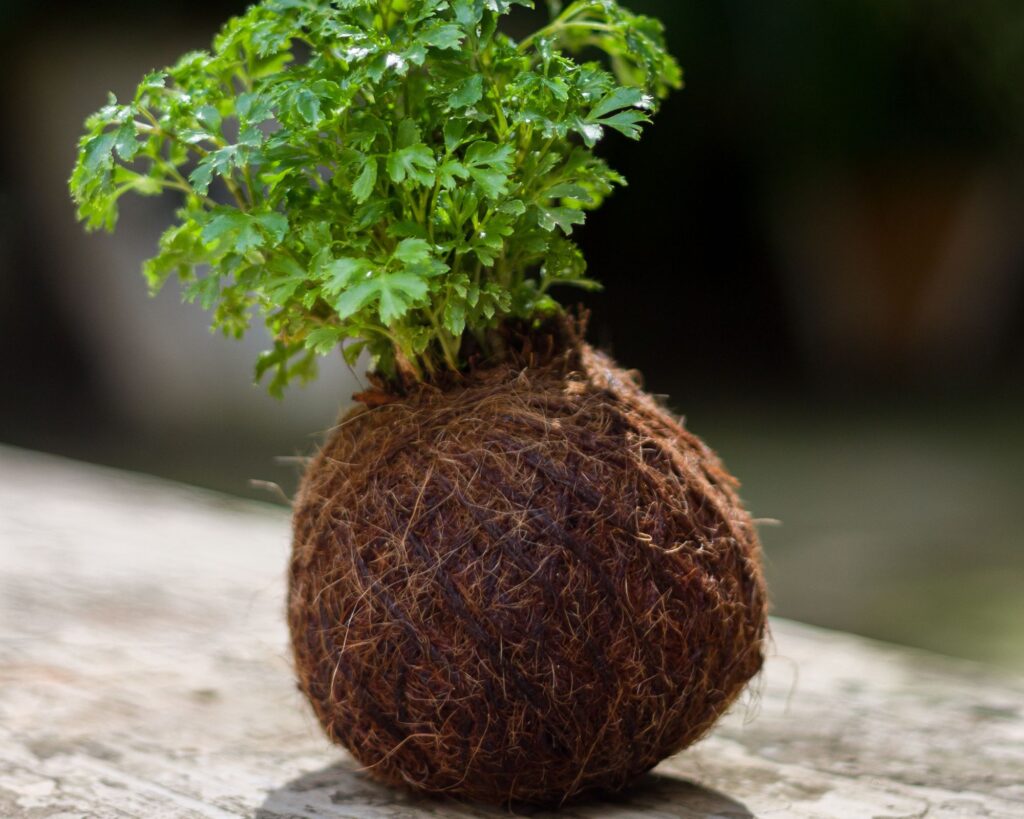
Plants are wrapped in a mix of soil and moss, which then hardens to form a firm ball. This allows you to appreciate the essence of the plant without distractions.
Over the years, this humble practice has captured imaginations worldwide, evolving into a beloved pastime.
Understanding Its Popularity
Kokedama’s popularity surge can be attributed to its simplicity and elegance. In an era of increasing urbanization, these plant sculptures offer a slice of nature in limited spaces.
Their aesthetic appeal lies in the minimal care required and their versatile display options.
From hanging installations to table centerpieces, Kokedama fits seamlessly into various spaces. As indoor gardening trends have grown, this art form provides a refreshing alternative to conventional potting.
You can create stunning arrangements without needing extensive gardening expertise, making it accessible to everyone.
Kokedama workshops and demos have also fueled interest, offering hands-on experiences that engage enthusiasts directly.
The tactile process of crafting a moss ball serves as a point of relaxation and creativity, making it a delightful hobby for people globally.
Materials Needed
Creating a beautiful Kokedama is a simple and enjoyable project. To get started, gather the following materials.
Ingredients
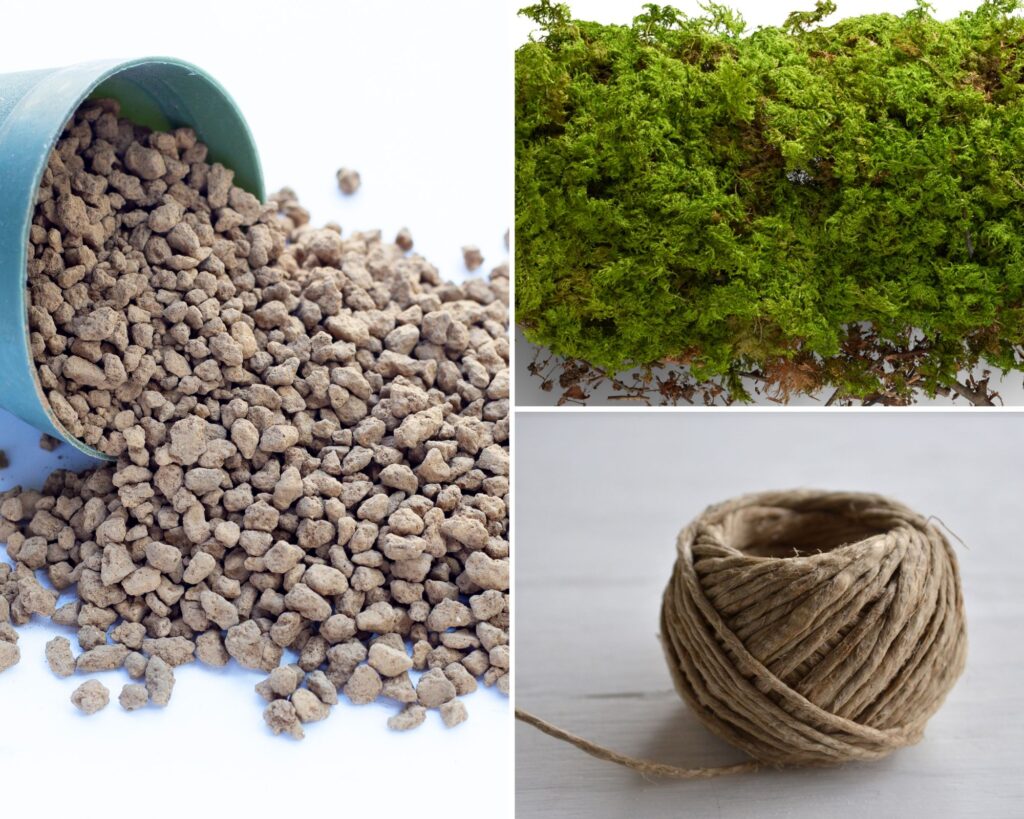
- Bonsai Soil Mix: Choose a soil mix specifically for bonsai. This often includes akadama, pumice, and lava rock.
- Moss: Use sheet moss or sphagnum moss for wrapping. It’s essential for creating the outer layer of your Kokedama.
- Twine or String: Use jute twine, cotton, or any string that doesn’t harm plants.
Tools
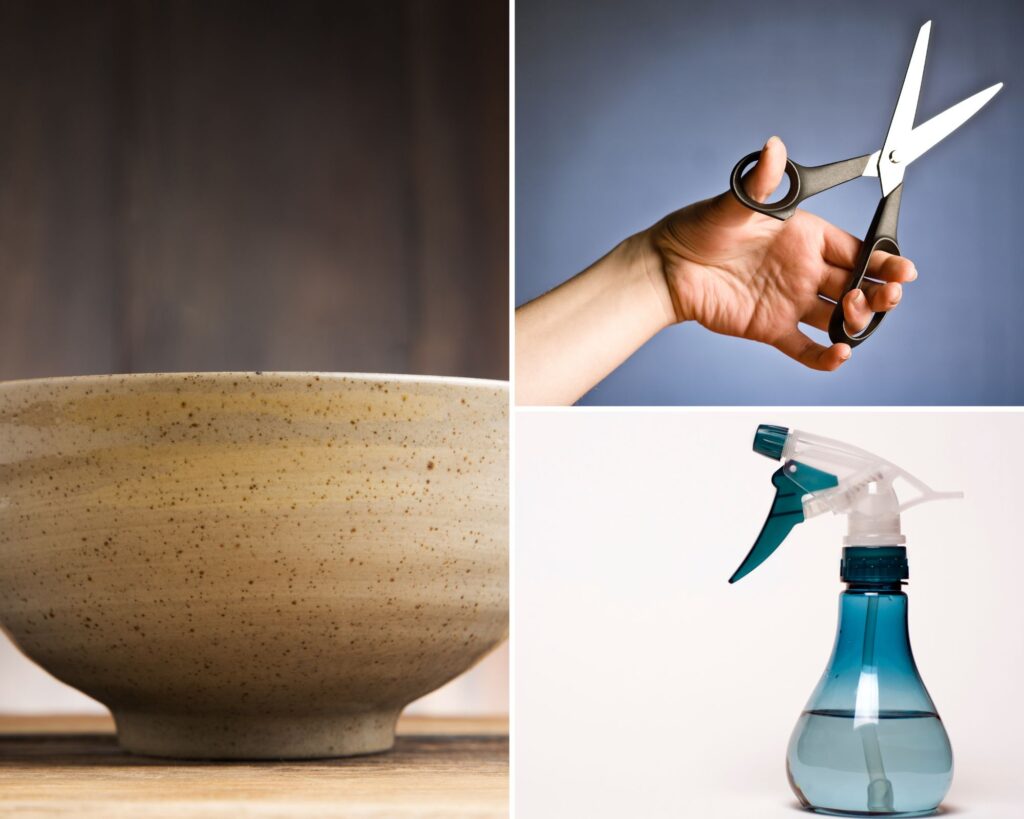
- Bowl or Container: Useful for mixing your soil and water.
- Scissors: For cutting twine and trimming plant roots.
- Water Spray Bottle: Keeps the moss moist and workable.
Plants
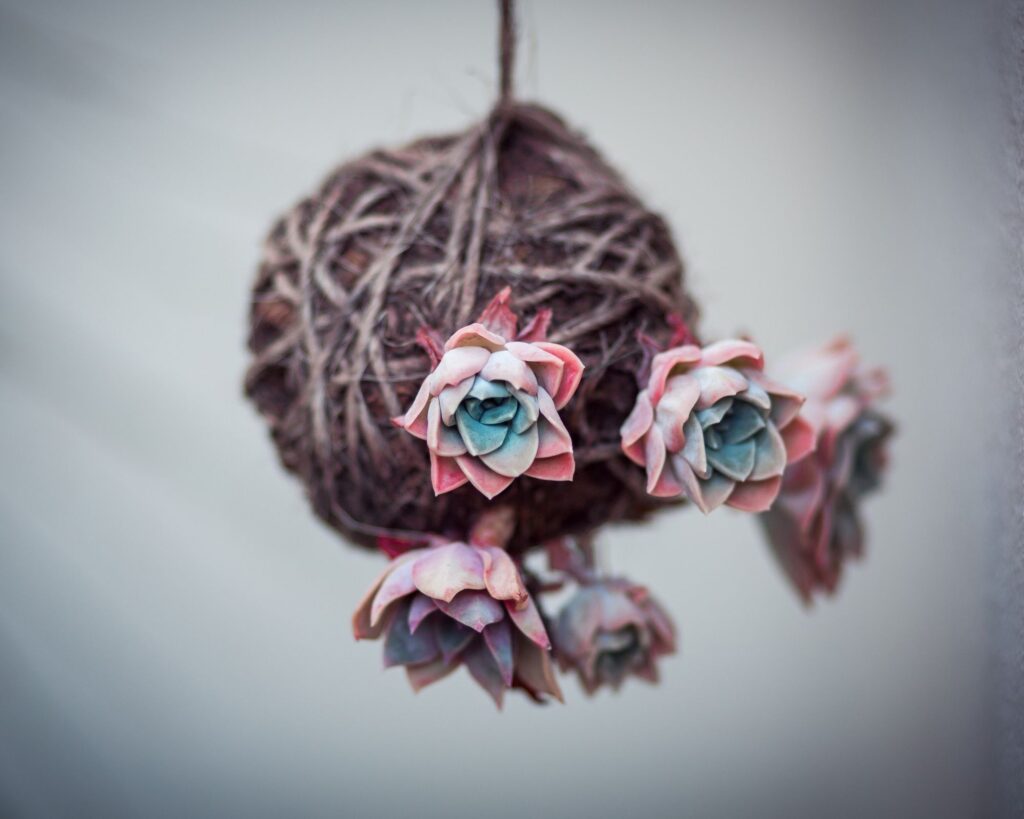
- Small Plant: Choose a plant that suits the light conditions where you plan to keep your Kokedama. Examples include ferns, succulents, or small flowering plants.
Optional Supplies
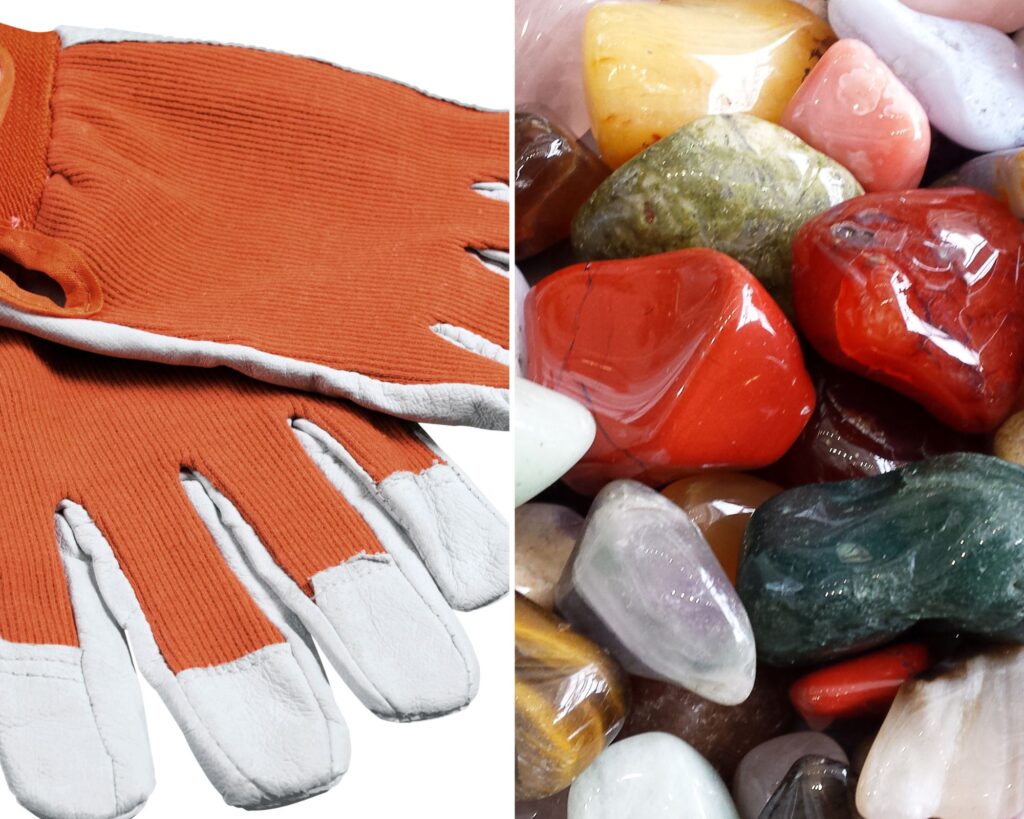
- Gloves: Protect your hands from dirt and moisture.
- Deco Stones or Pebbles: For decorative purposes, place around your finished Kokedama.
Gathering these materials ensures a smoother crafting experience and helps you enjoy the process of making your Kokedama.
Creating Your Kokedama
Creating your Kokedama begins with choosing a suitable plant, mixing a nurturing soil, forming a moss ball, and assembling everything into a cohesive planter. This guide walks you through each step with ease and clarity.
Selecting the Right Plant
Start by picking a plant that thrives in low to medium light, like ferns, pothos, or small orchids. Consider the size: the plant should be small to fit the moss ball comfortably.
Assess the plant’s water needs. A plant that prefers consistent moisture complements the moss environment well. Think about how much time you can dedicate to care.
Make sure the plant is healthy before starting. Look for vibrant leaves and a strong root system. Avoid plants showing signs of disease or stress.
Preparing the Soil Mix
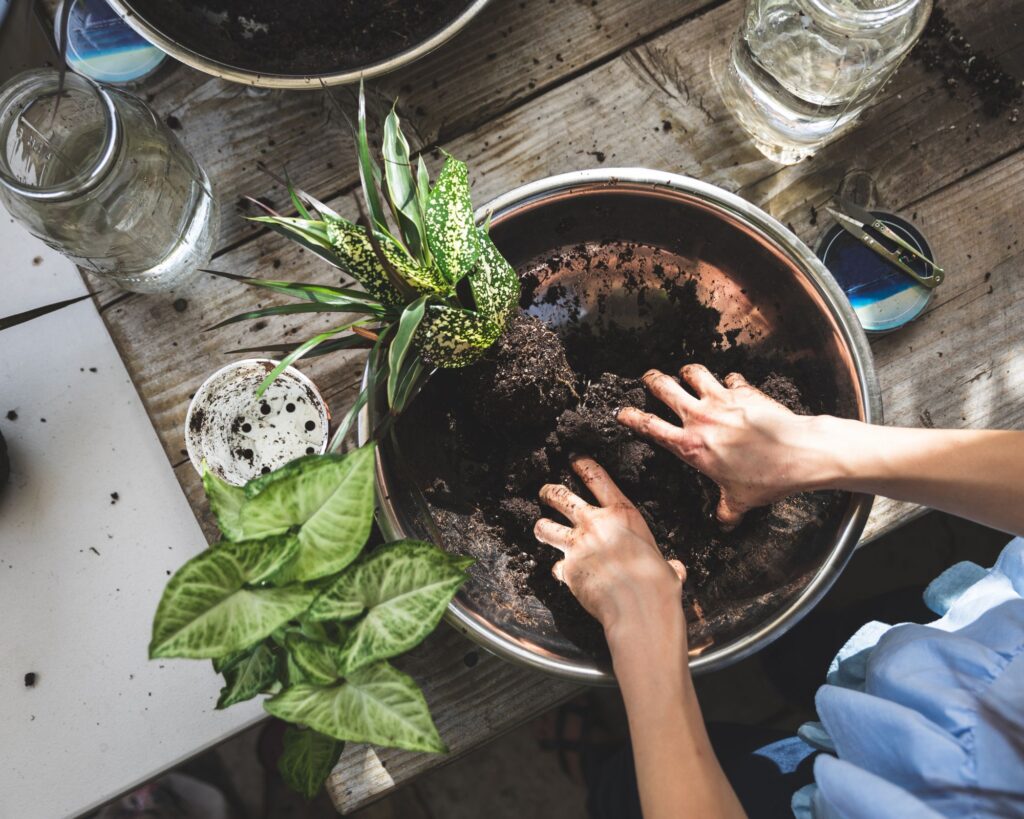
Crafting the right soil mix is essential. Blend equal parts of bonsai soil or akadama and potting soil. This combination ensures proper drainage while retaining moisture.
Add some peat moss to the mix if you notice it’s too coarse. This ingredient helps in holding moisture longer. Check the final texture; it should be damp but not soggy.
It’s a good idea to gather a small amount of soil and squeeze it to test its consistency. If it holds together without dripping water, you’ve got it right.
Forming the Moss Ball
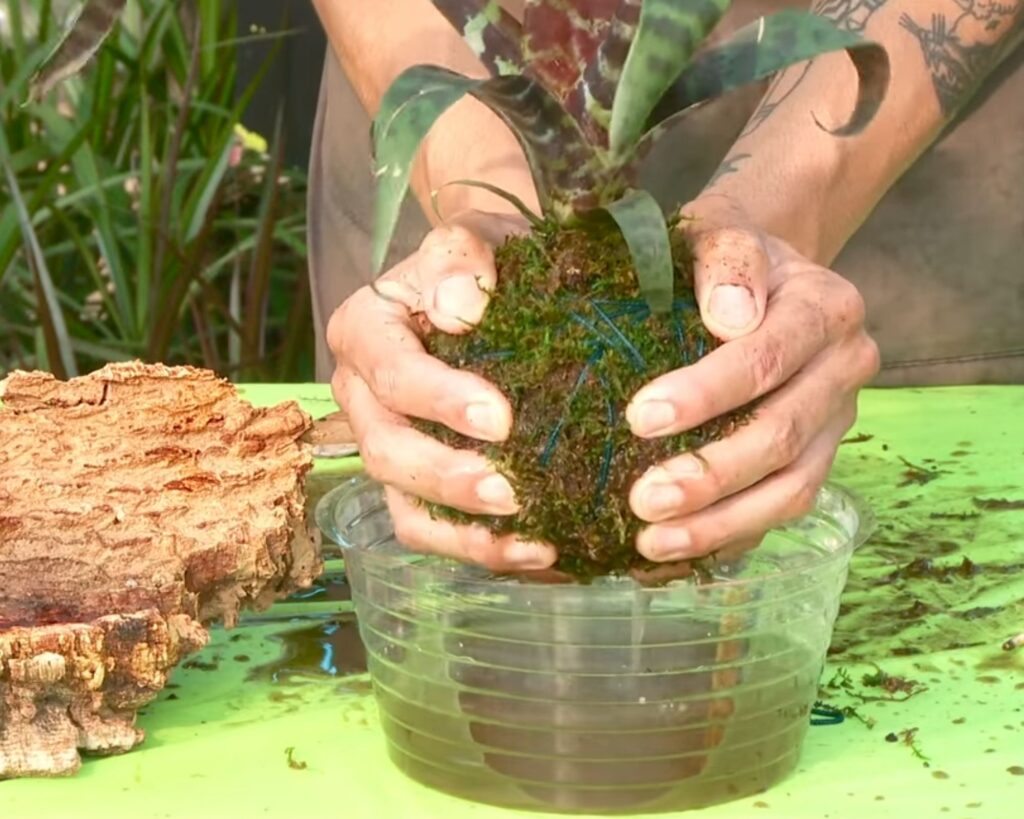
Gather your moss-sphagnum moss works well for this project. Soak it in water until it’s fully hydrated, then squeeze out excess moisture.
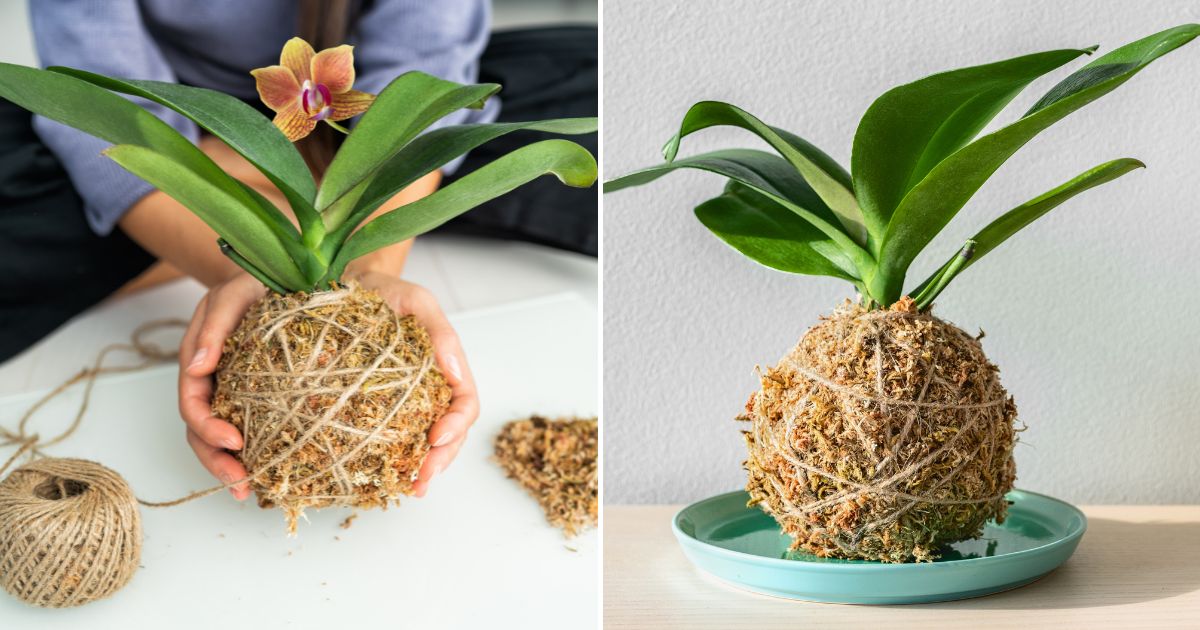
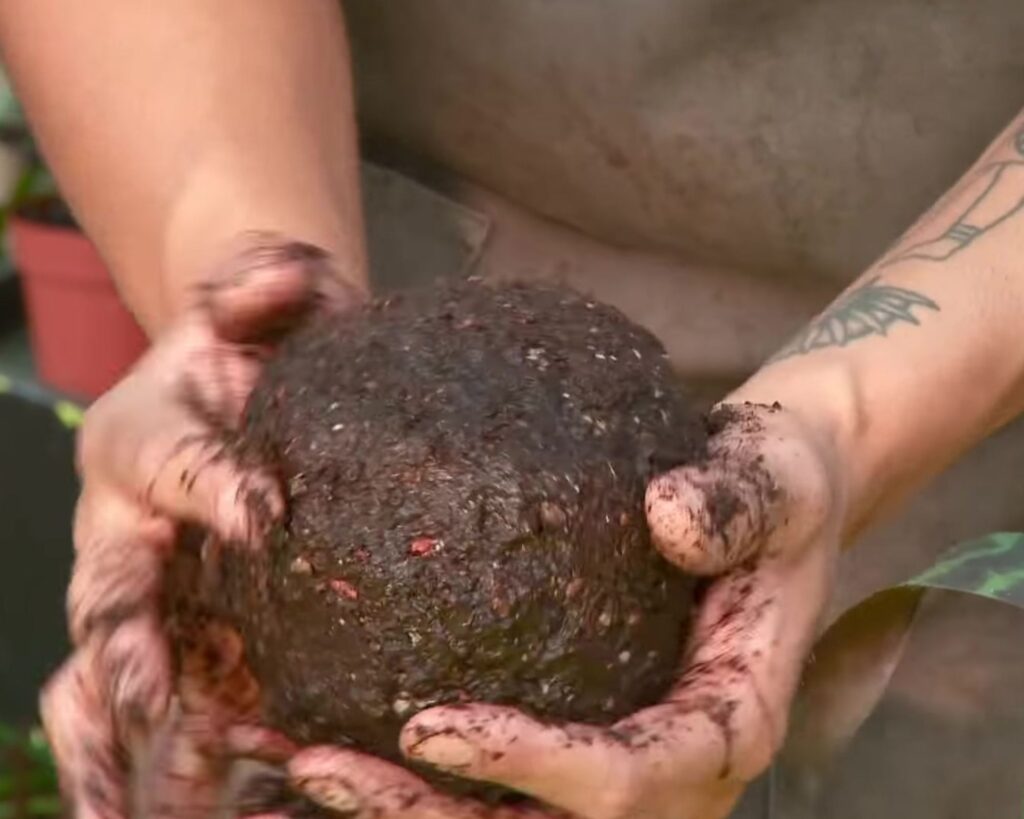
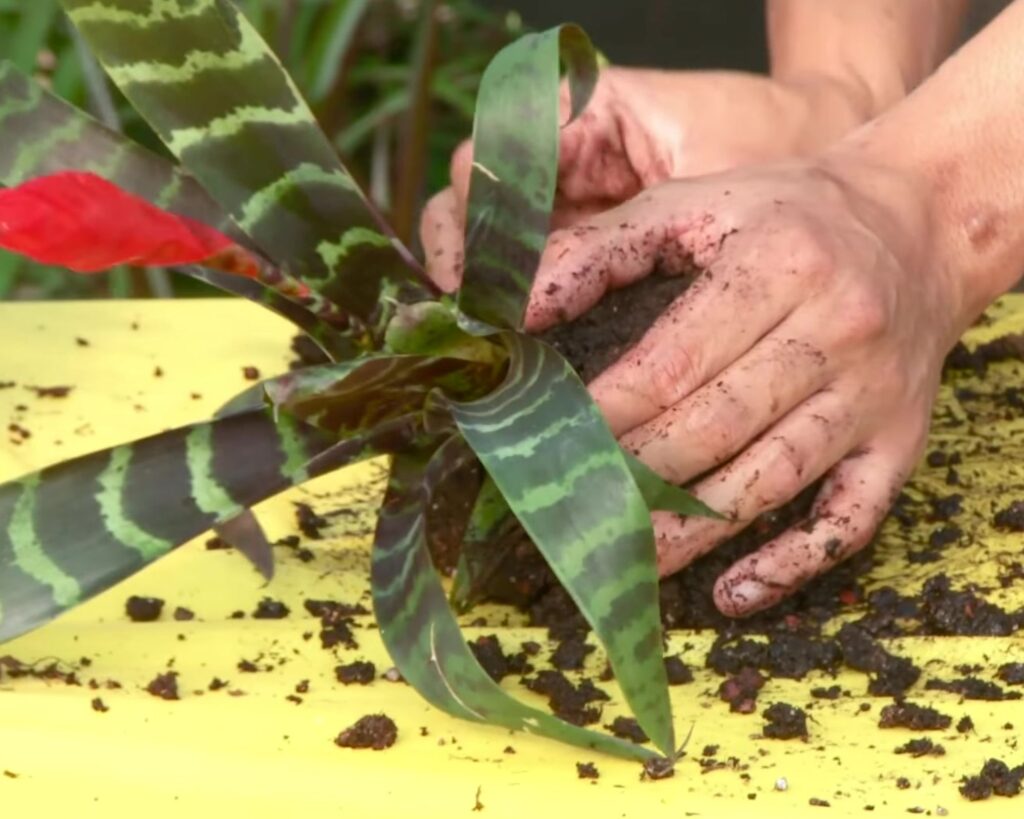
Take a handful of the prepared soil and shape it into a ball slightly larger than a tennis ball. Wrap the moss around it, ensuring an even layer on all sides.
Use cotton twine to secure the moss to the soil ball. Wind it around gently but firmly. This keeps everything in place and gives a cohesive look.
Assembling the Planter
Carefully insert the plant into the center of the moss ball. Ensure the roots are securely within, allowing the moss and soil to support it fully.
Wrap the top of the ball with moss if needed, using more twine to secure it. This step can add a finished look and supports the plant further.
Choose a display method. Hang your moss ball with a string or place it on a decorative dish. Position it where it will receive suitable light and attention. Make sure it’s accessible for watering and care.
Care and Maintenance
When maintaining your Kokedama, it’s essential to focus on proper watering techniques, selecting the right spot for sunlight, and understanding long-term care requirements.
These practices will help ensure your moss ball planter thrives over time.
Watering Techniques
Ensure your Kokedama receives adequate moisture by soaking the moss ball when it feels dry. To do this, fill a bowl with lukewarm water and submerge the moss ball for a few minutes.
Allow excess water to drain before returning it to its spot. The frequency of watering depends on factors like room temperature and humidity.
Generally, water every one to two weeks, but adjust as needed.
Monitor the weight of your Kokedama to judge its moisture content. A lightweight moss ball likely needs watering, while a heavier one usually indicates sufficient hydration.
Pay attention to changes in your plant’s appearance, as drooping leaves often signal a thirsty plant.
Sunlight and Placement
Place your Kokedama in a location with indirect sunlight. Direct sunlight can dry the moss and damage the plant. A spot near a bright window with filtered light is usually ideal.
Avoid placing the Kokedama in drafty areas or near heating vents to prevent stress on the plant. Rotate your Kokedama occasionally to ensure even light exposure and encourage symmetrical growth.
Indoor spaces benefit most from indirect light, but for outdoor Kokedama, choose a shady area. Heat and wind can rapidly dry the moss, so keep an eye on weather changes.
Long-Term Care
Your Kokedama needs regular attention to remain healthy and vibrant. Trim any yellowing or dead leaves to promote growth.
Adjust the soil mix, if needed, by carefully opening the moss ball and refreshing the contents with new soil. Repotting may be necessary every couple of years as your plant grows.
Feeding your Kokedama periodically with a diluted liquid fertilizer can boost its nutrients. Apply the fertilizer when watering by mixing it with water for balanced nourishment.
Remember to be gentle, as the moss can become delicate over time. Keeping a consistent care routine ensures that your Kokedama will continue to thrive in your space.
Design and Display Ideas
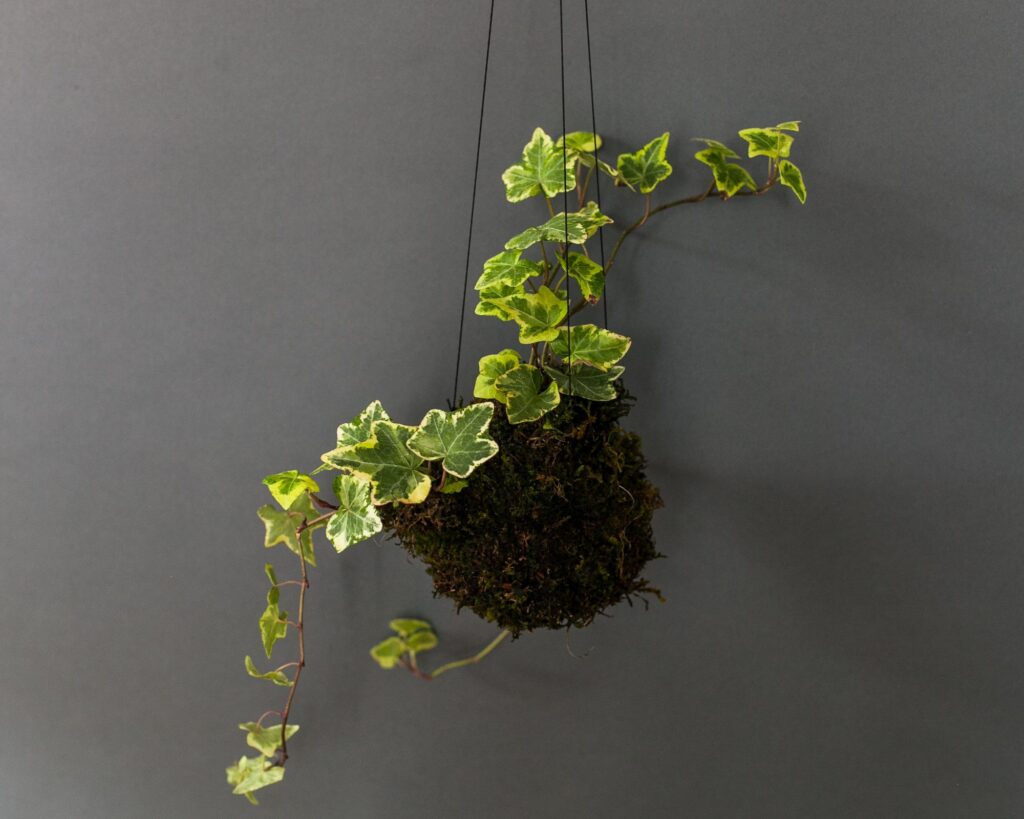
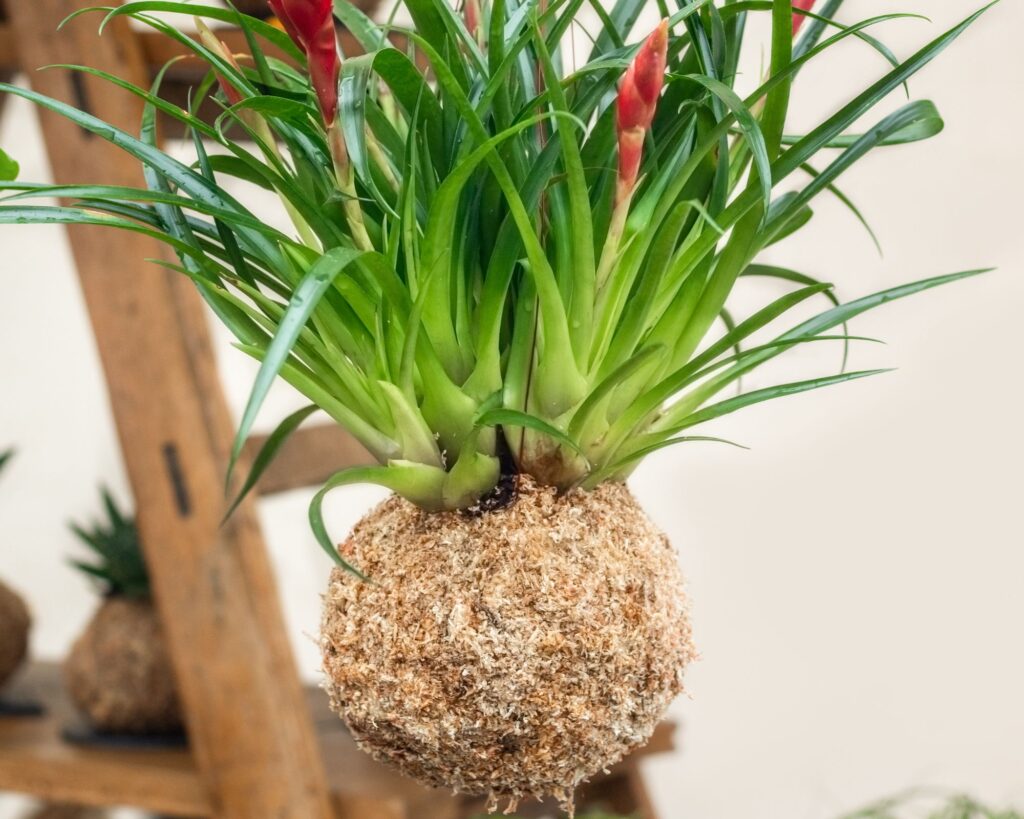
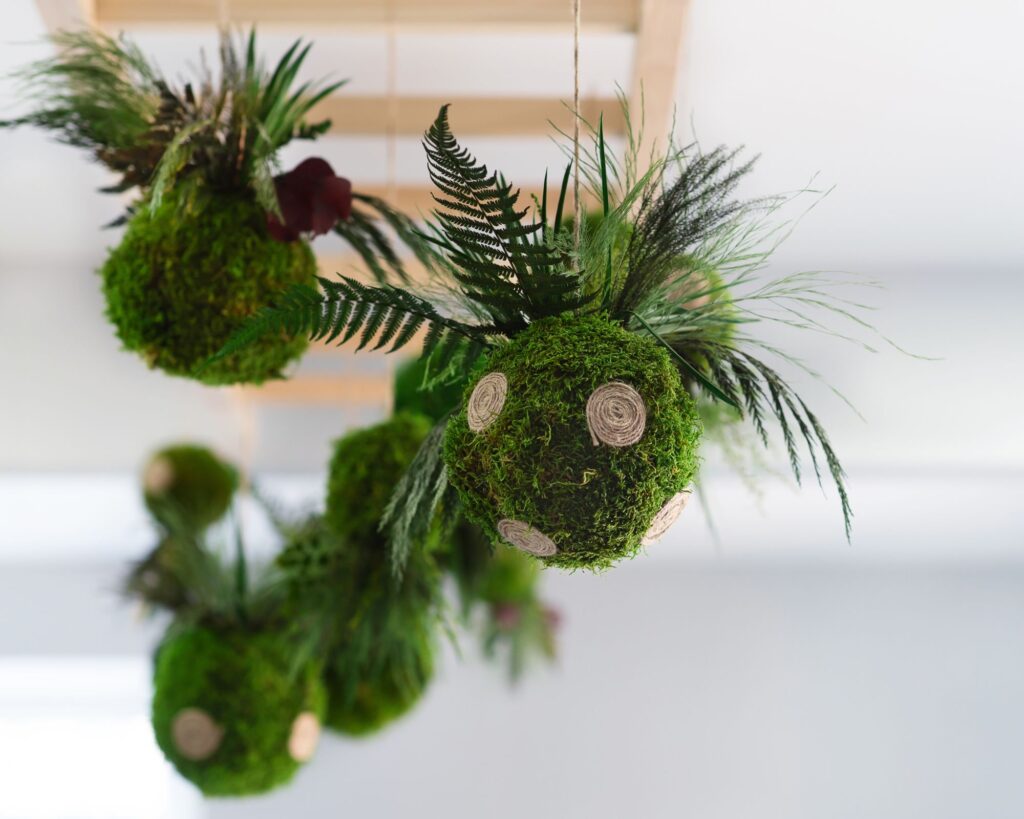
When it comes to displaying your DIY Kokedama, creativity is your best tool. You can hang them from the ceiling using clear fishing line for an elegant, floating effect.
Choose a cluster of different sizes for an eclectic look. This adds a unique touch to any room.
Incorporate stands to give more dimension to your decor. Small wooden shelves or even metal holders work great for this purpose.
Arrange them at different heights to add visual interest. Feel free to experiment with different angles and placements.
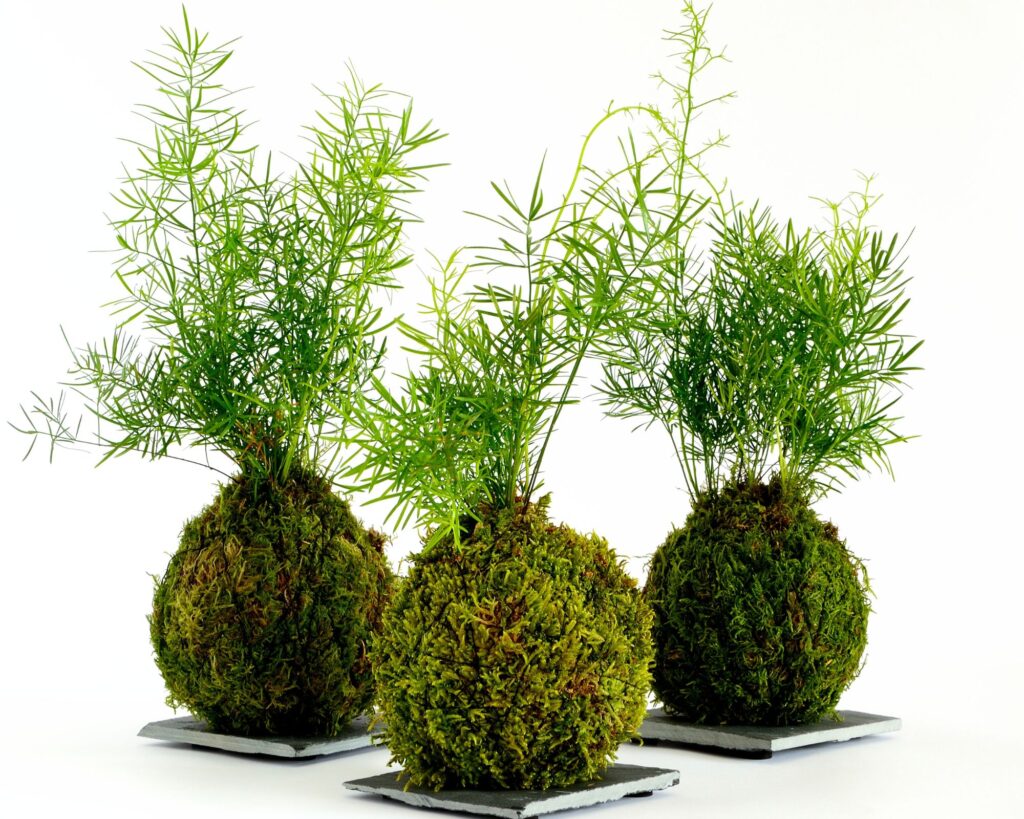
Arrange your kokedama on a pretty tray near a window. This display not only looks beautiful but also provides your plants with some much-needed sunlight.
Choose a tray that complements your room’s color scheme for an added aesthetic appeal.
Try using kokedama as centerpieces for tables. You can pair them with candles or small decorative items to create a cozy and inviting atmosphere. It makes a simple yet stylish statement.
Consider going vertical with your kokedama by creating a wall garden. Attach hooks to a wall and hang your moss balls at different lengths.
It’s an innovative way to bring nature indoors without sacrificing floor space. Great for smaller apartments or rooms where space is at a premium.
For outdoor spaces, hang your kokedama from tree branches or pergolas. The natural elements outside will only enhance the organic beauty of your moss ball planters.
Plus, outdoor environments often provide the perfect light conditions for many plant species.
Kokedama brings an artistic and natural flair to any space, combining the beauty of plants with a unique moss ball design.
Crafting your own Kokedama not only adds a touch of greenery to your home but also offers a rewarding hands-on experience that can be enjoyed by anyone, regardless of gardening expertise.
As you nurture your Kokedama, you’ll find joy in watching it thrive, creating a living piece of decor that seamlessly blends tradition with modern style.
Whether you hang it, place it on a decorative tray, or use it as a centerpiece, your Kokedama is sure to elevate the ambiance of your space while connecting you to nature’s simplicity.
