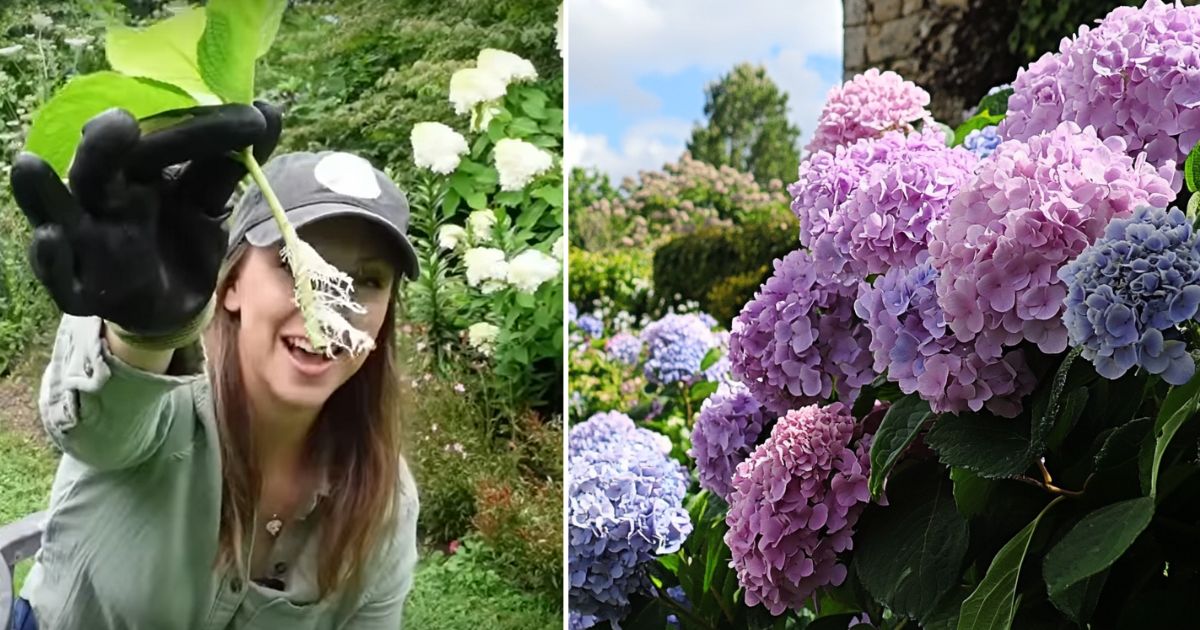
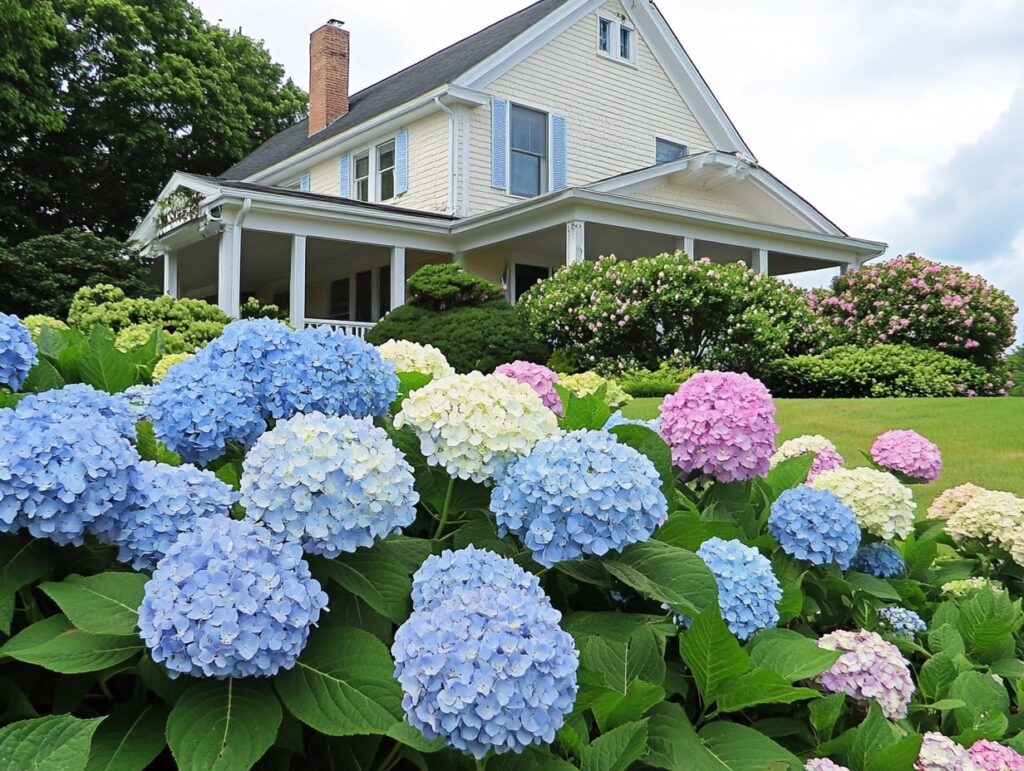
Imagine stepping into your garden and being greeted by a sea of vibrant hydrangeas, their blooms cascading in shades of blue, pink, and white. These stunning flowers are the pride of any garden, but did you know you can easily multiply them with just a few simple steps?

Whether you’re a seasoned gardener or a beginner looking to expand your floral collection, the secret to creating your own hydrangea haven lies in propagating them from cuttings.
In this guide, we’ll reveal how to turn a single hydrangea stem into a thriving new plant using nothing more than water. This method is not just effective—it’s surprisingly easy and rewarding.
So, if you’ve ever admired your neighbor’s lush hydrangeas or dreamed of filling your garden with these gorgeous blooms, keep reading. We’re about to show you how to do it with minimal effort and maximum success.
Why Propagate Hydrangeas from Cuttings?
Before diving into the details, let’s briefly discuss why you might want to propagate hydrangeas from cuttings. Propagation allows you to create new plants from an existing one, which is a cost-effective way to expand your garden.
Additionally, by using cuttings, you ensure that the new plants will be clones of the parent plant, preserving all its desirable traits, such as bloom color and growth habit.
This method is especially useful if you have a particular hydrangea variety that you love and want to spread throughout your garden.
Tools and Materials You’ll Need
To successfully propagate hydrangeas from cuttings, gather the following tools and materials:
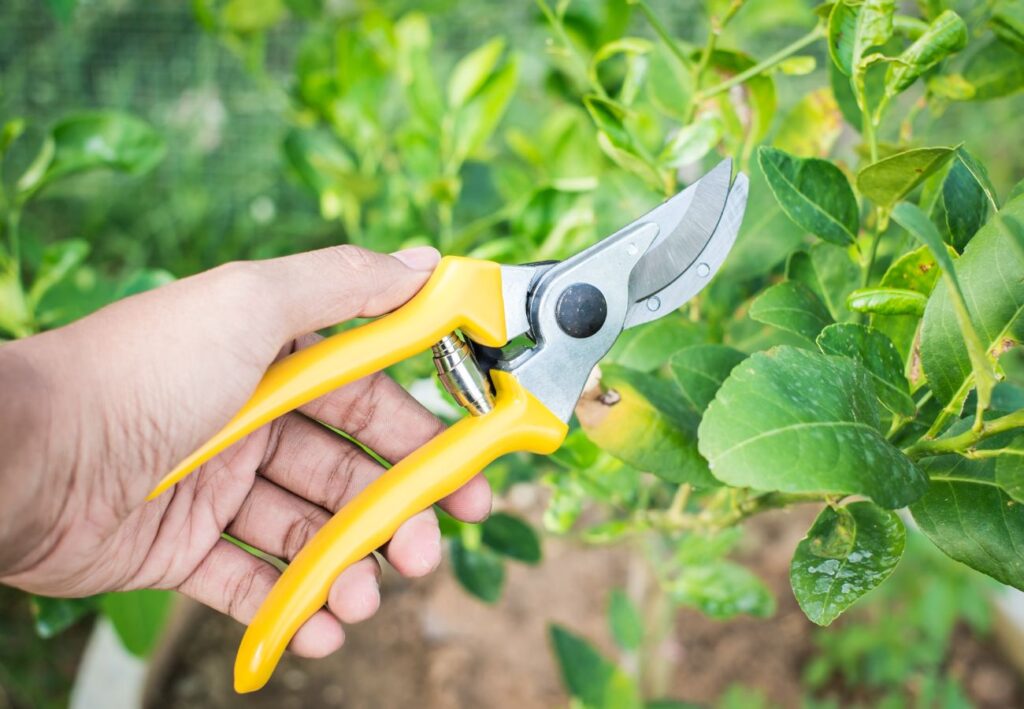
- Pruning shears or a sharp knife
- A glass jar or a similar container
- Water
- A 4×4 container or similar-sized pot
- Professional-grade potting soil
- A sunny windowsill or another well-lit area
Having these items ready will make the propagation process smoother and more efficient.
When to Take Hydrangea Cuttings
Timing is crucial when it comes to taking cuttings from hydrangeas. The best time to take tip cuttings is in late May to early June, especially if you live in a zone with a similar climate to Zone 6B, where the first frost typically occurs in mid-October, and the last frost is in mid-April.
By taking cuttings in early June, you give the new plants ample time to grow roots and establish themselves before winter.
A tip cutting is the top portion of a hydrangea shrub, and you should take these cuttings from branches that are not going to bloom. Instead, focus on branches that are producing leaves only.

This is important because branches that are not focused on blooming will channel more energy into root development, which is exactly what you want when propagating plants.
How to Take Hydrangea Cuttings
The first step in propagating hydrangeas is to take cuttings early in the morning when the plant’s stems are fully hydrated. Ideally, this should be done around 6:30 a.m. when the stems are turgid, meaning they are firm and full of water.
To take the cutting:
- Select the Right Branch: Look for a branch that is healthy and free of any signs of disease or stress. The branch should be about 10 inches long, though anything between 8 to 12 inches will work fine.
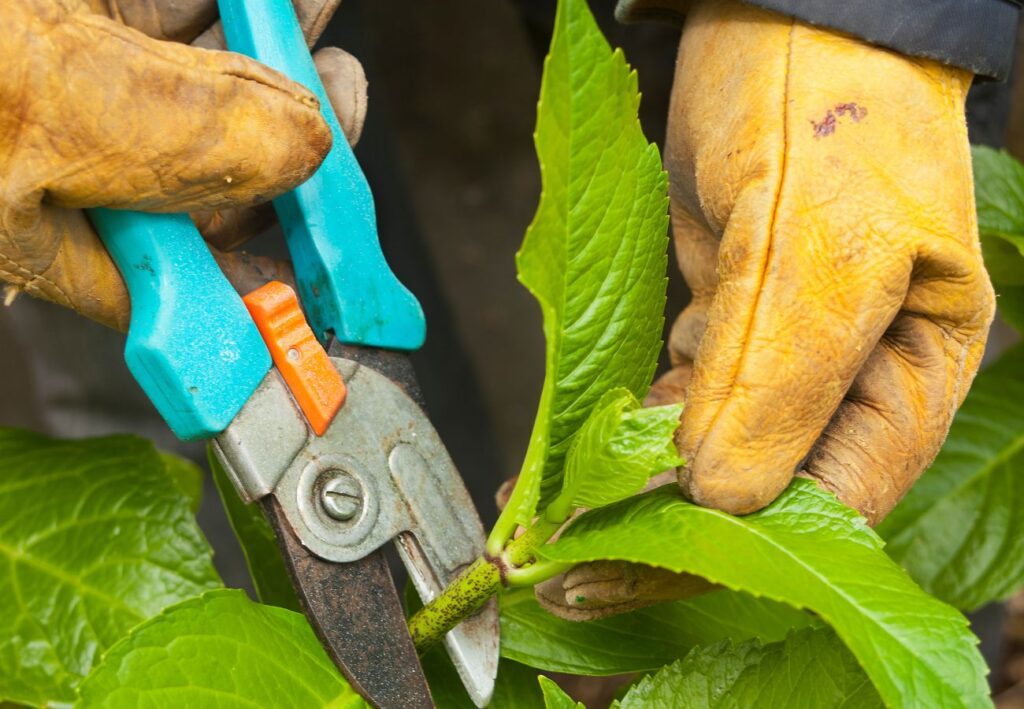
- Make the Cut: Using your pruning shears or a sharp knife, make a clean cut just below a leaf node. A leaf node is where the leaves join the stem, and it’s from this point that roots will develop.
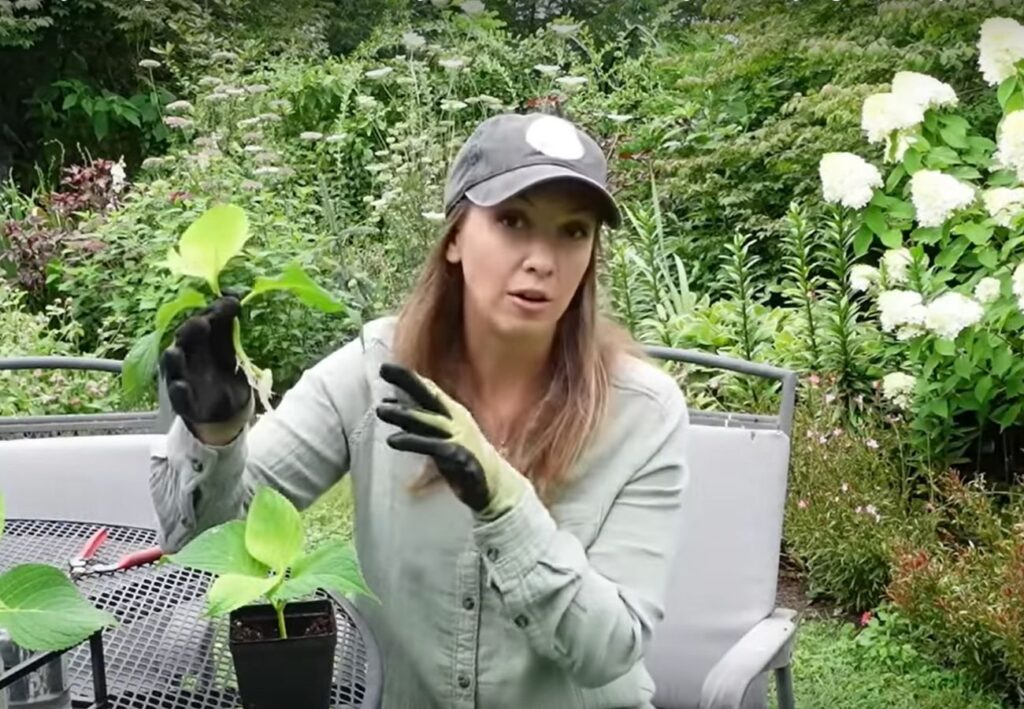
- Prepare the Cutting: Remove most of the lower leaves, leaving only a few at the top. On this particular cutting, it’s best to leave four leaves intact. By removing the lower leaves, you help the cutting focus its energy on root growth rather than maintaining leaves.
- Optional Step – Trimming Leaves: Some gardeners trim the remaining leaves in half to reduce the surface area and limit water loss. However, this step is more necessary for soil propagation than for water propagation. For water propagation, you can leave the leaves as they are.
Rooting Hydrangea Cuttings in Water
Now that you have your hydrangea cuttings prepared, it’s time to root them in water. This is one of the easiest and most successful methods of propagating hydrangeas.
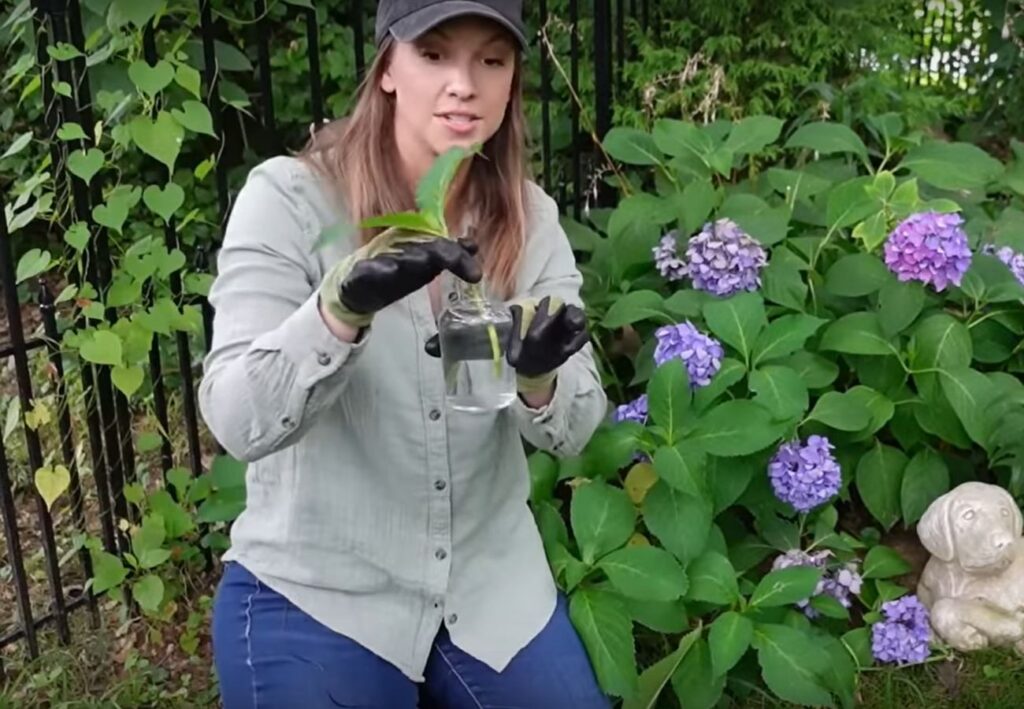
- Place the Cutting in Water: Fill a glass jar or similar container with water and place the cutting into the water, ensuring that the bottom of the stem is submerged. The water should cover the leaf node where you made the cut.
- Monitor Water Levels: Place the jar in a well-lit area, such as a sunny windowsill. It’s important to keep the water topped up, ensuring the leaf node stays submerged. Over the next few weeks, check the water level regularly and add more water as needed.
- Wait for Roots to Develop: After about three to four weeks, you’ll start to see roots developing from the submerged leaf node. Be patient, as it can take up to six weeks for the roots to become well-established and ready for potting.
Potting the Hydrangea Cuttings
Once the roots are about an inch long and have a healthy, robust appearance, it’s time to transfer the cuttings from water to soil.
- Prepare the Potting Soil: Fill a 4×4 container or a similar-sized pot with professional-grade potting soil. Water the soil slightly to moisten it before planting.
- Plant the Cutting: Make a hole in the soil with your finger or a small tool, and gently place the cutting into the hole. Cover the roots with soil, ensuring that the cutting is upright and stable.
- Water the Cutting: After planting, give the cutting a good watering at the soil level. This helps to settle the soil around the roots and provides the moisture necessary for the cutting to continue growing.
- Place in a Sunny Spot: Place the potted cutting on a windowsill or another sunny location where it can receive plenty of indirect light. Over the next six weeks, the cutting will continue to grow, and the roots will spread throughout the soil.
Hardening Off and Planting in the Garden
After about six weeks in the pot, your hydrangea cutting should be ready to transition to the garden. However, before planting it directly in the ground, it’s essential to harden off the plant. Hardening off is the process of gradually acclimating the plant to outdoor conditions.
- Start the Hardening Off Process: Begin by placing the potted hydrangea outside for a few hours each day, gradually increasing the time it spends outdoors over a week. This process helps the plant adjust to the temperature, sunlight, and wind it will experience in the garden.
- Choose a Planting Site: While the hydrangea is hardening off, select a spot in your garden where you want to plant it. Hydrangeas prefer well-drained soil and partial shade, although they can tolerate full sun in cooler climates.
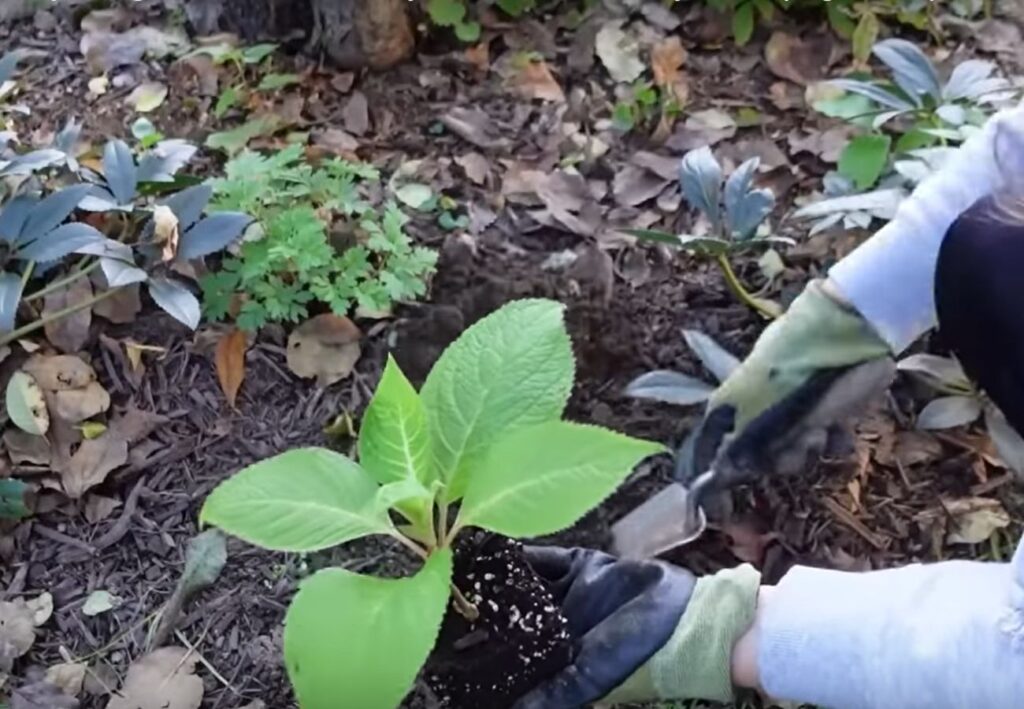
- Plant the Hydrangea: After the hardening off period, it’s time to plant the hydrangea in the ground. Dig a hole slightly larger than the pot, gently remove the plant from the pot, and place it in the hole. Fill in the hole with soil, water it thoroughly, and add mulch around the base to retain moisture.
- Care for the New Plant: Continue to water the hydrangea regularly, especially during dry spells, to help it establish strong roots before the first frost. With proper care, your new hydrangea will grow into a healthy, vibrant plant that will grace your garden for years to come.
Why Choose Water Propagation?
You might be wondering why not just plant the cuttings directly into the soil from the start. While soil propagation is also a viable method, water propagation has its advantages, particularly for busy gardeners.
Water propagation allows you to be more hands-off during the early stages of root development.
Unlike soil propagation, where you might need to mist the cuttings frequently or use a propagator to maintain humidity, water propagation requires minimal maintenance.
As long as you keep the water level topped up, the cuttings will root on their own.
Additionally, water propagation reduces the risk of the cuttings rotting, which can sometimes happen with soil propagation if the conditions are too moist.
Once the roots have developed in water, the cuttings are more resilient and can be transplanted into soil with a lower risk of failure.
Propagating hydrangeas from cuttings is a rewarding process that allows you to expand your garden with minimal cost and effort.
By following the steps outlined in this guide, you can successfully root hydrangea cuttings in water and enjoy new plants in your garden within a few months.
Whether you’re a seasoned gardener or a beginner, this method is easy to follow and yields excellent results. So, gather your tools, take your cuttings, and start propagating your hydrangeas today!