Starting seeds indoors is a rewarding way to get a jump on your garden before the spring season arrives. By nurturing young plants indoors, you can ensure they are strong and ready for transplanting when the weather warms up.
This guide will walk you through ten essential steps to successfully start your seeds indoors, offering practical tips and engaging insights to make the process both enjoyable and effective.
1. Choose the Right Seeds
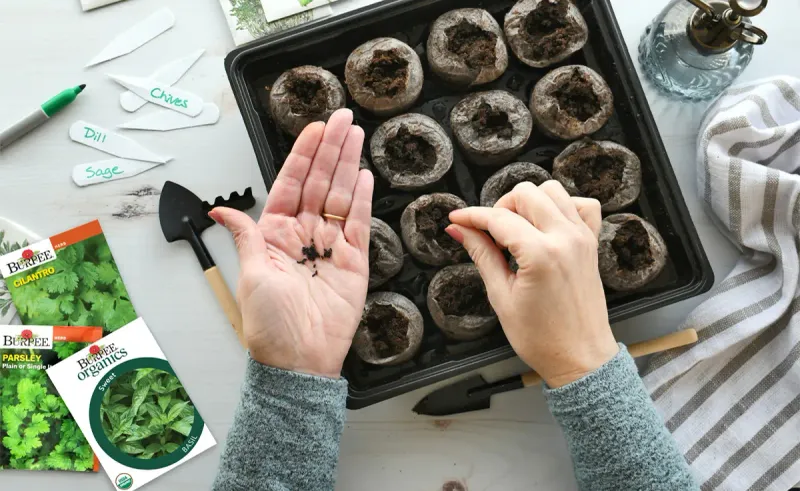
Selecting the right seeds is crucial for indoor planting success. Start by considering your climate and the seasonality of plants. For cold areas, opt for frost-tolerant varieties.
Choose seeds that suit your taste and garden goals, whether you’re aiming for luscious vegetables or vibrant flowers. Check seed packets for planting instructions and growth timelines. Mix heirloom and hybrid seeds for diversity.
Researching the characteristics of each type will aid in making informed decisions. Enjoy exploring different seed catalogs to find varieties that excite you, providing a unique and personalized gardening experience.
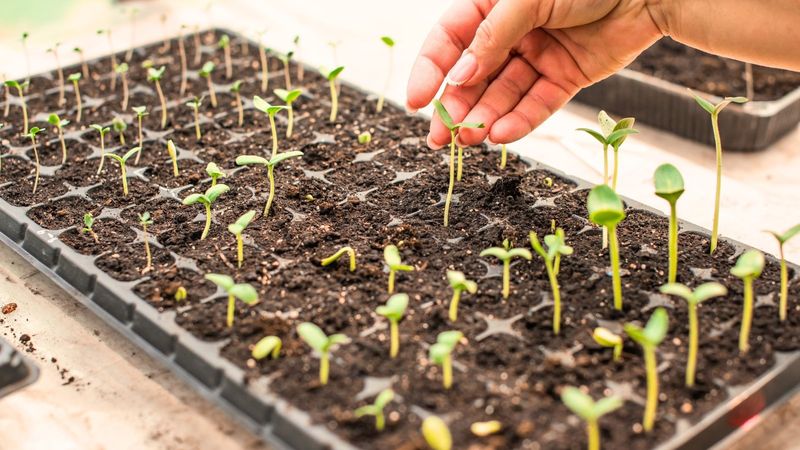
2. Prepare Your Containers
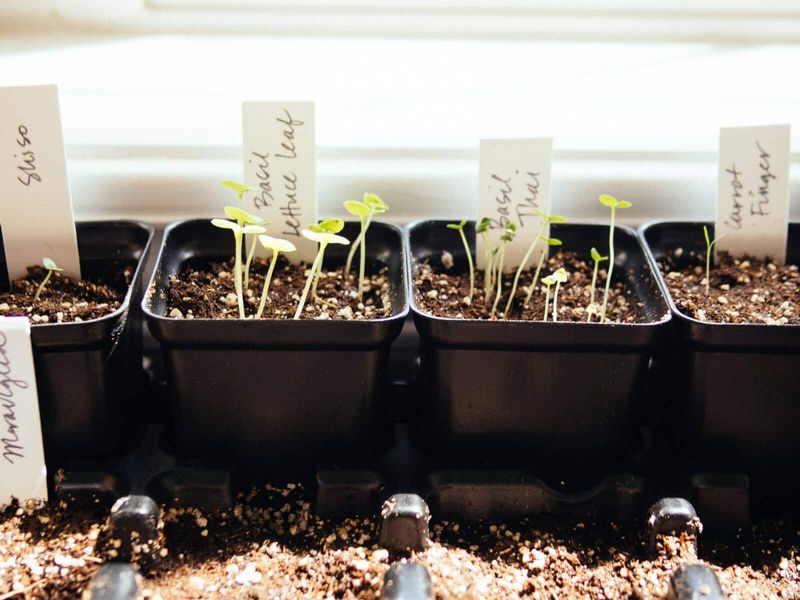
Gather appropriate containers to begin your seed-starting journey. You can use specialized seed trays, pots, or even recycled materials like yogurt cups. Ensure they have drainage holes to prevent waterlogging.
Biodegradable pots are excellent for transplanting directly into the garden without disturbing roots. Containers should be clean to avoid diseases. Using different sizes accommodates various plant needs, offering flexibility.
Label each container with plant names and sowing dates. Organized containers enhance your gardening experience, making it easier to manage.
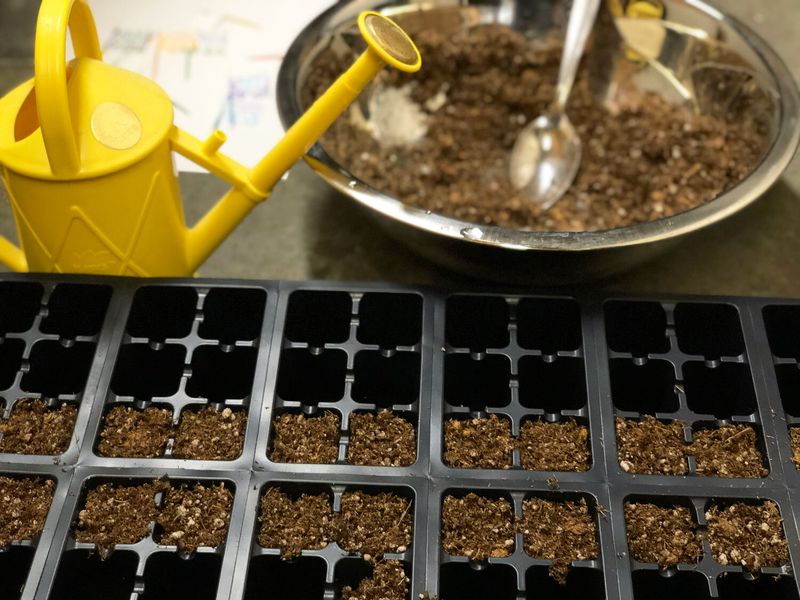
3. Select Quality Potting Soil
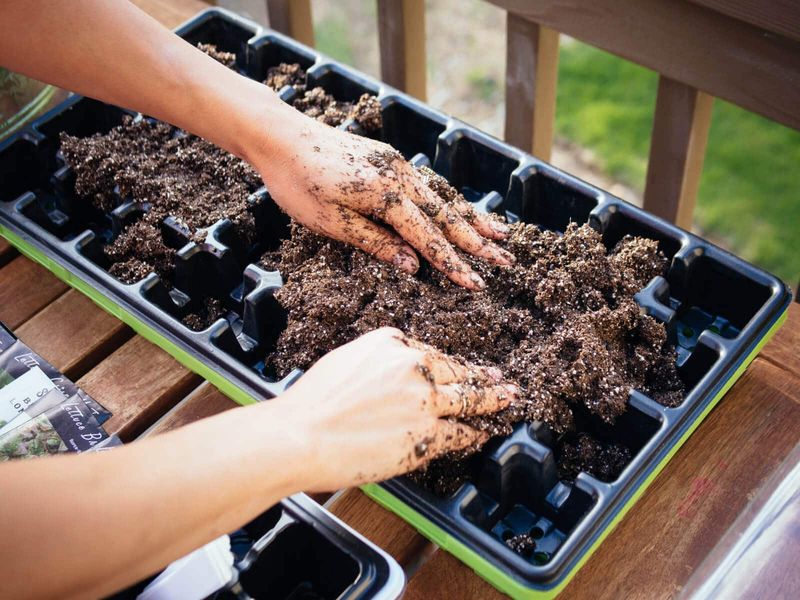
Choosing quality potting soil is vital for healthy seedling growth. Seek a well-draining, light mix enriched with organic matter. Avoid garden soil, which can harbor pests. An ideal mix retains moisture yet remains airy, promoting root development.
Consider sterilizing the soil to eliminate pathogens. Commercial mixes often include beneficial nutrients. Testing various brands helps find the best fit for your plants.
Store potting soil in a dry place to maintain its quality. A robust soil foundation supports vigorous seedlings, ensuring a successful start.
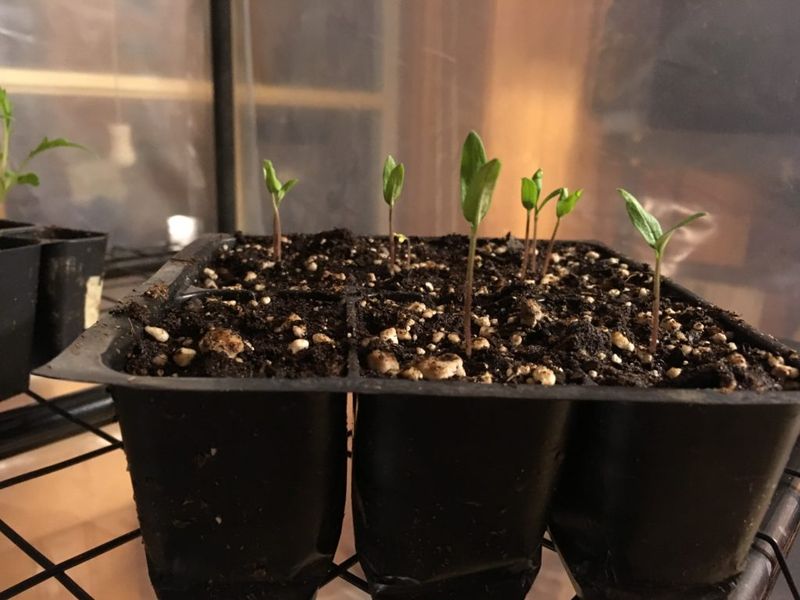
4. Plant Seeds at the Right Depth
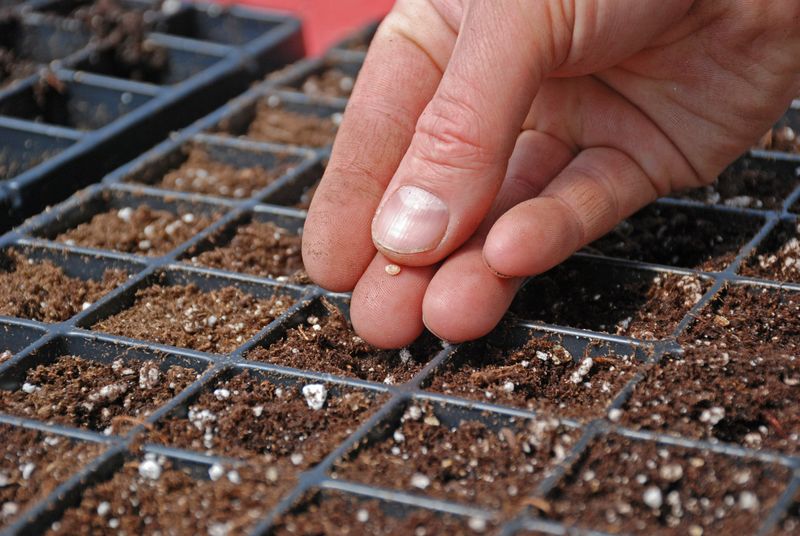
Planting seeds at the correct depth is crucial for germination. Refer to seed packets for specific depth instructions. Generally, seeds should be planted at a depth twice their width. Use a dibber or pencil for precision.
Carefully cover seeds with soil, avoiding compaction. Depth affects seedling stability and access to nutrients. Too deep planting hinders emergence, while too shallow risks drying out.
Maintaining uniform depth across containers ensures even growth. Observing these guidelines enhances germination rates, promoting strong seedlings.
5. Provide Adequate Lighting
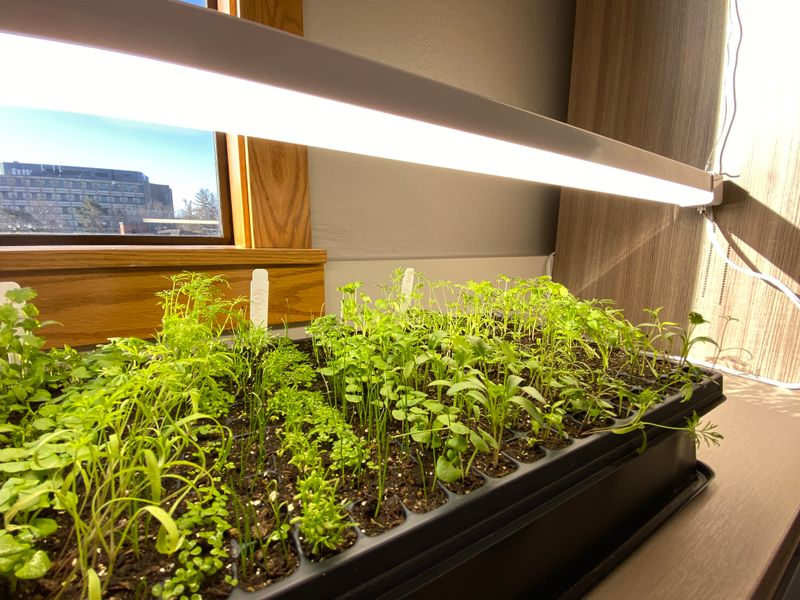
Light is essential for seedling development. Position seedlings under LED grow lights or near bright windows. Consistent lighting prevents leggy growth. Adjust height to keep lights a few inches above plants. Consider timers for automatic on-off cycles.
Supplement natural light with grow lights during cloudy days. Balance light intensity based on plant needs. Rotation of containers ensures even light exposure.
Adequate lighting fosters healthy photosynthesis, encouraging robust seedlings. This setup mimics natural conditions, preparing plants for outdoor life.
6. Regulate Temperature and Humidity
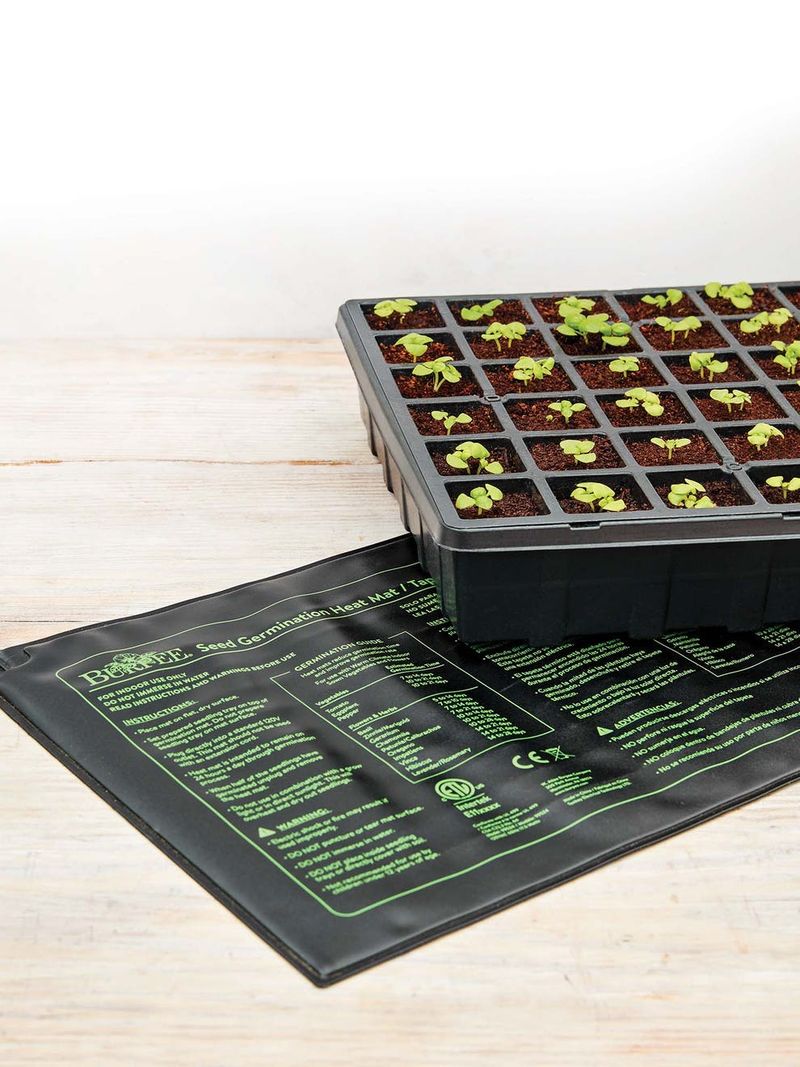
Maintaining proper temperature and humidity is vital. Most seeds germinate between 65-75°F. Use heat mats to provide consistent warmth. Monitor with a thermometer for accuracy. Humidity domes or plastic covers retain moisture, aiding germination.
Ventilation prevents mold growth. Gradually reduce humidity as seedlings mature. Adapt temperature settings for specific plant varieties. Achieving the right balance supports healthy seedlings, preventing stress.
A controlled environment imitates outdoor conditions, leading to successful indoor germination.
7. Water Wisely
Proper watering is key to thriving seedlings. Use a fine mist or small watering can to avoid soil disturbance. Keep soil consistently moist but not waterlogged. Overwatering leads to root rot, while underwatering stunts growth.
Observe soil color and weight to gauge moisture levels. Consider self-watering trays for convenience. Mulching helps retain moisture, reducing watering frequency.
Adjust watering habits as seedlings grow. Effective watering techniques nurture strong roots, supporting overall plant health.
8. Fertilize Appropriately
Fertilization boosts seedling growth. Start with a diluted, balanced liquid fertilizer. Apply once true leaves emerge. Over-fertilizing can harm seedlings, so follow package instructions carefully. Organic options provide gentle nourishment.
Gradually increase fertilizer strength as plants develop. Observe growth and adjust feeding as needed. Consider foliar feeding for quick nutrient absorption.
A well-fed seedling grows strong, ready for transplanting. Fertilization complements other care practices, optimizing plant development.
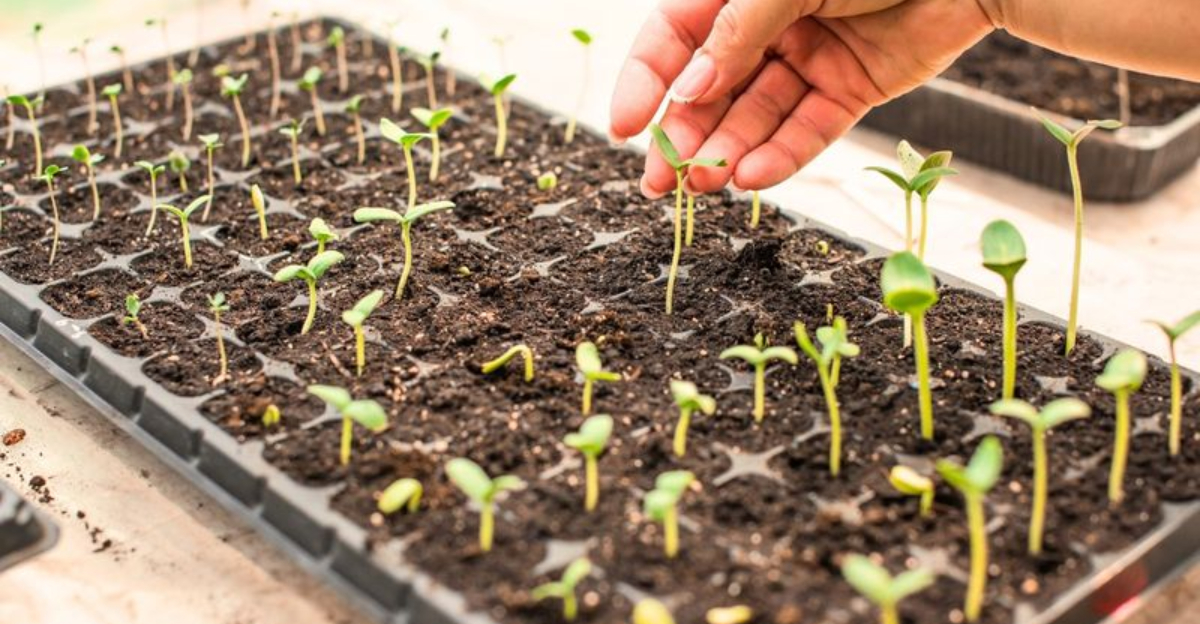
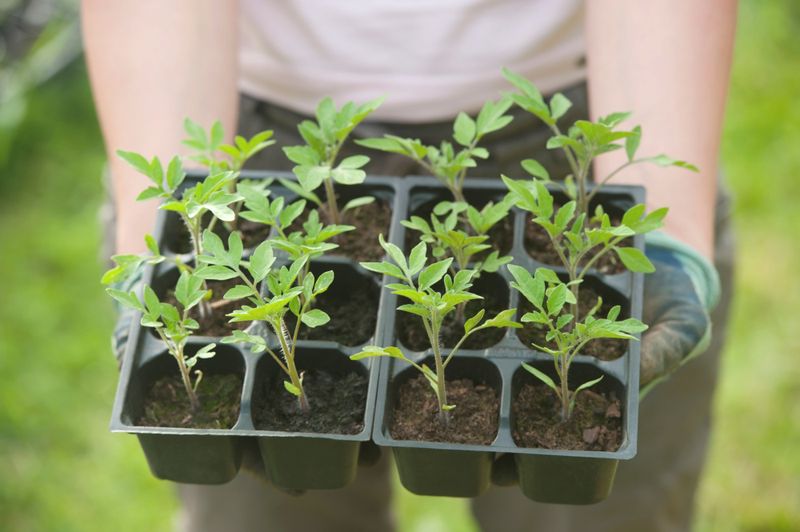
9. Thin and Transplant Seedlings
Thinning prevents overcrowding. Remove weaker seedlings, leaving space for healthy growth. Handle seedlings gently to avoid root damage. Transplant larger seedlings into bigger containers. Ensure new pots offer adequate drainage.
This process promotes stronger plants by reducing competition. Use a small trowel or spoon for careful handling. Transplanting prepares seedlings for outdoor conditions.
Gradual adaptation, or hardening off, minimizes transplant shock. This step is crucial for robust, garden-ready plants.
10. Harden Off Before Transplanting Outdoors
Hardening off acclimates seedlings to outdoor conditions. Gradually expose them to sunlight, wind, and temperature variations. Start with short outdoor periods, increasing over a week. Protect from harsh weather.
Slowly reduce watering to encourage resilience. This process strengthens seedling structure. Monitor for stress signs. Successful hardening off ensures plants adapt smoothly to the garden environment.
It readies them for transplantation, boosting survival rates. Proper acclimatization is the final step in preparing seedlings for their new home.