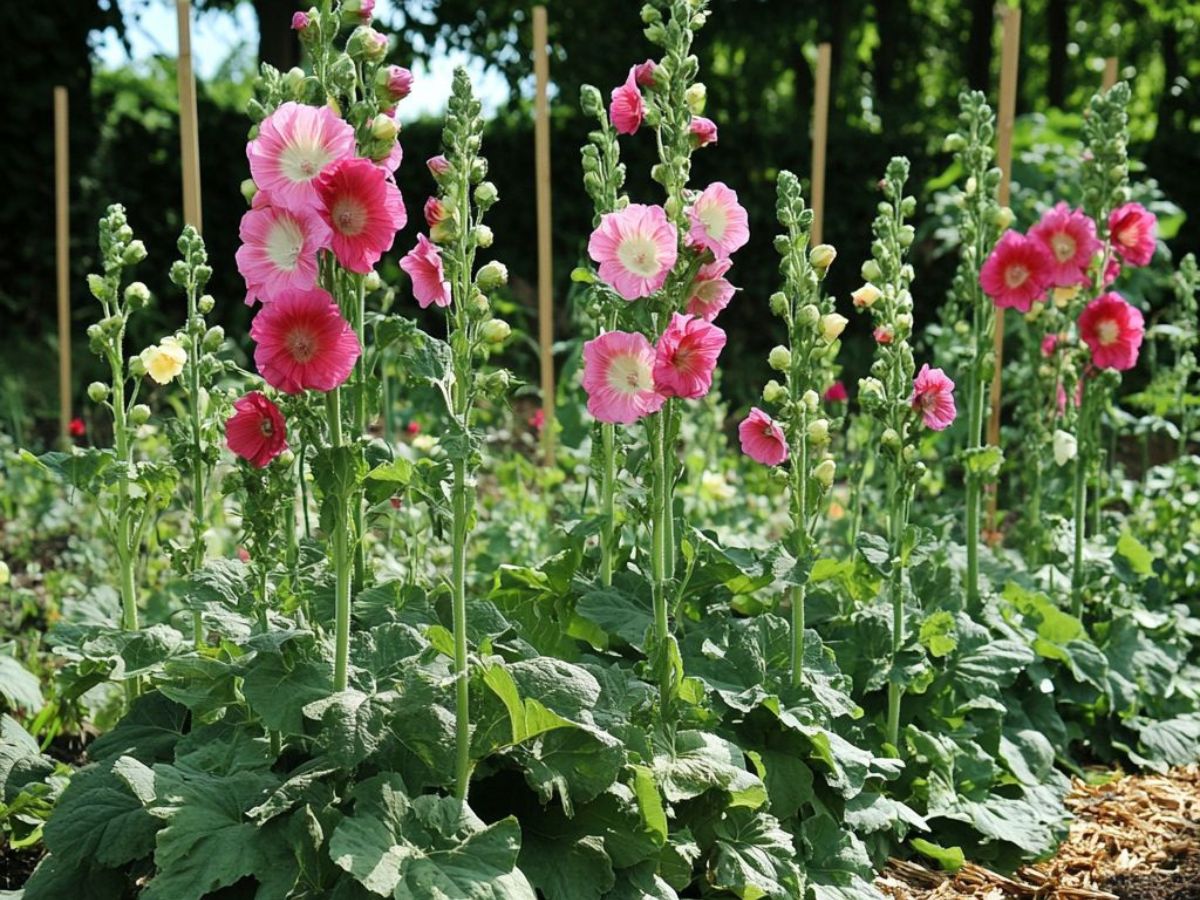
Hollyhocks are iconic garden staples known for their towering stalks, colorful blooms, and classic cottage-garden charm.
Whether you’re growing them to create a dramatic backdrop in your garden or to attract pollinators, there are several tips and tricks that can elevate your hollyhock-growing game.
In this article, we’ll explore some lesser-known hollyhock hacks that will help you grow healthier, more stunning flowers. From soil preparation to pest control, these insights will make your garden the envy of the neighborhood.
1. Start with Soak: Boost Germination with a Seed-Soaking Trick
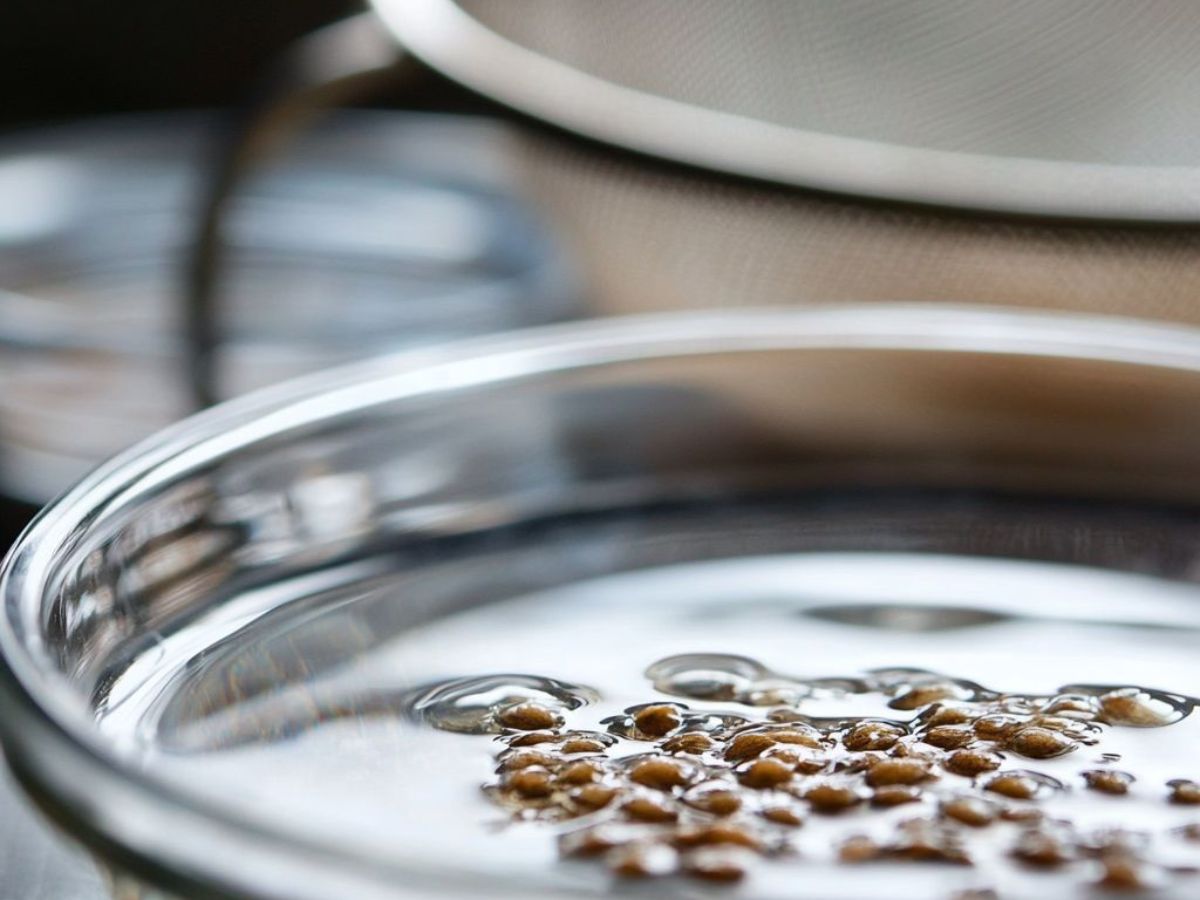
One of the simplest and most effective hacks for growing hollyhocks is to soak the seeds before planting. Hollyhock seeds have a tough outer layer, which can sometimes hinder germination.
By soaking them overnight in warm water, you can soften this coating, speeding up the sprouting process. After a soak, your seeds are primed and ready to plant either directly outdoors or in starter pots.
You’ll likely see seedlings emerge within 10 to 14 days, a quicker start compared to planting untreated seeds.
Pro Tip: Use a fine mesh strainer to scoop the seeds out of the water when you’re ready to plant. This prevents seed loss and makes the process tidy.
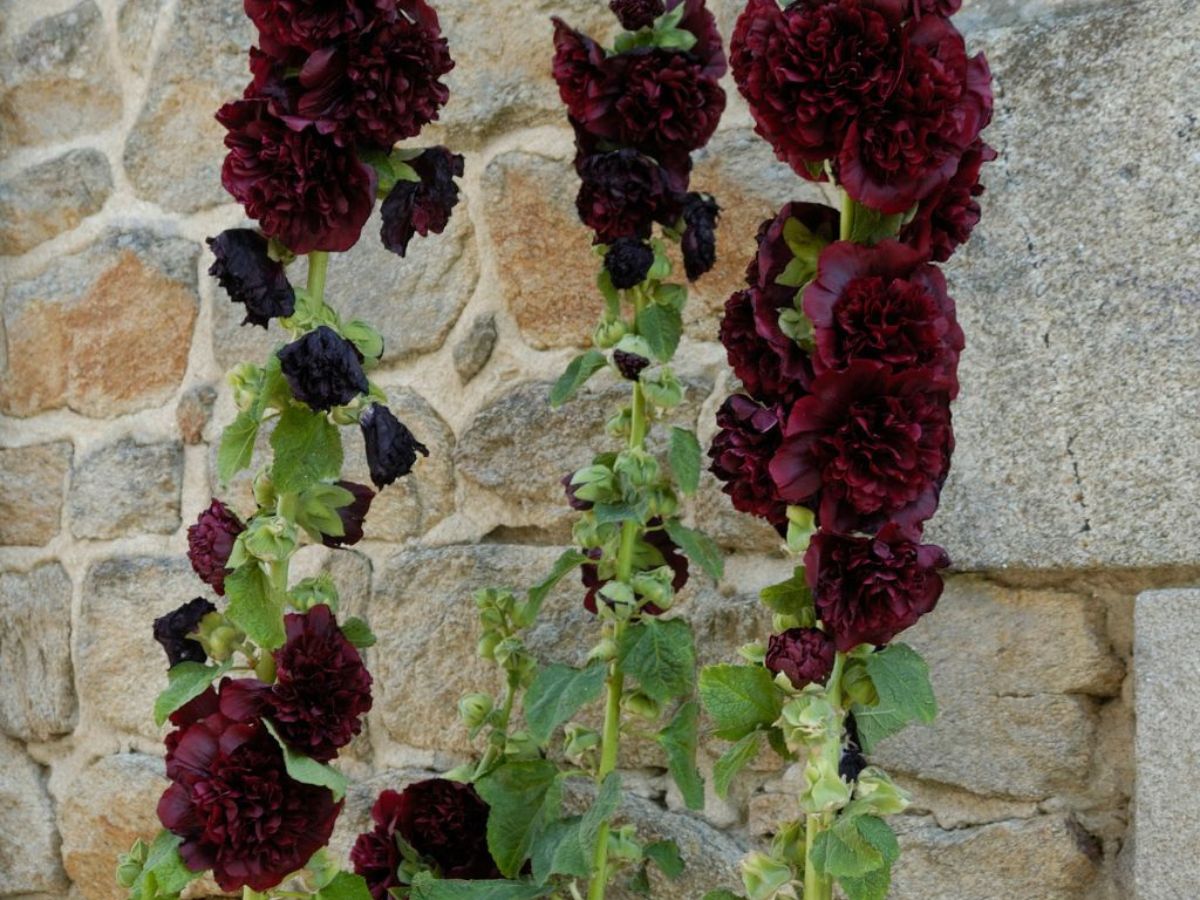
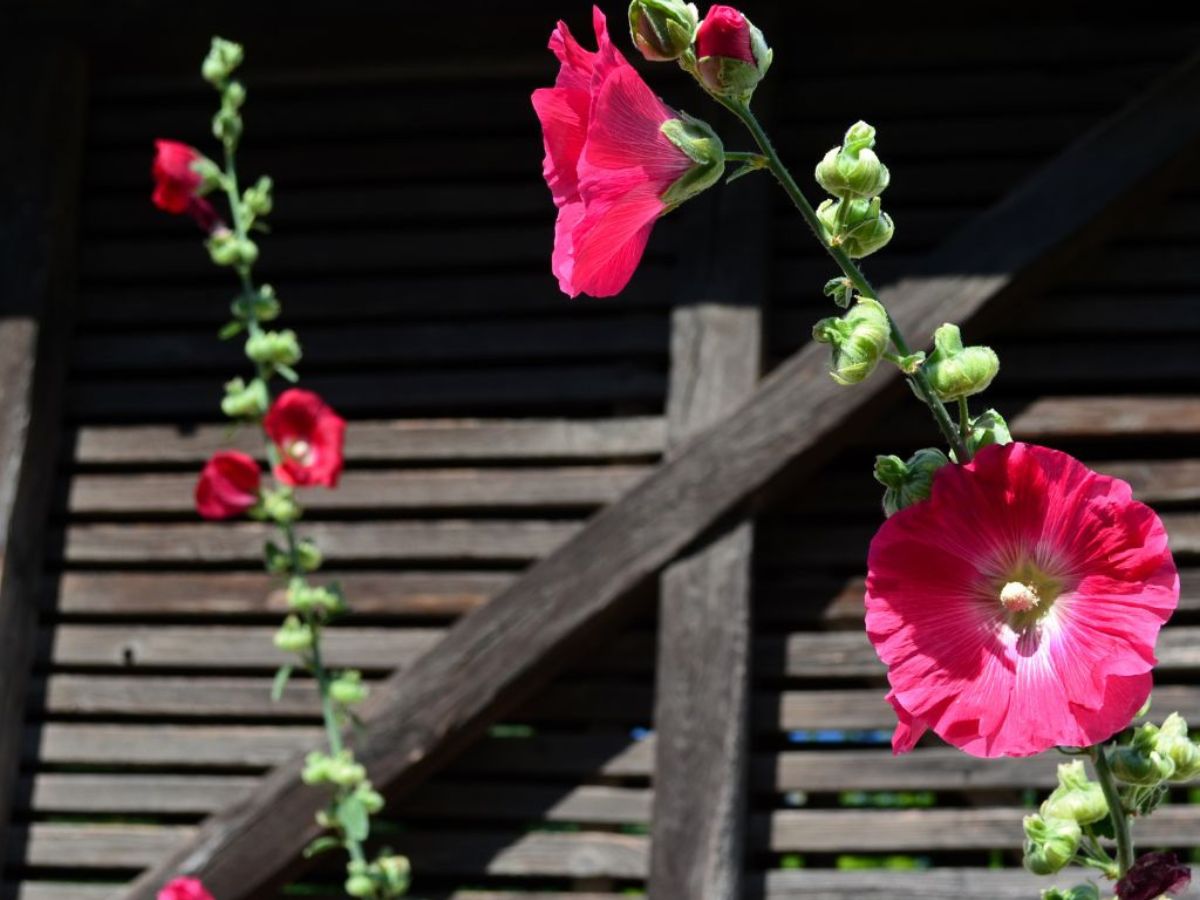
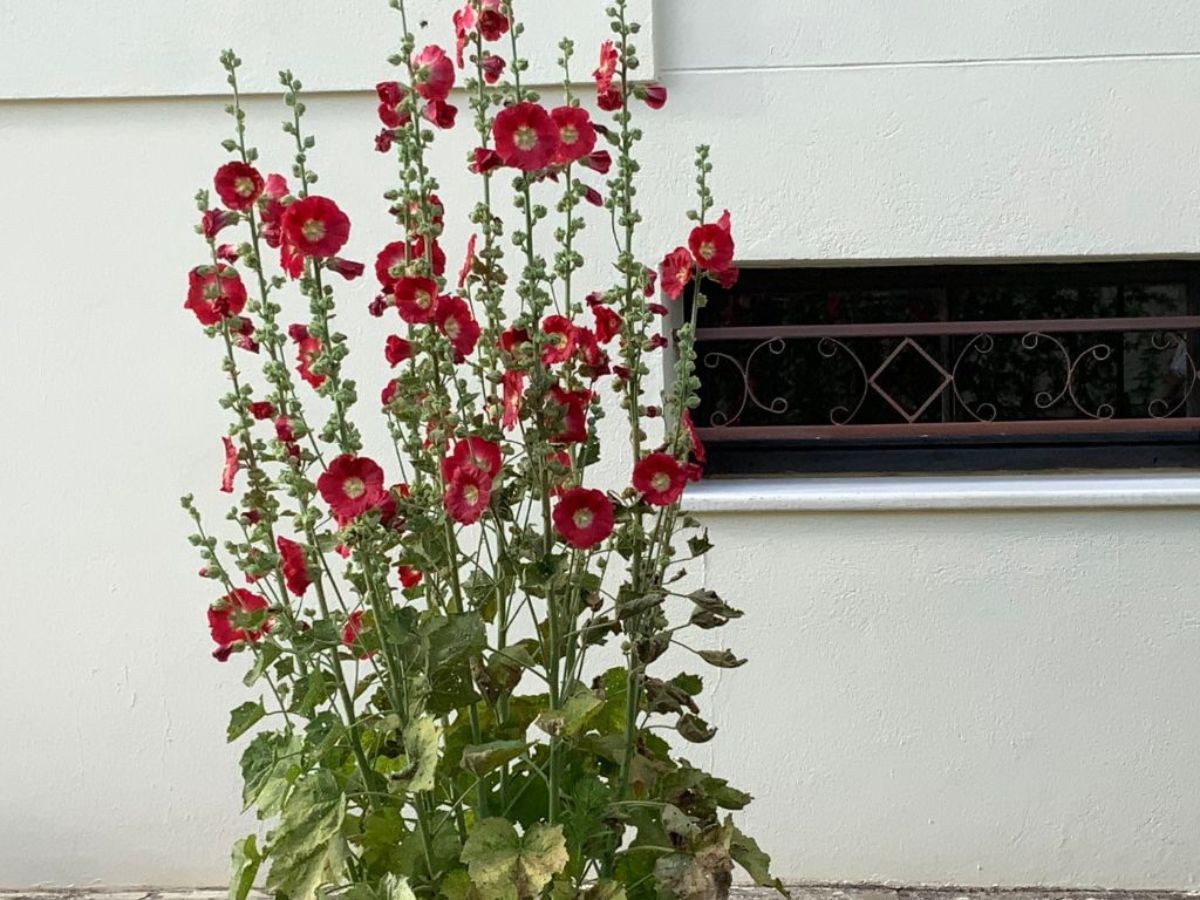
2. Strategic Placement: Shelter from Wind and Rust
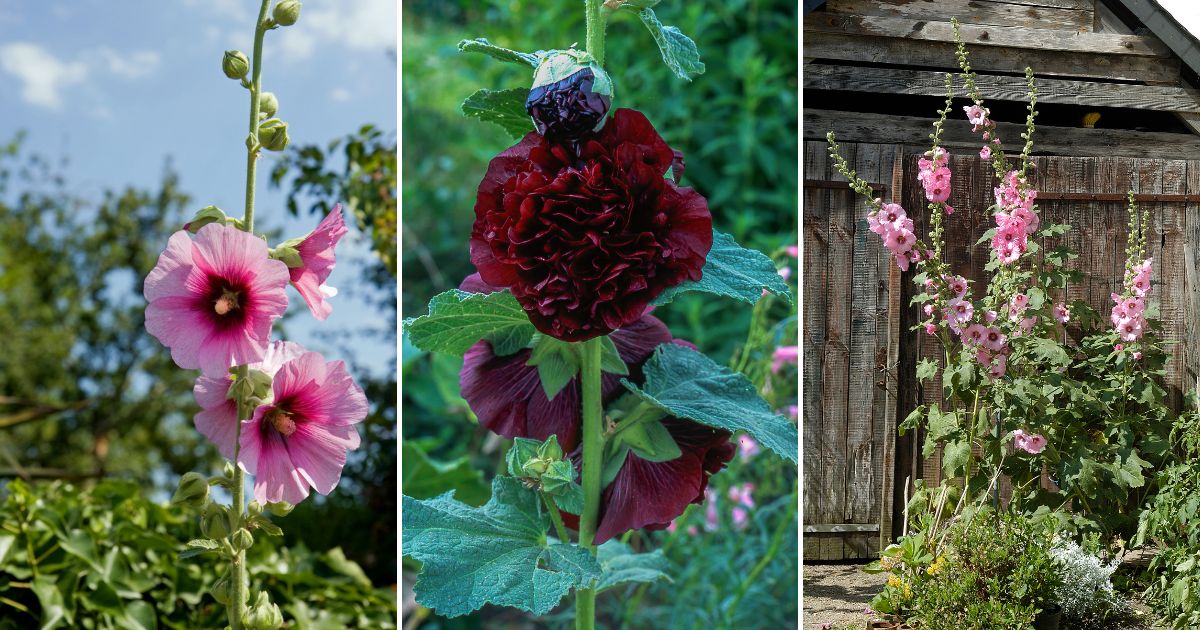
Hollyhocks can grow incredibly tall—sometimes up to 9 feet! While their height adds drama to any garden, it also makes them vulnerable to wind damage.
Additionally, the fungal disease known as “rust” (Puccinia malvacearum) can wreak havoc on hollyhock foliage, leaving unsightly orange spots. You can prevent both of these issues by planting hollyhocks along walls, fences, or other windbreaks.
These structures provide support while also helping to improve airflow around the plants, which can reduce the likelihood of rust taking hold.
Bonus Hack: If planting against a wall, leave enough space for air circulation to avoid trapping moisture, as this can exacerbate fungal problems.
3. Mulch Magic: Keep Soil Moist and Cool
Mulching your hollyhock bed can be a game-changer for both the plant’s health and your workload.
Hollyhocks need moist, well-drained soil, and mulching helps retain moisture while keeping the roots cool, especially during the heat of summer.
A layer of organic mulch (such as straw, shredded bark, or compost) not only conserves moisture but also prevents weeds from competing with your hollyhocks for nutrients.
When applying mulch, keep it a couple of inches away from the base of the stalks to ensure good airflow and reduce the risk of fungal infections like rust.
4. Deadheading for Double the Blooms
Did you know you can encourage your hollyhocks to keep blooming throughout the season by deadheading?
While many gardeners leave the blooms to self-seed, regularly removing faded flowers can stimulate the plant to produce more blooms. This easy practice extends the flowering period, allowing you to enjoy vibrant colors for longer.
Simply pinch or snip off spent blooms just below the flower head. By redirecting energy from seed production back to flower development, you’ll maximize the show-stopping impact of your hollyhocks.
Pro Tip: If you want your hollyhocks to self-seed for the following year, leave a few flowers uncut toward the end of the blooming period.
5. Go Vertical: Use Tomato Cages for Extra Support
If you live in an area with strong winds or heavy rain, your hollyhocks might benefit from some additional support.
A brilliant yet underrated hack is to use tomato cages or other vertical supports around your plants. Simply place the cages around the young hollyhocks, and as they grow, their tall stalks will be guided and supported by the cage’s structure.
This technique is particularly useful in exposed gardens, where hollyhocks are prone to being knocked over by wind or storms.
Bonus: Bamboo stakes are another affordable and natural-looking option for propping up taller hollyhock varieties.
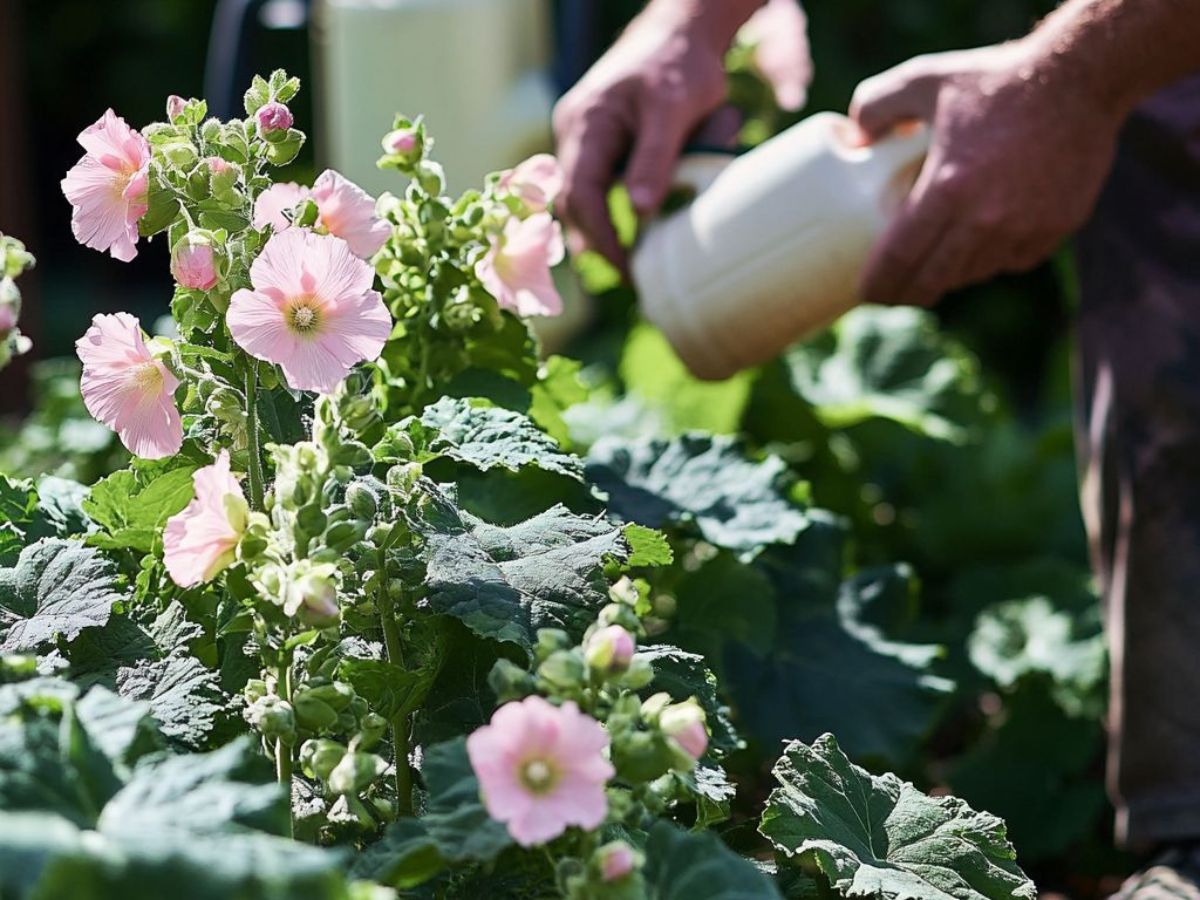
6. DIY Hollyhock Rust Remedy
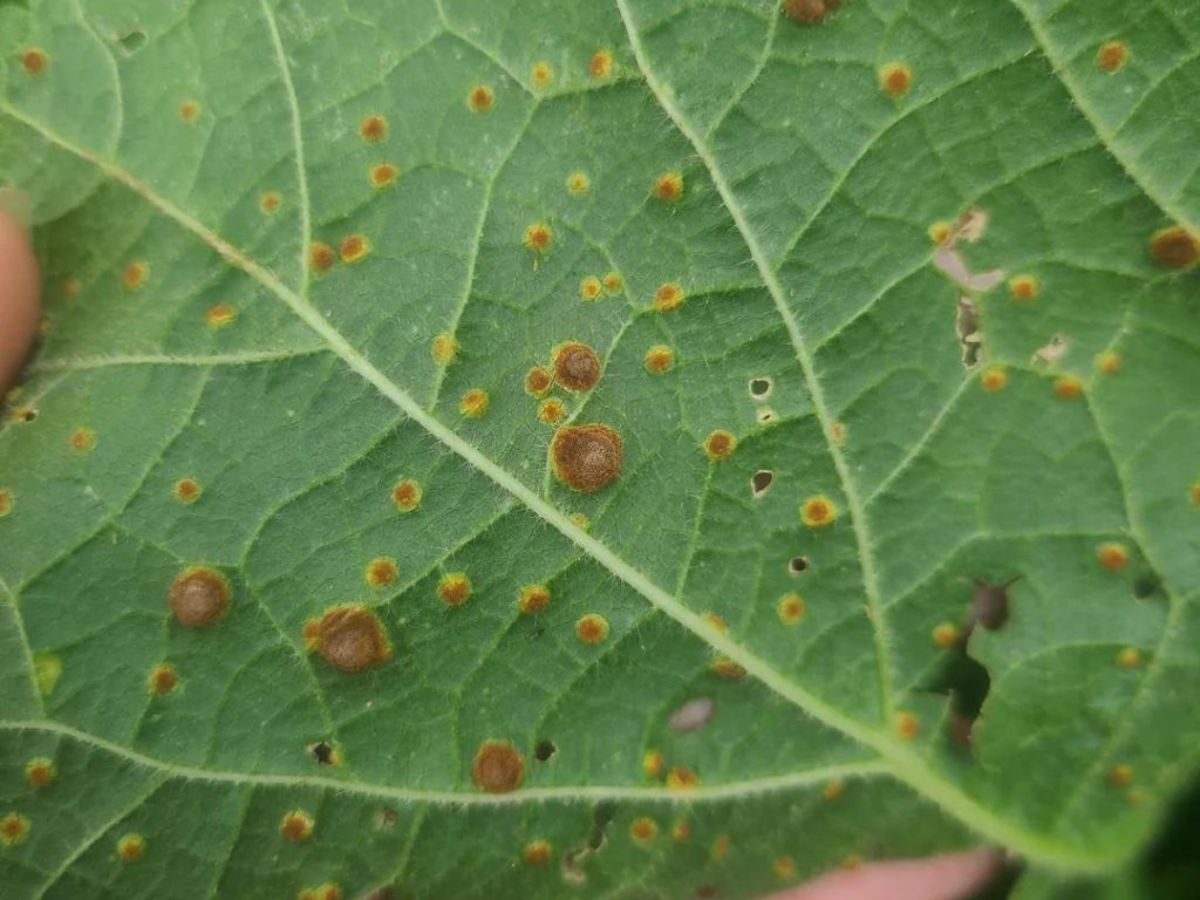
Hollyhock rust can be a gardener’s nightmare, but there’s an easy DIY solution that can help you manage and prevent this common disease.
Mix a tablespoon of baking soda with a gallon of water, and add a few drops of liquid dish soap to create a homemade fungicide spray.
Apply this mixture to your hollyhocks once a week, particularly during wet periods or if you notice any initial signs of rust (like yellow spots on the leaves).
Be sure to spray the undersides of the leaves, where rust tends to start. This natural remedy is not only effective but also safe for pollinators and the environment.
7. Trick for Growing in Containers
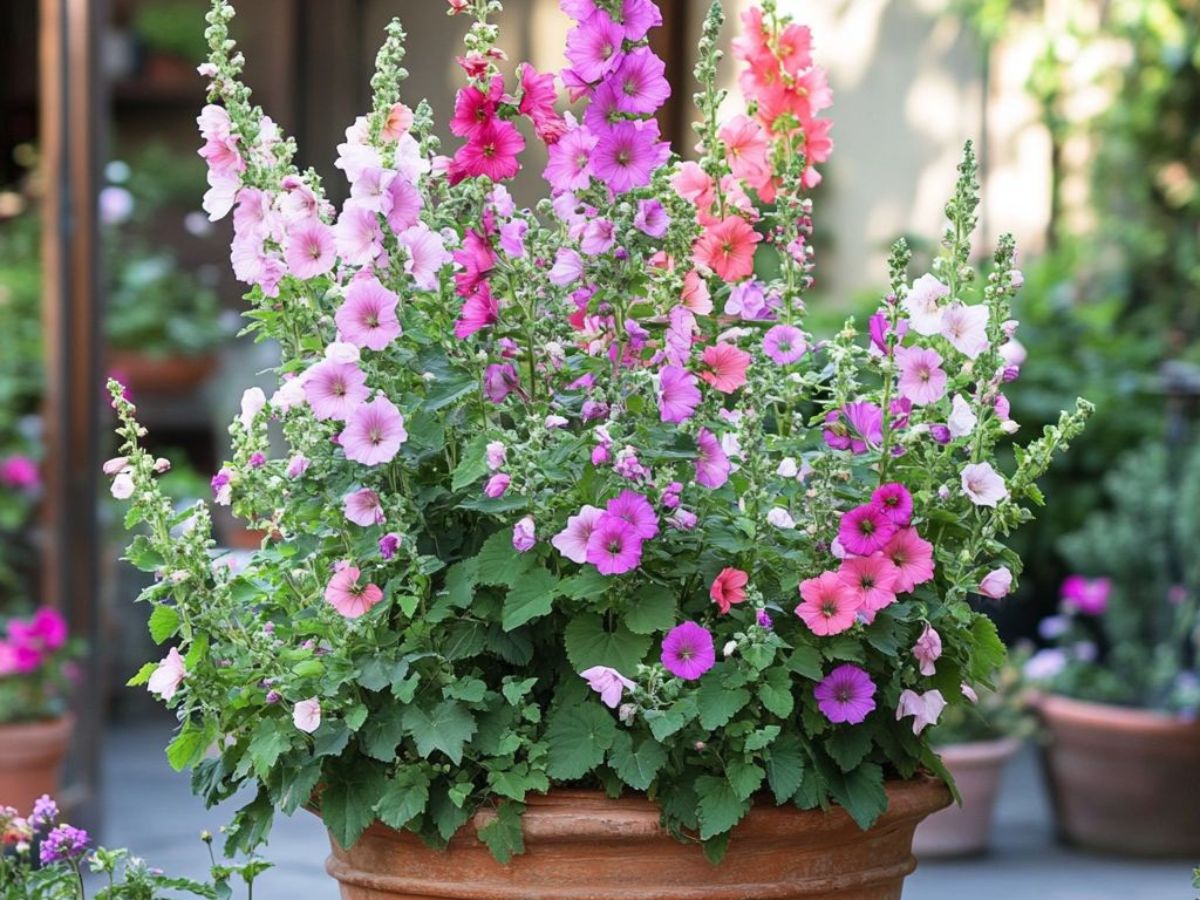
You might think that hollyhocks are only suitable for garden beds because of their size, but they can thrive in containers too—with the right preparation.
The key is choosing a deep container to accommodate the plant’s long taproot. Aim for pots that are at least 16 inches deep and wide.
Make sure the container has drainage holes and fill it with rich, well-drained soil. Hollyhocks in containers will need more frequent watering than those in the ground, as the soil dries out more quickly in pots.
Regular feeding with a balanced fertilizer will also help maintain strong growth and vibrant blooms.
Pro Tip: Container-grown hollyhocks are perfect for small patios or urban gardens where space is limited.
8. Feed Wisely: Time Your Fertilizer
Hollyhocks love rich soil, but timing your feeding is crucial for optimum bloom production.
Early in the growing season, apply a fertilizer that is high in nitrogen to promote lush, healthy foliage.
Once buds start to appear, switch to a balanced or flower-specific fertilizer that is high in phosphorus. This will encourage bigger, more abundant flowers.
Hack: Use a slow-release fertilizer at the beginning of the season to minimize the need for frequent feedings. Alternatively, a fish emulsion fertilizer works wonders and gives an organic boost to your plants.
9. Overwintering Hollyhocks: Extend Their Life
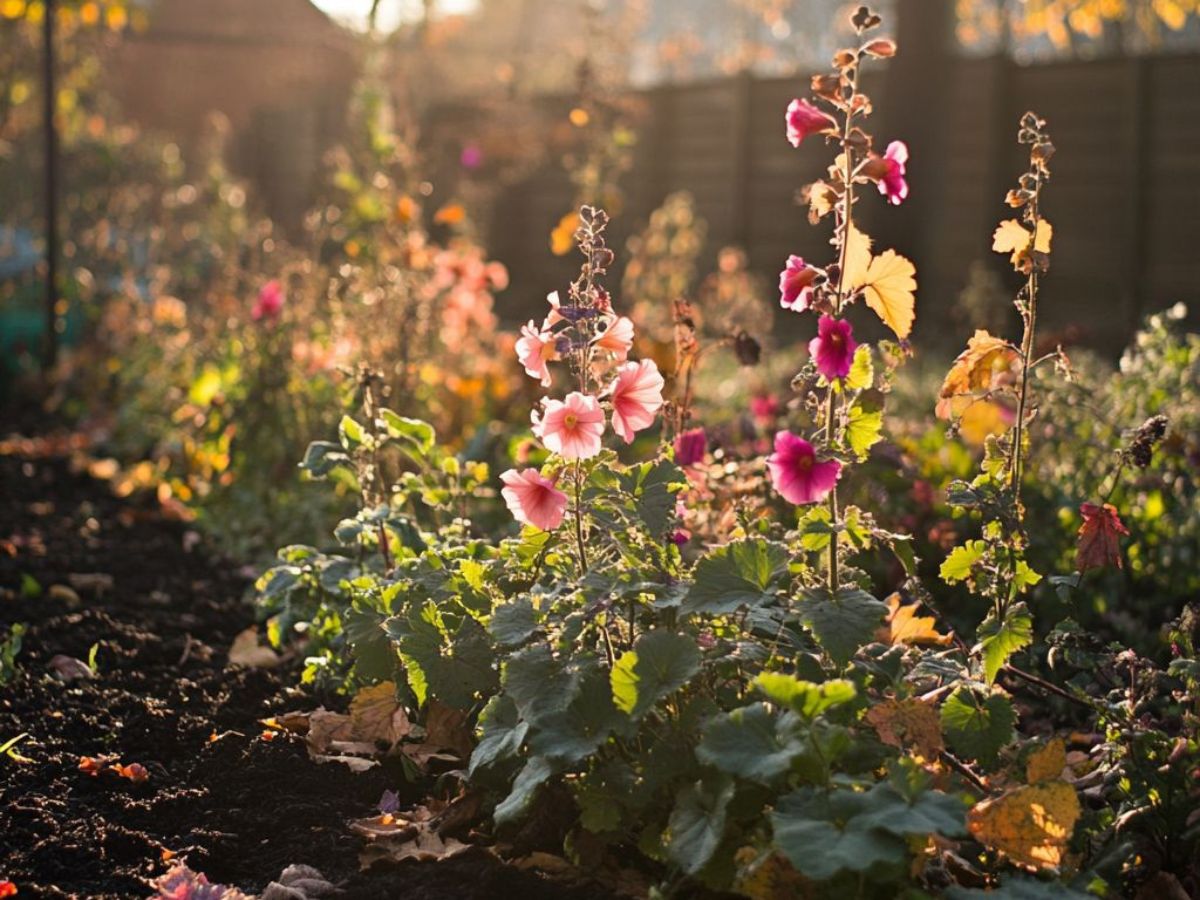
Although hollyhocks are often grown as biennials, with some care, you can coax them into behaving like perennials and keep them going for several years.
At the end of the season, cut the plant down to its base and cover the crown with a thick layer of mulch. This insulation will help protect the plant during the winter months, especially in colder climates.
Come spring, your hollyhocks will reward you with a fresh flush of growth and flowers.
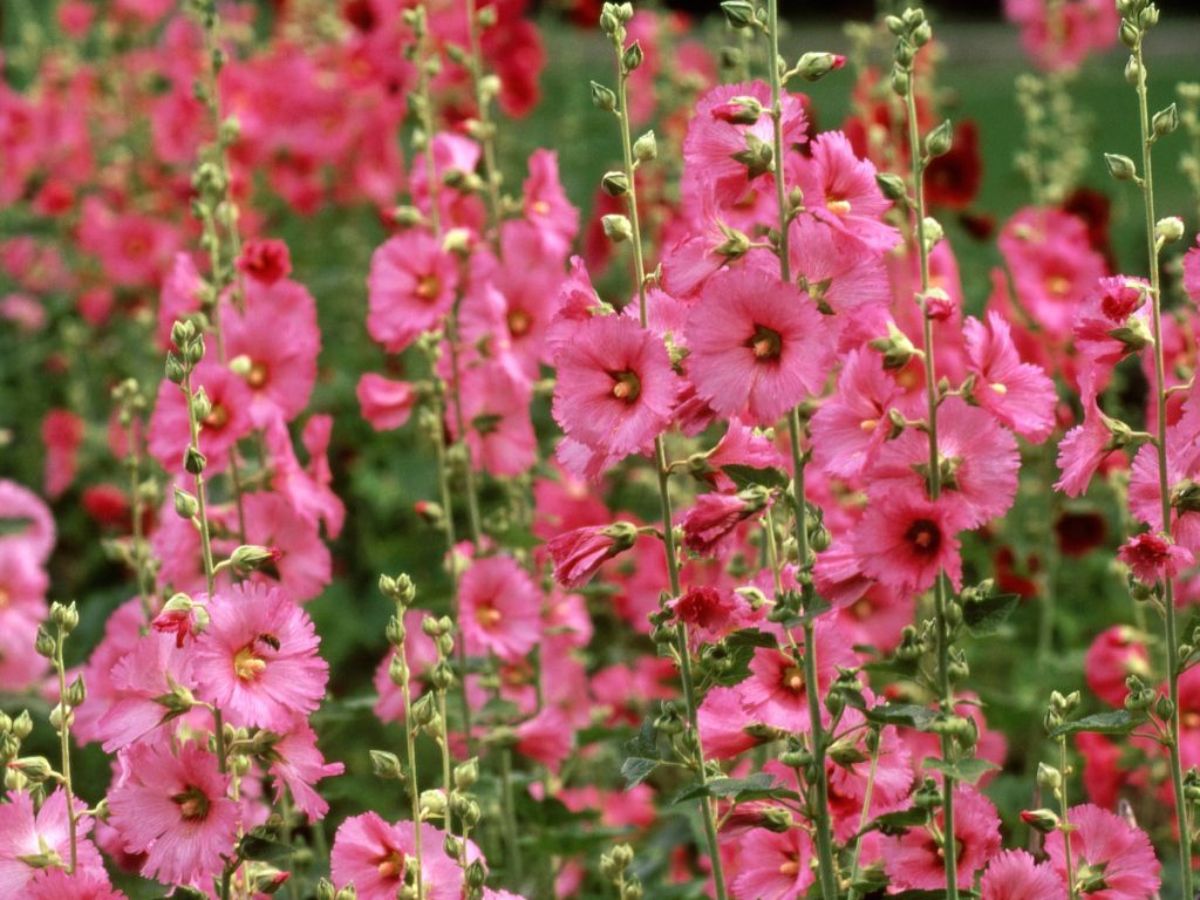
10. Encourage Pollinators with Single Blooms
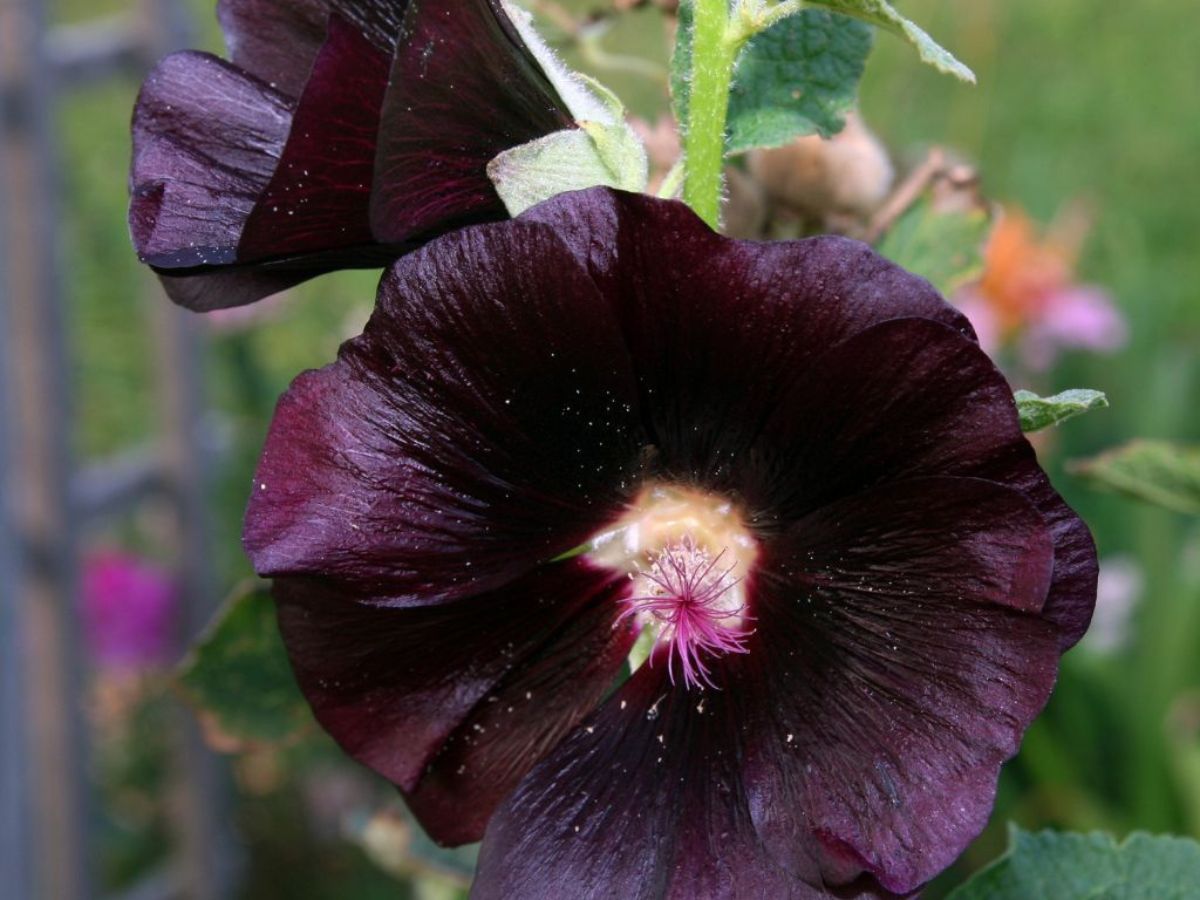
Double-flowered hollyhocks may look stunning, but they can pose a challenge for pollinators like bees and butterflies, which struggle to access the nectar. If you’re aiming to create a pollinator-friendly garden, opt for single-bloom varieties.
These not only offer easier access for pollinators but also tend to be more rust-resistant, which means less maintenance and more flowers!
Single-flowered hollyhocks, such as the ‘Halo’ series or ‘Chater’s Single,’ will bring both beauty and biodiversity to your garden.
11. Collect and Save Seeds for Next Season
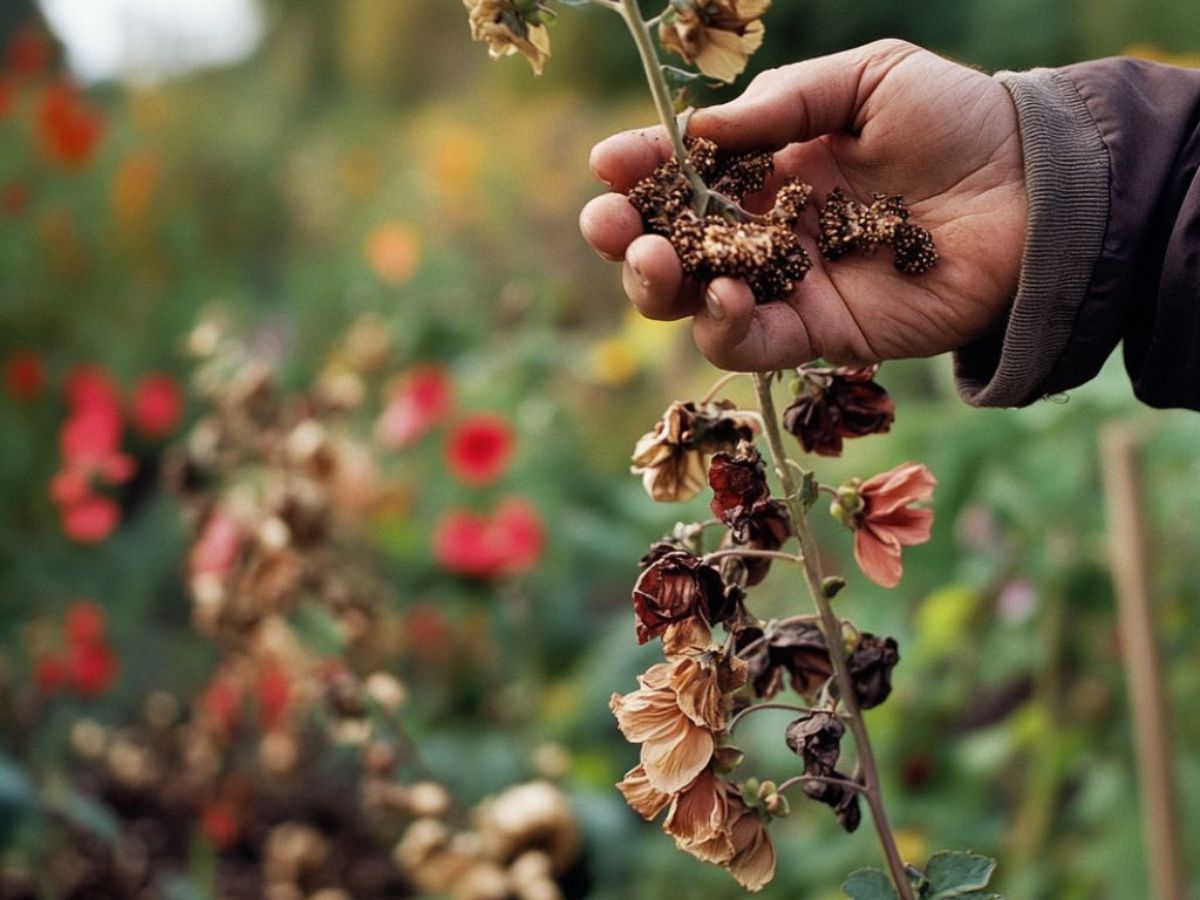
Hollyhocks are prolific self-seeders, but if you want more control over where new plants pop up, consider collecting the seeds at the end of the blooming season.
Once the flowers fade, you’ll notice seed pods forming along the stalks. Let these pods dry on the plant, then harvest the seeds by carefully cutting them off.
Store the seeds in a cool, dry place (like an envelope or jar) until you’re ready to plant them next year.
By saving your own seeds, you can grow a new crop of hollyhocks without having to purchase new plants, and you might even get some interesting hybrids if your hollyhocks cross-pollinate!
12. Divide and Conquer: Propagate via Division
If your hollyhocks are particularly vigorous, you can propagate them by division. This method works best for perennial varieties.
In early spring, dig up the plant and carefully separate the root ball into two or more sections, each with its own set of roots and stems. Replant these divisions in different areas of your garden for an instant boost of hollyhock growth.
This is an excellent hack for expanding your garden without buying new plants, and it’s a great way to refresh older hollyhock plants that may be past their prime.
With these hollyhock growing hacks, you’ll be well on your way to creating a garden full of towering blooms and buzzing pollinators.
Whether you’re looking for more flowers, better disease prevention, or a way to extend your plants’ lifespan, these tips will make your hollyhocks the talk of the town.