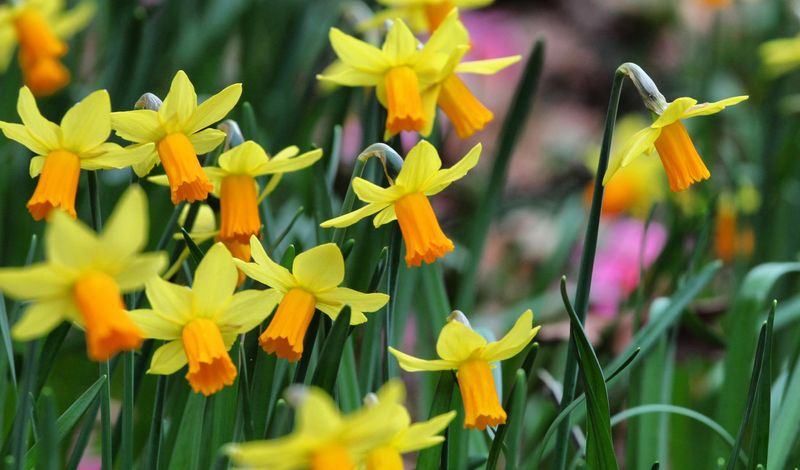
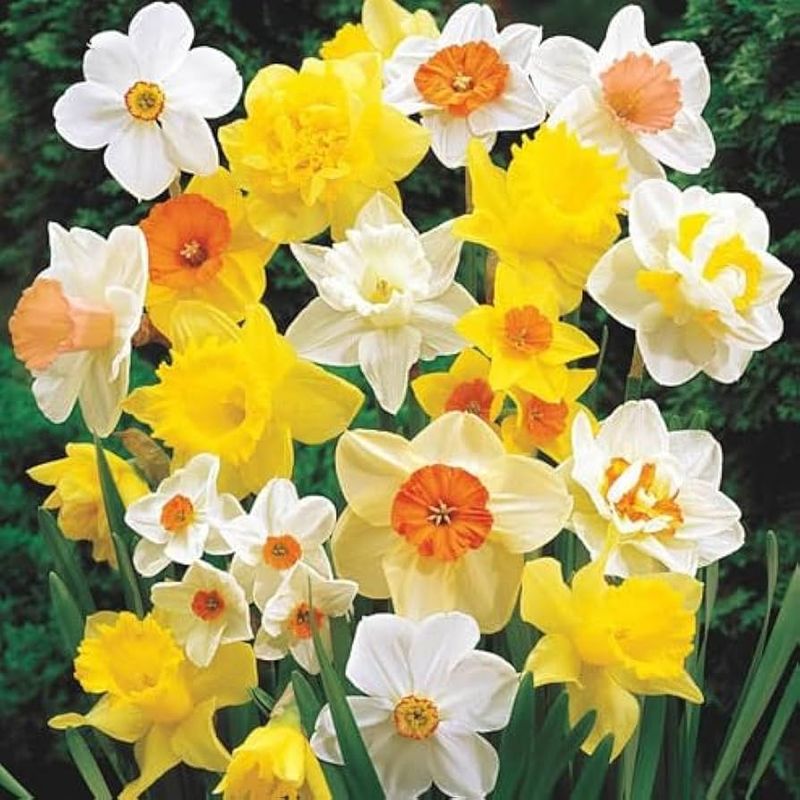
Growing daffodils from seed can be a rewarding endeavor that brings unique blooms to your garden. However, it’s not without its challenges. From planting mistakes to care tips, this guide will cover the essentials to ensure your daffodils thrive.
Patience and persistence are key, and avoiding common pitfalls can lead to stunning spring displays. With these 15 tips, you’ll be on your way to cultivating a beautiful daffodil garden.
1. Planting Seeds Too Deep

Many gardeners make the mistake of planting daffodil seeds too deep in the soil, which can hinder their growth. Daffodil seeds should be barely covered with soil to allow them to breathe and germinate effectively.
Planting too deep can lead to rot, as the seeds might not get the necessary air and light. Ensure that you’re planting at the right depth by gently pressing the seeds just under the surface of the soil.
Over time, you’ll find that this method helps the seeds sprout quicker, leading to healthier plants.
2. Expecting Blooms Too Soon
Patience is crucial when growing daffodils from seed. Many gardeners expect these flowers to bloom too soon, not realizing that it can take 5 to 7 years for daffodils to flower from seed.
This waiting period allows the plant to establish a strong root system and healthy foliage. Instead of being discouraged, focus on nurturing the seedlings with proper care.
Celebrate the steady growth and remember that the wait will lead to beautiful, unique blooms that can’t be found in store-bought varieties.
3. Overwatering or Poor Drainage
Too much water can be detrimental to daffodils, especially in their early stages. Overwatering or poor drainage can cause the seeds and young bulbs to rot, hindering growth.
It’s essential to use well-draining soil and ensure that the planting area doesn’t retain excess moisture. Regularly check the soil’s moisture level by feeling it with your fingers.
Keep the soil lightly moist but never soggy. This careful attention will promote healthy development and budding in your daffodils.
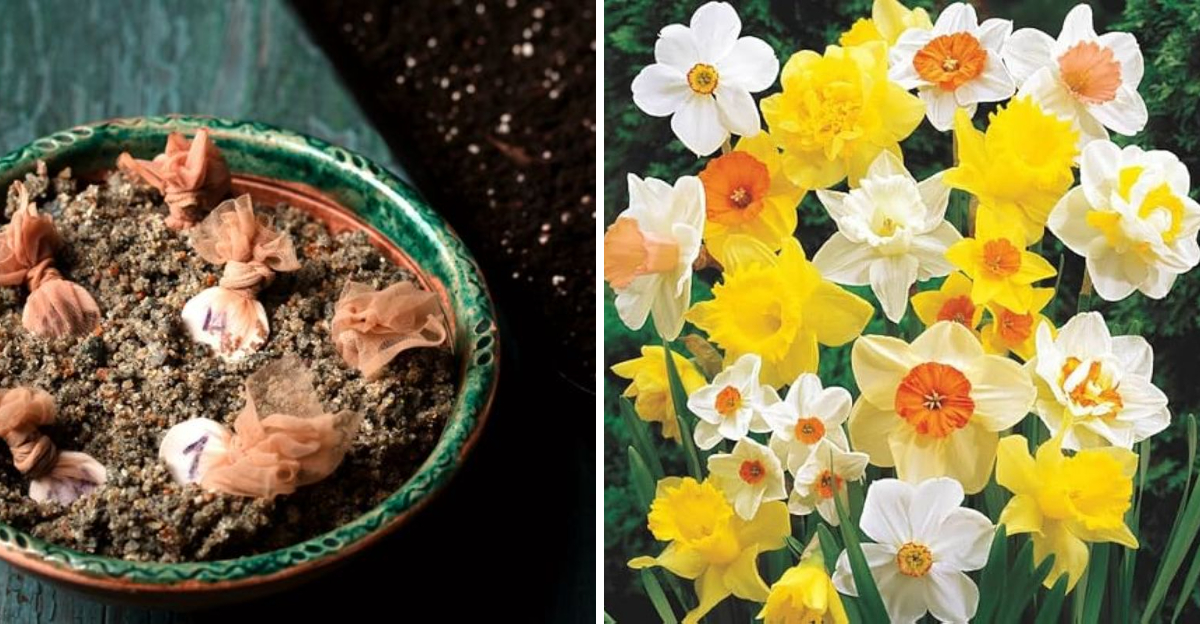
4. Skipping Winter Stratification
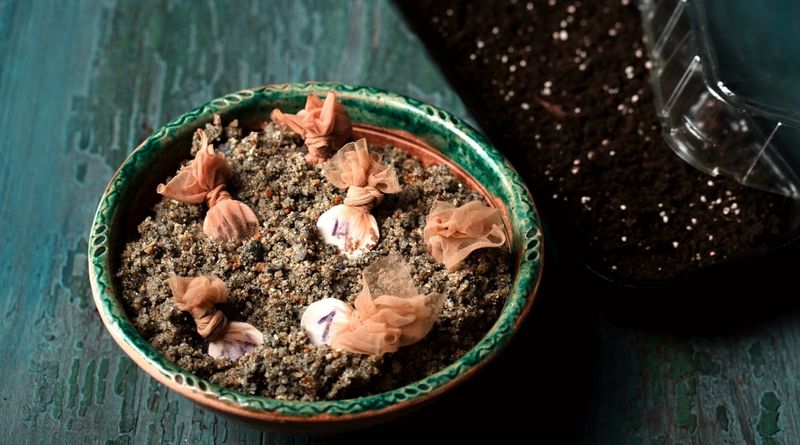
Winter stratification is a natural process that many daffodil seeds require to germinate. Skipping this step can lead to seeds remaining dormant. By mimicking a cold period, you can trigger germination and encourage growth.
Consider placing the seeds in a cold environment for a few weeks before planting. This could be an unheated garage or a refrigerator. Following this crucial step prepares the seeds for the upcoming growing season and ensures vibrant springtime blooms.
5. Neglecting Seedlings After Sprouting
Once daffodil seedlings begin to sprout, they require ongoing care and attention. Neglecting them after this stage can stunt their growth or even cause them to die.
Thinning the seedlings and providing light feeding can enhance their development and strength.
Create an environment where they receive adequate sunlight and nutrients, ensuring each seedling has enough space and resources to thrive. This diligent care will lead to robust growth and a rewarding daffodil display in the future.
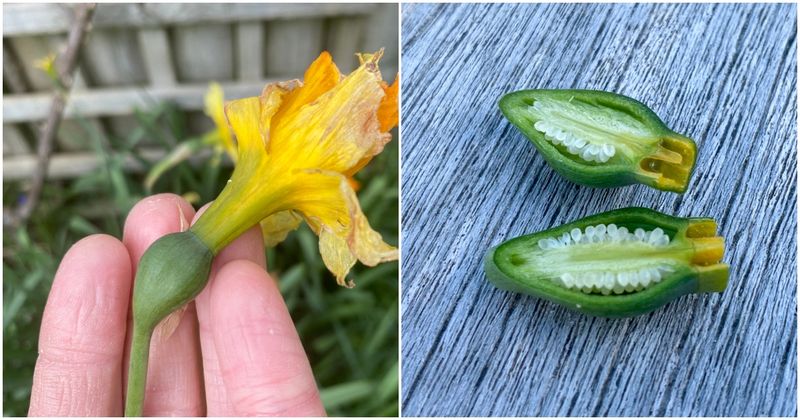
1. Collect Seeds from Healthy, Mature Pods

Ensuring that you collect seeds from healthy, mature pods is essential for successful planting. Wait until the seed heads have ripened on the plant and turned brown, as this indicates readiness for collection.
Gently harvest the seeds once the pods begin to split open naturally. This careful selection ensures that you are working with viable seeds that have the potential to grow into strong, vibrant daffodils.
This simple step can significantly influence the success of your gardening efforts.
2. Start Seeds in Deep Containers
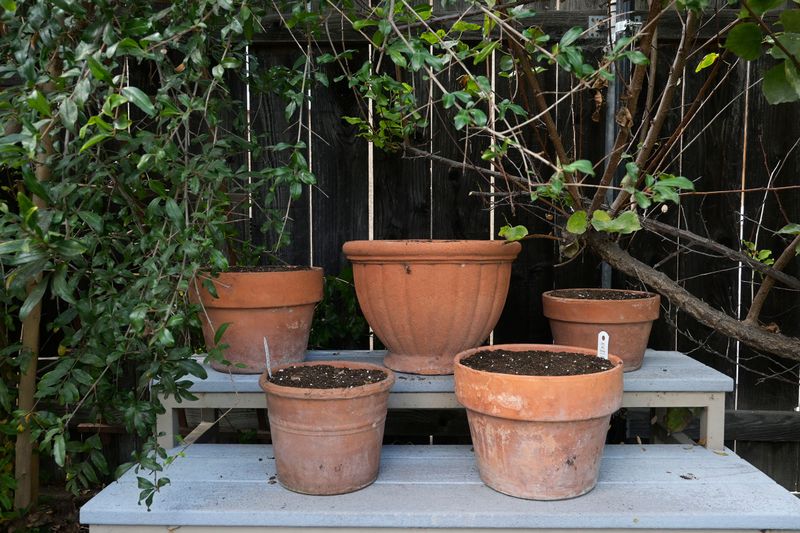
Planting daffodil seeds in deep containers allows their roots to grow long and establish themselves early on. This depth provides ample space for root development, crucial for the plant’s long-term health.
Select containers that allow for at least 6 inches of soil depth, ensuring they are filled with a well-draining mix. Properly label each container with the planting date, so you can track progress. This thoughtful planning sets the foundation for healthy daffodil plants.
3. Sow in Autumn for Best Results
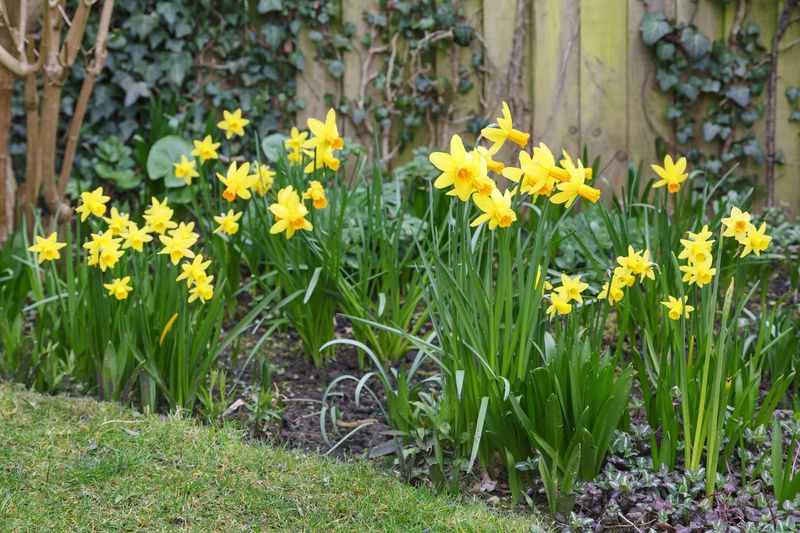
Mimicking nature’s rhythm by sowing daffodil seeds in the autumn can lead to better growth and flowering. This timing allows the seeds to experience necessary winter dormancy, preparing them for the spring.
Planting in autumn takes advantage of the natural cycle, with cooler temperatures encouraging seed development. As you plant, admire the rich autumnal colors and anticipate the coming spring blooms.
This seasonal approach aligns with the plant’s natural lifecycle, promoting healthier growth.
4. Use a Sandy, Well-Draining Mix
The right soil mix can make all the difference in growing daffodils. A sandy, well-draining mix, combined with perlite, provides the ideal environment for root development and moisture control.
By ensuring the soil has excellent drainage, you prevent the risk of rot and other issues related to excess moisture. This careful preparation results in healthier plants that can thrive throughout their growth cycle.
Enjoy the tactile experience of mixing the soil, knowing it’s a vital step toward success.
5. Label and Date Every Container
Keeping track of your daffodil seeds is crucial due to their long maturity time. By labeling and dating every container, you ensure that you can monitor progress effectively.
This organized approach prevents confusion and maintains a clear record of each plant’s journey. Consider using waterproof labels and markers to withstand the elements.
As you tend to your garden, these labels serve as helpful reminders of the care and planning you’ve invested in your daffodils.
6. Provide Light, Regular Watering

Consistent care, especially in watering, is vital for daffodil seedlings. Light and regular watering keeps the soil moist, facilitating healthy growth without causing rot.
Monitor the soil’s moisture by touching it regularly, adjusting your watering routine as necessary. This balance ensures the seedlings receive enough water to thrive without being overwhelmed.
This nurturing approach builds a strong foundation for a flourishing daffodil garden.
7. Thin Seedlings Gently
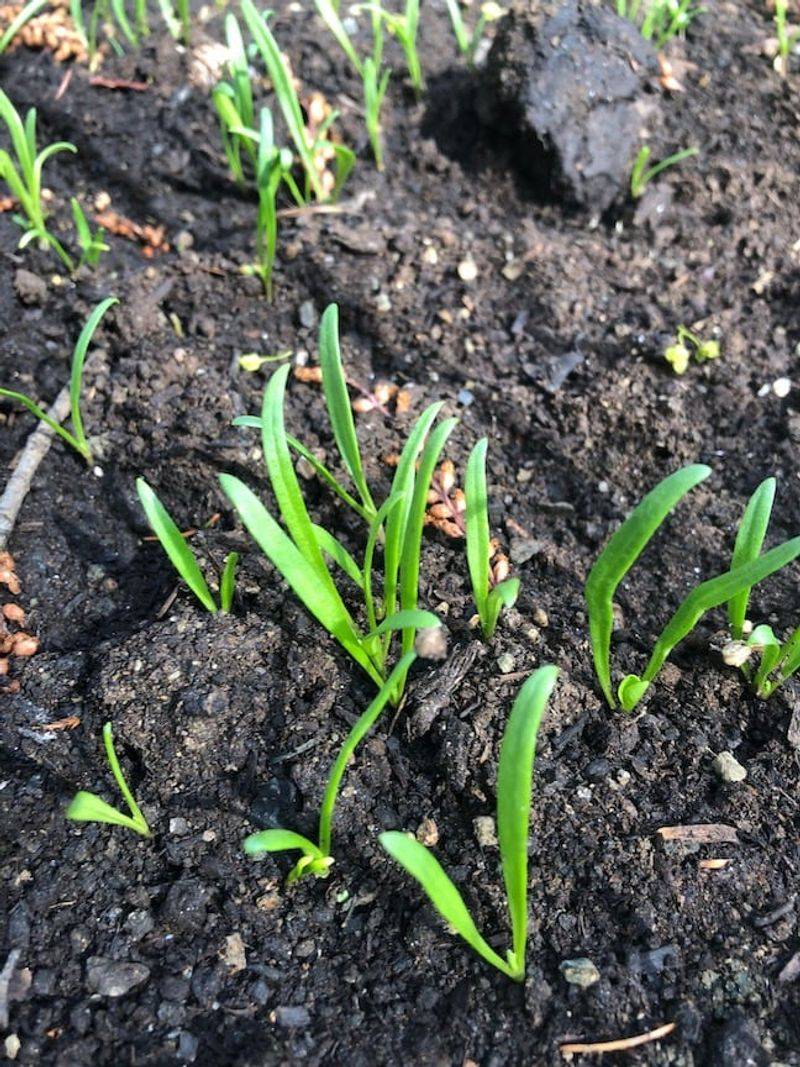
Once daffodil seedlings have sprouted, thinning them becomes essential to encourage robust growth. Crowding can limit bulb development, so gently thinning the seedlings ensures each plant has enough space.
Handle the young plants with care, removing weaker seedlings to allow the stronger ones to flourish. This delicate process can seem daunting, but it ultimately leads to a more successful garden with vibrant blooms.
8. Fertilize After Year Two
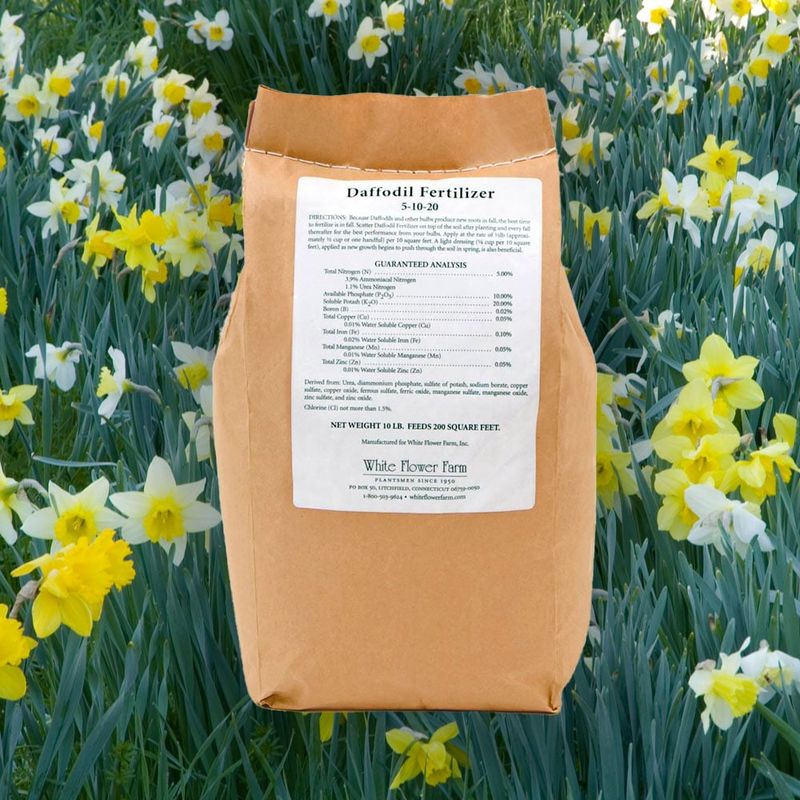
Fertilizing daffodils after their second year can significantly boost their growth. Using a balanced fertilizer provides essential nutrients that help the plants flourish. Apply the fertilizer gently and follow the recommended guidelines to avoid over-fertilizing.
This nurturing step ensures that your daffodils have the energy needed to produce stunning flowers in subsequent years, rewarding your patience and care.
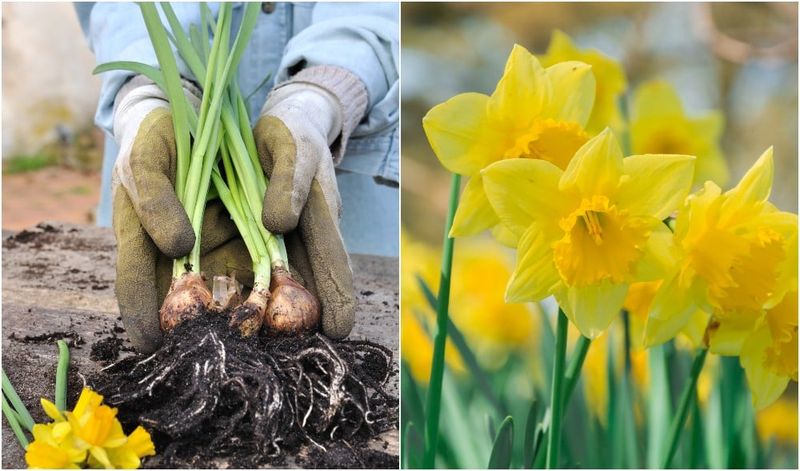
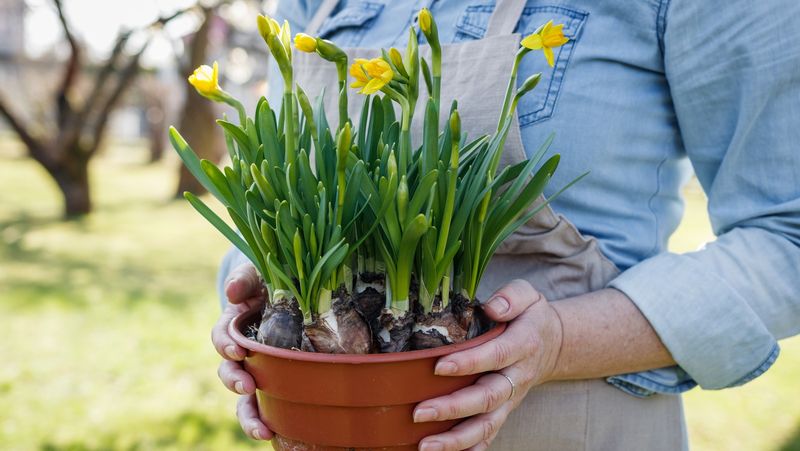
9. Transplant When Bulbs Are Marble-Sized
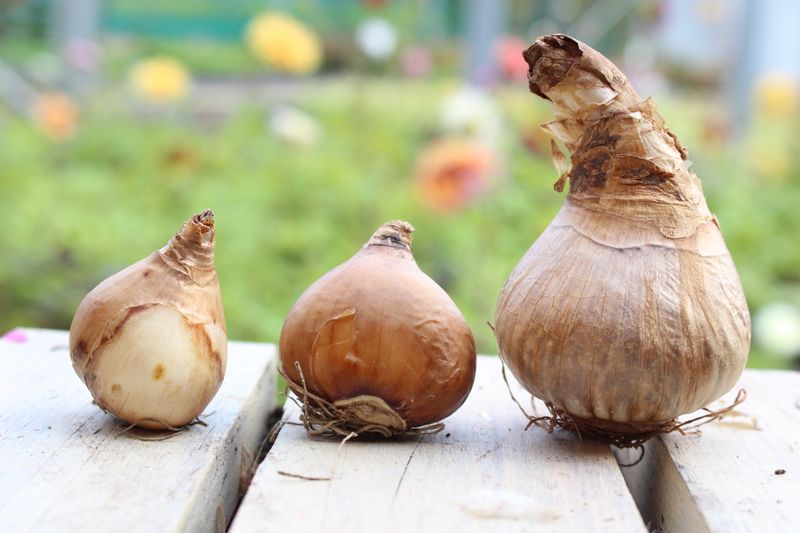
When daffodil bulbs reach the size of marbles, they are ready to be transplanted. This stage indicates that the plants have developed enough to be moved into larger pots or directly into the garden.
Choose a sunny spot with well-draining soil for transplanting. Handle the bulbs carefully, making sure they have enough room to continue growing. This thoughtful relocation paves the way for healthy, blooming daffodils in your garden.
10. Be Patient and Persistent
Growing daffodils from seed requires patience and persistence. The long wait can be challenging, but the unique, homegrown blooms are worth the effort. Each stage of growth brings new opportunities for learning and appreciation.
Enjoy the journey, knowing that your dedication will result in beautiful, one-of-a-kind flowers. The rewards of growing daffodils extend beyond the blooms themselves, offering satisfaction and a deeper connection with nature.