There’s something magical about growing your own spices at home. The fresh aroma, the sense of accomplishment, and the idea of using something you’ve nurtured from seed to kitchen make it a fulfilling endeavor.
One such rewarding spice to grow is cardamom, known for its distinctive, fragrant seeds. Imagine having fresh cardamom pods at your fingertips, ready to spice up a meal, infuse a warm cup of tea, or elevate a dessert.
And the best part? You don’t need a sprawling garden to grow it! With just a bit of effort and some handy tips, you can cultivate cardamom in pots right on your patio, balcony, or even indoors.
In this guide, we’ll walk through five easy steps to grow cardamom at home in pots, making it a fun and simple project for your space.
Step 1: Pick the Perfect Pot and Soil
Before you get started, the right foundation makes all the difference, just like in home design. When it comes to growing cardamom, the type of pot and soil you use is essential.
Choosing the Pot:
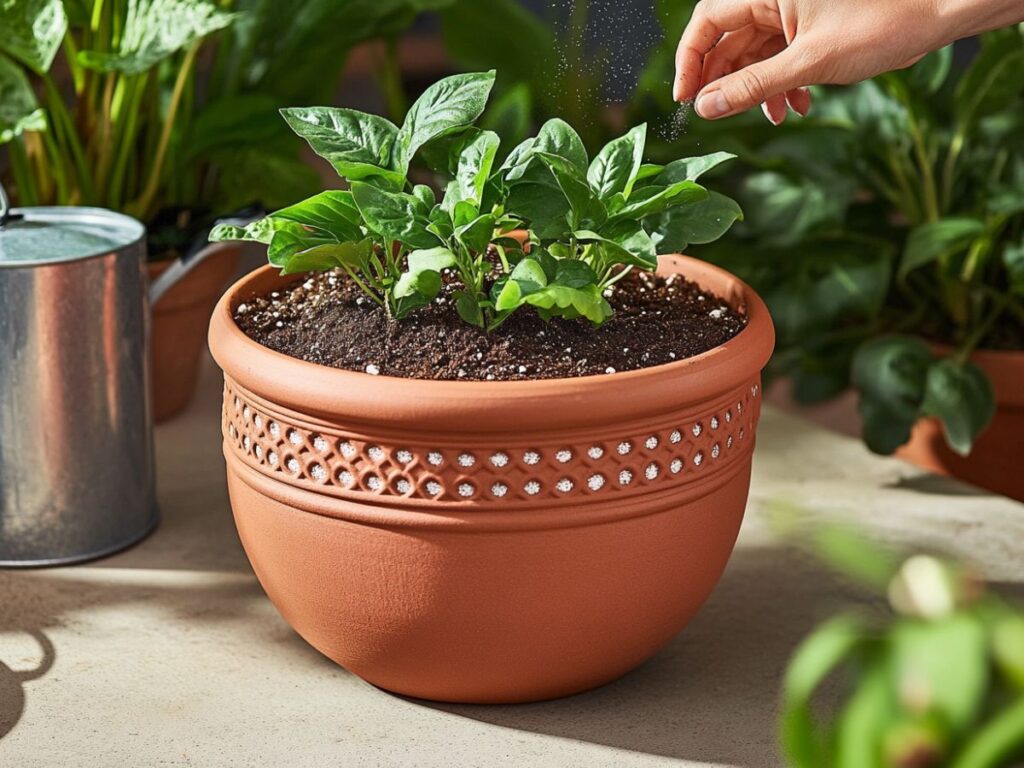
Cardamom plants need room to grow since they can get a little tall (around 2-3 feet indoors), so choose a container that’s at least 18 to 24 inches in diameter.
Drainage is key here. Make sure the pot has drainage holes to prevent water from sitting at the roots, which could lead to root rot.
Choosing the Soil:
Cardamom thrives in rich, loamy soil that’s well-draining. To create the perfect mix, combine potting soil with compost or organic matter.
This will keep the soil nutrient-rich, helping the plant grow healthy and strong. You can also add some sand or perlite for better drainage, especially if you live in a humid area.
Once your pot and soil are prepped, you’re all set to plant your cardamom seeds or seedlings!
Step 2: Starting from Seeds or Seedlings
Now that your pot and soil are ready, it’s time to start growing your cardamom plant. You have two options: starting from seed or using seedlings. Let’s break down both options.
Starting from Seed:
If you’re starting from seeds, the process is a bit slow but worth it! Cardamom seeds need warmth to germinate, so it’s best to start them indoors where you can control the temperature.
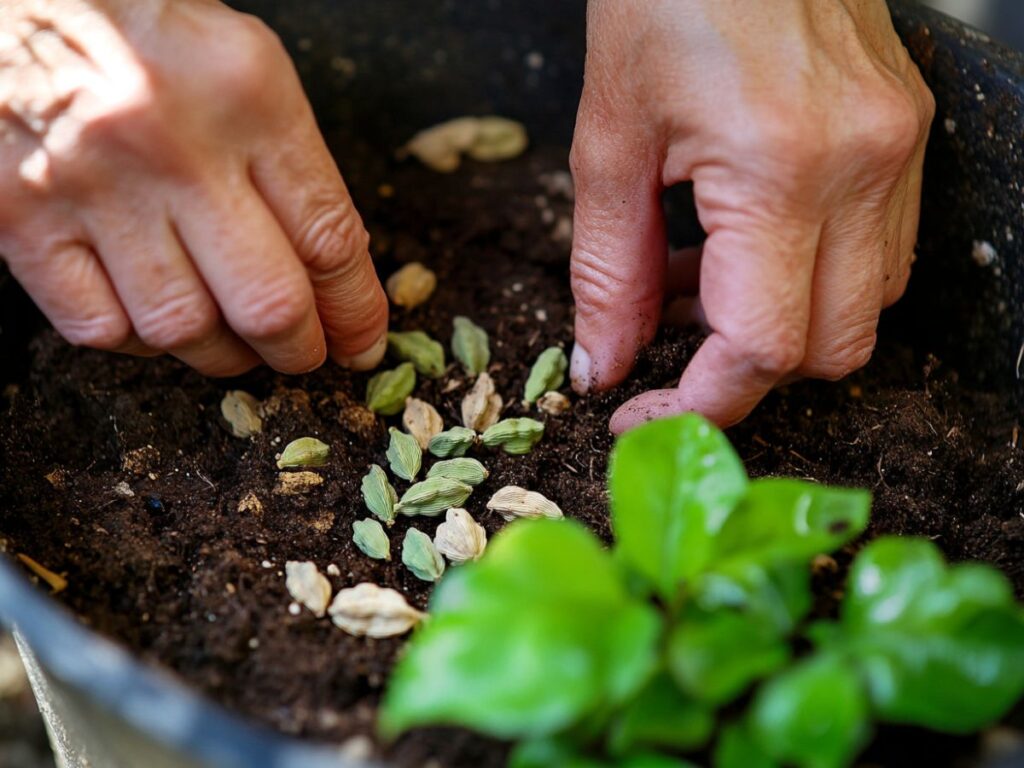
Soak the seeds in lukewarm water for 24 hours before planting to encourage faster germination. Once soaked, plant the seeds about half an inch deep in the potting soil, spacing them out to allow room for growth.
Keep the soil consistently moist (not soggy) and place the pot in a warm spot that gets indirect sunlight. Cardamom seeds can take anywhere from 30 to 45 days to sprout, so patience is key!
Using Seedlings:
If you’re short on time, using cardamom seedlings can be a quicker way to enjoy your own spice plant.
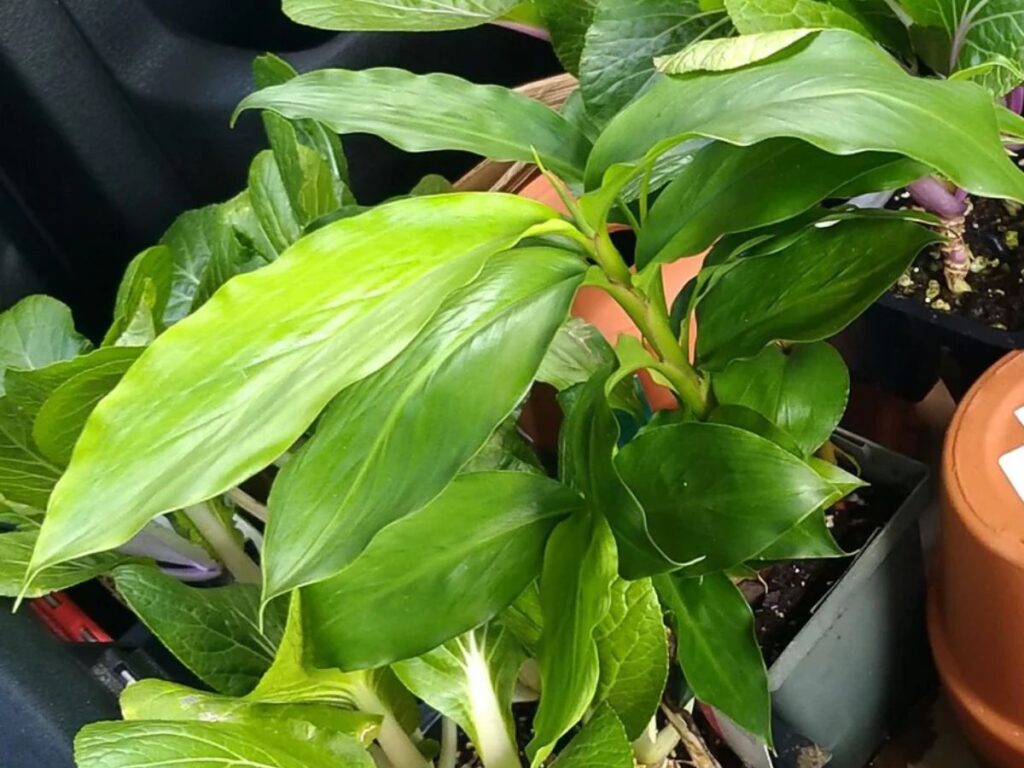
Plant the seedling in the pot, ensuring the roots are spread out and covered with soil. Water it immediately after planting, and just like with seeds, make sure it gets plenty of indirect sunlight.
Step 3: Provide Ideal Growing Conditions
Cardamom may be easy to grow in pots, but it does have specific needs to thrive. The tropical origins of the plant mean it loves warmth, humidity, and gentle sunlight. Let’s talk about how to give it the best home conditions.
Light Requirements:
Cardamom plants thrive in partial shade, so they love bright but indirect sunlight. If you’re growing the plant indoors, place the pot near a window that gets plenty of light, but avoid direct exposure to strong sunlight, which can scorch the leaves.
Temperature:
Cardamom loves warmth, so aim to keep the temperature between 65°F and 85°F. If you live in a cooler climate, consider bringing your pots indoors during the colder months or placing them in a greenhouse-like environment.
Humidity:
Humidity is essential for cardamom, as it mimics its tropical home. If you live in a dry area or are growing the plant indoors, increase humidity around the plant by misting it regularly or placing a humidifier nearby.
You can also sit the pot on a tray of water and pebbles, which will help create a humid microclimate.
Watering:
Cardamom needs consistently moist soil, but it shouldn’t be waterlogged. A good rule of thumb is to water when the top inch of soil feels dry.
During the warmer months, you may need to water more frequently, while in cooler months, reduce the watering slightly.
Step 4: Caring for Your Growing Plant
Once your cardamom plant has sprouted and established roots, the fun really begins! This is the time to focus on maintaining healthy growth, which will eventually lead to those prized aromatic pods.
Fertilizing:
Cardamom is a heavy feeder, meaning it loves rich, nutrient-dense soil. During the growing season (spring and summer), feed your plant every month with a balanced liquid fertilizer or a slow-release organic fertilizer.
This will encourage lush growth and help the plant produce its famous pods.
Pruning and Maintenance:
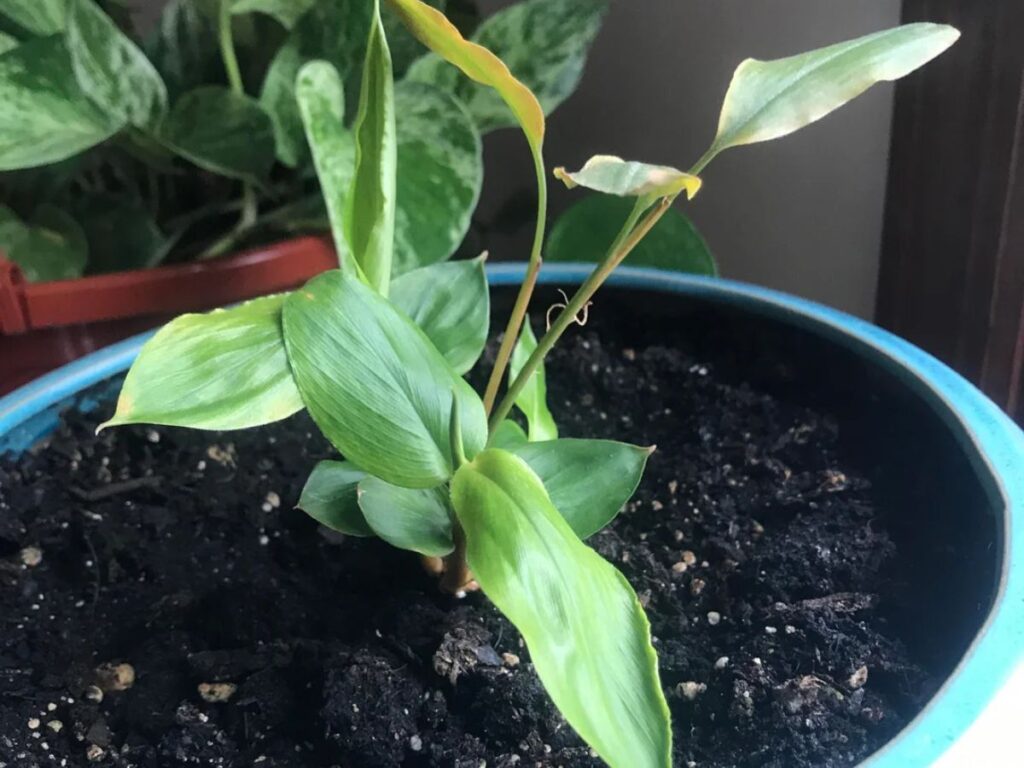
As your plant grows, it’s essential to keep an eye on its shape and health. Remove any yellow or damaged leaves to encourage new growth and ensure the plant stays healthy.
Pruning also helps improve air circulation around the plant, reducing the risk of fungal infections.
If your plant is thriving and outgrowing its pot, don’t hesitate to repot it into a larger container. When doing so, gently loosen the roots and refresh the soil with nutrient-rich compost.
Step 5: Harvesting and Enjoying Your Cardamom
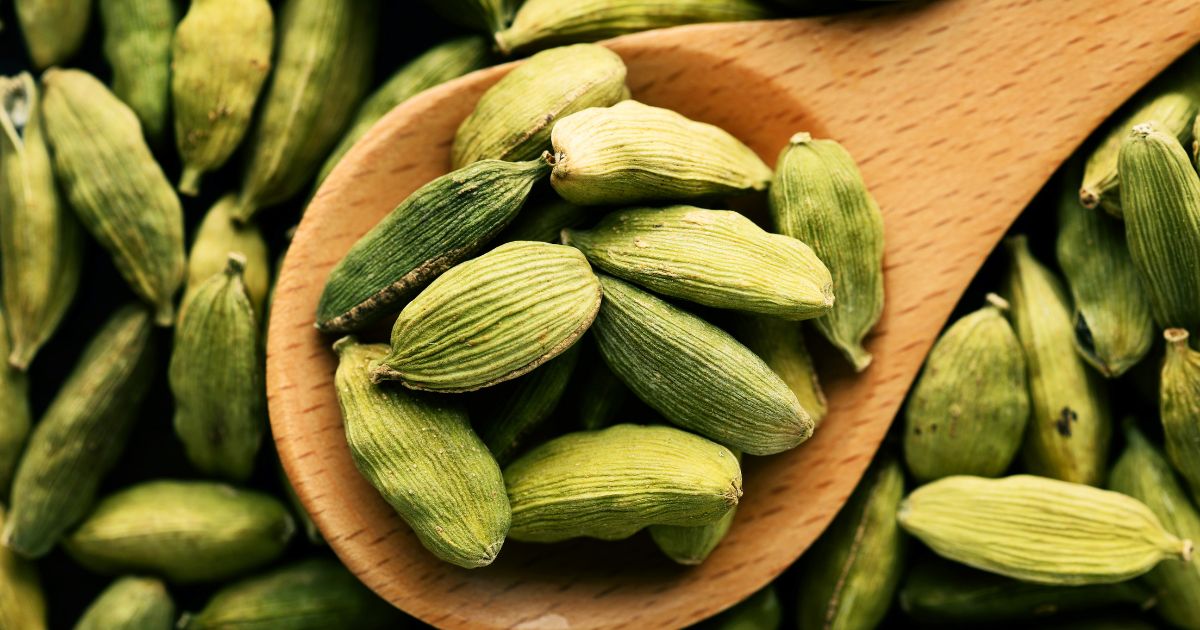
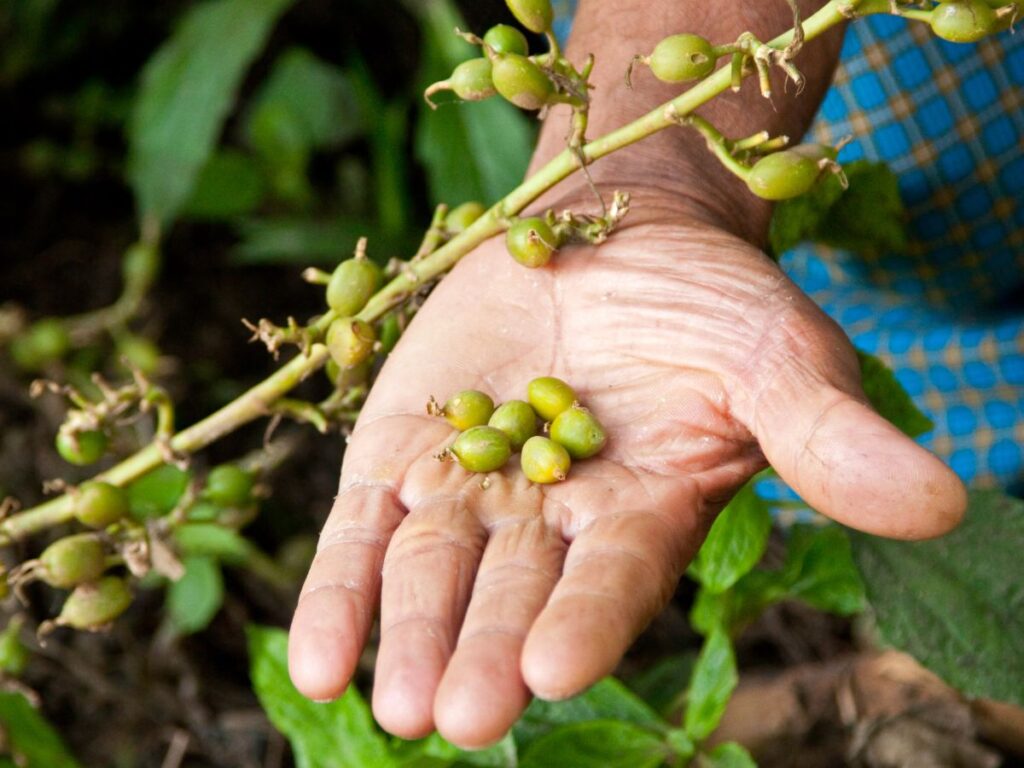
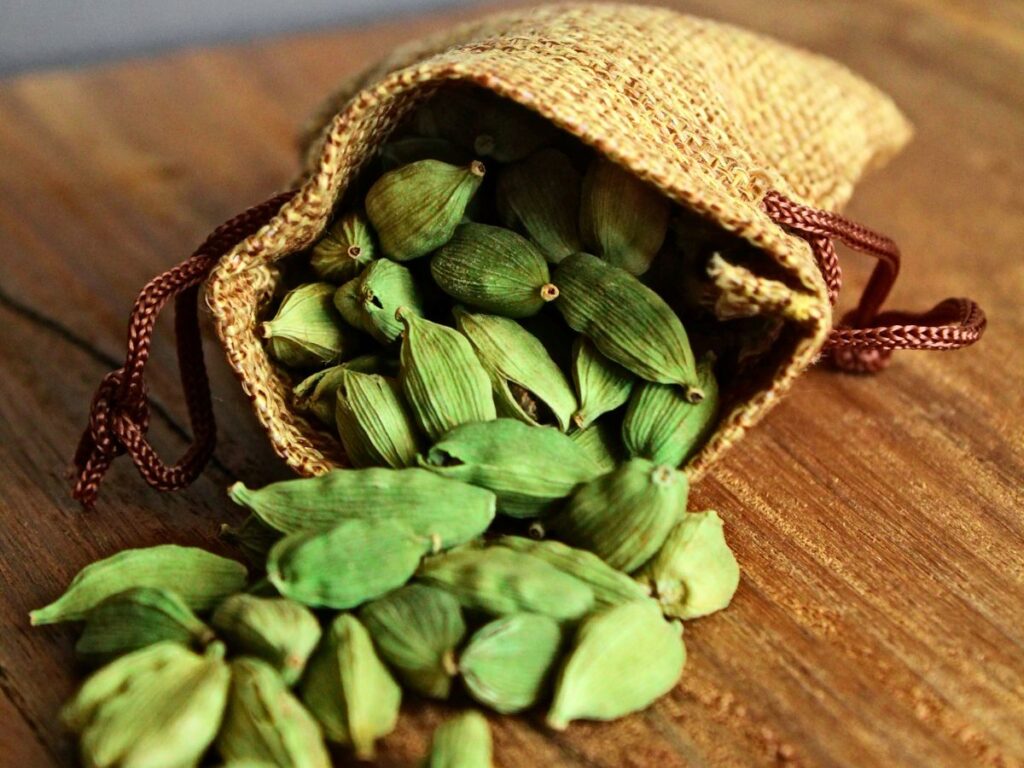
After months of care, your cardamom plant will begin producing small, oval-shaped pods that house the aromatic seeds. Harvesting these pods is the reward for your patience and hard work.
When to Harvest:
Cardamom plants typically take 2-3 years to start producing pods, so while you may not see a harvest right away, the wait is well worth it.
Once the plant begins flowering, it will produce pods. The best time to harvest is when the pods turn light green, just before they fully ripen.
How to Harvest:
Use a pair of sharp scissors or garden shears to carefully snip off the pods from the plant. Be gentle, as you don’t want to damage the plant or disturb other pods that may not be ready yet.
After harvesting, you can dry the pods by laying them out in a single layer in a warm, dry area. Once dried, the pods can be stored in an airtight container, and the seeds can be ground or used whole, depending on your recipe.
Bonus Tip: Keep Growing Year After Year
One of the best things about growing cardamom at home is that it’s a perennial plant, meaning it will come back year after year if properly cared for.
With the right environment, your cardamom plant can live for several years, providing you with fresh cardamom for many harvests to come.
To keep your plant healthy and productive, give it a little extra care during the off-season.
Reduce watering in the winter, prune any old or damaged foliage, and if necessary, bring it indoors if temperatures drop.
Growing cardamom in pots at home may seem like a challenge, but it’s truly an easy and rewarding process with a bit of patience and the right conditions.
From picking the perfect pot to nurturing the plant and eventually harvesting those aromatic pods, it’s a fun project that brings a touch of the exotic into your everyday life.
Plus, there’s nothing quite like the feeling of adding homegrown spices to your favorite dishes.
So, why not start your own cardamom-growing journey? With these five easy steps, you’ll be on your way to creating a fragrant, beautiful plant that not only spices up your meals but also adds a lovely touch of greenery to your space.
