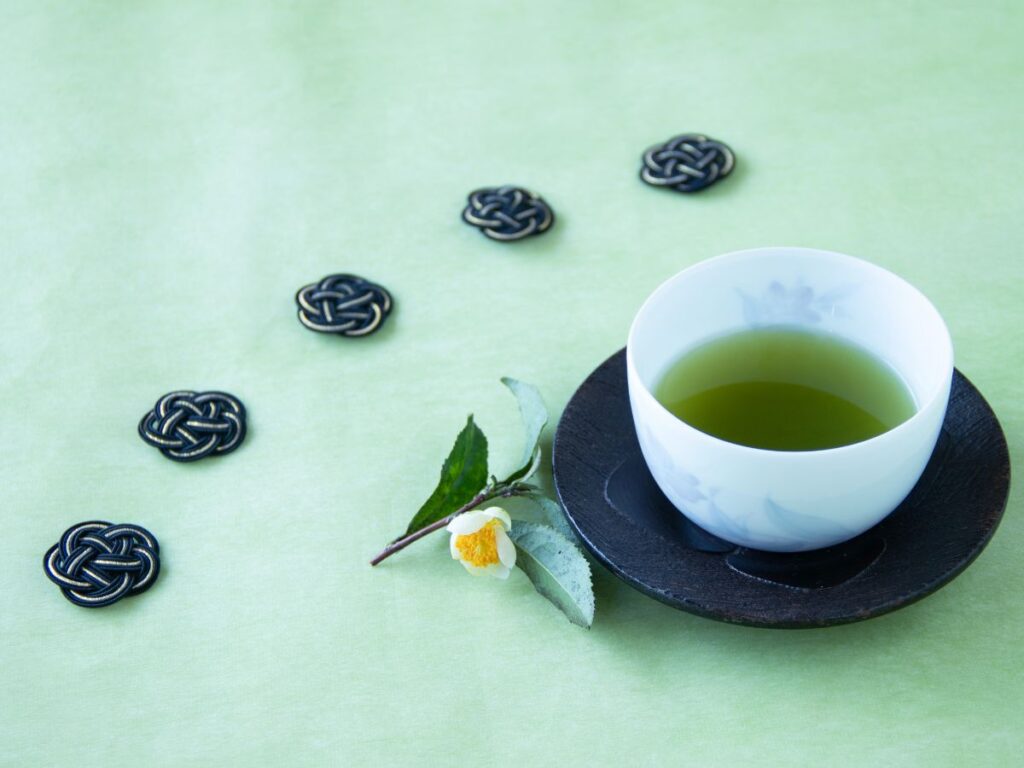
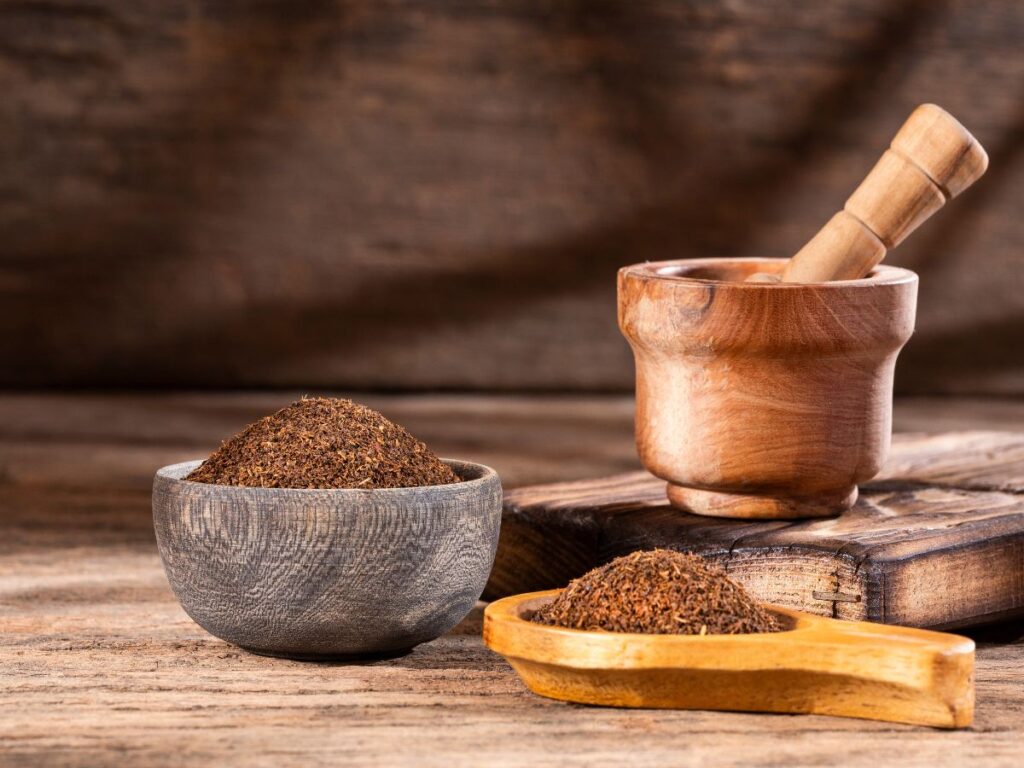
Imagine stepping into your garden, snipping a few fresh tea leaves, and crafting a cup of tea that’s been nurtured by your own hands.
Growing a tea plant at home might sound like a challenge, but it’s simpler than you might think. With a bit of attention and a gentle touch, a tea plant can thrive in a small garden or a container, bringing you a delightful, homegrown experience.
Whether you’re a passionate tea lover or a curious gardener, here’s a guide to growing your own Camellia sinensis—the true tea plant—in seven simple steps.
Step 1: Choose the Right Tea Plant Variety
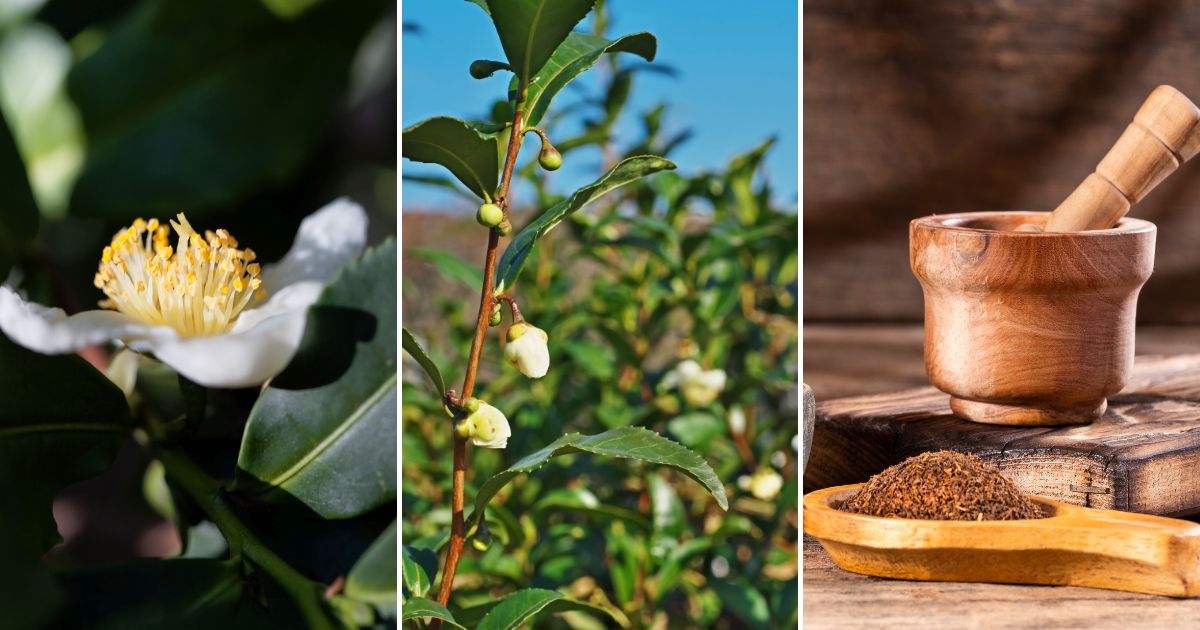
The first step to a successful tea garden is picking the right variety of Camellia sinensis. This plant has two main varieties: Camellia sinensis var. sinensis (the Chinese tea plant) and Camellia sinensis var. assamica (the Assam tea plant).
The Chinese variety is more cold-tolerant, making it ideal for those in cooler climates, while the Assam variety is a better choice for warmer, humid conditions.
Both varieties can be used to make all types of tea—green, black, white, and oolong—so you don’t have to worry about limiting your options.
The main difference lies in the environmental needs of each variety, so consider your local climate when choosing your plant. You can typically find young tea plants at specialty nurseries or online, where they’re sold as “tea camellias” or simply “tea plants.”
Step 2: Prepare the Perfect Spot
Once you’ve selected your tea plant, it’s time to choose a spot in your garden or a pot for indoor growing.
Tea plants prefer a location that mimics their natural forest environment: slightly shaded but with access to light. Morning sun followed by afternoon shade works beautifully, especially if you’re in a region with hot summers.
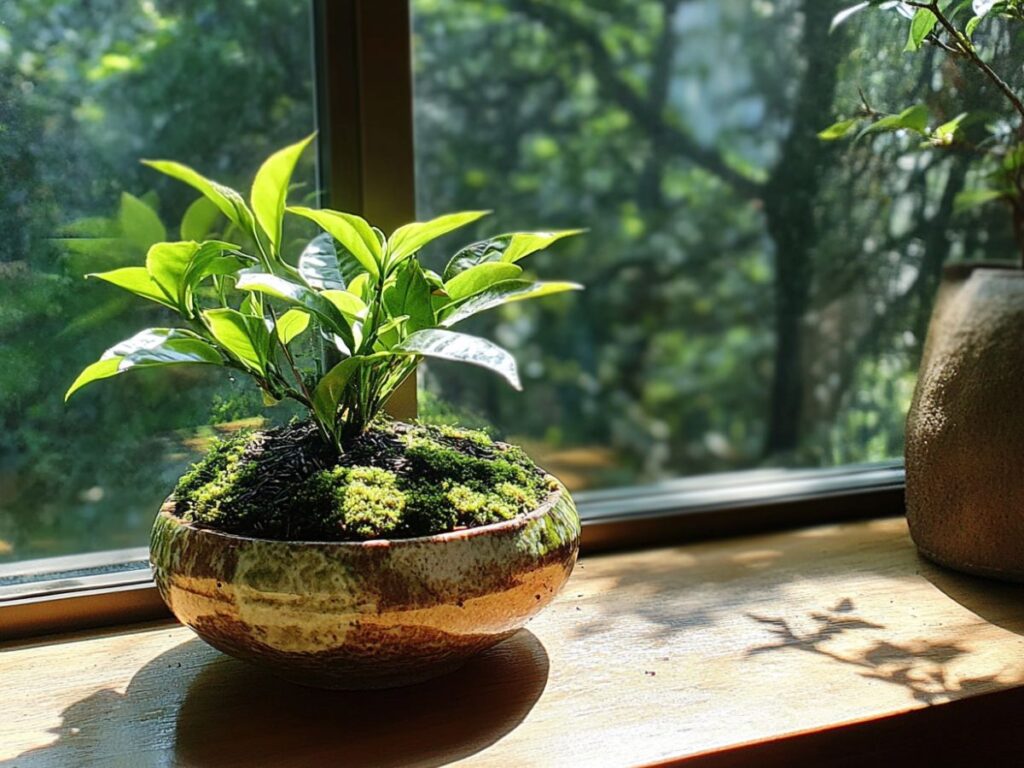
If growing indoors, place your tea plant near a window with filtered sunlight, like a spot where it can bask in the soft morning light. Consider rotating the pot occasionally to encourage even growth.
Soil Preferences:
Tea plants thrive in slightly acidic soil with a pH level between 5.5 and 6.5. If your soil is more alkaline, you can amend it with organic materials like pine needles, peat moss, or a bit of sulfur to gently increase acidity.
Additionally, well-draining soil is crucial for tea plants, which don’t appreciate waterlogged roots. For potted plants, a mix of potting soil with perlite or sand can enhance drainage.
Step 3: Planting Your Tea Plant
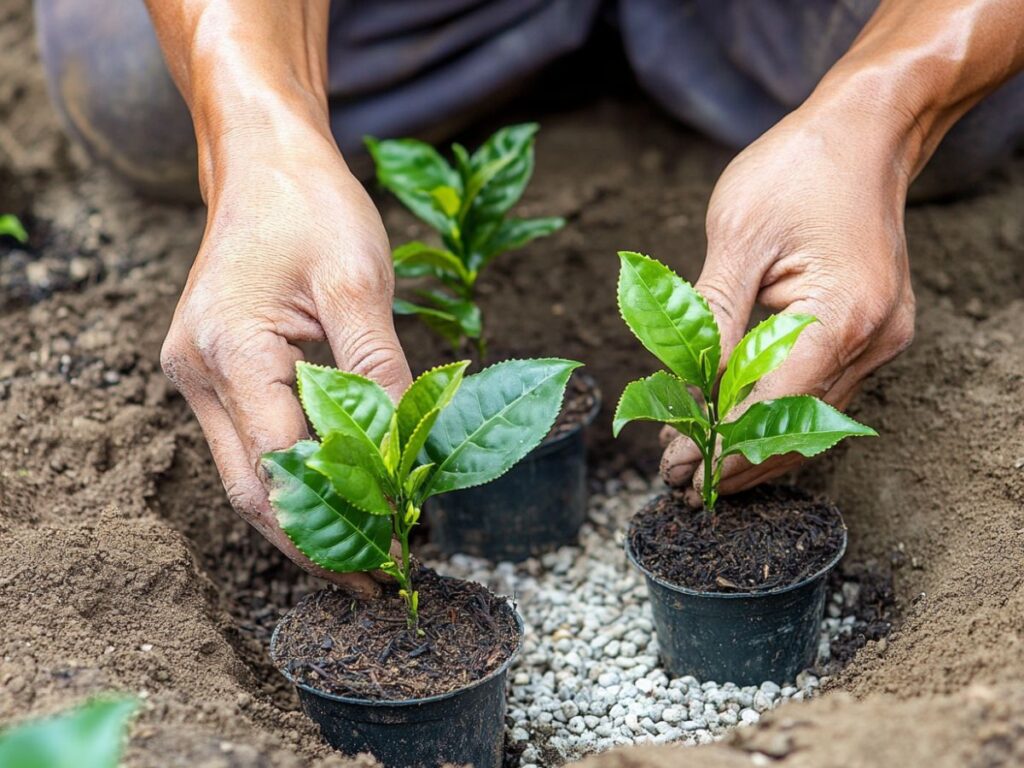
When planting your tea in the garden, dig a hole about twice as wide and the same depth as the root ball.
This allows the roots to spread naturally and take hold. Place the plant in the hole, backfill with soil, and press gently but firmly around the base. A thorough watering after planting will help settle the soil.
For a container plant, add a layer of gravel at the bottom to improve drainage, followed by your well-draining potting mix. Place the plant in the pot and add soil until it reaches the top of the root ball, then water it in well.
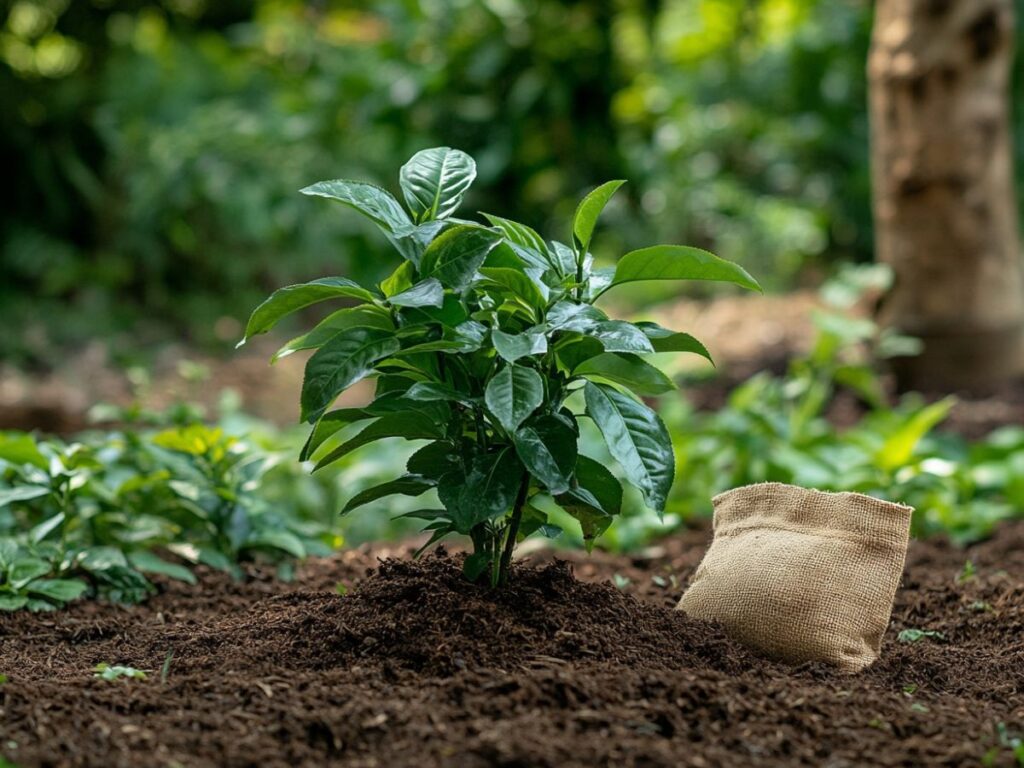
Whether in a pot or the ground, consider adding a layer of mulch around the base of the plant. Mulching helps maintain soil moisture, regulates temperature, and, over time, improves soil structure.
Step 4: Mastering Watering and Humidity
Tea plants appreciate consistently moist (but not soggy) soil. In the warmer months, water regularly to maintain humidity, especially if you’re growing in a pot or a warm climate.
The goal is to keep the top inch of soil slightly damp; if it feels dry, it’s time to water.
For container-grown plants, increase watering frequency, especially in hot weather or during dry spells. Garden beds typically retain moisture longer than pots, but a quick check is always helpful to ensure your tea plant has what it needs.
Tip:
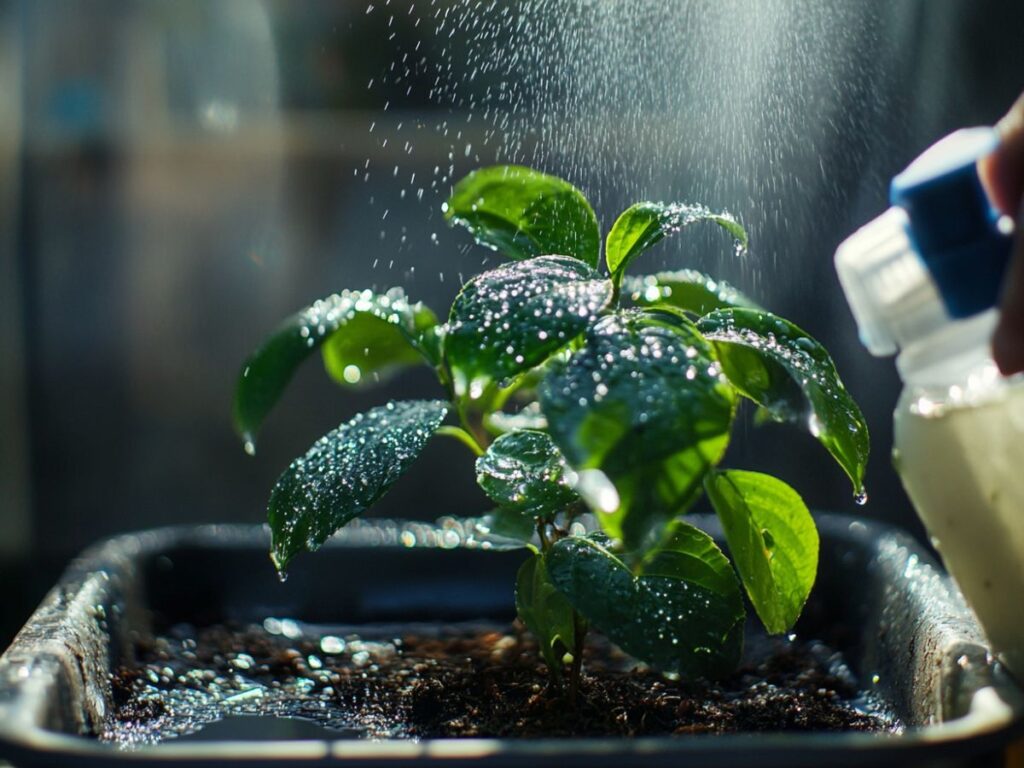
If you’re aiming for a tea plant that thrives, try misting it occasionally to create a humid environment similar to its natural habitat. Alternatively, place a tray of water near the plant to subtly raise humidity without overwatering.
Step 5: Feed Your Plant Regularly
Tea plants are hungry for nutrients, especially when they’re actively growing. Every six to eight weeks during the growing season (from spring to early autumn), apply a balanced, acidic fertilizer, such as one formulated for camellias or azaleas.
For organic gardeners, a mulch of compost or well-rotted manure can supply a steady stream of nutrients as it breaks down. The added benefit? Compost also contributes to soil acidity, aligning perfectly with your tea plant’s needs.
When applying any fertilizer, follow label instructions carefully, as too much can harm your plant. Regular, light feeding is far better than one heavy dose.
Step 6: Pruning and Maintenance
Pruning is a gentle art for tea plants. Regular trimming promotes a bushy shape, encourages fresh growth, and keeps the plant at a manageable height for harvesting.
You’ll want to prune in early spring, just before new growth begins. Trim back the tips of each branch and any long or stray branches to shape the plant.
Once your tea plant matures, aim to keep it around waist-height. This height is ideal for harvesting and makes your plant an attractive addition to the garden or patio. Plus, a well-pruned tea plant produces tender new leaves, which are perfect for brewing.
In terms of pests, tea plants are generally hardy but may attract aphids or spider mites. A simple solution of mild soap and water can deter these pests.
Fungal issues, such as root rot, can occur if the soil is too wet, so ensure proper drainage to avoid these problems.
Step 7: Harvesting and Processing Your Tea Leaves
After a few years of growth, your tea plant will be ready for its first harvest. Tea leaves can be harvested once the plant is about three years old and has established regular flushes of new growth.
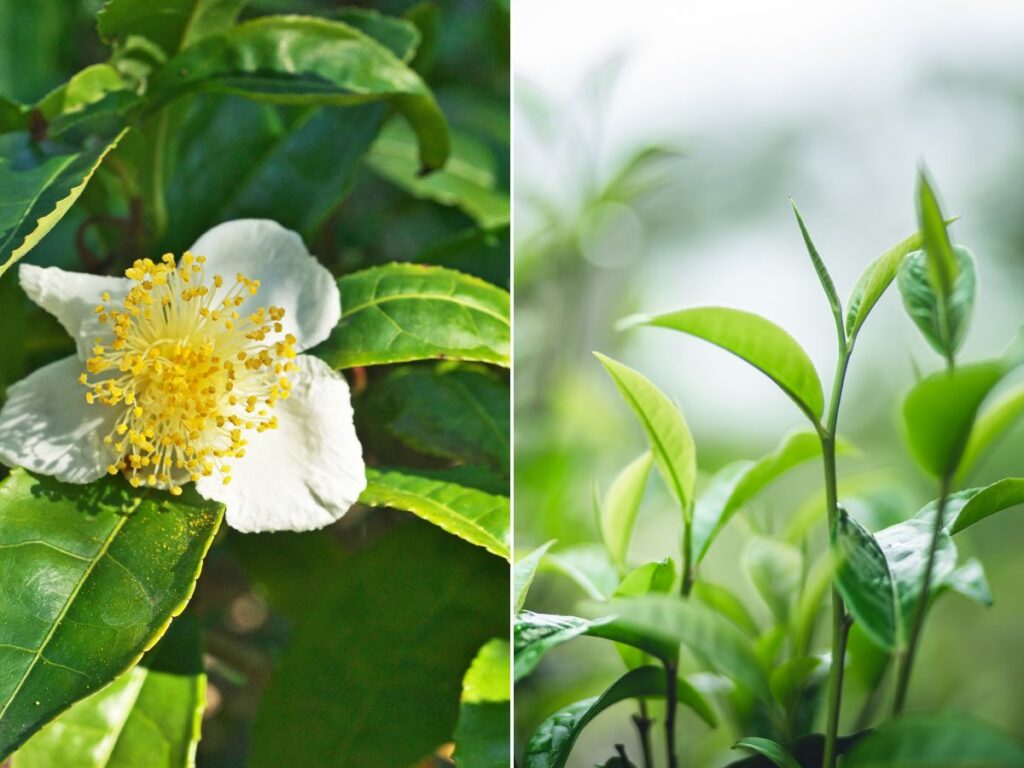
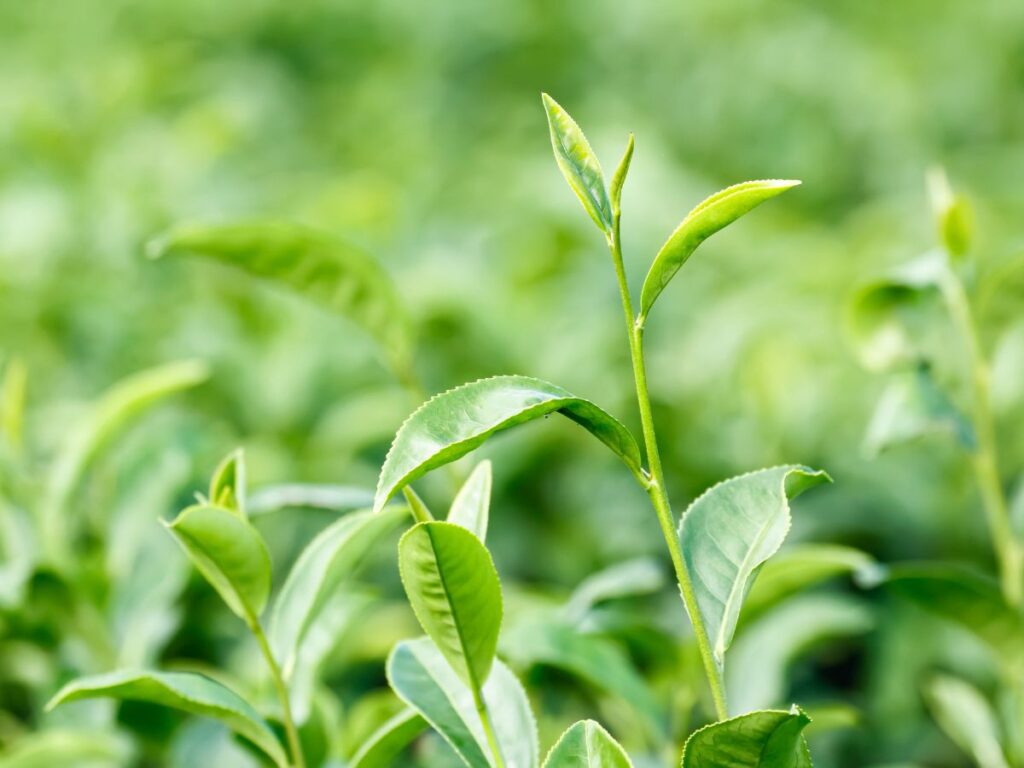
The most desirable leaves are the young, tender ones at the tips of branches, also called “flushes.” Typically, you’ll want to pick the first two leaves and the bud for the freshest flavor.
When to Harvest:
Harvesting is best in spring and early summer when the plant has plenty of new growth. Pick in the morning, after the dew has dried, to avoid extra moisture. This helps with the drying process and minimizes the risk of mold.
Processing Your Tea at Home: Green, Black, or White?
The way you process your tea leaves at home can produce different types of tea, each with its unique flavor profile.
Green Tea:
To make green tea, quickly steam or pan-fry the leaves after harvesting to prevent oxidation, which helps preserve their green color. After steaming, roll the leaves by hand to release their natural oils. Then, dry them in the oven at a low temperature until crisp.
Black Tea:
Black tea requires full oxidation. After harvesting, spread the leaves on a tray and let them sit for a few hours in a cool, shady spot. As they darken, their flavor intensifies. Once they’re fully oxidized, dry them in the oven or a dehydrator on a low setting.
Oolong Tea:
Oolong is partially oxidized, falling between green and black tea. After picking, let the leaves wither for about 30 minutes, then bruise them by gently rolling them to release their juices. Allow them to oxidize for a short period, then dry them.
White Tea:
White tea is the simplest to make. Harvest the young leaves and buds, and allow them to air-dry in a shady spot. No additional processing is needed—just let them dry naturally until they’re papery.
Storing Your Homegrown Tea
Once your leaves are fully dried, store them in an airtight container, away from light and humidity. Properly stored, homegrown tea can stay fresh for several months.
When you’re ready for a cup, steep the leaves in hot water (about 160-180°F for green tea, slightly hotter for black) for 2-3 minutes.
Experiment with different steeping times to find your ideal flavor, and savor the experience of drinking tea that’s truly handmade.
Growing your own tea plant is more than just gardening; it’s an immersive experience that connects you to the history and craft of tea-making.
Each stage, from planting to pruning to that first harvest, brings its own joys and challenges. And when you finally sit down with a cup of tea brewed from your own garden, you’ll understand that every sip is a testament to your care and patience.
Here’s to cultivating not only a plant but also a ritual—a delightful reminder that even a small patch of soil or a simple pot can yield something wonderfully rich and rewarding. So, roll up your sleeves, give it a try, and embrace the art of growing your own tea.
