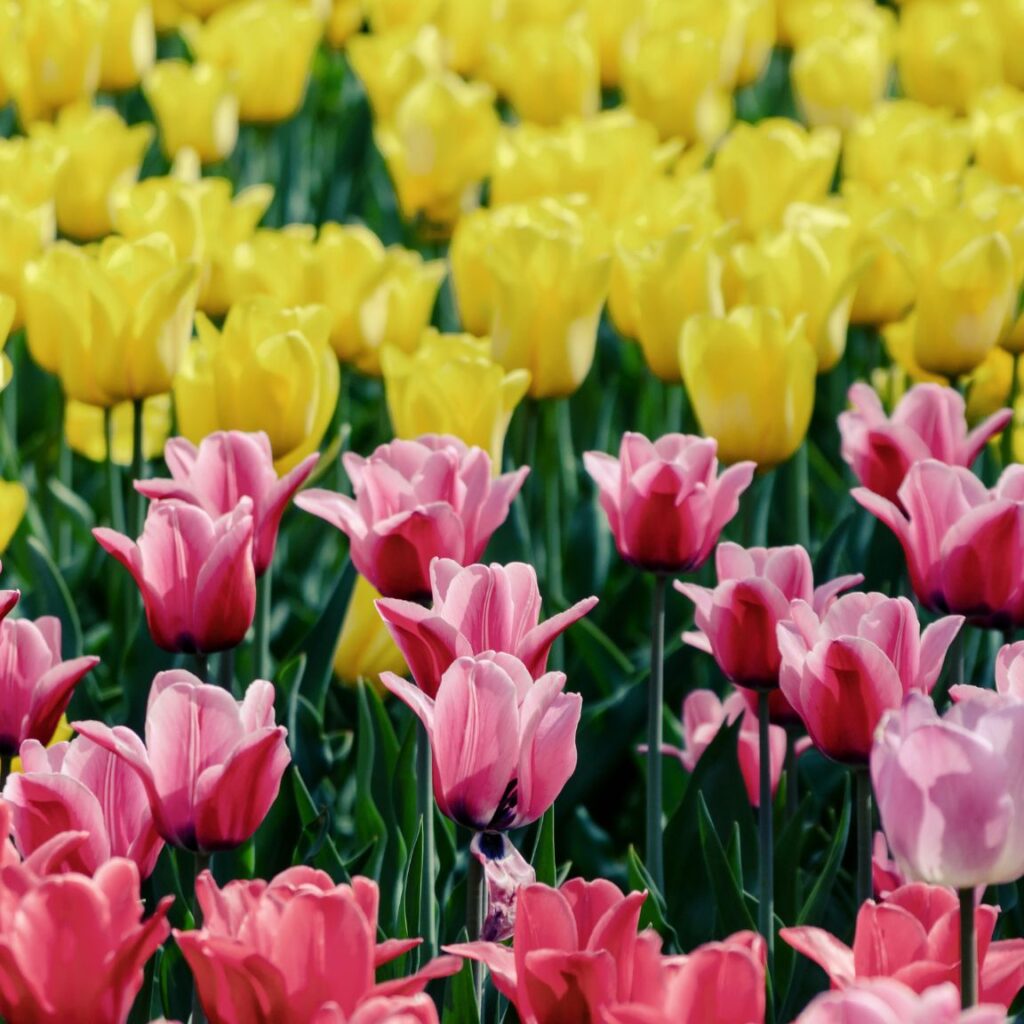
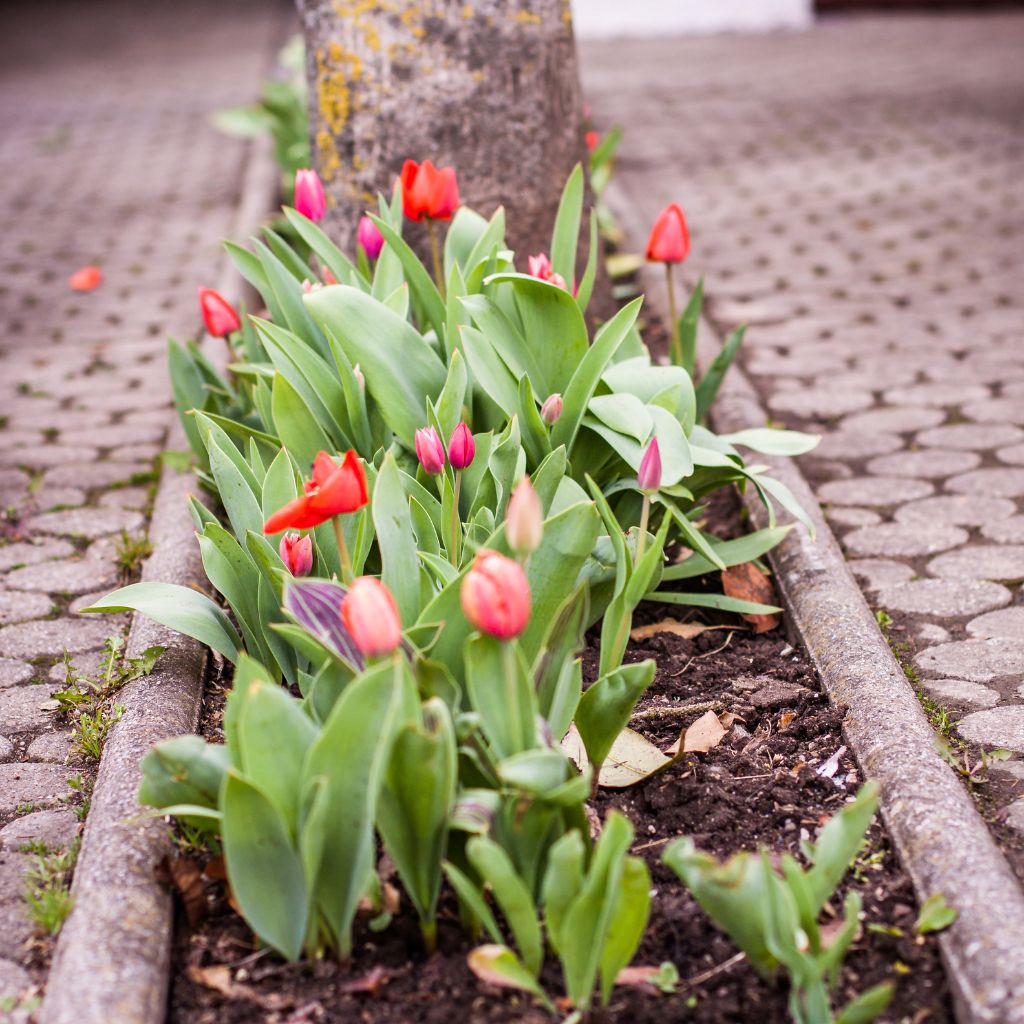
Imagine your garden bursting with the vibrant hues of tulips, their elegant shapes swaying gently in the breeze. These iconic flowers are not just a feast for the eyes but a gardener’s delight, offering a sense of achievement with every bloom.
Whether you’re a seasoned horticulturist or just starting your green journey, growing tulips can be both enchanting and daunting. With countless varieties and specific growing conditions, where does one even begin?
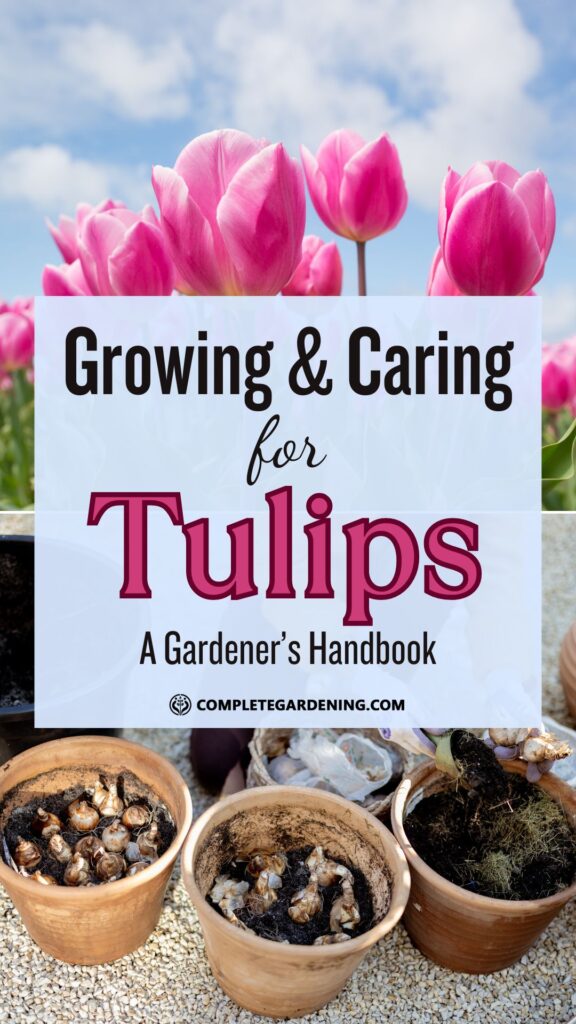
Welcome to the ultimate guide to growing and caring for tulips. Here, you’ll uncover the secrets to selecting the perfect bulbs, mastering planting techniques, and ensuring your tulips thrive with minimal fuss.
Ready to transform your garden into a kaleidoscope of color and charm? Dive in, and let’s make your tulip dreams a reality.
History and Origin of Tulips
Tulips are one of the most popular and beloved flowers in the world. They are known for their bright colors and delicate petals, and have been cultivated for centuries. The origin of the tulip is a bit of a mystery, but it is believed that they were first cultivated in Persia, which is now modern-day Iran.
Tulips were introduced to Europe in the 16th century and quickly became popular among the wealthy. In fact, during the 17th century, tulips were so highly valued that they became the subject of a speculative frenzy known as “tulip mania.”
At the height of the tulip craze, a single tulip bulb could sell for more than ten times the annual income of a skilled worker.
Today, tulips are grown all over the world and come in a wide variety of colors and shapes. They are a popular choice for gardens, as well as for cut flowers. Tulips are also a symbol of spring and new beginnings, making them a popular choice for Easter and other springtime celebrations.
In terms of care, tulips are relatively easy to grow. They prefer well-drained soil and plenty of sunlight, and should be planted in the fall for spring blooms.

Tulips can also be grown in pots, making them a great choice for indoor gardening. With proper care, tulips can provide years of beautiful blooms and are sure to bring joy to any gardener or flower lover.
Understanding Tulip Varieties
Species Tulips
Species tulips are the original wild tulips that grow in their natural habitat. They are smaller in size compared to hybrid tulips and come in a variety of colors, including red, yellow, and pink.
Species tulips are known for their hardiness and ability to tolerate harsh weather conditions. They are perfect for rock gardens, borders, and naturalizing.
Hybrid Tulips
Hybrid tulips are the result of cross-breeding different tulip species. They come in a wide range of colors, shapes, and sizes, making them a popular choice for gardeners.
Hybrid tulips can be classified into early, mid and late season bloomers. They require well-drained soil and full sun to thrive.
Tulip Classification System
Tulips can be classified into 15 different groups based on their characteristics such as flower shape, size, and color. The most common tulip classification system is the one developed by the Royal General Bulb Growers Association in the Netherlands.
The classification system helps gardeners choose the right tulip varieties for their garden based on their preferences and growing conditions.
In conclusion, understanding tulip varieties is essential for any gardener looking to grow and care for tulips. Whether you prefer species or hybrid tulips, or want to choose from the different tulip classification groups, there is a tulip variety that will suit your needs.
Planting Tulips
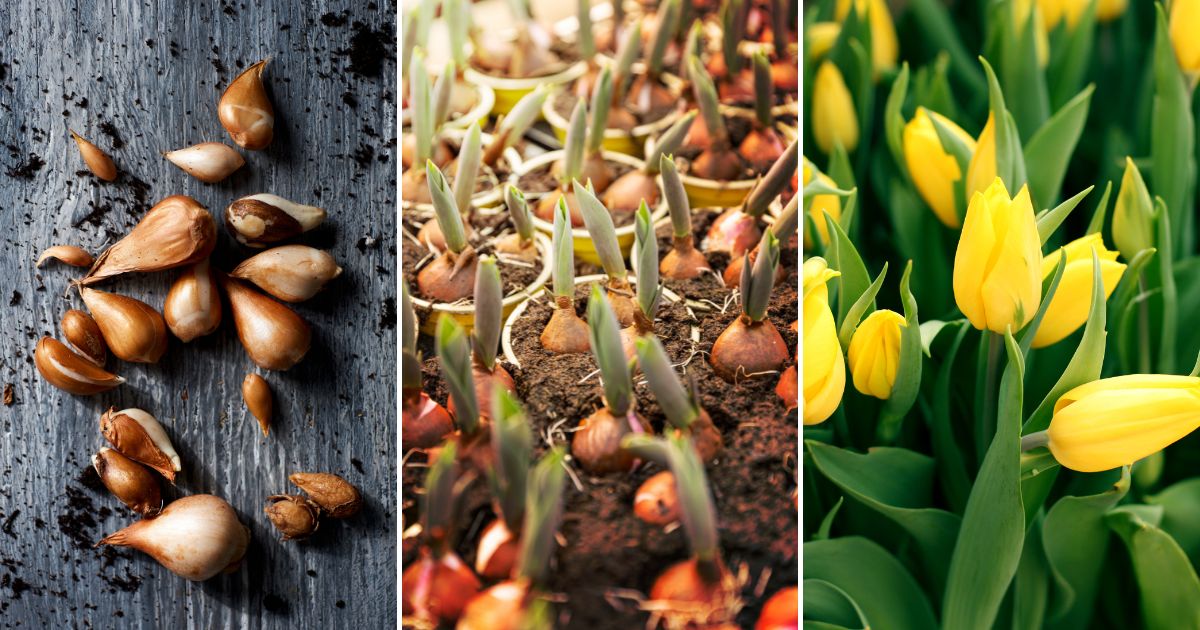
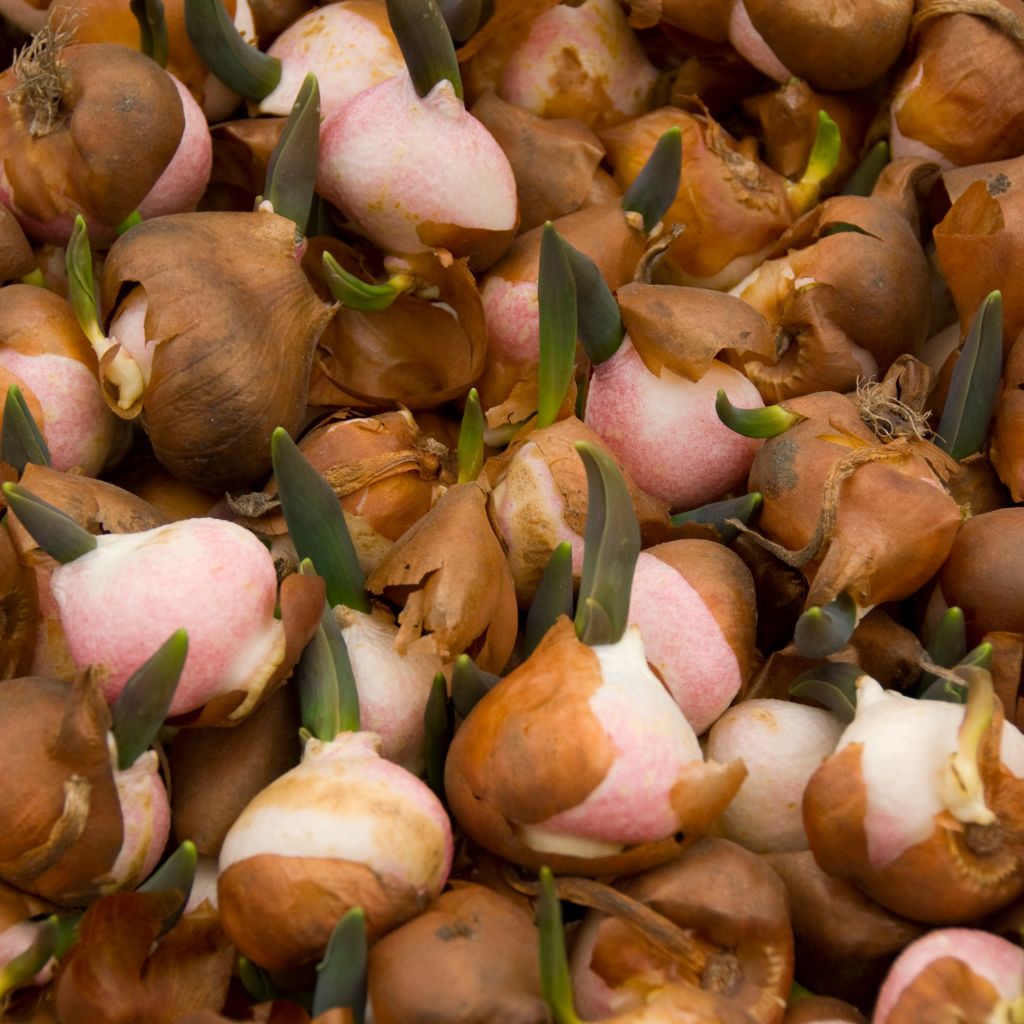
Choosing the Right Bulbs
When it comes to planting tulips, choosing the right bulbs is crucial. Look for bulbs that are firm, plump, and free of any mold or soft spots. Choose bulbs that are large in size as they tend to produce larger and more robust flowers.
Soil Preparation
Tulips thrive in well-draining soil that is rich in organic matter. Before planting, make sure to prepare the soil by adding compost or well-rotted manure. Tulips prefer a slightly acidic soil with a pH between 6.0 and 7.0.
Planting Depth and Spacing
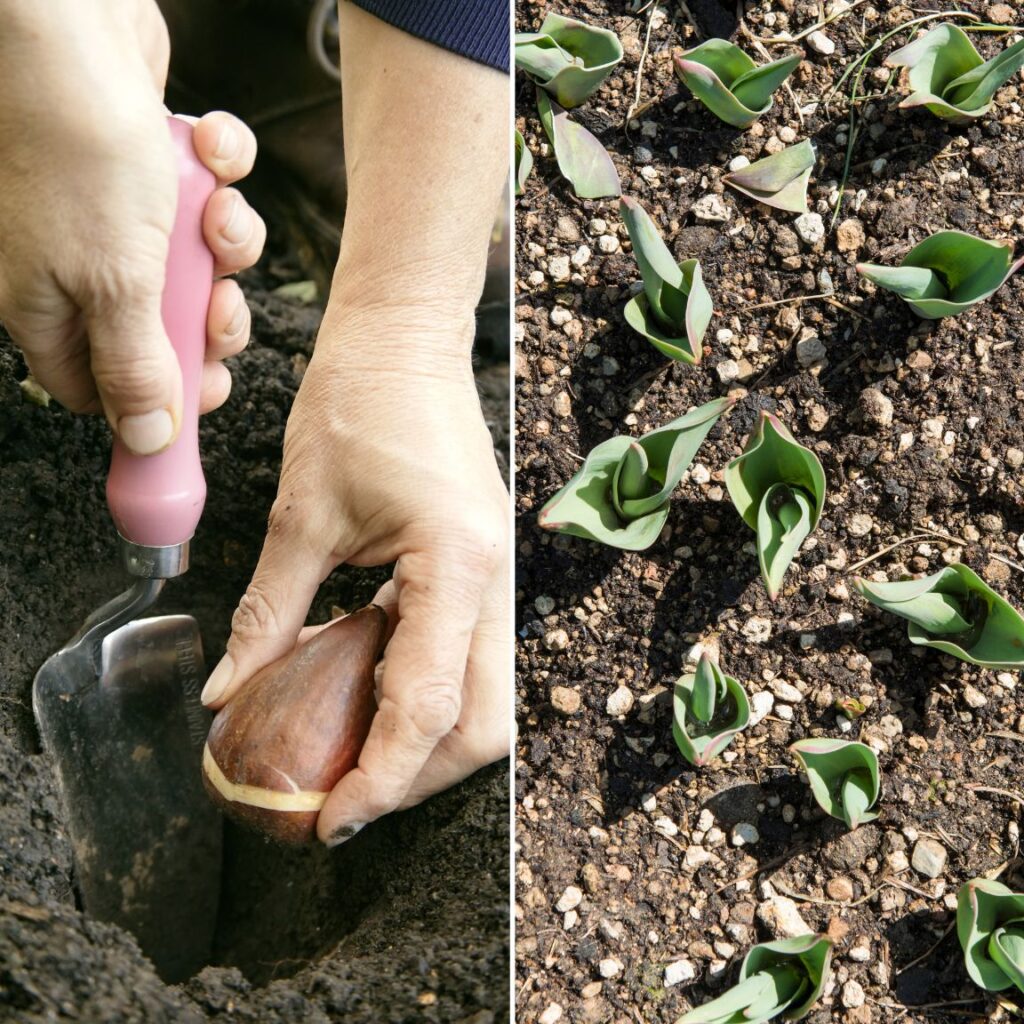
Plant tulip bulbs at a depth of 6 to 8 inches (15 to 20 cm) and space them out 4 to 6 inches (10 to 15 cm) apart. If you’re planting tulips in containers, make sure to plant them closer together to create a fuller look.
Timing for Planting
Tulips should be planted in the fall, ideally between September and November, before the first frost. Planting earlier in the fall will give the bulbs more time to establish roots before the ground freezes.
Tulip Care Essentials
Watering Requirements
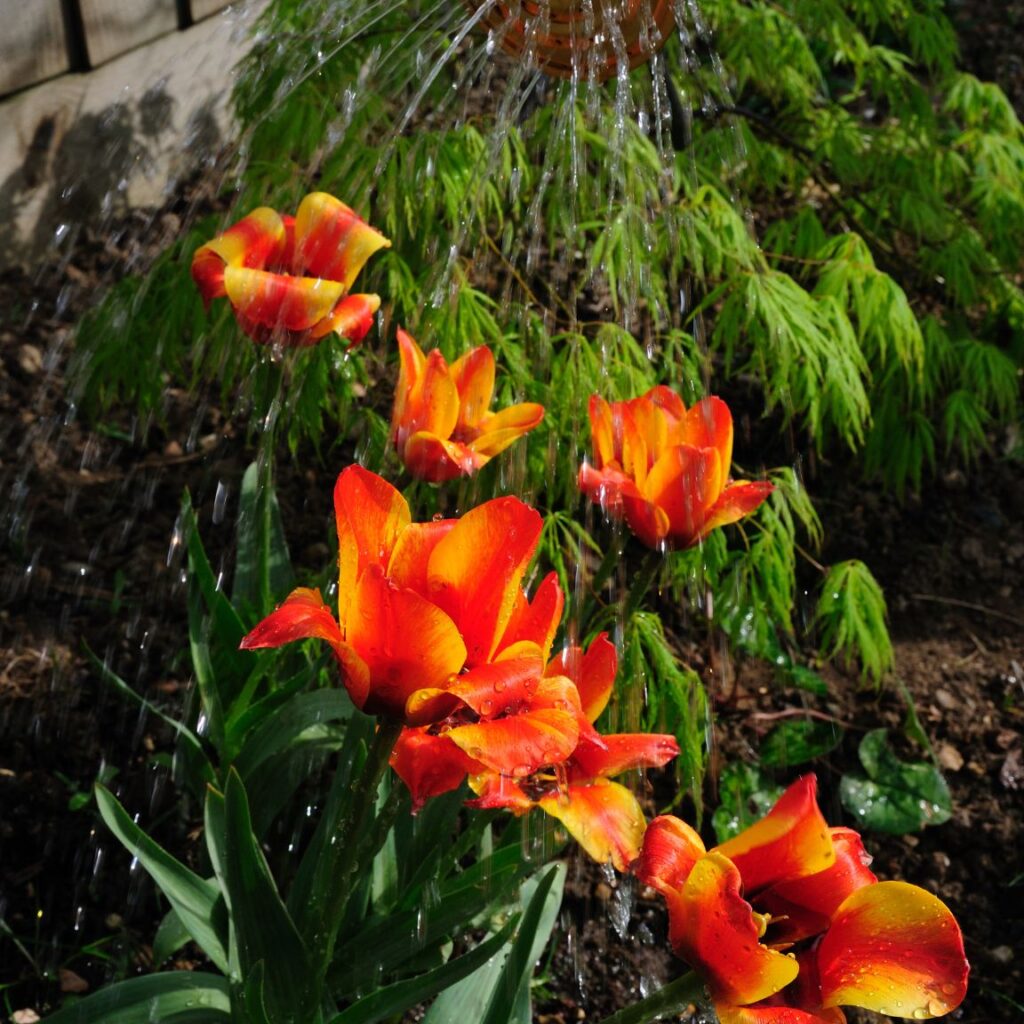
Tulips require regular watering, especially during the growing season. They prefer moist, well-drained soil, and should be watered deeply once or twice a week, depending on the weather conditions.
Overwatering can lead to root rot, so it’s important to avoid standing water around the bulbs. Mulching can help retain moisture in the soil and prevent evaporation.
Fertilizing Techniques
Tulips benefit from fertilization, especially before and after the blooming period. A balanced fertilizer with equal amounts of nitrogen, phosphorus, and potassium can be applied in early spring, before the tulips start to grow.
After blooming, a low-nitrogen fertilizer can be applied to promote bulb growth and development. Over-fertilization can lead to weak stems and foliage.
Sunlight and Temperature

Tulips thrive in full sunlight, but they can also tolerate partial shade. They prefer cool temperatures between 50 and 60 degrees Fahrenheit, and can be grown in USDA hardiness zones 3 to 8.
In warmer climates, tulips may require refrigeration before planting to simulate the required cool period.
Deadheading and Pruning

Deadheading, or removing the spent blooms, can help redirect the plant’s energy towards bulb development instead of seed production.
The flower stem should be cut back to the base of the plant, but the foliage should be left to die back naturally. Pruning can also help maintain the plant’s shape and prevent disease, but it should be done after the foliage has turned yellow and wilted.
Pest and Disease Management
Common Tulip Pests

Tulips are susceptible to various pests, including aphids, spider mites, and bulb mites. These pests can cause damage to the foliage and bulbs, resulting in stunted growth and reduced flowering.
To prevent infestations, it is essential to inspect the plants regularly and take appropriate measures at the first sign of an infestation.
One effective method of controlling pests is to use insecticidal soap or neem oil. These products are safe to use and can be applied directly to the affected plants.
Another way to prevent infestations is to encourage natural predators, such as ladybugs and lacewings, to inhabit the garden.
Disease Prevention
Tulips are also susceptible to various diseases, including tulip fire, gray mold, and basal rot. These diseases can cause wilting, discoloration, and death of the plants.
To prevent the spread of diseases, it is important to maintain good hygiene practices, such as removing infected plants and debris from the garden.
Another effective method of disease prevention is to plant disease-resistant tulip varieties. These varieties are bred to resist common diseases and are less likely to become infected.
Organic Control Methods
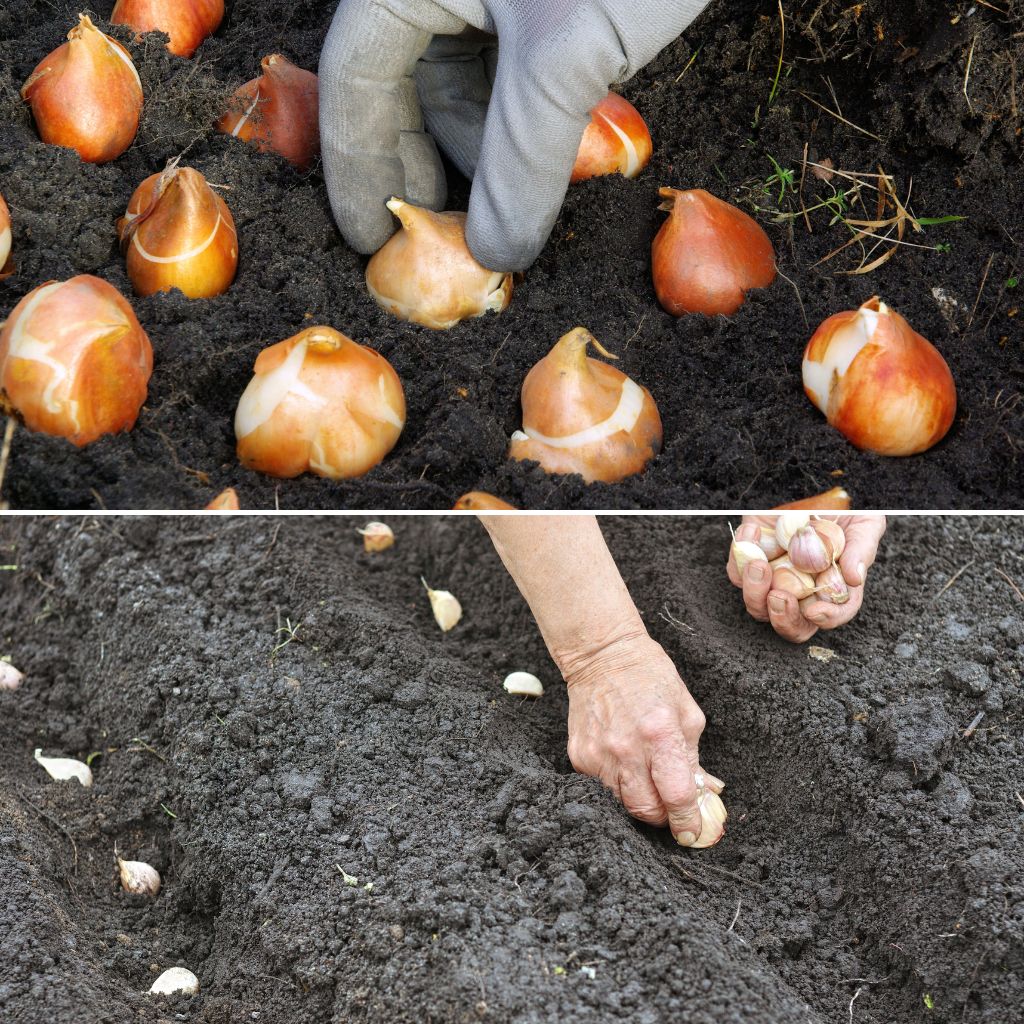
If you prefer to use organic methods to control pests and diseases, there are several options available. One effective method is to use companion planting. Planting garlic, chives, or onions near tulips can help repel pests and prevent diseases.
Another organic method is to use a mixture of water and dish soap to control pests. Simply mix a few drops of dish soap with water in a spray bottle and apply directly to the affected plants.
Forcing Tulips for Early Bloom
Indoor Forcing Techniques
Forcing tulips indoors is a great way to enjoy these beautiful flowers earlier than their natural outdoor bloom time. To successfully force tulips, there are a few techniques that should be followed:
Choose healthy bulbs: Select bulbs that are firm, plump, and free from any signs of mold or rot. It’s also important to choose bulbs that are large enough to produce a healthy stem and flower.
Chill the bulbs: Tulip bulbs need a period of cold to simulate winter and encourage them to bloom. Place the bulbs in a paper bag and store them in the refrigerator for 12 to 16 weeks before planting.
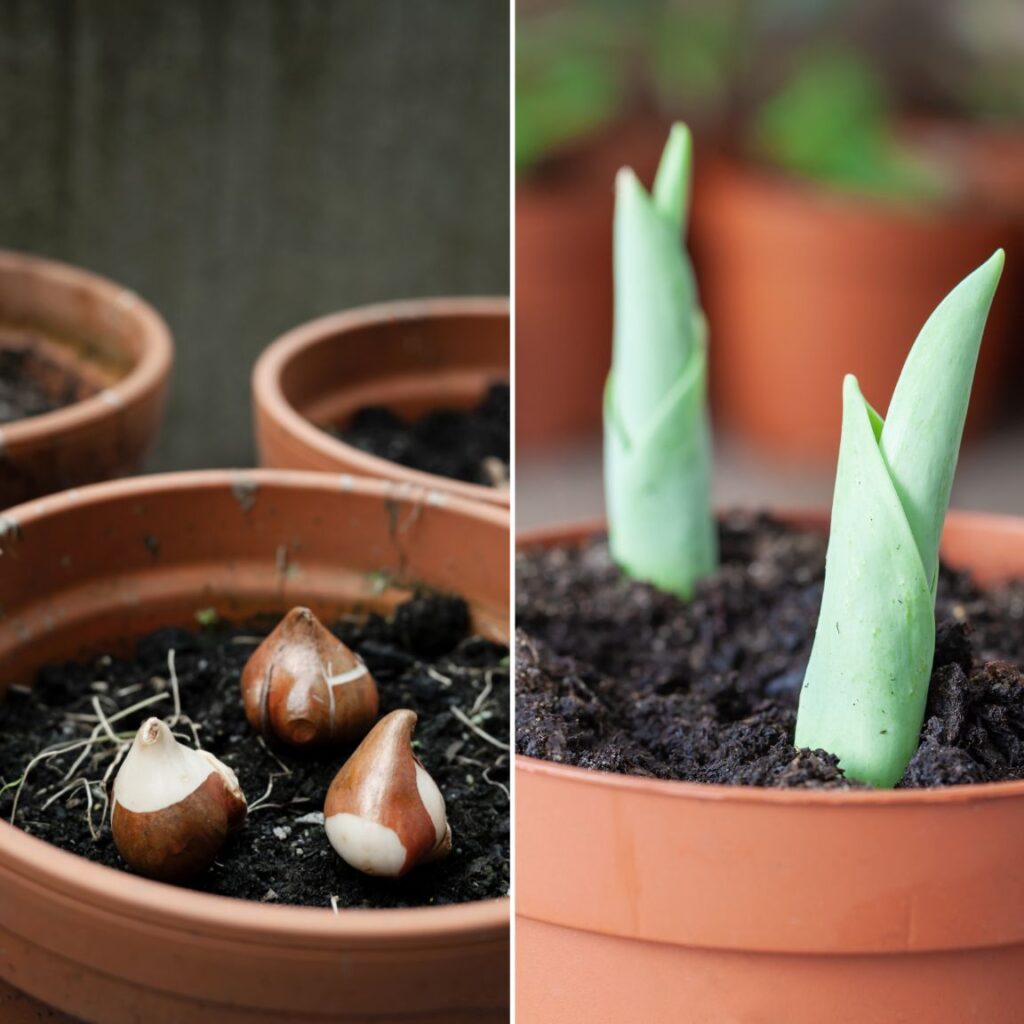
Plant the bulbs: Plant the bulbs in a pot with well-draining soil, leaving about 1 inch of space between each bulb. Water the soil well after planting.
Provide light and warmth: After planting, place the pot in a cool, dark location for a few weeks to encourage root growth. Once shoots start to emerge, move the pot to a bright location with temperatures between 60 and 68 degrees Fahrenheit.

Maintain moisture: Keep the soil moist but not waterlogged. Water the pot when the top inch of soil feels dry to the touch.
Care After Forcing
Once the tulips have finished blooming, there are a few steps to take to ensure the bulbs can be reused for future blooms:
Remove the flowers: Cut off the flowers as soon as they start to fade. This will prevent the plant from putting energy into producing seeds instead of storing energy in the bulb.
Continue to water: Keep watering the plant until the leaves turn yellow and start to wither.
Allow the leaves to die back: Once the leaves have turned yellow, stop watering the plant and allow the leaves to die back completely.
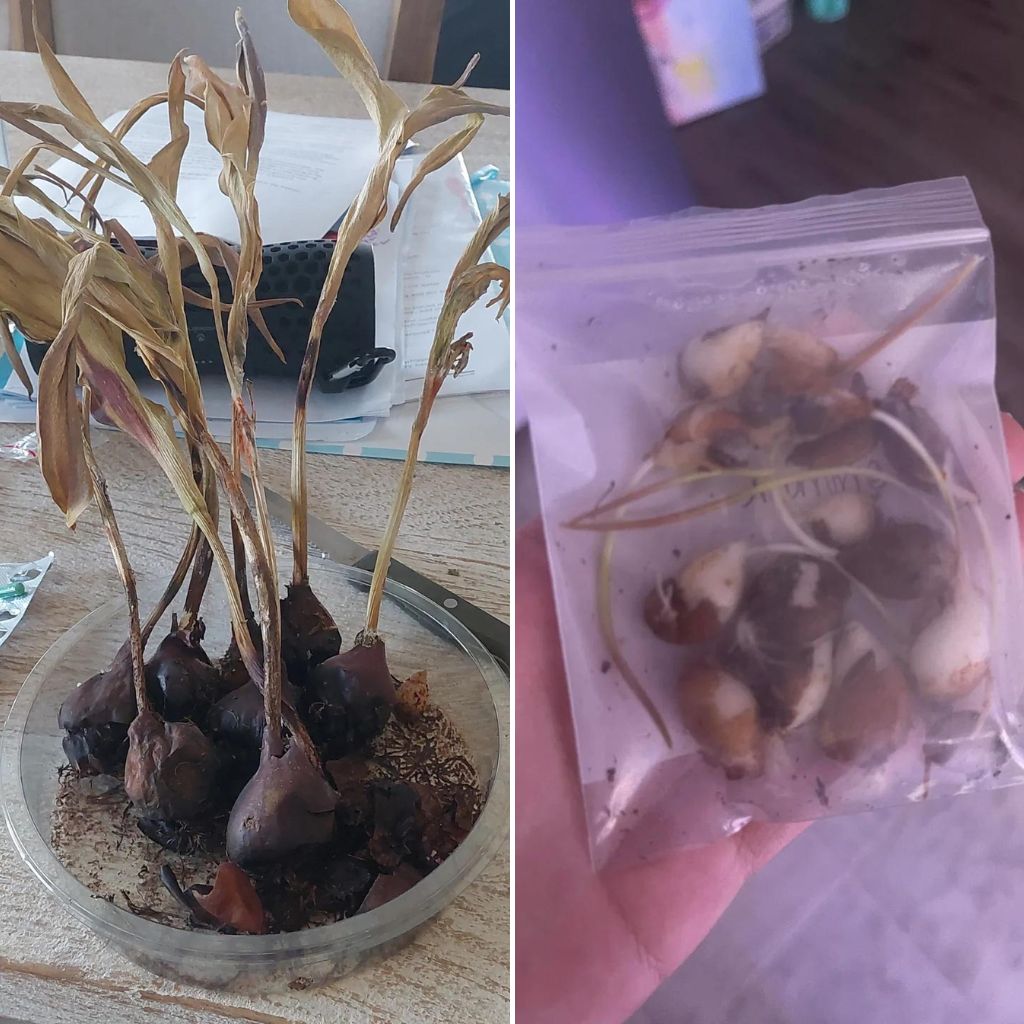
Store the bulbs: After the leaves have died back, carefully remove the bulbs from the soil and store them in a cool, dry location until the next planting season.
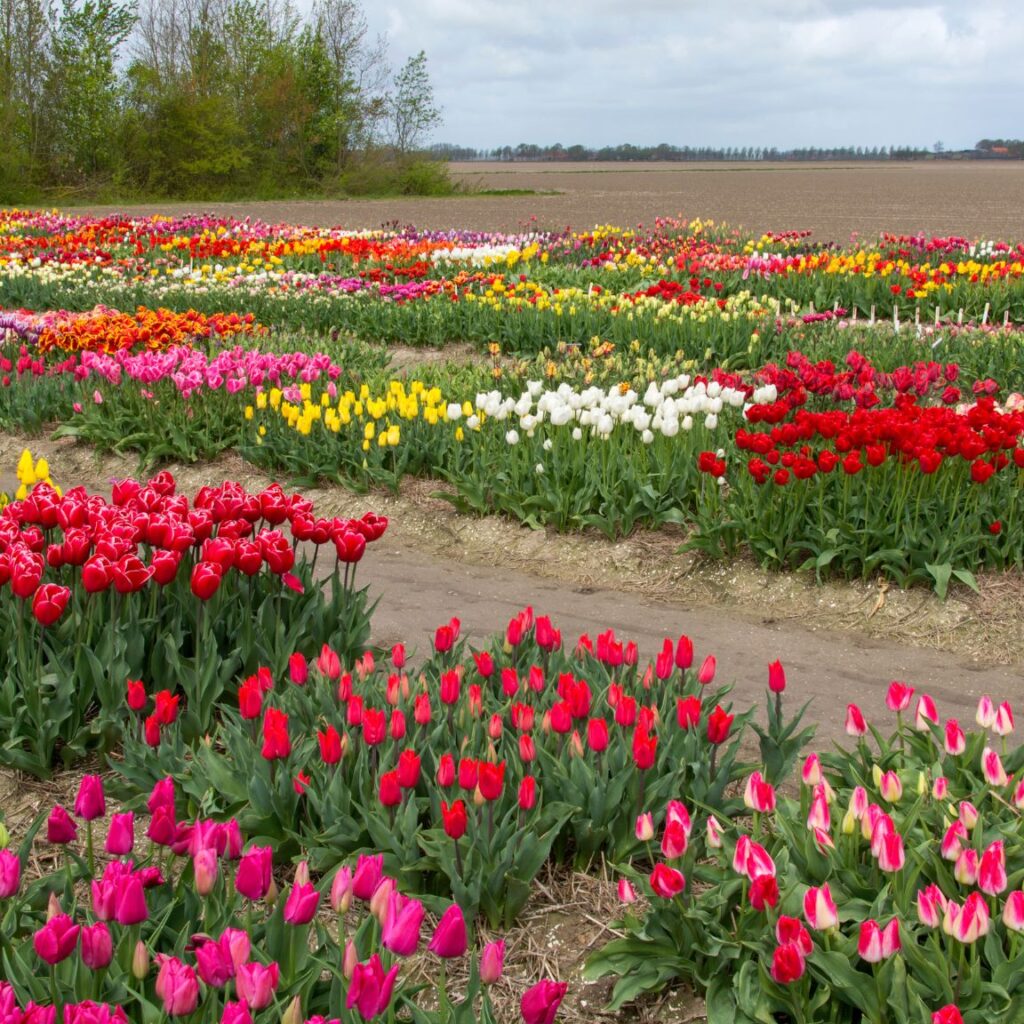
Landscaping with Tulips
Design Principles
When it comes to landscaping with tulips, there are a few design principles to keep in mind. One important factor is the height of the tulip varieties you choose.
Taller varieties should be placed towards the back of the garden bed, while shorter varieties should be towards the front. This will ensure that all the tulips are visible and not hidden behind taller plants.
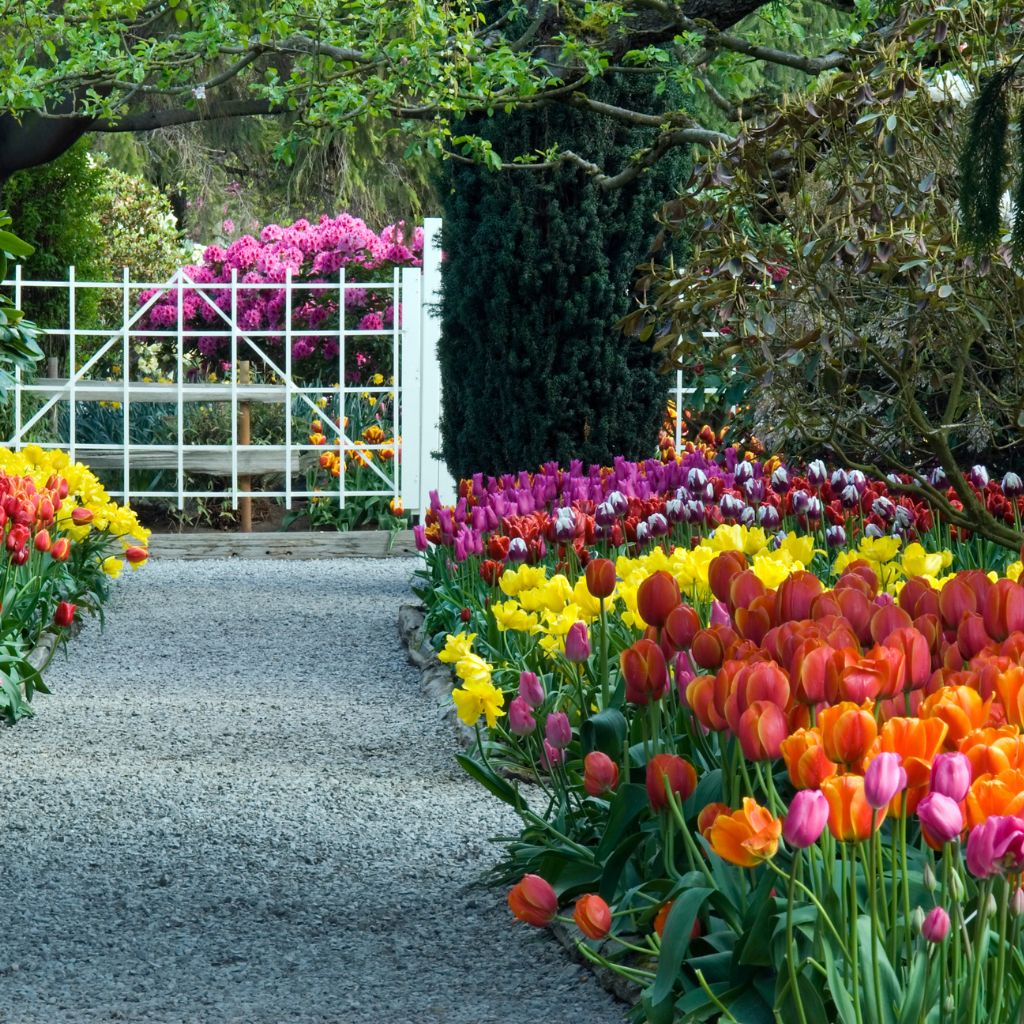
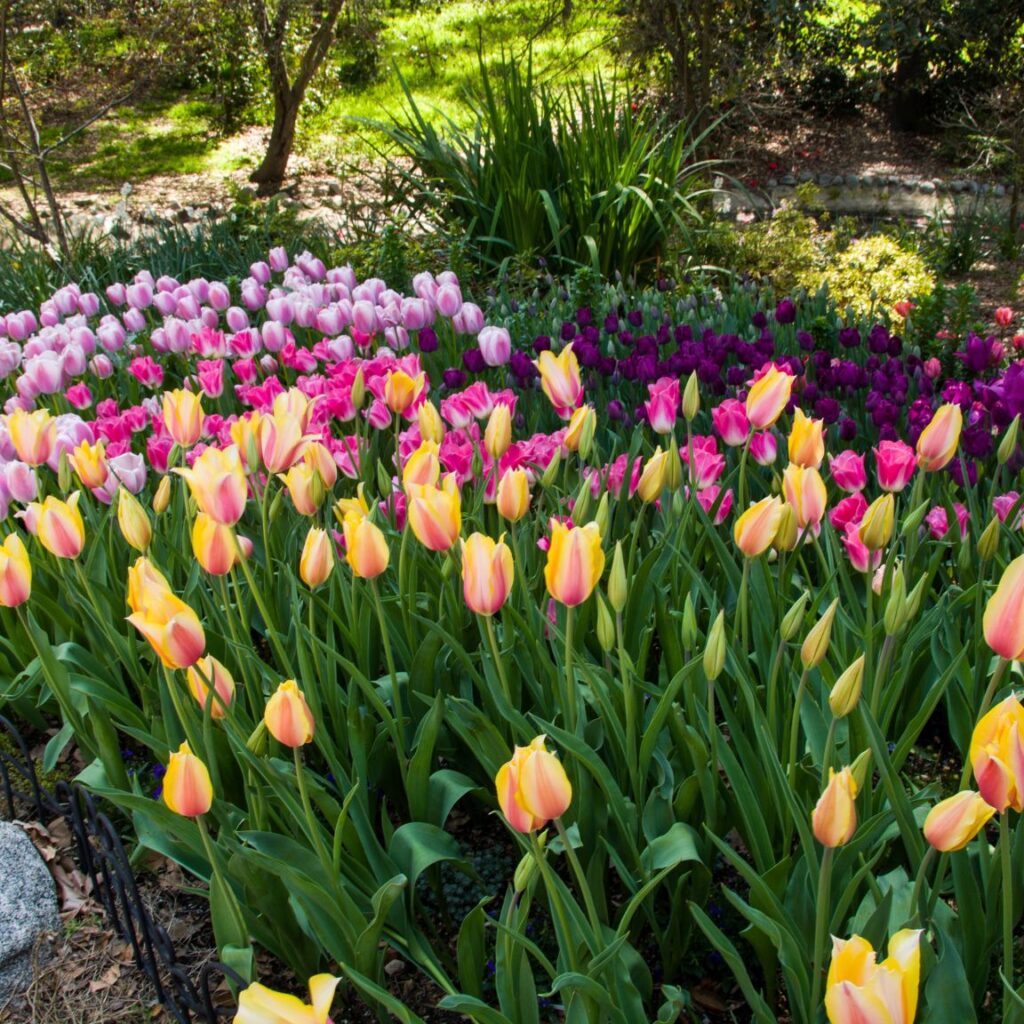
Another design principle to consider is the use of repetition. Planting tulips in groups or clusters can create a striking visual impact.
For instance, planting a large group of tulips of the same color can create a bold statement. On the other hand, planting tulips of different colors in a repeating pattern can create a more subtle, yet still eye-catching effect.
Color Combinations and Patterns
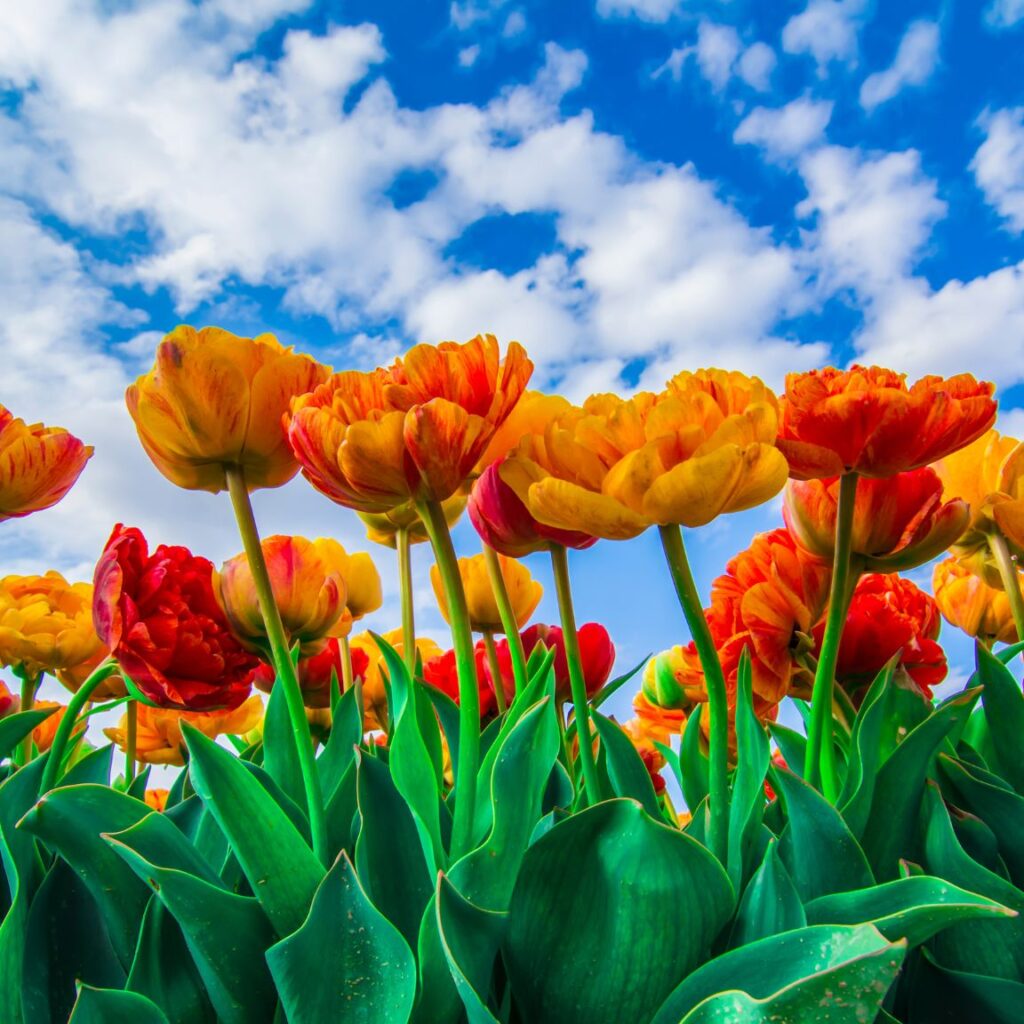
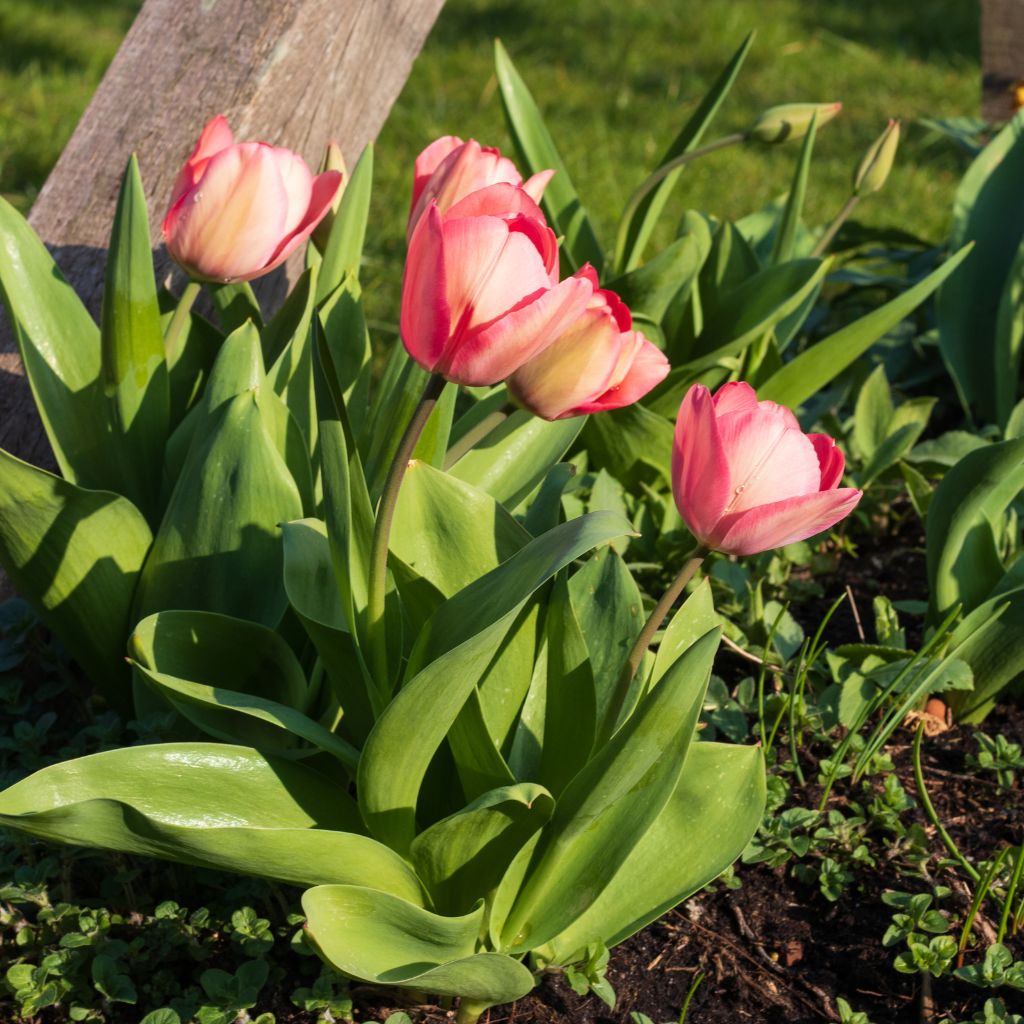
When it comes to color combinations and patterns, the possibilities are endless. Tulips come in a wide range of colors, from white and yellow to pink and red. A popular color combination is red and yellow, which creates a vibrant and bold display.
Another option is to plant tulips in a monochromatic scheme, such as all pink or all white, for a more serene and elegant look.

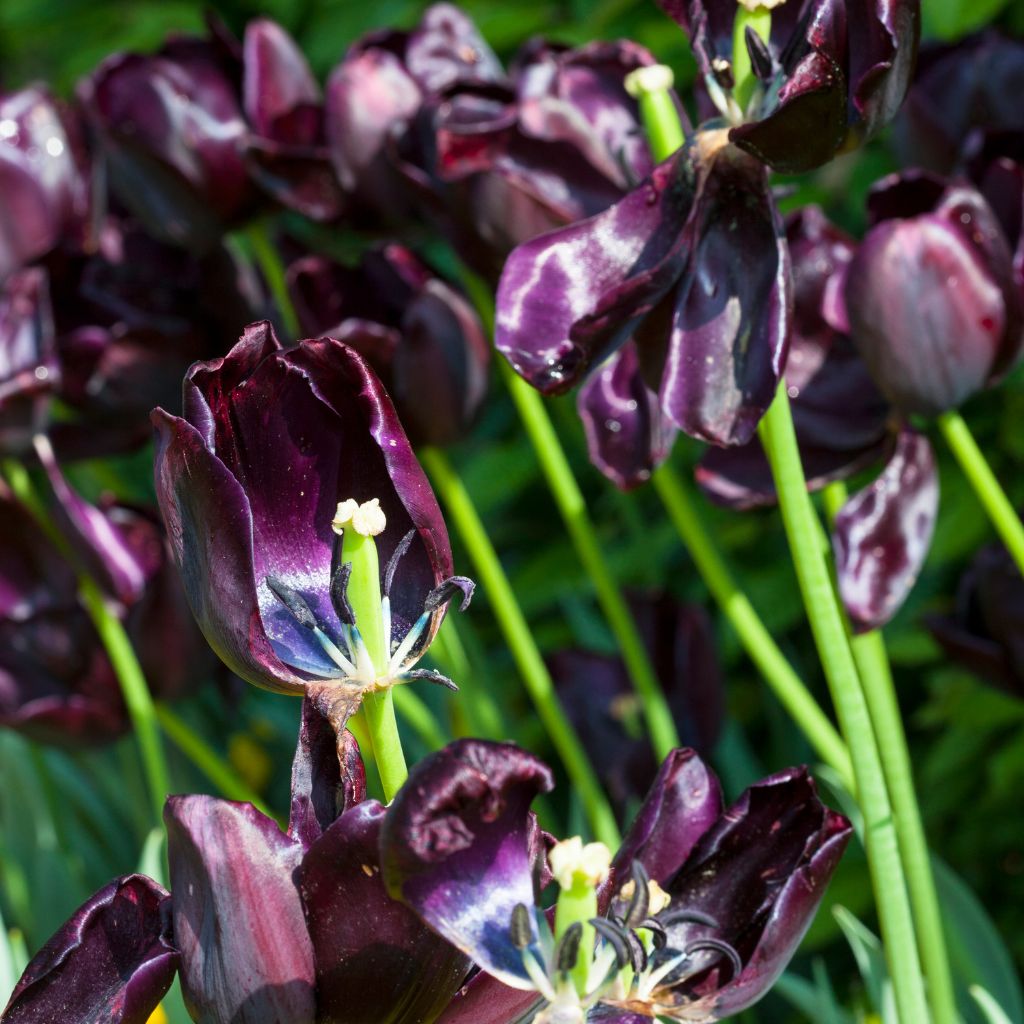
In terms of patterns, there are a few options to consider. Striped tulips, which have a unique pattern of stripes on the petals, can add visual interest to a garden bed. Fringed tulips, which have frilly edges on the petals, can add texture and depth.
And parrot tulips, which have ruffled petals and bold colors, can create a dramatic and exotic display.
Companion Planting
Companion planting is the practice of planting different species of plants together to create a mutually beneficial relationship. When it comes to tulips, there are a few companion plants to consider.
One option is to plant tulips with daffodils, as they both bloom in the spring and complement each other well.

Another option is to plant tulips with low-growing groundcovers, such as creeping thyme or creeping phlox, which can provide a colorful and textured backdrop for the tulips.
Overall, landscaping with tulips can be a fun and rewarding experience. By keeping these design principles and color combinations in mind, and experimenting with companion planting, you can create a beautiful and unique garden bed that will be the envy of all your neighbors.
Propagation of Tulips
Seed Propagation
Tulips can be propagated by seeds, but it is a time-consuming process. The seeds are produced after the tulip flowers have been pollinated.
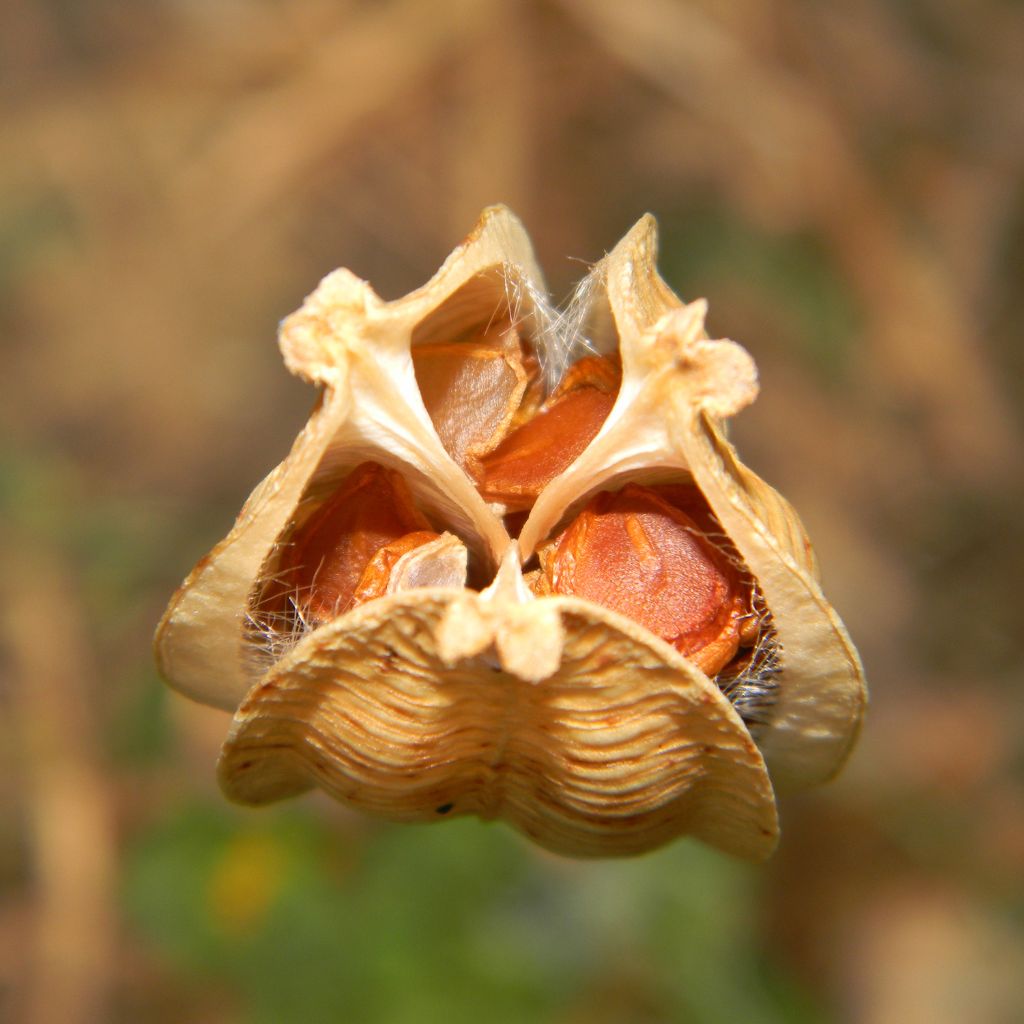
Once the seed pods have matured, the seeds can be collected and sown in a well-draining soil mixture in the fall. It is important to keep the soil moist and cool but not wet.
The seeds will germinate the following spring, and the resulting seedlings will take a few years to reach maturity and produce flowers.
It is important to note that tulips grown from seed may not be identical to the parent plant, and the flowers may not be as vibrant or uniform in color.
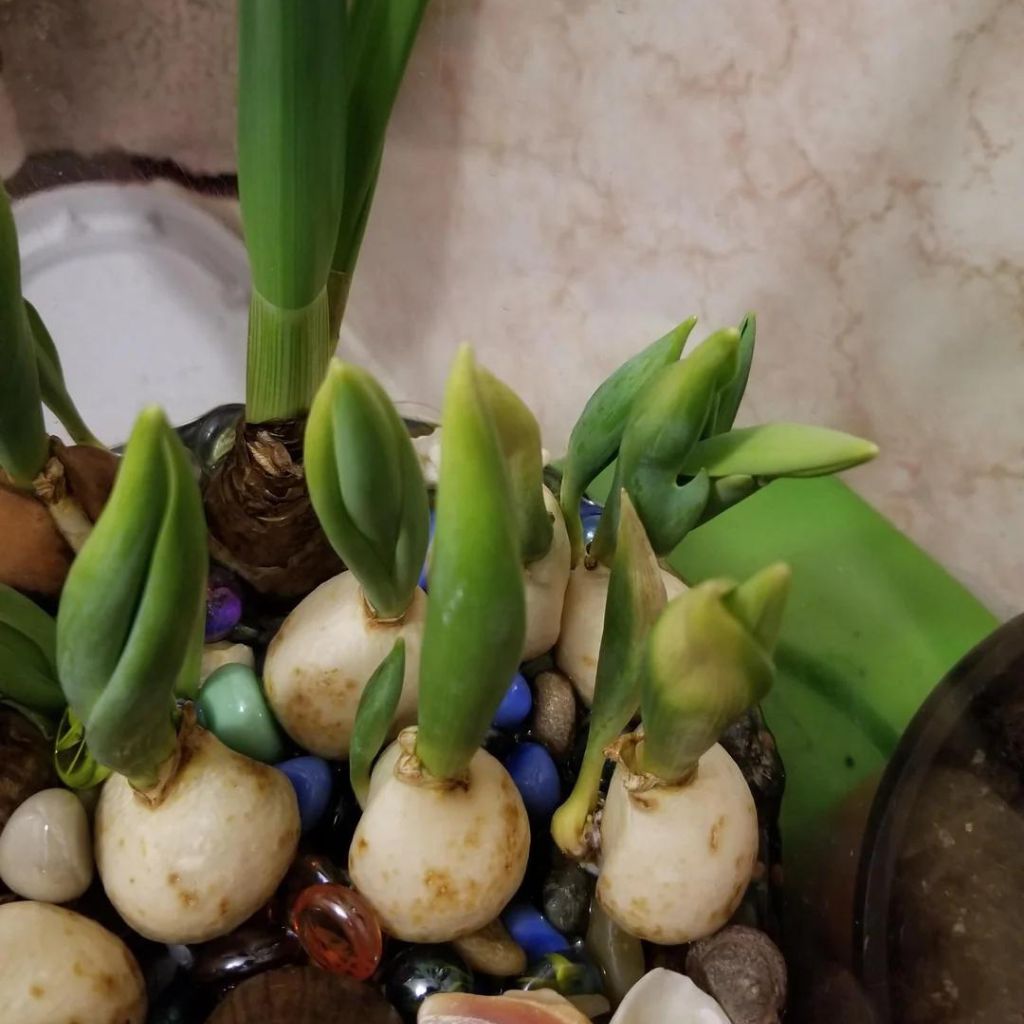
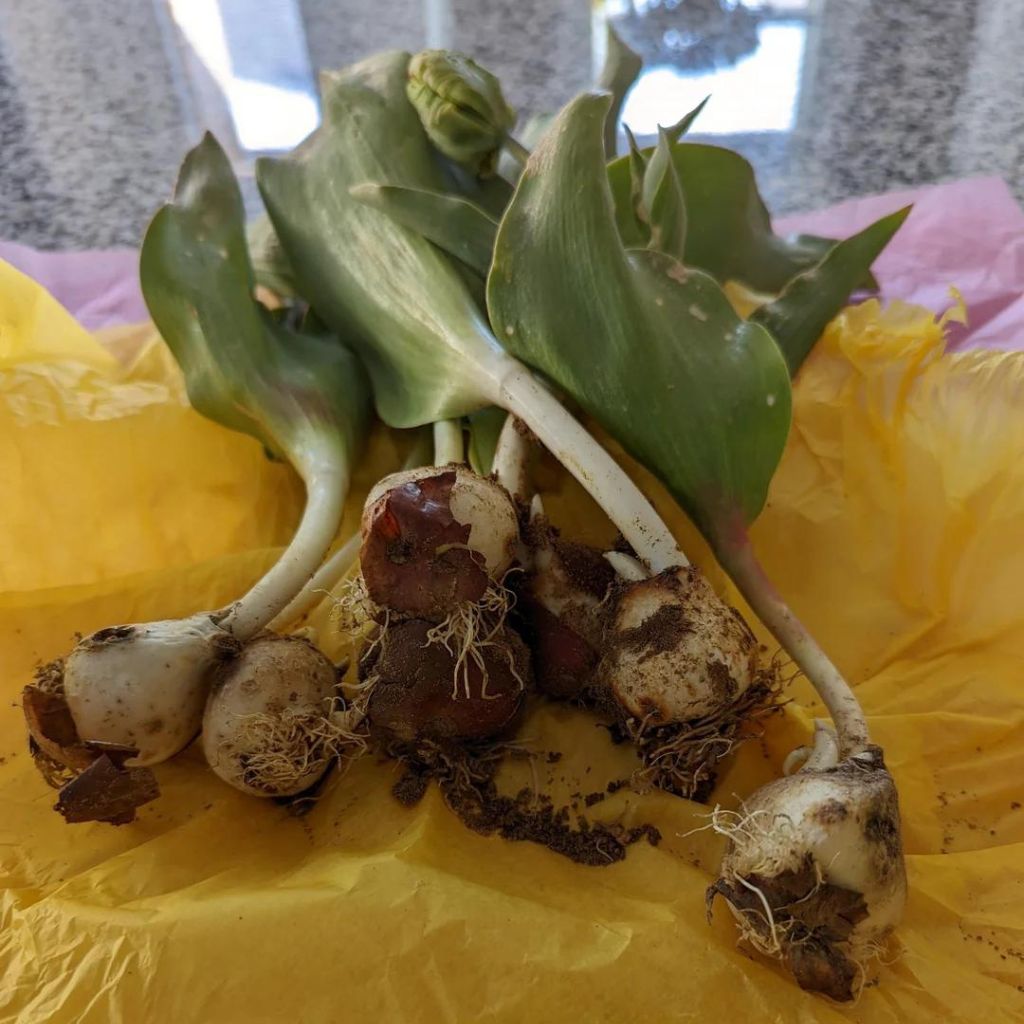
Division of Bulbs
The most common method of propagating tulips is by dividing the bulbs. This is done in the fall, after the foliage has died back. The bulbs should be carefully dug up and separated into individual bulbs.
Each bulb should have at least one growing point and a good root system.
The bulbs can then be replanted at the same depth as they were before, in a well-draining soil mixture. It is important to keep the soil moist but not wet, and to fertilize the bulbs with a balanced fertilizer.
Dividing tulip bulbs every few years can help to maintain the health and vigor of the plants, and can also increase the number of flowers produced.
It is important to note that some tulip varieties may not divide well, and may need to be propagated by other methods.
End of Season Care
Post-Bloom Care
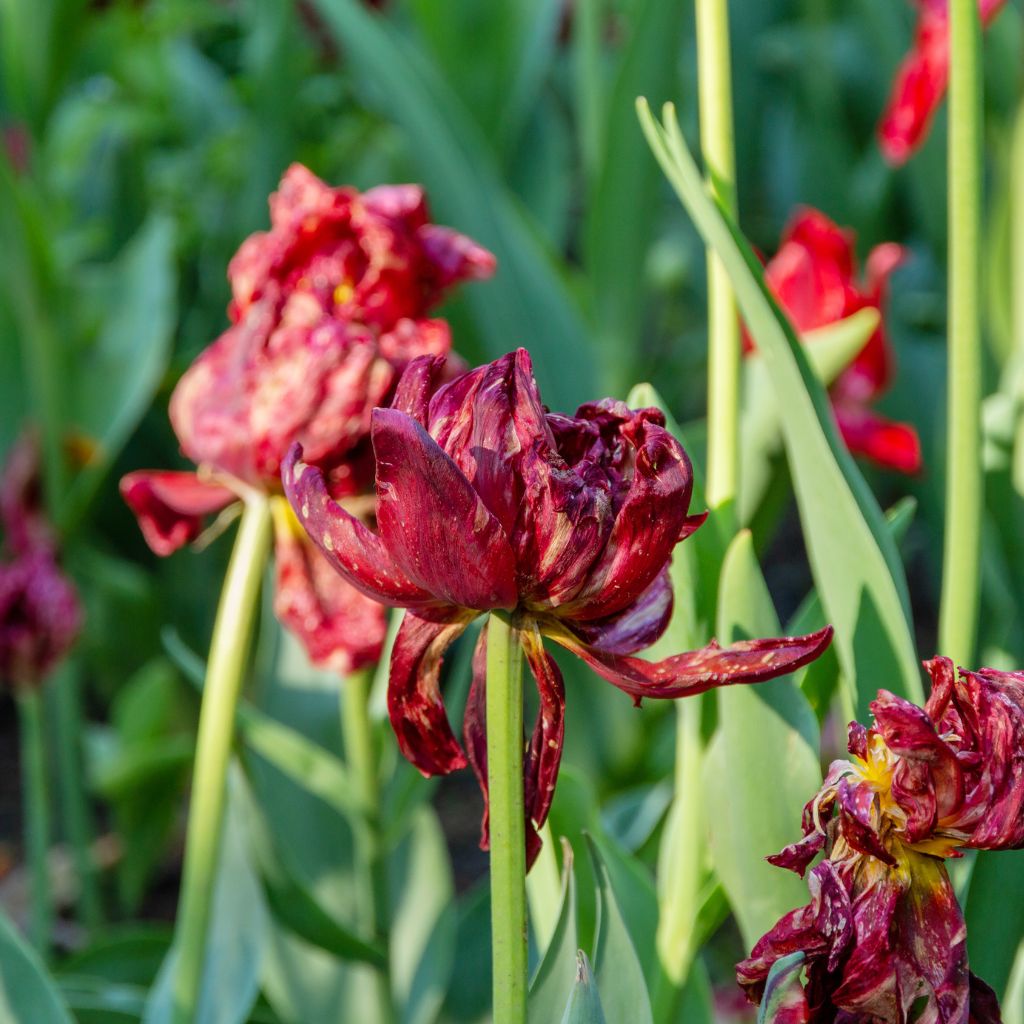
Once the tulip flowers have faded and the petals have fallen off, it’s time to remove the spent blooms. This will prevent the plant from wasting energy on producing seeds and allow it to focus on storing nutrients in the bulb for the next growing season.
To deadhead tulips, use a pair of sharp scissors or pruning shears to cut off the stem just above the leaves. Be careful not to damage the leaves, as they are still needed to produce energy for the bulb.
It’s also important to continue watering the plant until the leaves turn yellow and wither away. This will ensure that the bulb has enough moisture to store nutrients for next year’s growth.
Storing Bulbs for the Off-Season
After the leaves have withered away, it’s time to dig up the bulbs and store them for the off-season. This is especially important if you live in an area with harsh winters, as the bulbs may not survive if left in the ground.
To dig up the bulbs, use a garden fork or shovel to carefully loosen the soil around the plant. Gently lift the bulbs out of the ground, taking care not to damage them.
Once the bulbs have been dug up, brush off any excess soil and remove any dead or damaged parts. Then, store the bulbs in a cool, dry place for the off-season. A cardboard box or paper bag works well for this purpose.
It’s important to check on the bulbs periodically during storage to ensure that they are not rotting or drying out. If you notice any signs of damage, discard the affected bulbs and store the healthy ones separately.
By following these simple steps for end of season care, you can help ensure that your tulips will continue to thrive year after year.
Sustainable Tulip Gardening Practices
Growing tulips can be a rewarding experience, but it is important to do so in an environmentally responsible way.
By adopting sustainable gardening practices, you can minimize your impact on the environment while still enjoying the beauty of tulips in your garden.
One way to practice sustainability is to choose organic or natural fertilizers and pest control methods. These options are less harmful to the environment and can still provide effective results.
Additionally, using compost and mulch can help to improve soil health and reduce the need for chemical fertilizers.
Another sustainable practice is to choose bulbs from local sources, which can reduce the carbon footprint associated with transportation.
Water conservation is also an important aspect of sustainable tulip gardening. Consider using rain barrels to collect water for your garden, and use drip irrigation systems to minimize water waste.
It is also important to water your tulips deeply and infrequently, rather than shallowly and frequently, to encourage deeper root growth and reduce water usage.
Finally, at the end of the growing season, it is important to properly dispose of tulip bulbs and plant debris. Composting is a great option for organic material, while bulbs can be donated or properly disposed of in accordance with local regulations.