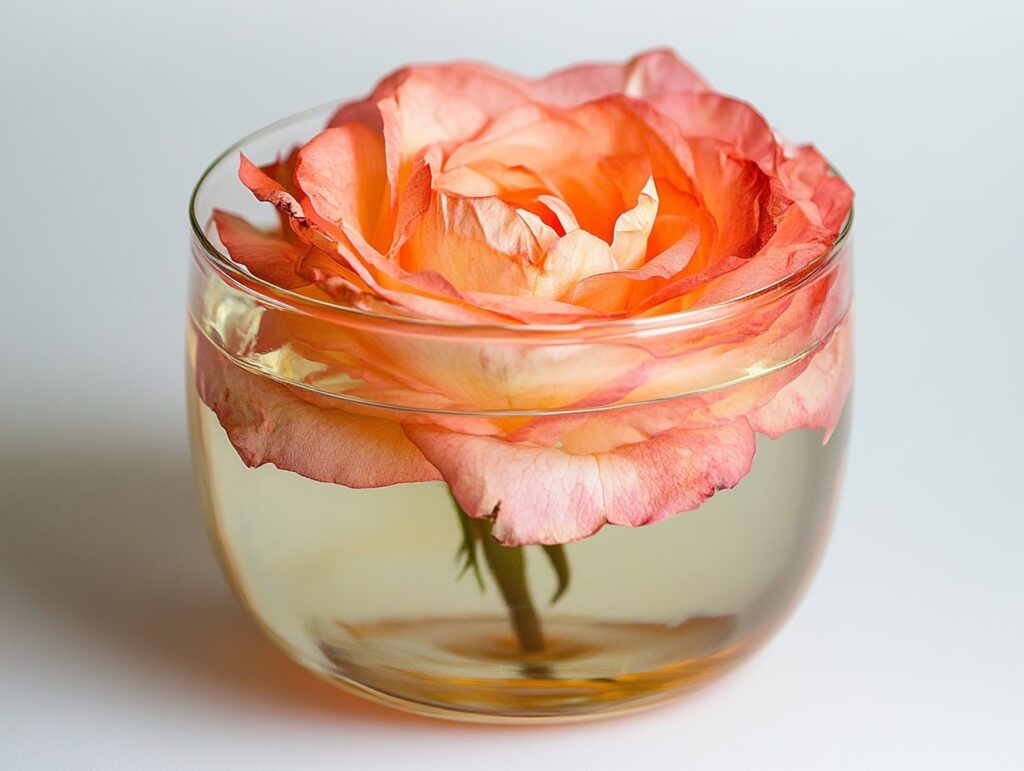
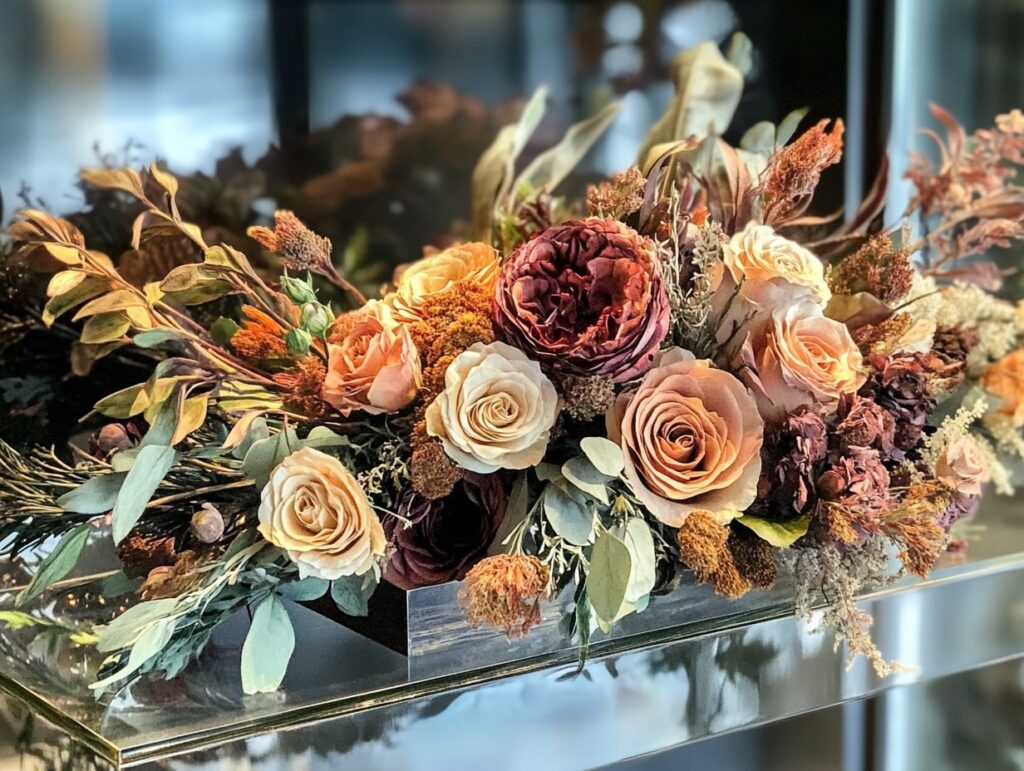
Imagine if you could capture a single, breathtaking moment from your garden, a rose at its peak bloom, its scent lingering in the air, its petals perfectly vibrant, and hold onto it, just as it is, forever.
Flowers come and go, gracing us with their beauty only briefly before they fade away, leaving us wishing we could keep that magic a little longer. But what if there was a way to preserve their charm and keep those memories alive?
Preserving flowers is an art that goes beyond simply drying petals. It’s about bottling up memories, saving the beauty of a season, and, in a way, defying time itself.
For anyone who’s felt that pang watching a favorite bloom wilt, I’ve been there. When I first began gardening, roses were my weakness, their soft layers, captivating colors, and unforgettable fragrance.
But as the seasons turned, I wanted a way to savor them beyond their short stay in the garden. That curiosity sparked a journey to discover eight ways to preserve roses and other cherished blooms, allowing me to relive those precious moments year-round.
Ready to transform your favorite flowers into lasting keepsakes? Here’s how.
1. Air Drying: Embracing Simplicity
The most traditional method of preserving flowers is air drying. It’s simple, requires minimal equipment, and can be done by anyone.
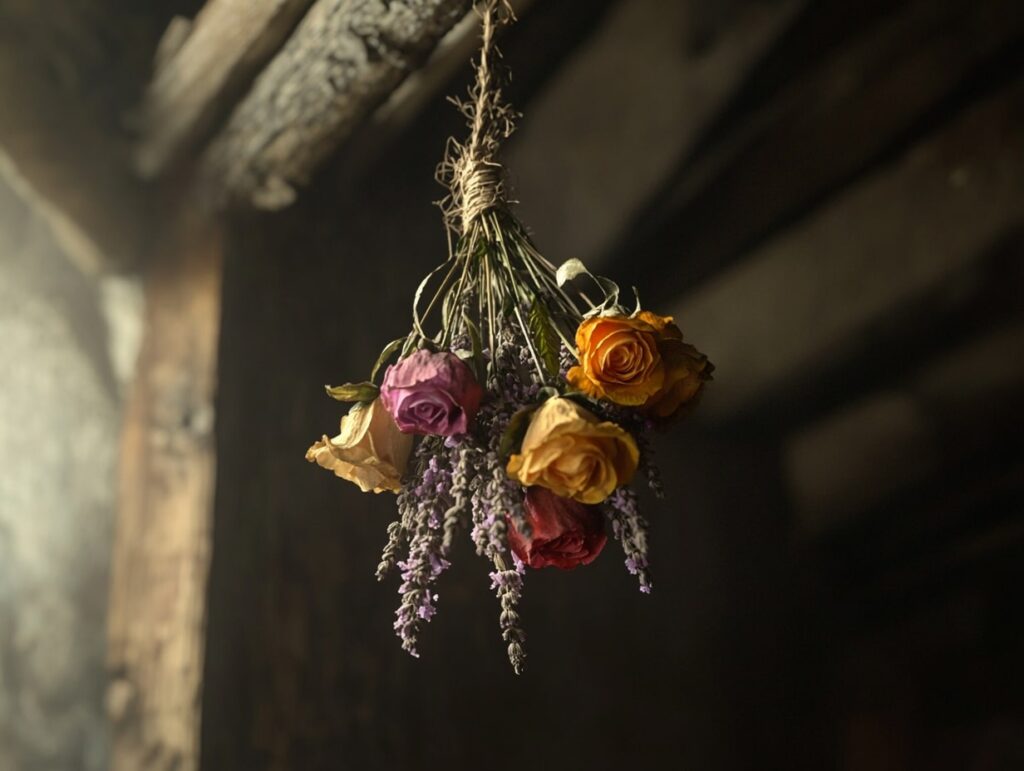
The process involves hanging flowers upside down in a dry, dark place. By depriving them of light and moisture, you allow them to retain their shape while preventing mold and decay.
I remember the first bouquet I ever dried. It was a gift from a friend, and I couldn’t bear the thought of throwing it away. So, I tied the stems together with twine and hung it in my closet. Weeks later, I had a beautifully dried arrangement that I still treasure.
Air drying works best with flowers that have sturdy structures, like roses, lavender, and strawflowers. The result is a rustic, vintage look that can be used in arrangements, wreaths, or simply displayed as is.
2. Pressing: Flattening Time
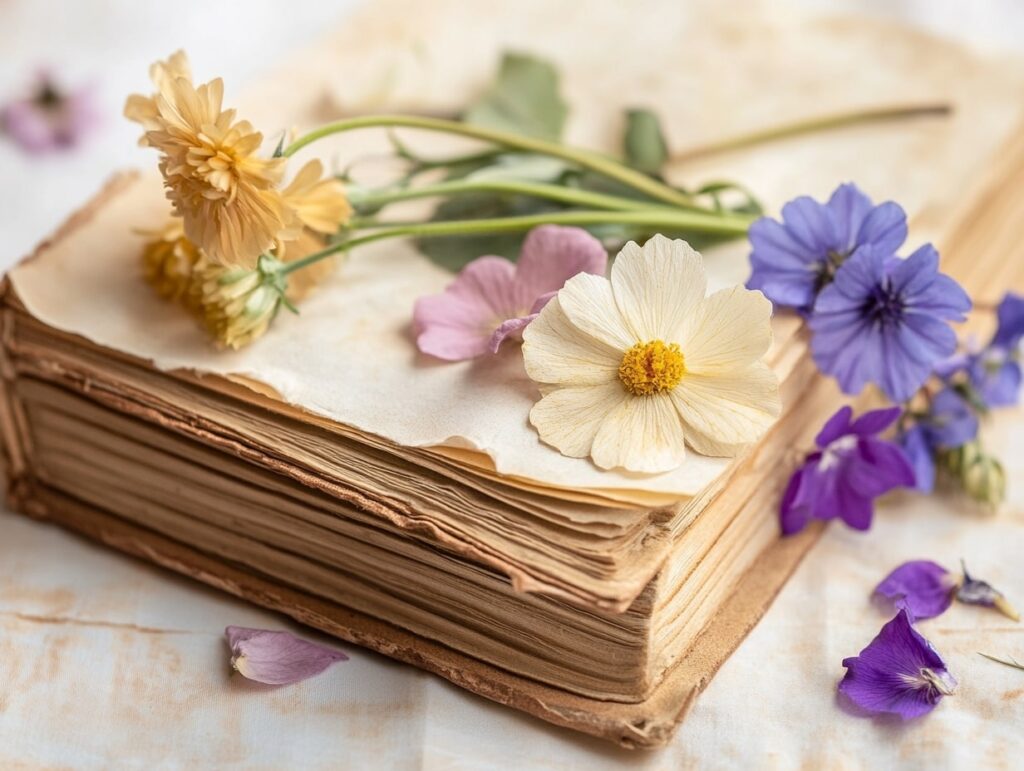
Pressing flowers is another age-old technique. It involves placing flowers between sheets of paper and applying pressure to flatten them over time.
This method is perfect for those who want to use preserved flowers in art projects, like making cards, bookmarks, or framed artwork.
The process is straightforward. Place the flowers between absorbent paper, like blotting paper or coffee filters, and then insert them into a heavy book or use a flower press. After a few weeks, the flowers will be dried and pressed flat.
I often press flowers from significant moments, a rose from a special occasion, a wildflower from a memorable hike. Pressing them not only preserves their beauty but also creates a tangible keepsake of the experience.
3. Using Silica Gel: Preserving Dimension
For those who want to maintain the three-dimensional shape of flowers, drying with silica gel is an excellent option. Silica gel beads absorb moisture efficiently, allowing flowers to dry while retaining their form and color more accurately than air drying.
The process involves burying the flowers in a container filled with silica gel and sealing it for a few days to a week. The gel draws out the moisture, leaving the flower dry but intact.
I once preserved a particularly beautiful rose using silica gel, and the result was remarkable. It looked almost as vibrant as the day I picked it, capturing nuances that air drying would have muted.
4. Glycerin Preservation: Keeping Flexibility
Glycerin preservation is a method that replaces the water in the flower’s cells with glycerin, resulting in a preserved bloom that remains flexible and doesn’t dry out completely. This method is ideal for preserving foliage and some flowers.
To use this technique, mix glycerin with water and place the stems in the solution. Over time, the glycerin is absorbed, and the flowers take on a slightly darker hue with a supple texture.
While this method doesn’t work well with delicate petals, it’s fantastic for preserving leaves and sturdier blooms, offering a unique way to keep a touch of greenery in your arrangements year-round.
5. Microwave Drying: Speeding Up the Process
For those impatient to see results, microwave drying offers a quick alternative. By combining microwave heat with a drying agent like silica gel, you can preserve flowers in a matter of minutes.
Place the flowers in a microwave-safe container, cover them with silica gel, and heat them in short intervals, checking frequently. It’s a delicate process that requires attention to prevent overheating and burning.
I’ve experimented with microwave drying when I needed a preserved flower for a project on short notice. While it takes some practice, the method yields impressive results when done correctly.
6. Epoxy Resin Encapsulation: Art in Preservation
Encapsulating flowers in epoxy resin creates stunning, long-lasting pieces that can be used as jewelry, paperweights, or decorative items. The resin preserves the flowers’ color and shape, suspending them in a clear medium that enhances their beauty.
The process involves arranging the flowers in a mold and pouring resin over them. It’s essential to ensure the flowers are thoroughly dried beforehand to prevent decay.
I was introduced to resin encapsulation by a friend who made a pendant with a tiny daisy inside. Inspired, I tried it with a small rosebud, and it became one of my favorite accessories—a piece of nature I can carry with me.
7. Wax Dipping: Temporary Preservation with a Twist
Wax dipping is a method that coats flowers in paraffin wax, giving them a glossy finish and temporarily preserving them. While the preservation isn’t permanent, it extends the life of the flowers for several weeks.
To wax dip, melt paraffin wax in a double boiler, let it cool slightly, and then dip the flowers quickly before hanging them to dry. The wax seals in moisture and slows down the wilting process.
I find wax-dipped flowers to have a unique charm. They make for intriguing centerpieces or gifts, with their shiny appearance and slightly surreal look.
8. Freeze Drying: Professional Preservation
Freeze drying is a commercial method that yields the highest quality preserved flowers. It involves freezing the flowers and then removing the moisture through a vacuum process, preserving the flowers’ shape, color, and texture exceptionally well.
While not typically accessible for home gardeners due to the equipment required, some florists offer freeze-drying services. It’s an excellent option for preserving flowers from significant events, like wedding bouquets.
A close friend of mine had her wedding bouquet freeze-dried, and the result was stunning. It sits in a display case, a perfect replica of the arrangement she carried down the aisle.
9. Flower Petal Beads: Crafting Memories
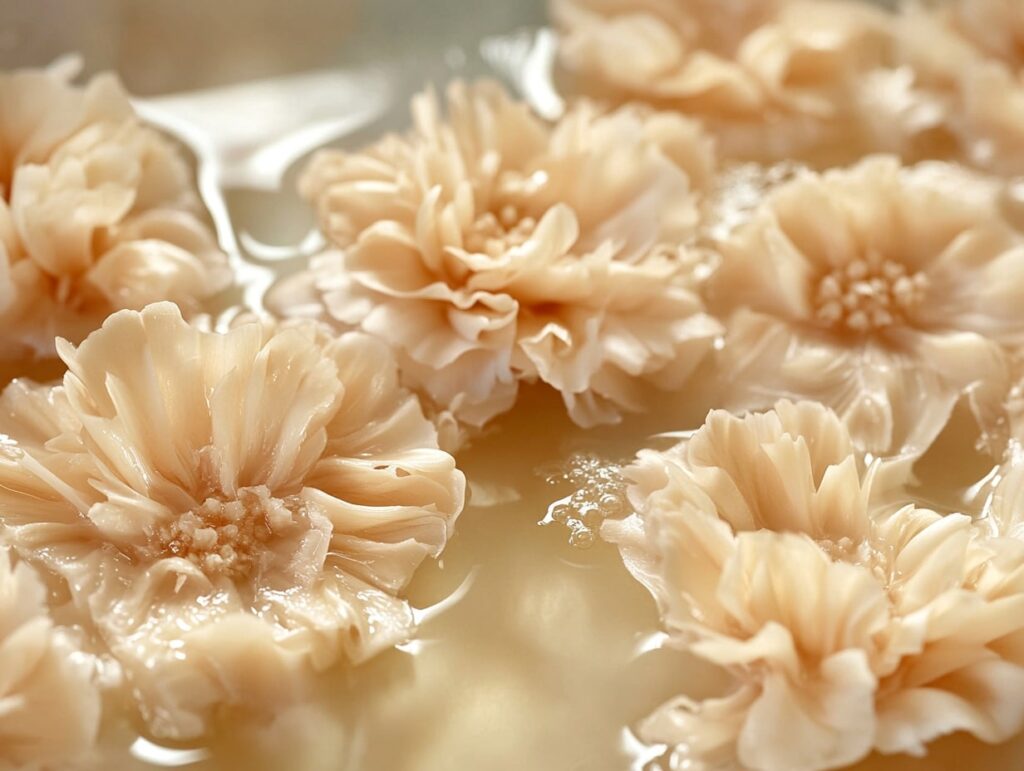
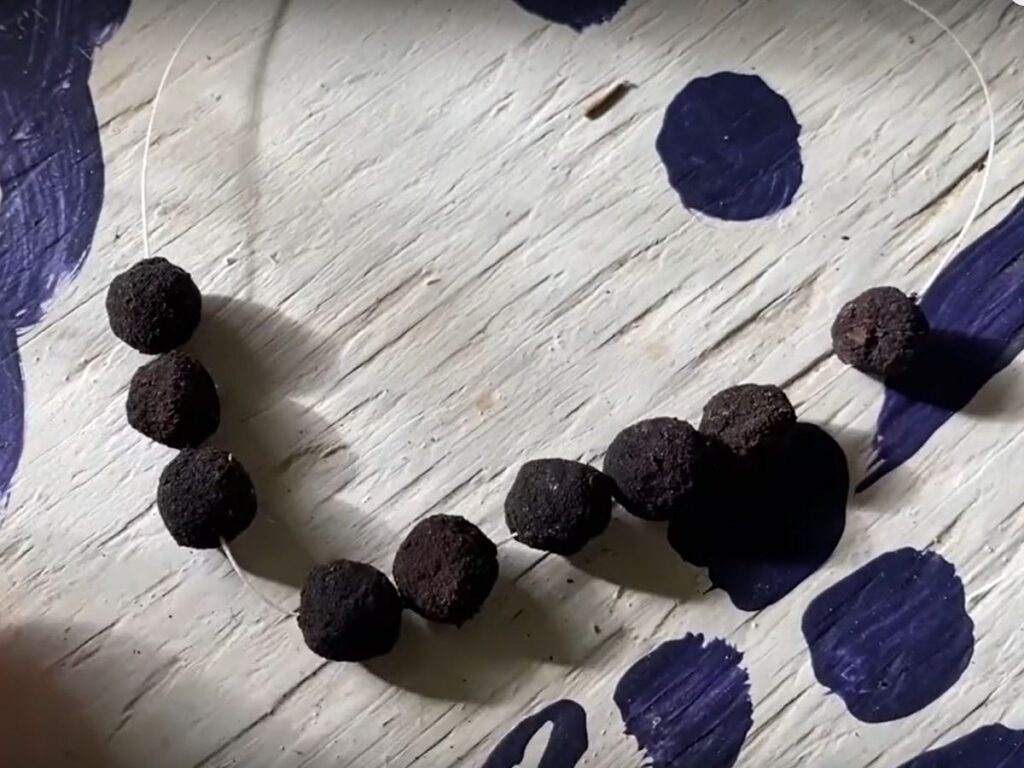
One of the most intriguing methods I’ve come across is turning flower petals into beads. This technique involves simmering petals to create a clay-like substance that can be shaped into beads.
Once dried, these beads can be strung into necklaces, bracelets, or rosaries, a tangible piece of a special occasion you can carry with you.
To make flower petal beads, gather a substantial amount of petals and chop them finely. Simmer them in a saucepan with just enough water to cover the petals. Stir occasionally until the mixture becomes a thick paste.
Roll small portions of the paste into beads and pierce them with a needle to create holes for stringing. Allow them to dry completely, which can take several days.
I first tried this method with roses from my grandmother’s garden. The process was meditative, and the resulting beads had a subtle floral scent.
Wearing the necklace feels like carrying a piece of her garden with me, a personal memento more meaningful than any store-bought jewelry.
10. Eco-Printing: Nature’s Imprint on Fabric
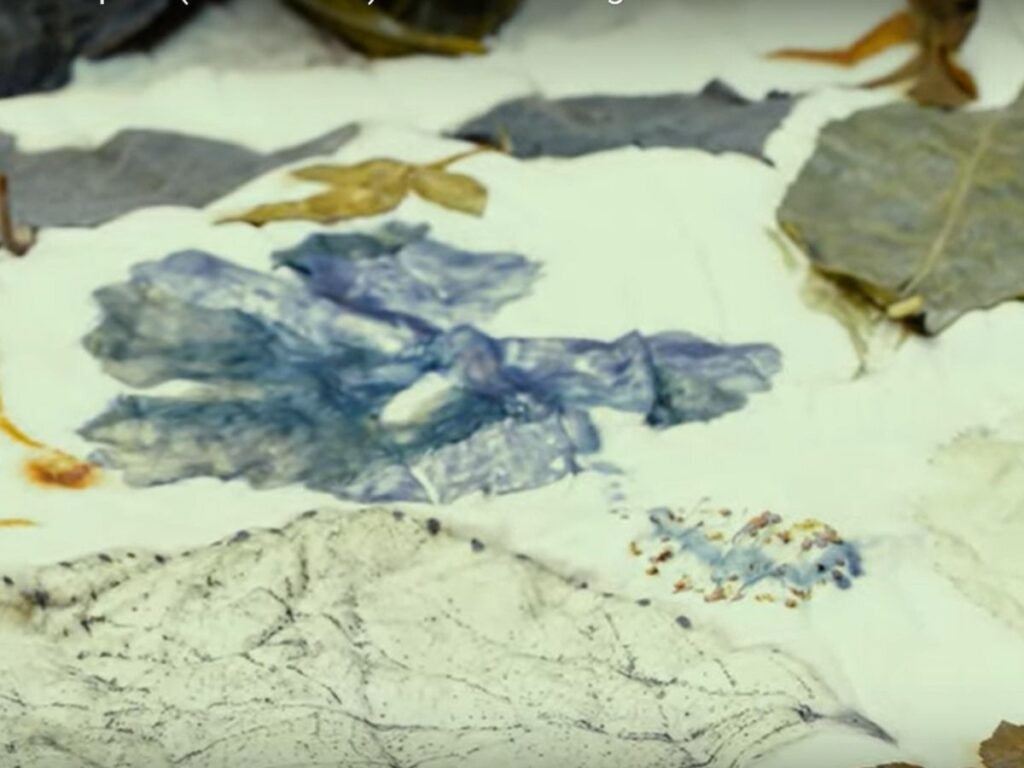
Eco-printing is a form of natural dyeing where the colors and shapes of flowers and leaves are transferred onto fabric through steam or boiling. This method not only preserves the essence of the flowers but also creates beautiful, one-of-a-kind textiles.
To eco-print, arrange flowers and leaves on a piece of natural fabric like silk or cotton. Fold or roll the fabric tightly and secure it with strings or rubber bands.
Steam or boil the bundle for an hour or more, then let it cool before unwrapping. The pigments from the plant materials will have imprinted onto the fabric, creating ethereal patterns.
I experimented with eco-printing using roses and eucalyptus leaves. The result was a silk scarf adorned with delicate impressions of petals and leaves, a wearable piece of art that feels both modern and deeply connected to nature.
11. Flower Preservation in Oil: Capturing Essence
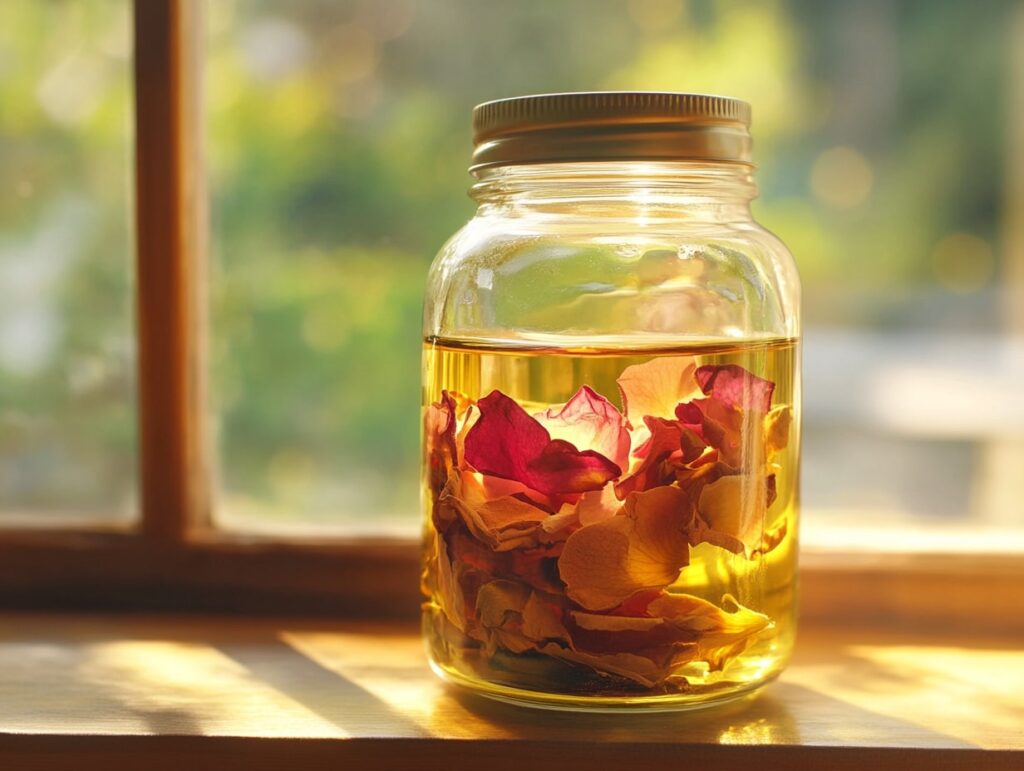
Submerging flowers in oil is a method that not only preserves the visual beauty of the blooms but can also capture their fragrance and therapeutic properties. Infused oils can be used in aromatherapy, skincare, or as decorative elements.
To create an infused oil, place dried flowers in a sterilized glass jar and cover them with a carrier oil like jojoba or sweet almond oil.
Seal the jar and place it in a sunny spot for several weeks, shaking it occasionally. Strain out the flowers, and you’re left with an oil infused with the essence of the blooms.
I once infused rose petals in oil to make a luxurious body oil. The process felt like bottling a piece of summer, the warmth of the sun, the scent of the roses, all captured in a golden liquid.
12. Flower Petal Paper: Writing on Nature
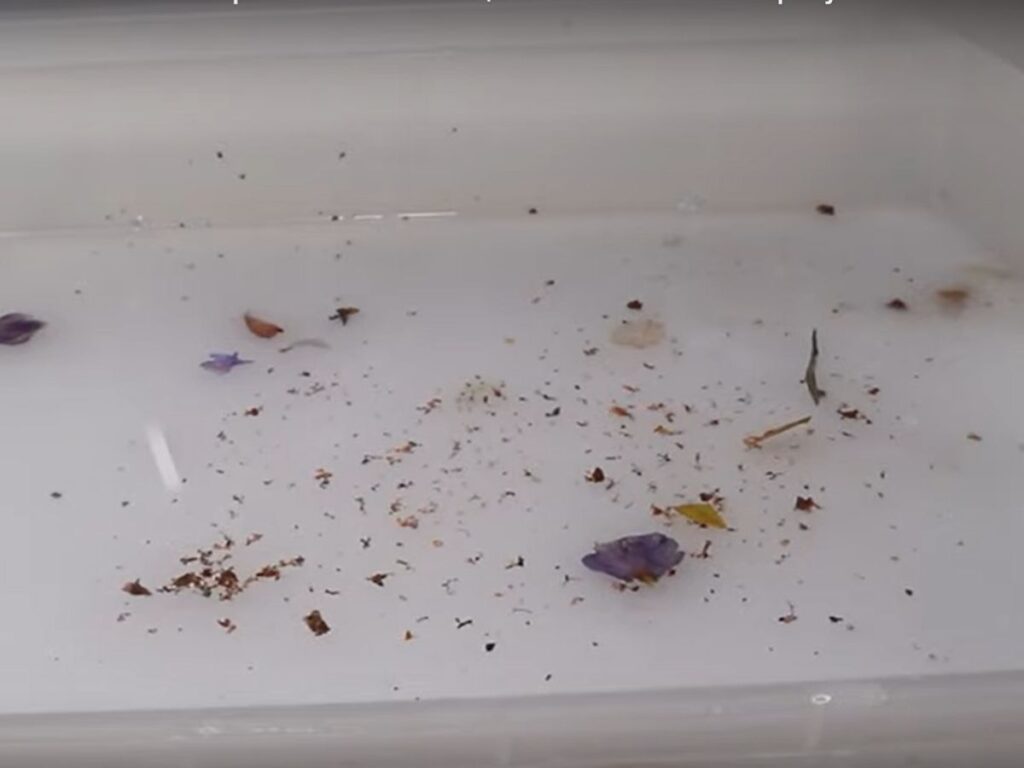
Making paper from flower petals is a method that combines recycling with artistry. The resulting paper has a textured, organic feel, speckled with bits of petals, perfect for special letters, invitations, or art projects.
To make flower petal paper, start by shredding recycled paper and soaking it in water until it becomes pulp.
Blend the pulp to a smooth consistency and mix in finely chopped flower petals. Spread the mixture thinly over a screen or deckle and let it dry completely.
I created petal paper for handwritten notes during a particularly reflective period. There’s something profoundly personal about writing on paper you’ve made yourself, infused with the petals of flowers you’ve grown or collected.
13. Electroforming: Metal-Clad Blooms
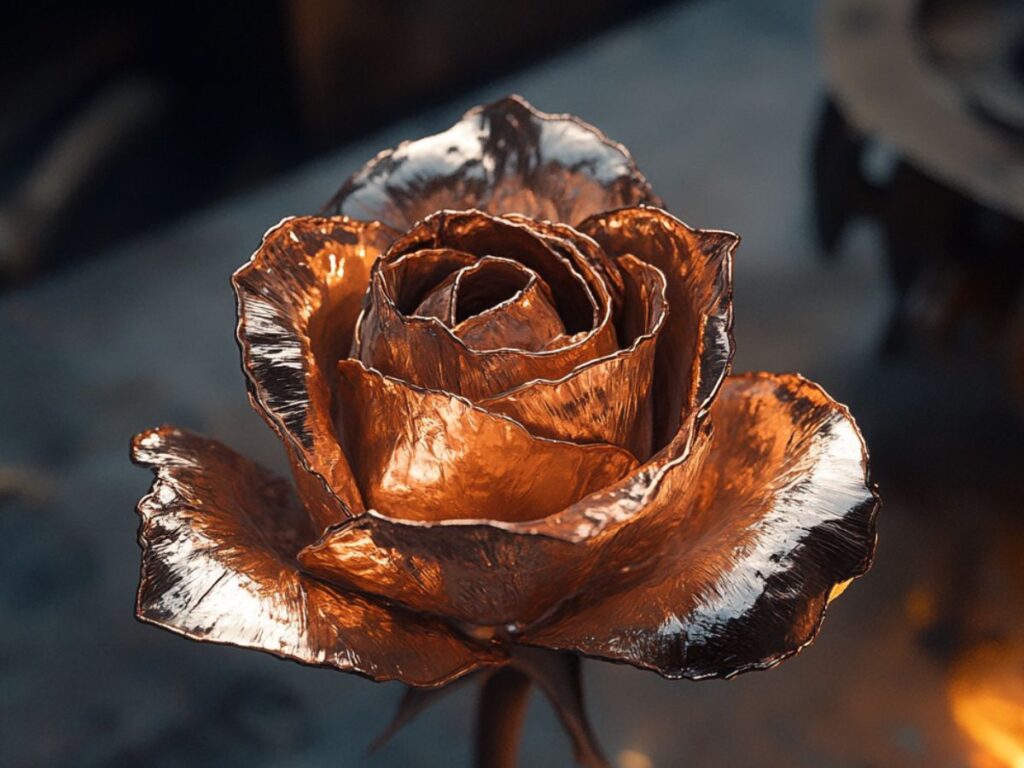
Electroforming is a process that plates organic materials with metal, usually copper, by using an electric current. This method turns delicate flowers into durable, metal-clad pieces that can be used in jewelry or as decorative objects.
To electroform a flower, you first coat it with a conductive paint, then submerge it in an electrolytic solution connected to a power source. Over time, metal accumulates on the surface of the flower, preserving its shape in metallic form.
I tried electroforming with a small rosebud. The process was intricate, requiring patience and precision, but the result was astonishing, a copper-encased rose that retained all its delicate details, transformed into something enduring and timeless.
14. Flower Embroidery: Stitching Life
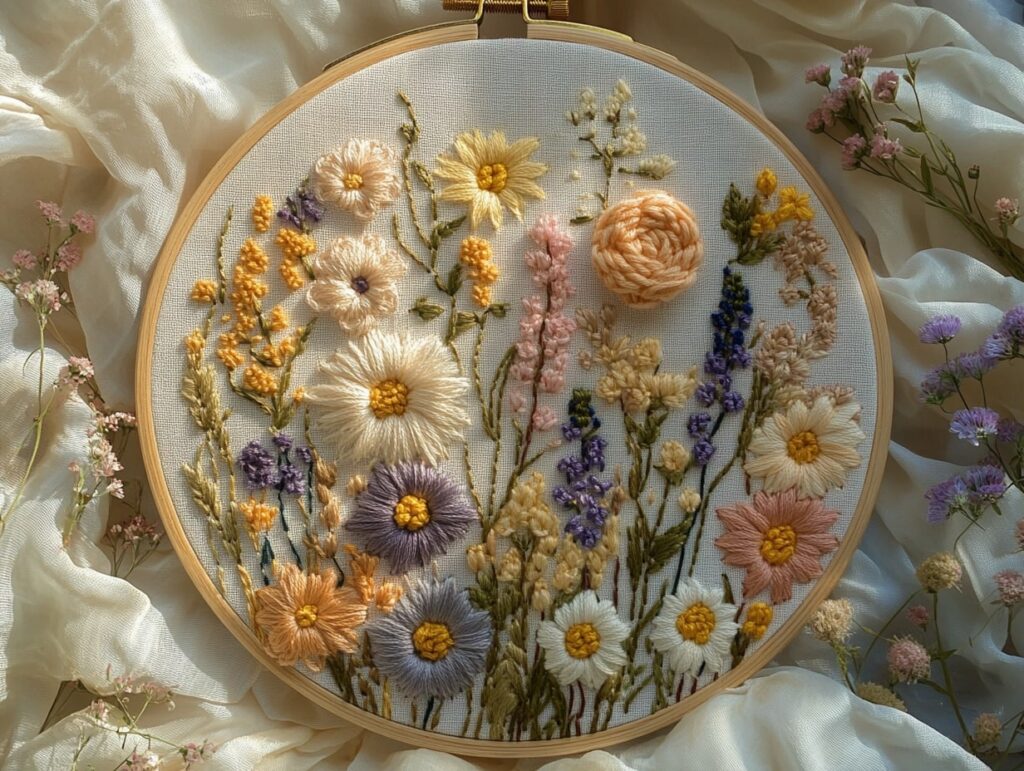
While not preservation in the traditional sense, embroidering the likeness of flowers onto fabric is a way to capture their beauty in a lasting form. This method involves using the colors and shapes of flowers as inspiration for detailed embroidery work.
By studying the petals, stems, and leaves, you can recreate flowers using various stitches and threads. This practice not only preserves the image of the flower but also deepens your appreciation for its form and structure.
I took up embroidery during a time when my garden was in full bloom. Recreating my favorite roses in thread felt like painting with a needle, each stitch a meditation on the flower’s beauty.
15. Making Botanical Lampshades: Illuminated Flora
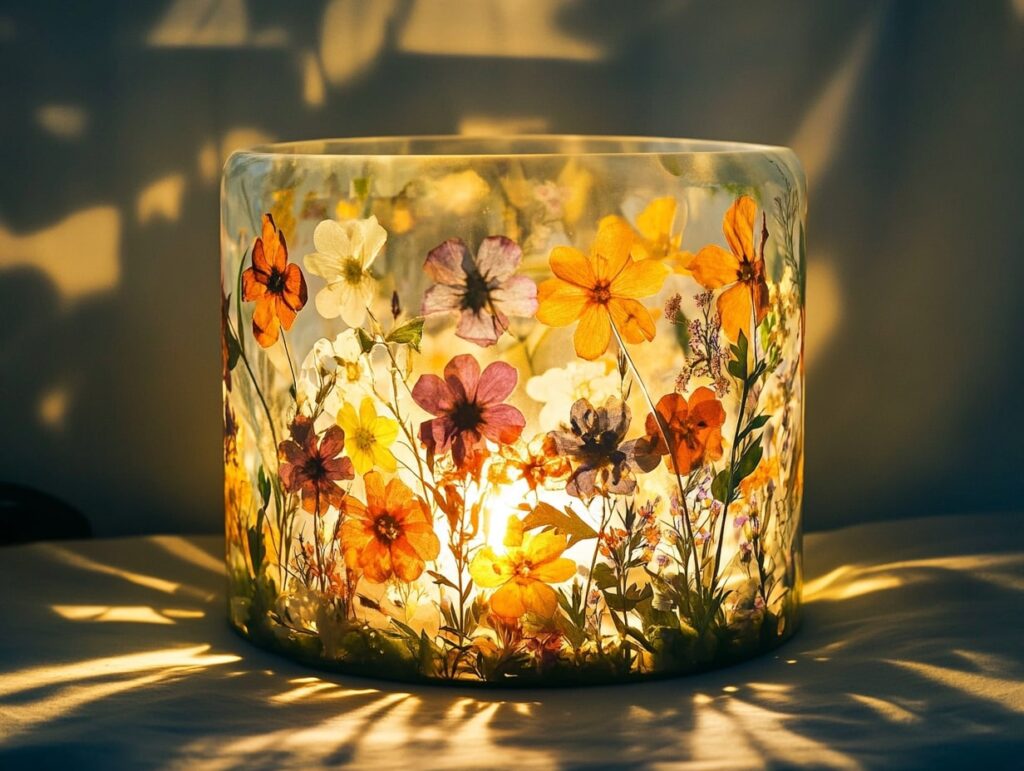
Creating lampshades embedded with dried flowers is a unique way to preserve blooms while adding ambiance to your living space. When the lamp is turned on, the petals become illuminated, showcasing their intricate details.
To make a botanical lampshade, press flowers until they’re completely dry. Arrange them on a plain lampshade or between sheets of translucent paper, securing them with adhesive or laminating sheets.
The key is to use materials that allow light to pass through, highlighting the flowers when the lamp is lit.
I crafted a lampshade using pressed wildflowers collected during hikes. Each evening when I turn on the lamp, it’s like bringing a piece of the meadow indoors—a gentle reminder of the natural world.
16. Freeze Encapsulation: Preserving in Ice
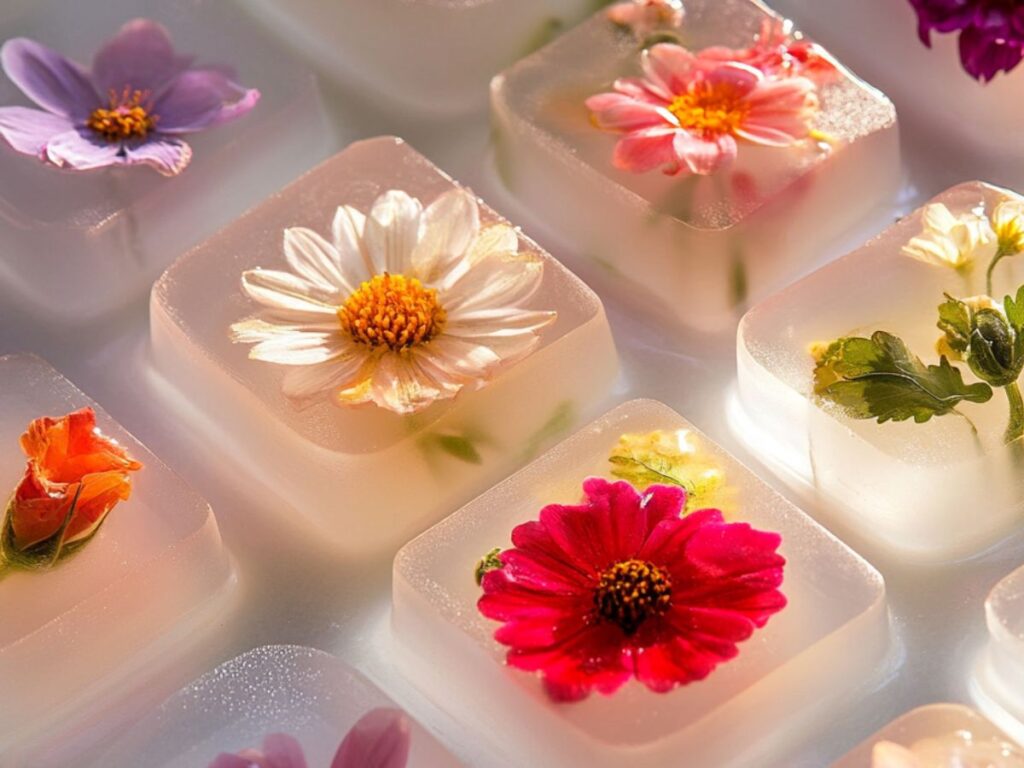
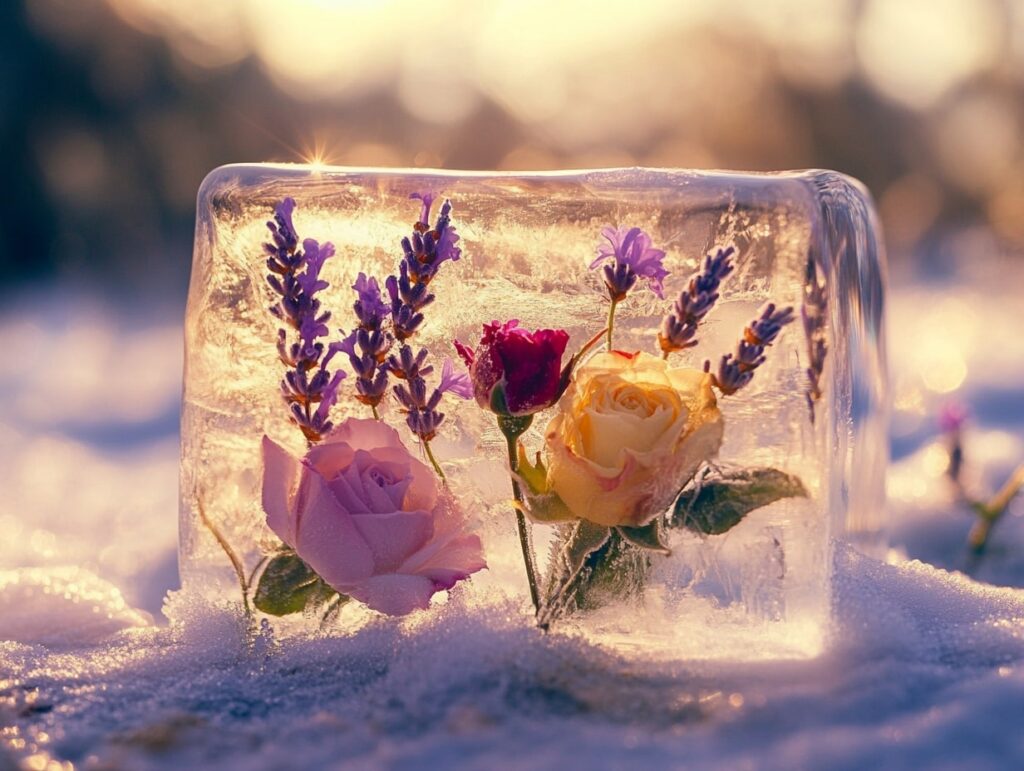
While freeze-drying was mentioned earlier, freeze encapsulation is a different method that involves encasing flowers in ice, creating stunning displays for events or photography.
Though temporary, the ethereal beauty of flowers frozen in ice is unparalleled.
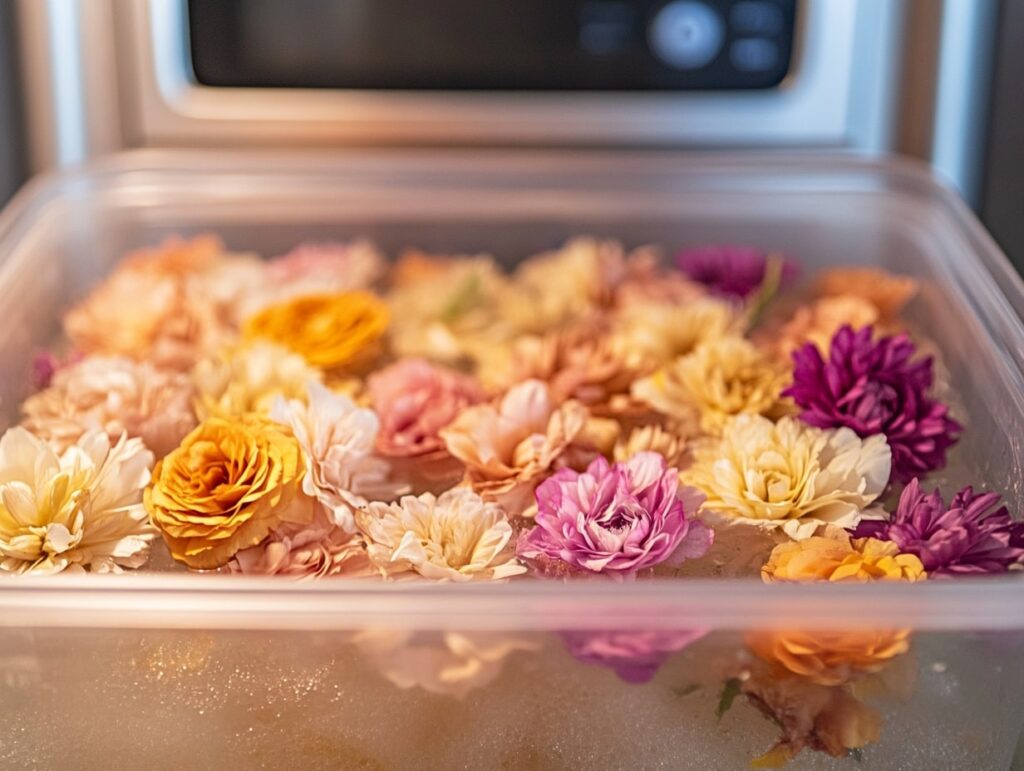
To freeze encapsulate, place flowers in a container and fill it with distilled water. Freeze the container slowly to prevent air bubbles, resulting in clear ice that showcases the flowers inside.
I once used this technique for a garden party, creating ice bowls filled with roses and lavender. As the ice slowly melted, the flowers were released, adding both visual and aromatic elements to the event.
Preserving flowers is more than a series of techniques—it’s a way to capture and cherish the fleeting beauty of nature. By exploring these 16 methods, we find creative avenues to extend the life of roses and other blooms, transforming them into lasting mementos.
Each method offers a unique connection to the moments and emotions they represent. In the end, it’s about more than preservation; it’s about embracing the impermanence of life and finding ways to keep its beauty close, even as time moves on.
