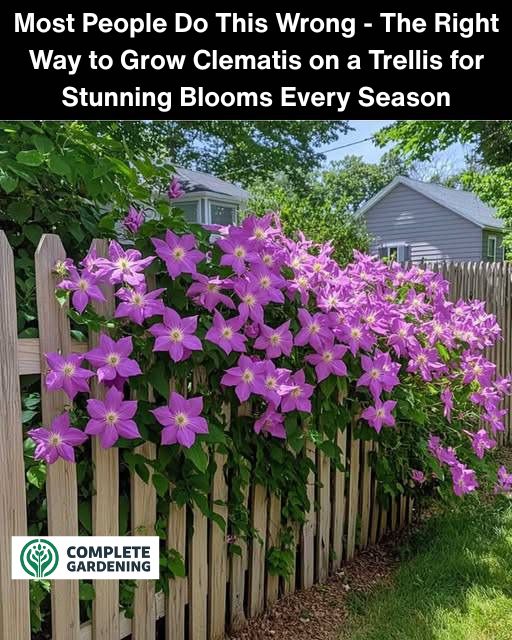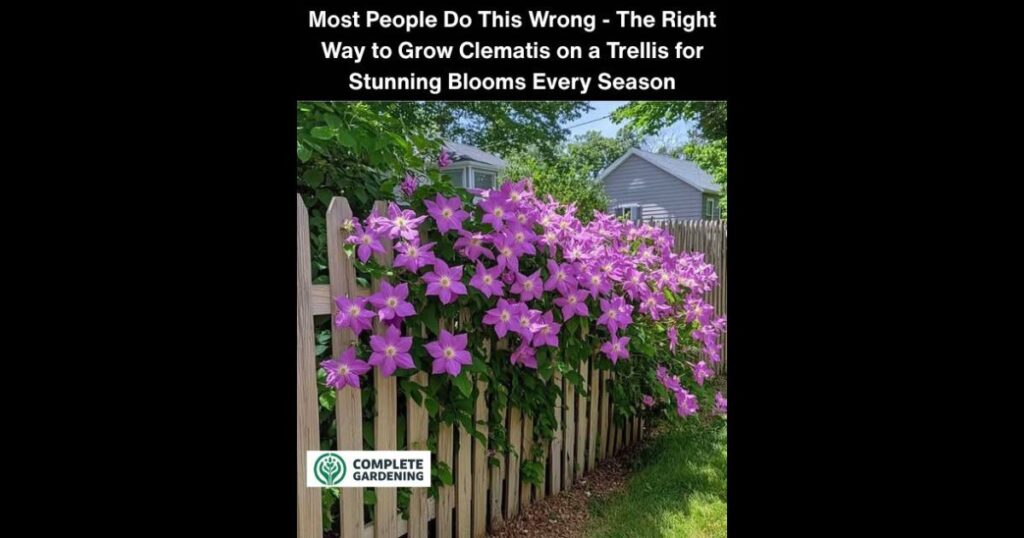
Clematis is one of the most breathtaking climbing plants you can grow, famous for its cascades of colorful blooms that turn any trellis or fence into a floral masterpiece. But despite its popularity, many gardeners struggle with clematis care — ending up with tangled vines, few flowers, or plants that mysteriously wither away.
The truth? Clematis isn’t difficult — it just needs to be planted, trained, and pruned correctly. Once you understand its unique needs, this “queen of climbers” will reward you with years of spectacular growth. Here’s the right way to grow clematis on a trellis, step by step.
1. Understanding Clematis Basics
Clematis belongs to the buttercup family (Ranunculaceae) and includes over 300 species. Its flowers can range from petite star-shaped blooms to massive blossoms a foot wide, in colors from deep purples to bright whites and pinks.
Clematis varieties are grouped by blooming time:
- Group 1: Early flowering (prune after blooming)
- Group 2: Large-flowered hybrids (light pruning in late winter)
- Group 3: Late flowering (hard prune in late winter)
Knowing your plant’s group is crucial — it determines when and how to prune, ensuring consistent blooms year after year.
2. Choose the Right Variety for Your Trellis
Not all clematis varieties grow the same way. Choose based on the size of your trellis and the look you want to achieve.
- Small trellises: Go for compact types like Clematis ‘Bijou’ or ‘Pixie’ (2–3 feet tall).
- Larger trellises: Try vigorous climbers like Clematis montana or ‘Jackmanii’ (10–20 feet tall).
For a classic display, ‘Nelly Moser’ gives pink and white striped blooms, while ‘The President’ offers rich purple flowers that pop against green foliage.
3. Pick the Perfect Spot
Clematis loves sun on its leaves and shade on its roots. Choose a sunny location that gets at least six hours of light daily, but protect the root zone with mulch or a low-growing plant.
Make sure the soil is well-draining and neutral to slightly alkaline. Avoid soggy spots — clematis hates “wet feet.”
4. Preparing Your Trellis or Fence
Before planting, ensure your trellis or fence is sturdy — mature clematis vines can get heavy. If you’re growing near a wooden picket fence, reinforce it with wire mesh or lattice panels for better climbing support.
Avoid wood coated with harsh chemicals or paint that could harm the plant. If needed, refinish it using a plant-safe sealant before planting.
5. How to Plant Clematis Properly
- Dig deep and wide: The hole should be twice as wide and deep as the root ball.
- Enrich the soil: Mix in compost for nutrients and drainage.
- Plant slightly deep: Set the top of the root ball 2–3 inches below the surface — this encourages strong new shoots.
- Space carefully: Plant at least 18 inches away from the fence or trellis to allow airflow and room for roots to spread.
- Mulch well: Add bark or straw around the base to keep the roots cool and moist.
6. Training Clematis on the Trellis
Clematis climbs using leaf stems that twine around supports, but young vines may need help at first. Use soft ties or garden twine to loosely secure stems to the trellis every 12 inches.
Adjust ties regularly so they don’t cut into the stems as the plant grows. Training it evenly will improve airflow and create a fuller, balanced display.
7. Watering and Feeding Tips
Clematis prefers consistent moisture but not soggy soil. Water deeply once or twice a week, increasing frequency during hot spells.
Feed in early spring with a balanced, slow-release fertilizer, then again in mid-summer if growth slows. Avoid high-nitrogen fertilizers — they cause leafy growth but fewer blooms.
8. How to Prune Clematis for More Flowers
Pruning depends on your clematis group:
- Group 1: Prune lightly right after flowering.
- Group 2: In late winter, cut back weak stems to strong buds and remove dead wood.
- Group 3: Prune hard in late winter — cut stems down to 12–18 inches above the ground to encourage vigorous new shoots.
Always use sharp, clean shears to prevent disease spread.
9. Common Mistakes to Avoid
- Planting too shallow: The crown should be below soil level to protect it from frost.
- Over-fertilizing: Too much nitrogen means fewer blooms.
- Poor support: Weak trellises can collapse under the plant’s weight.
- Wrong pruning group: Pruning at the wrong time can remove future flower buds.
10. Simple Hacks for Healthier Clematis
- Shade the roots: Plant ground covers like hostas or creeping thyme to naturally cool the soil.
- Use Epsom salts: Dissolve 1 tablespoon in a gallon of water and apply monthly during the growing season to promote vibrant blooms and strong stems.
- Add compost tea: A natural fertilizer that boosts microbial life and soil fertility.
11. Year-Round Care Tips
- Spring: Feed and train new shoots.
- Summer: Maintain moisture and remove spent flowers.
- Fall: Clean up debris and remove dead leaves around the base.
- Winter: Protect roots with mulch and check trellis stability before strong winds.
Follow these seasonal steps, and your clematis will reward you with a wall of blooms that returns stronger each year.
Conclusion – A Trellis of Color Done Right
Growing clematis doesn’t have to be a guessing game. Once you understand how to plant deeply, prune properly, and provide the right support, your trellis will become a living piece of art bursting with flowers.
Avoid the common mistakes, follow these simple techniques, and you’ll transform your garden into a stunning vertical display that’s the envy of every passerby.