As temperatures drop, many worm keepers face a familiar problem — how to keep their worms alive during the winter months. Worms like red wigglers (Eisenia fetida) are resilient, but they have limits. Freezing temperatures can quickly kill them if their environment isn’t properly managed.
Fortunately, keeping worms warm and healthy through winter doesn’t require expensive equipment — just a few smart adjustments. Here’s the right way to keep your worms alive, comfortable, and composting even when it’s freezing outside.
1. Know What Your Worms Need to Survive Cold Weather
Red wigglers thrive in temperatures between 55°F and 77°F (13°C–25°C). When it gets colder, their metabolism slows down, meaning they eat less and move less. Below 40°F (4°C), worms can go dormant, and below freezing, they can die.
To keep them safe, you need to maintain warmth, moisture, and airflow in their bedding. Think of it as recreating their natural underground habitat — insulated, damp, and rich in organic matter.
2. Choose the Perfect Location for Your Worm Bin
The best location depends on how cold your winters get. Indoors is always best if possible — basements, heated garages, or utility rooms offer stable temperatures and protection from frost.
If your only option is outdoors, place the bin against a south-facing wall or under a covered porch where it gets daytime warmth and shelter from wind and snow. Keep it off cold concrete — raising it on a few bricks helps prevent heat loss.
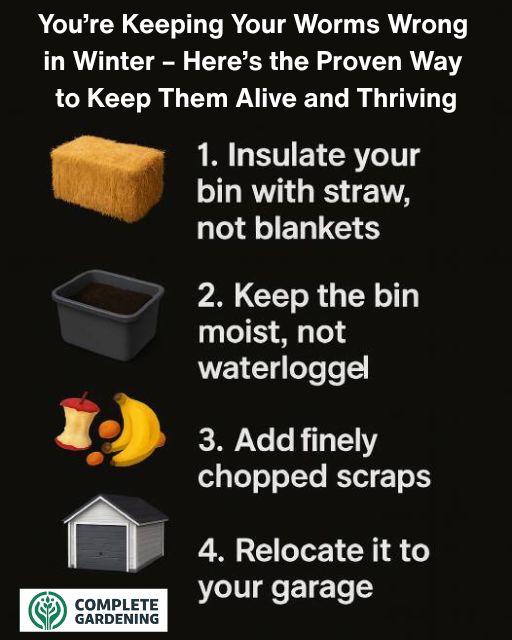
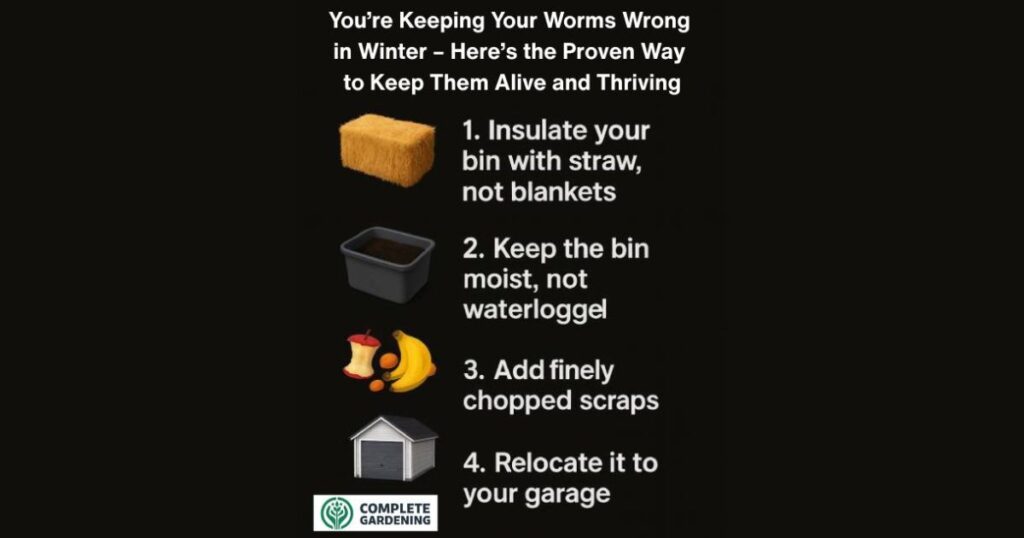
3. Use Straw for Insulation – Skip the Blankets
Blankets might seem convenient, but they trap moisture and can lead to mold or poor airflow. Straw is the better insulator — it traps air and maintains warmth naturally while still allowing oxygen to flow.
Cover the worm bin with 6–12 inches of straw, making sure it stays dry. This layer will keep your worms cozy even when outside temperatures plummet.
4. Maintain Perfect Moisture – Damp, Not Wet
Moisture control becomes tricky in winter, especially indoors where heating systems can dry out the air. Keep the bedding as moist as a wrung-out sponge — damp but never soggy.
Add moistened cardboard or newspaper to retain humidity, and mist occasionally if it feels dry. Avoid overwatering — cold, wet conditions can suffocate worms and lead to rot.
5. Feed Small Portions, Not Piles
When it’s cold, worms eat less. Large food scraps can sit and rot before they’re consumed, creating foul smells and attracting pests. Chop food into small pieces or blend it before adding it to the bin.
Feed smaller amounts more often, and wait until most food is gone before adding more. The key is to match their slower metabolism — they’ll thank you in the spring with a healthy population boom.
6. Basement or Garage? Choose Wisely
A basement is ideal — it stays warmer and maintains consistent humidity levels. A garage, however, can fluctuate between freezing and warm depending on the weather and car activity.
If you must use a garage, insulate the bin heavily and keep it away from vehicles and chemicals. You can also use a small space heater nearby (never directly on the bin) to stabilize temperatures around 55°F (13°C).
7. Keep an Eye on Temperature and Humidity
Use a digital thermometer and hygrometer to monitor your bin. The ideal humidity is 70–90%, and temperatures should never drop below 50°F (10°C).
If you see temperatures dipping too low, add more insulation, move the bin to a warmer area, or gently warm it using safe heat sources (like rice socks or compost heat, explained below).
8. Use a Compost Thermometer for Accuracy
A compost thermometer helps you check the internal temperature deep within the bedding — not just the air around it. Worms often cluster in the warmest section, and this tool helps ensure that core warmth is maintained.
If readings are too low, adjust insulation or consider temporarily moving the bin to a more stable indoor location.
9. Ventilation Is Key to Survival
Even in winter, worms need oxygen-rich airflow. Make sure vents or holes in the bin remain open and unblocked by straw or bedding.
Good ventilation prevents dangerous gas buildup (like ammonia) and keeps conditions fresh. If using outdoor insulation, check occasionally to ensure the bin still “breathes.”
10. Preparing Outdoor Bins for Winter
Outdoor bins need extra preparation. Move them to a protected spot, such as against the house or under a porch roof. Wrap the sides with straw bales or old bubble wrap, and cover the top with a tarp to block snow and rain.
During extremely cold spells, bury the bin partially underground or add extra organic matter (like leaves or compost) — it naturally generates heat as it breaks down.
11. Clever Winter Hacks That Actually Work
Social media is full of creative worm-care hacks — and some of them are surprisingly effective. Try these safe, proven tricks:
- Rice Sock Heaters: Fill old socks with dry rice, microwave them for a minute, and tuck them near (not inside) the bin to add gentle warmth.
- Bubble Wrap Shield: Wrap the outside of the bin with bubble wrap for an extra layer of insulation.
- Compost Heat Boost: Place your worm bin near a warm compost pile — the natural heat can help maintain temperature without electricity.
Always make sure whatever method you use doesn’t block ventilation or create overheating pockets.
Final Thoughts: Keep Them Cozy, Keep Them Alive
Worms might be small, but they’re an essential part of a healthy compost system — and with the right care, they’ll easily survive winter.
Focus on the three essentials: stable temperature, steady moisture, and proper airflow. With those under control, your worms will stay alive, active, and ready to explode with activity once spring arrives.
Follow these steps, and you’ll never lose another worm to the cold again.