
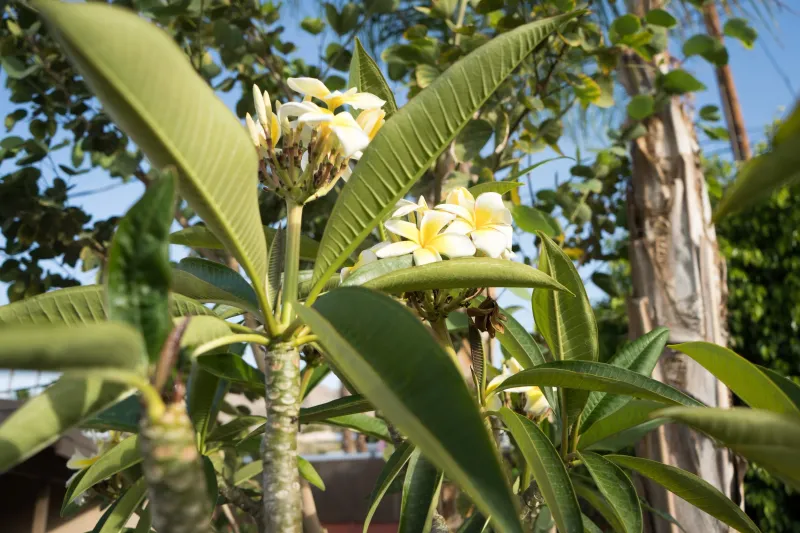
Plumeria is one of those plants that makes Florida gardeners feel like they live somewhere truly special, with heavy clusters of waxy flowers that fill the evening air with scent. But a lot of pruning advice floating around promises more than any pair of pruners can actually deliver. Before you make a single cut, it helps to understand what pruning can and cannot do for your plant, because the wrong move at the wrong time can cost you a full season of flowers.
Pruning cannot guarantee stronger fragrance
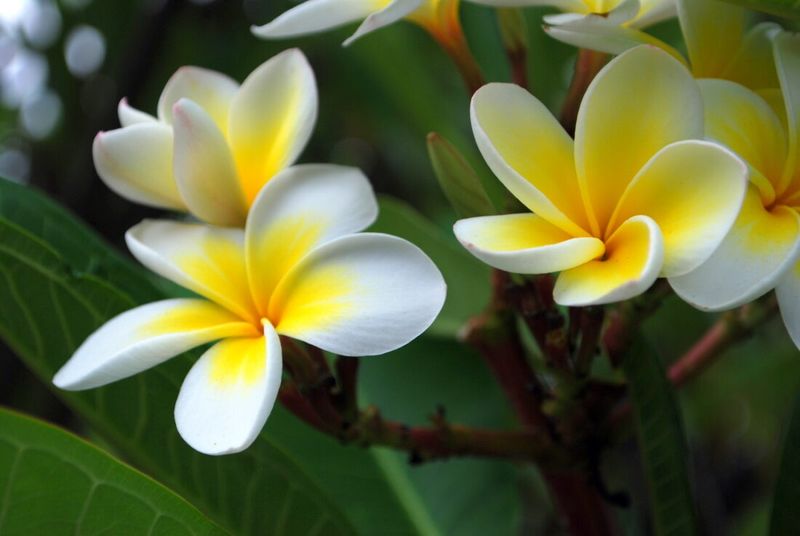
Plumeria fragrance is genuinely remarkable, but it does not come from a pruning cut. Scent varies widely among species and cultivars, ranging from faint and barely detectable to rich and heady, with notes that can include citrus, coconut, rose, cinnamon, jasmine, and gardenia. University of Hawai’i research on plumeria fragrance confirms that scent intensity and character are primarily a function of cultivar and flower traits, not of how the plant was trimmed.
The number of flowers open at once can influence how much scent you notice in the garden, but that is an inference about total perceived scent, not a proven result of any particular cut. One plant with fifty open flowers may smell stronger than the same plant with ten, simply because more scent is being released at the same time. That observation does not mean pruning caused the fragrance to intensify per flower.
UF/IFAS describes plumeria flowers as highly aromatic but does not recommend pruning as a way to increase fragrance. Pruning can alter the plant’s shape and stimulate new branching after a cut, but University of Wisconsin Extension guidance on plumeria makes clear that branching is not the same as guaranteed flowering, and flowering is not the same as stronger scent per bloom. Growing conditions, sun exposure, and cultivar selection do far more for fragrance than any pruning technique.
Use dormancy to inspect the branch framework
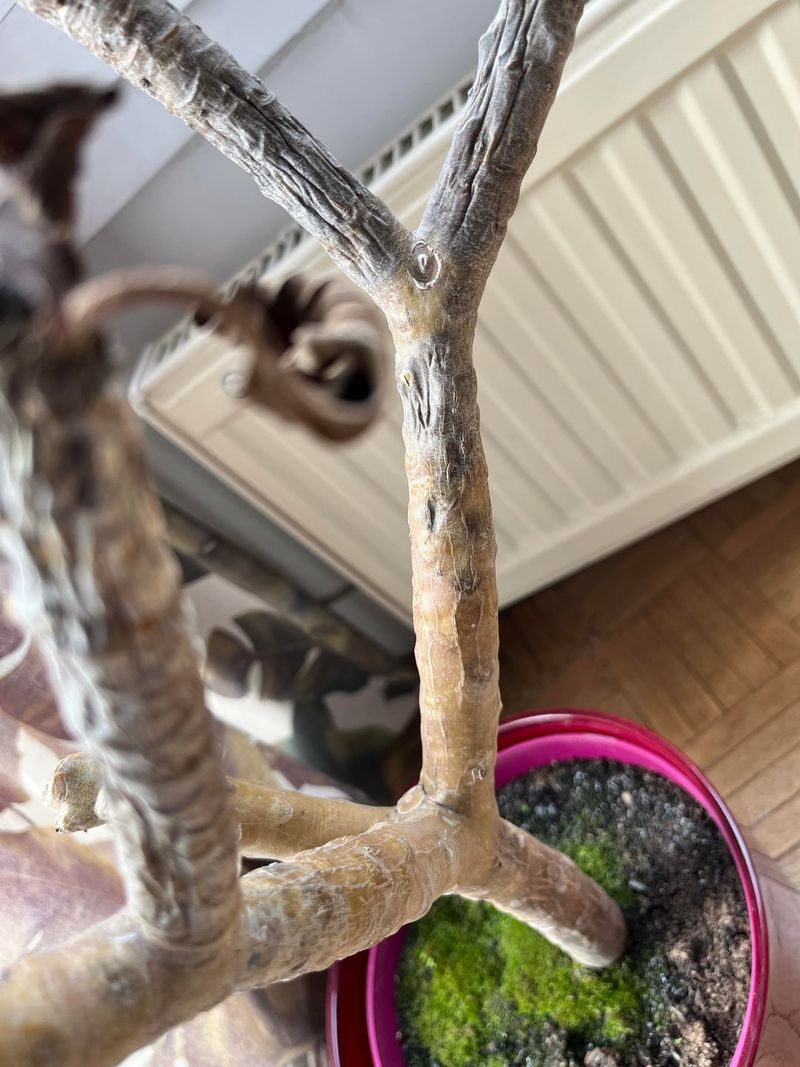
Winter gives Florida plumeria growers a practical advantage that gardeners in cooler climates rarely get to use. Many deciduous plumerias drop their leaves during Florida’s winter dormancy while their green stems keep photosynthesizing in the mild subtropical air. That bare framework is the best time to see exactly what you are working with before you ever pick up a pruner.
Walk around the plant and look for branches that cross or rub against each other, limbs that angle awkwardly back into the center of the canopy, tips that have turned dark or shriveled from cold or disease, and any growth that crowds a path, a structure, or a neighboring plant. Evergreen and semi-evergreen types such as Plumeria obtusa and Plumeria pudica will not drop their leaves the same way, so you need to look through the foliage rather than waiting for a bare-branch window.
UF/IFAS notes that plumeria is most reliably suited to USDA Zones 10B-11 in Florida, with Central Florida’s Zone 9B carrying real frost risk. If you garden in a frost-prone area, check tips and upper branches carefully after any cold event before deciding whether those sections need to come off. The inspection itself costs nothing, and it prevents you from removing healthy wood that would have flowered.
For many deciduous types, shape before spring leaf-out
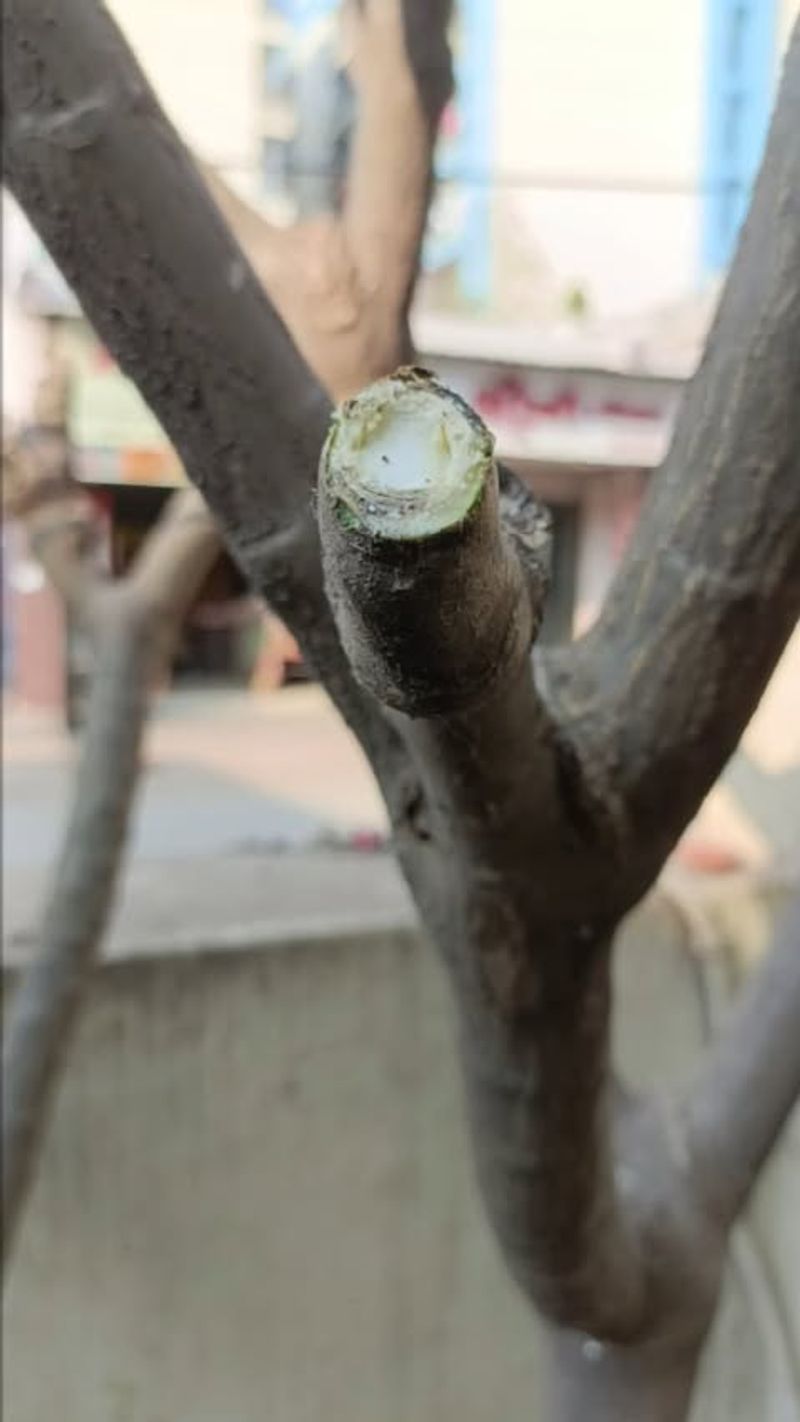
Timing a pruning cut on plumeria is not a one-size-fits-all calendar decision. For many deciduous types grown in Florida, late winter to early spring, before active leaf-out begins, is the most practical window for any necessary shaping. Pruning after leaf drop in winter is also a workable option, and University of Wisconsin Extension recommends spring before leaf-out for deciduous types as the preferred approach.
Dormant-season pruning gives new shoots the longest possible runway to mature before the blooming period. A shoot that emerges in spring has months to develop, and it may produce a flower cluster later in the same growing season. University of Hawai’i Cooperative Extension guidance on plumeria explains that winter pollarding can produce shoots that flower late in the year, while summer pollarding often produces short branches that do not flower until the following year. That distinction matters if you are hoping for blooms in the current season.
Evergreen or semi-evergreen cultivars do not follow the same dormancy pattern, so the late-winter window does not apply to them in the same way. Regional microclimates add another layer of complexity: South Florida, coastal areas, and Central Florida have meaningfully different frost and growth patterns, and a single statewide pruning date cannot account for all of them. Use the plant’s own behavior, specifically when it begins pushing new growth, as your most reliable guide.
Give every cut a clear purpose
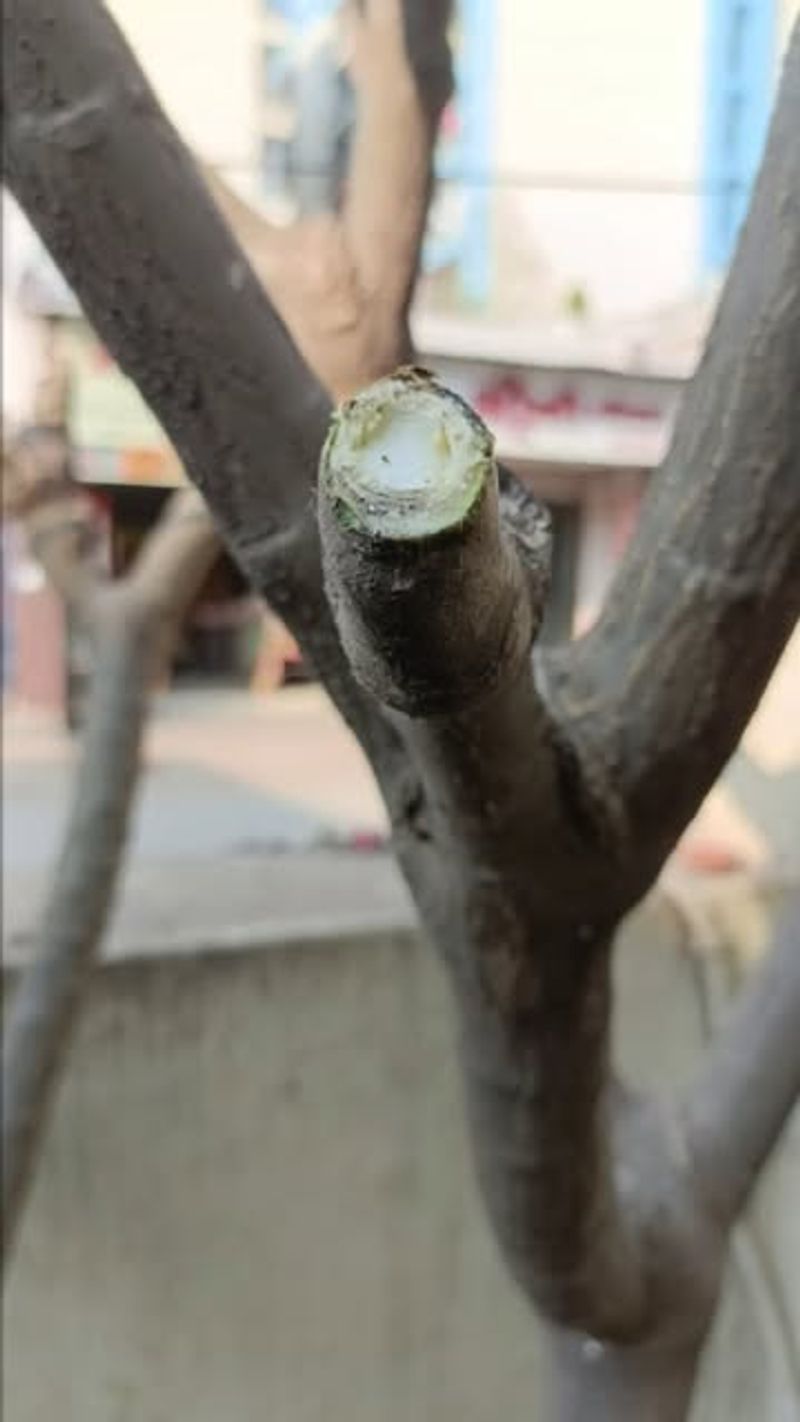
Plumerias are not heavy-pruning plants. They do not need an annual reduction the way some shrubs do, and removing healthy wood without a reason simply takes away potential flowering tips. Before reaching for any tool, ask what problem the cut is actually solving.
The categories that justify a cut are straightforward: the branch is dead, damaged, diseased, crossing another branch in a way that causes rubbing or crowding, poorly placed in relation to the plant’s structure, blocking a path or a structure that requires clearance, or clearly undermining the plant’s overall form. UF/IFAS guidance on plumeria supports this restrained approach, and Wisconsin Extension notes that roughly 10% to 60% of branch tips may set flower clusters, with compact plants generally blooming more heavily than leggy ones.
That last observation is worth handling carefully. A compact, well-shaped plant may carry more blooming tips per unit of canopy than a stretched, leggy one, but that does not mean aggressive pruning reliably creates compactness or increases bloom. Cutting back a healthy branch removes an existing flowering tip. The decision rule is simple: if you cannot name a specific structural, health, clearance, or form-related reason for a cut, leave the branch alone.
Remove problem wood before shaping the silhouette
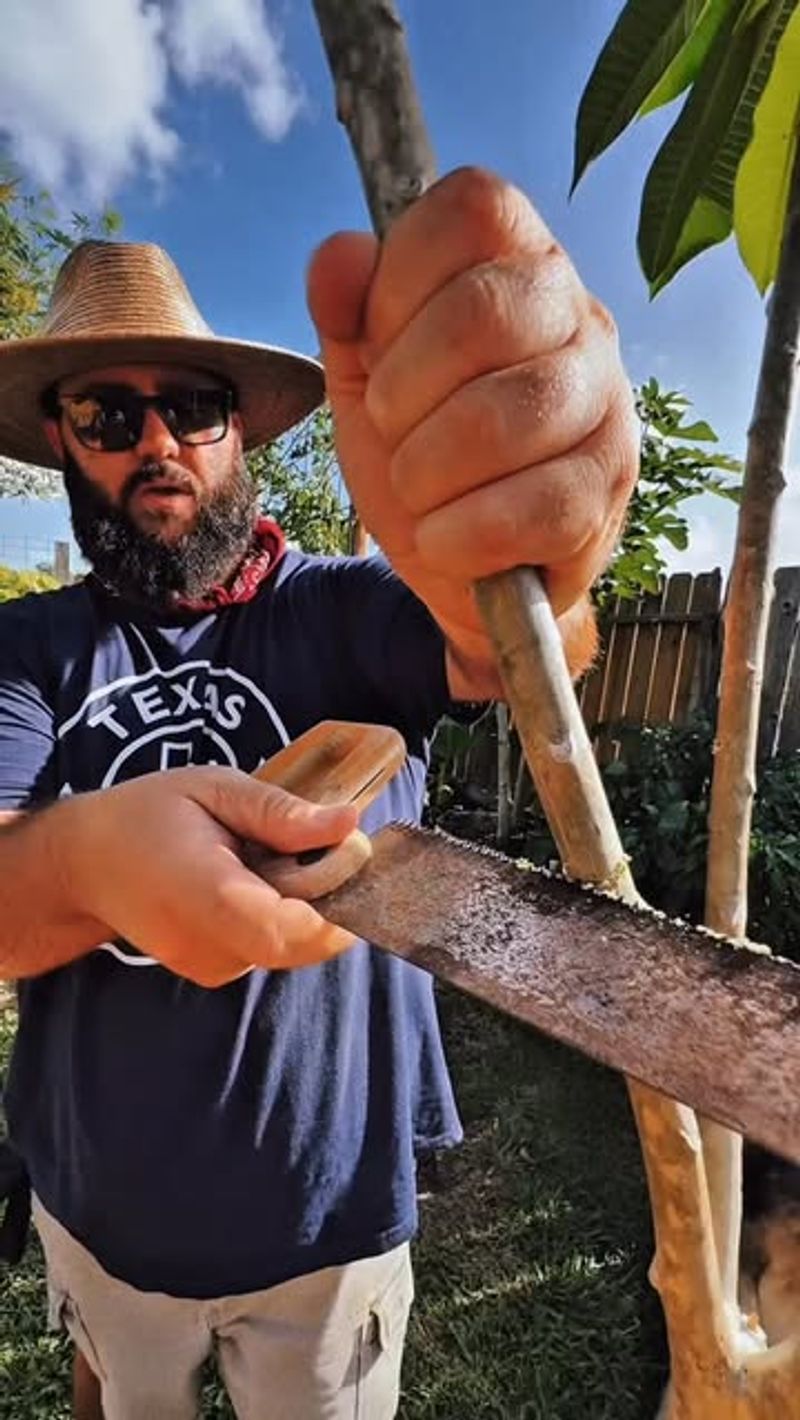
A restrained pruning sequence protects the flowering wood you want to keep. Start by removing anything that is clearly dead, damaged, diseased, crossing another branch with friction, or positioned so poorly that it undermines the plant’s structure. Work through the entire plant at this stage before making any additional cuts, then step back and reassess what remains.
After problem wood is gone, you may find that the plant already looks better and needs nothing more. If additional shaping cuts are genuinely needed for clearance or form, UC ANR pruning guidance distinguishes thinning cuts from heading cuts in a way that applies directly here. Thinning cuts remove a branch back to its origin or to a lateral, preserving a more open, natural structure. Heading cuts shorten a branch to a bud or stub, which stimulates denser regrowth but can create awkward clusters and remove the existing flowering tips in the process.
Wisconsin Extension confirms that plumeria branches after flowering or injury, so heading cuts will produce new shoots. The problem is that those shoots need time to mature before they can flower, and excessive heading can delay blooming while creating a cluttered canopy. Use sharp, clean tools sized to the branch, make cuts that do not leave ragged stubs or torn bark, and let the plant’s own structure guide you rather than prescribing a magic node or angle. UF/IFAS guidance on landscape plant maintenance emphasizes clean, sharp cuts as a baseline standard for any pruning work.
Branching does not guarantee flowers or fragrance
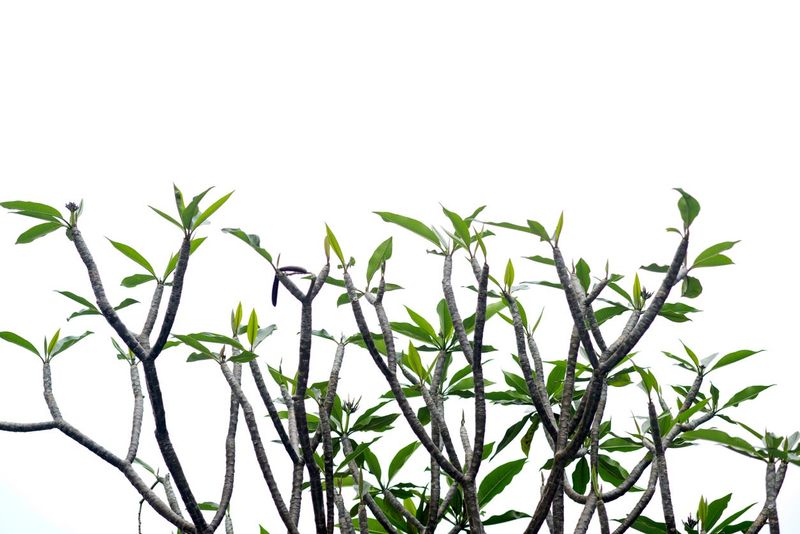
A fresh cut on a plumeria will often produce new branches. That response is real, and it follows from the plant’s natural tendency to branch after flowering or injury. Where gardeners run into trouble is in expecting that new branch to carry a flower cluster on a predictable schedule, or assuming the flowers will be more fragrant than the ones the cut removed.
New shoots need time to mature before they are capable of flowering. University of Hawai’i Cooperative Extension research on plumeria timing shows that dormant-season cuts give new growth the best chance of flowering in the same season, while summer cuts often push the bloom to the following year. The pruning season, the cultivar, and the maturity of the new branch all shape the outcome more than the exact location or angle of the cut.
No published extension source reviewed for this article establishes that cutting just above a node, using a 45-degree angle, or choosing any other specific position guarantees a flowering or fragrant result. UC ANR landscape pruning guidance focuses on cut placement relative to branch collars and laterals for plant health, not as a technique for producing scented flowers. Fragrance intensity per flower comes from the cultivar and flower traits, not from the geometry of the cut. More branches may eventually mean more flowers, and more flowers may increase total perceived scent in the garden, but that chain of inference is very different from claiming that a single pruning cut makes your plumeria more fragrant.
Sanitize tools and protect yourself from sap
Plumeria sap is milky, sticky, and irritating. UF/IFAS advises caution with plumeria sap around children and pets and notes that it can irritate skin and eyes in susceptible people. Wear gloves and eye protection every time you prune, and wash your hands thoroughly after finishing, even if you wore gloves throughout.
Tool selection matters too. Use bypass pruners for branches up to about half an inch in diameter and loppers for thicker wood. Dull or damaged blades crush tissue rather than cutting cleanly, which slows healing and creates entry points for disease. Before disinfecting any tool, wipe off sap and debris first, because disinfectants work poorly on dirty surfaces.
UF/IFAS guidance on disinfecting garden tools lists 70% to 100% isopropyl or ethyl alcohol as an immediately effective option that does not require rinsing. A 10% bleach solution is another option, but bleach is corrosive to metal tools and must be rinsed off after each use to prevent damage.
When cutting through tissue that appears diseased, sanitize your tools between each cut rather than waiting until the job is done. UF/IFAS guidance on anthracnose and similar diseases of landscape plants recommends pruning infected woody tissue below the visibly diseased area and sanitizing between cuts to avoid spreading pathogens. Collect and bag diseased or infected debris rather than leaving it on the ground or adding it to a compost pile, since composting diseased material can spread the problem rather than eliminating it. Do not apply any disinfectant directly to pruning wounds on the plant.
Treat rust separately from structural pruning
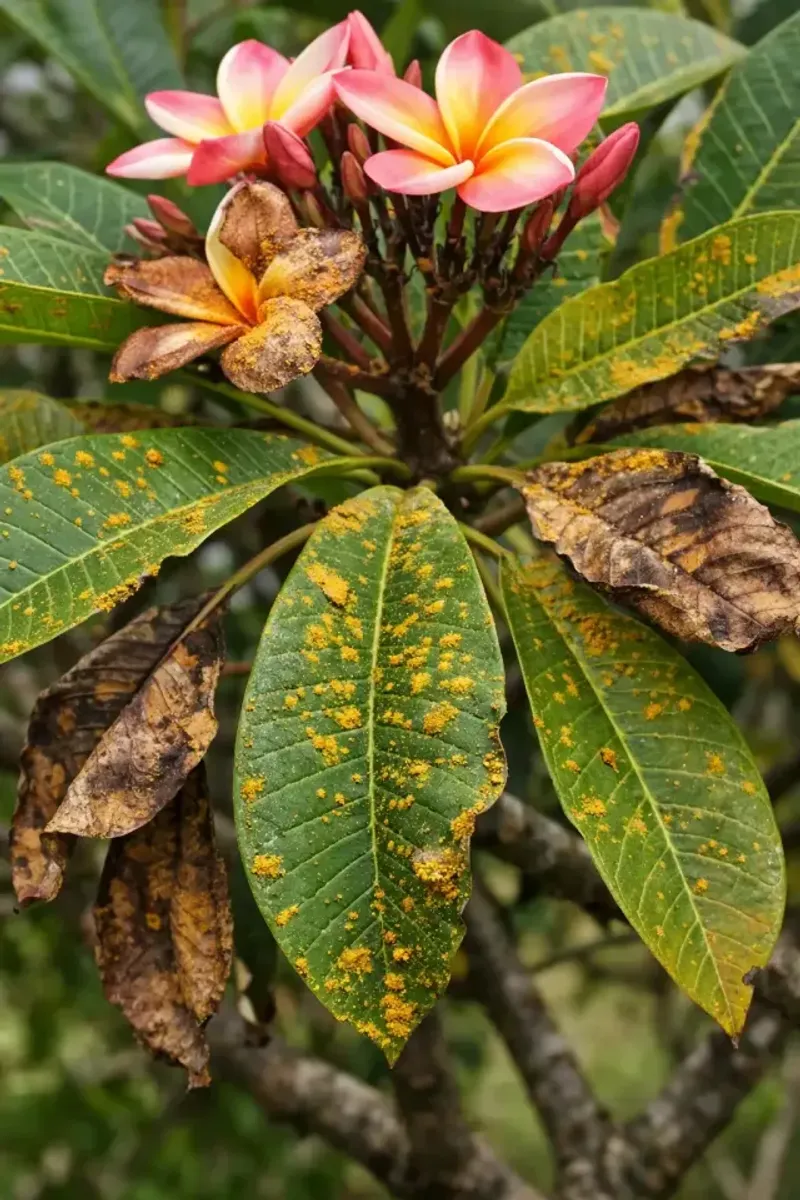
Frangipani rust is the most common disease problem Florida plumeria growers encounter, and it shows up as orange or yellow-orange powdery pustules on the undersides of leaves. Spotting rust on your plant does not mean it is time to grab the pruners and reshape the canopy. The two issues call for different responses.
For minor rust infections, the correct action is to remove and destroy the affected leaves, not to cut back branches. UF/IFAS guidance on rusts on ornamentals in Florida recommends removing and destroying infected leaves for minor cases and notes that labeled fungicide applications may be appropriate for more serious infections. A shaped canopy is not automatically a rust-resistant canopy, and pruning alone will not eliminate the fungal spores responsible for the disease.
Woody pruning is appropriate when a branch is genuinely diseased or dead, not simply because the leaves it carries show rust. UF/IFAS disease management guidance consistently points toward sanitation and appropriate labeled treatments as the tools for managing foliar fungal diseases. Keep rust management and structural pruning as separate decisions, and do not let a rust outbreak become an excuse for more aggressive cutting than the plant’s structure actually requires.
Preserve healthy flowering wood and set realistic scent expectations
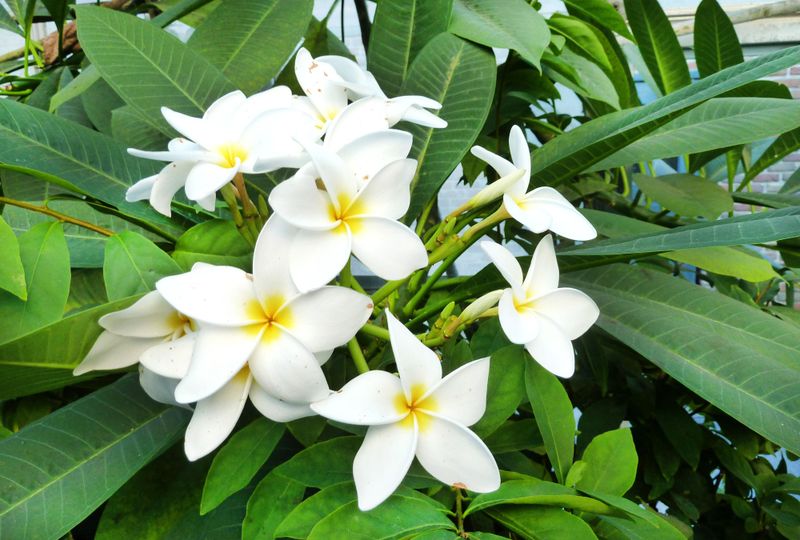
A practical pruning checklist for Florida plumeria comes down to a few honest steps. Identify your plant type, whether deciduous, evergreen, or semi-evergreen, and match your timing to its actual growth pattern and your local frost risk. Decide whether each proposed cut solves a real problem: dead, damaged, diseased, crossing, poorly placed, or clearance-related growth. Remove problem wood first, then reassess before making any additional shape cuts.
Work cleanly and safely with sharp tools, proper protective gear, and sanitized blades. UF/IFAS confirms that plumeria performs best in full sun and well-drained soil, and those growing conditions, combined with cultivar selection and flower traits, do more for fragrance than any particular cut. Wisconsin Extension’s plumeria guidance reinforces that pruning supports structure and can stimulate branching, but it cannot promise more fragrant flowers.
The most fragrant plumeria in your neighborhood probably got that way because of what it is, not because of how it was pruned. Choose your cultivar carefully, keep the plant healthy, and prune only when the plant genuinely needs it.