Dividing irises may seem daunting, but it’s essential for their health and blooming. The ideal time for division is every three to five years between late summer and early fall (July to September).
This timing helps new roots establish before winter. Use a sharp, clean knife or spade to separate rhizomes, discarding any old or diseased parts.
Replant only the healthy sections to prevent overcrowding and promote growth. Dividing ensures your irises remain vibrant and produce abundant blooms season after season.
Anatomy of an Iris Plant
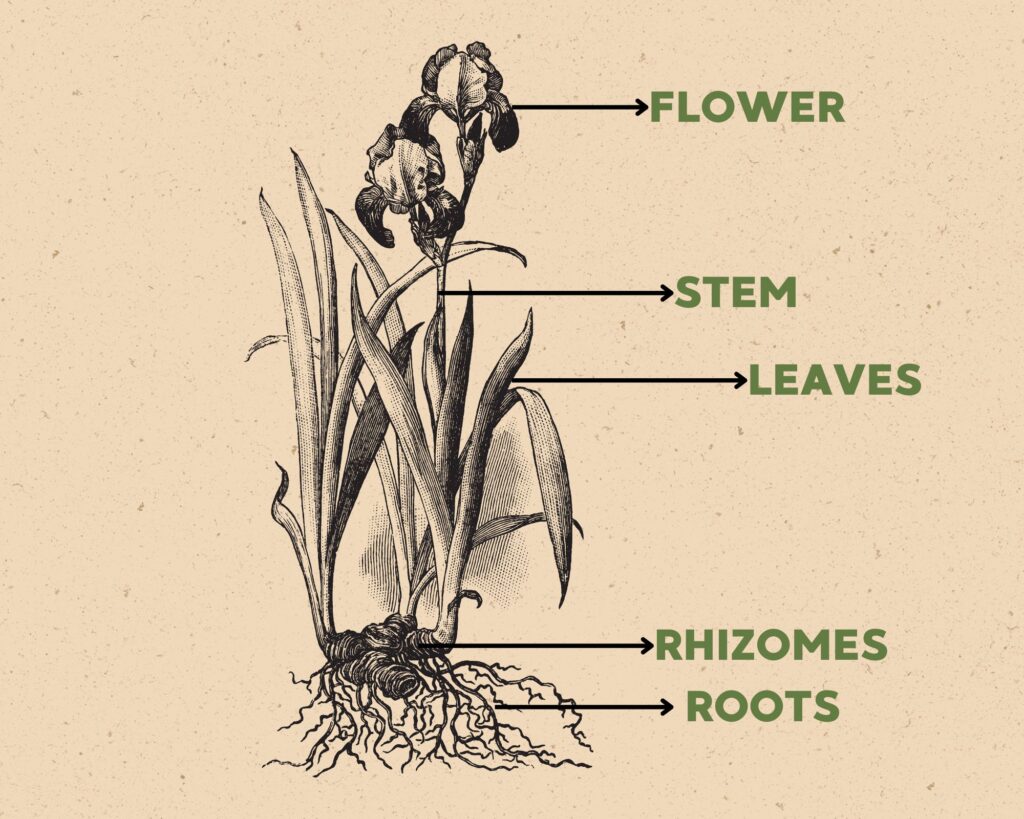
Irises are known for their vibrant flowers and unique structure. Understanding their anatomy and growth cycle helps ensure they thrive. Irises have rhizomes that store nutrients and roots that anchor the plant.
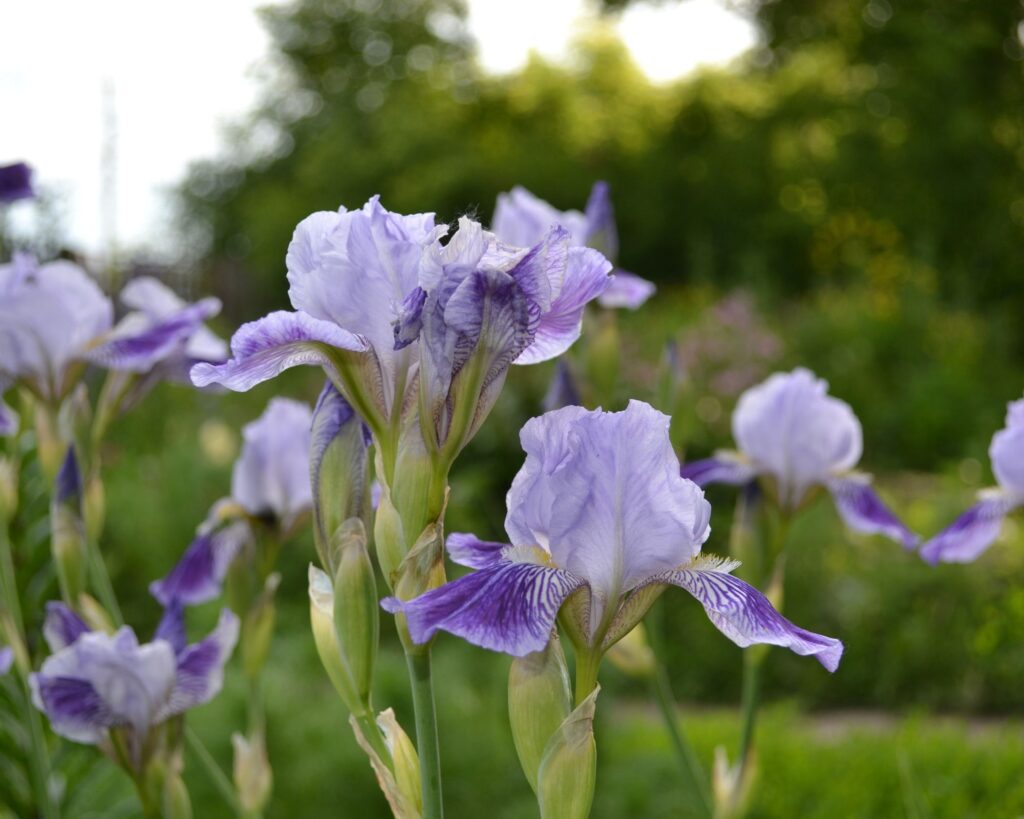
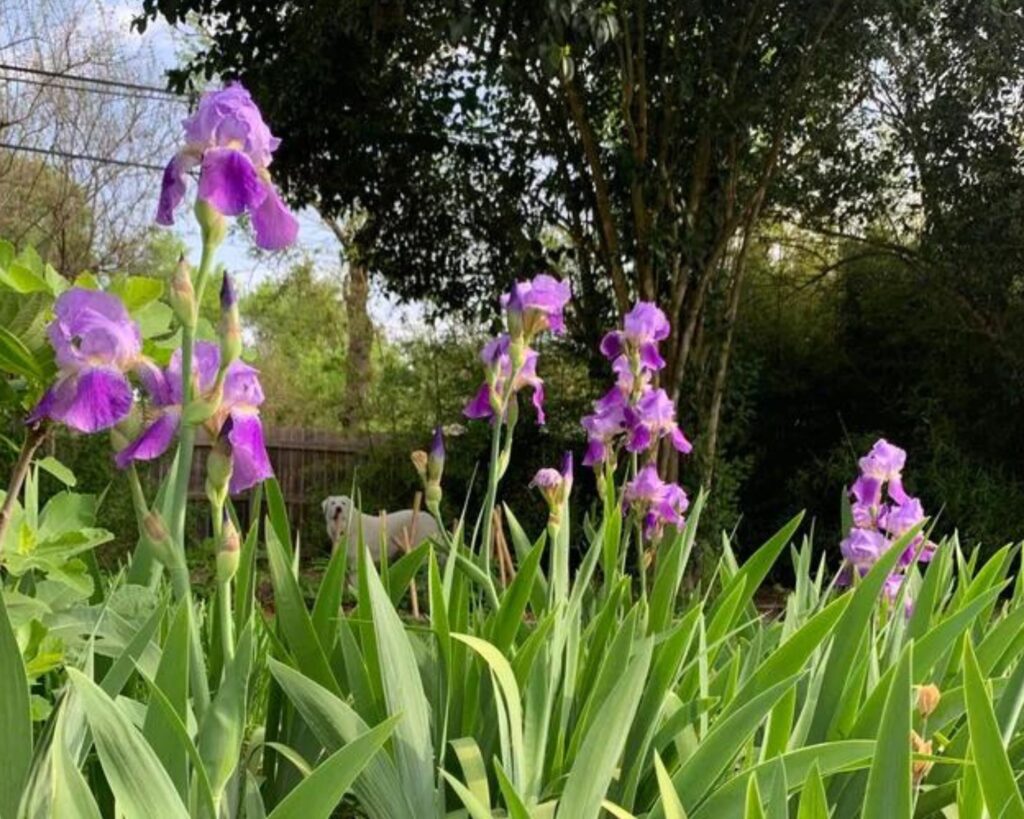
Their sword-like leaves aid photosynthesis, while flowers bloom atop sturdy stems with intricate petals. Knowing these parts helps identify when your irises need dividing.
Growth Cycle Patterns
Irises follow a seasonal growth cycle. Leaf growth and photosynthesis peak during the spring and early summer. Flowering usually occurs in late spring, while energy is directed to the rhizomes.
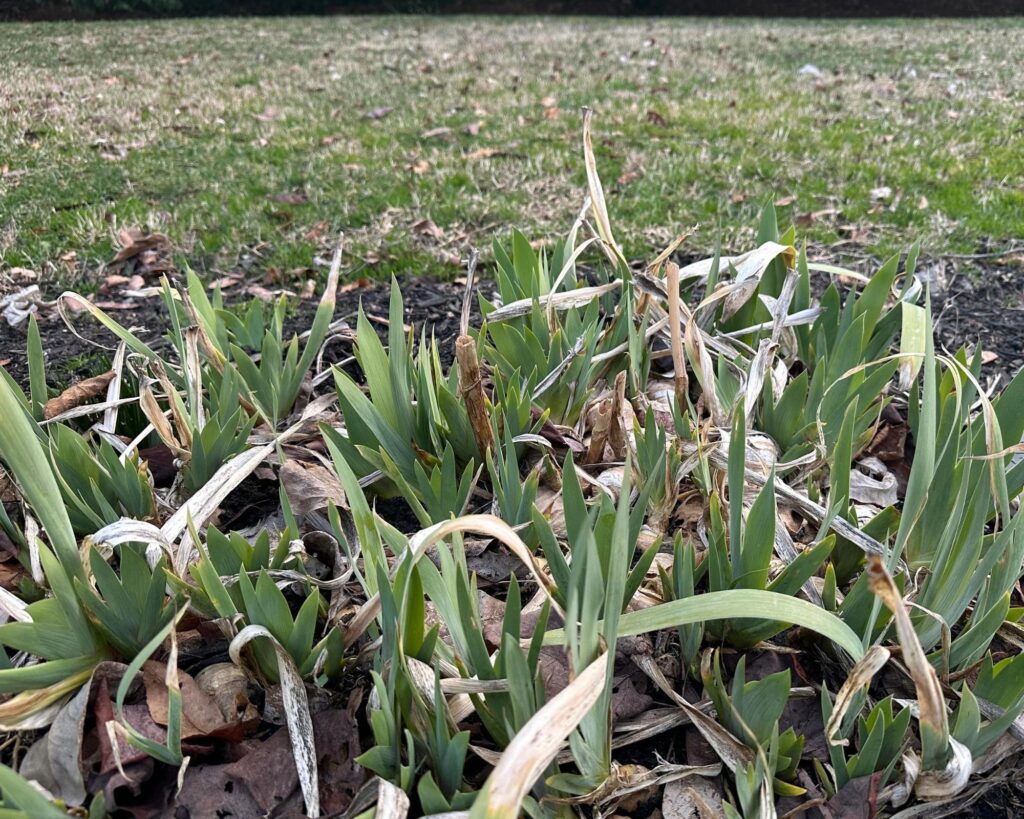
During the peak summer months, irises may seem dormant above ground. In this phase, rhizomes are still active, storing energy for the next year’s growth.
Recognizing these patterns helps you choose the right time for dividing your irises, ideally in late summer or early fall when they are not actively growing.
Best Time to Divide
Knowing when to divide your irises ensures healthy growth and vibrant blooms. Key signals from the plants and specific seasonal conditions guide you to the ideal times for division.
Indicators for Division
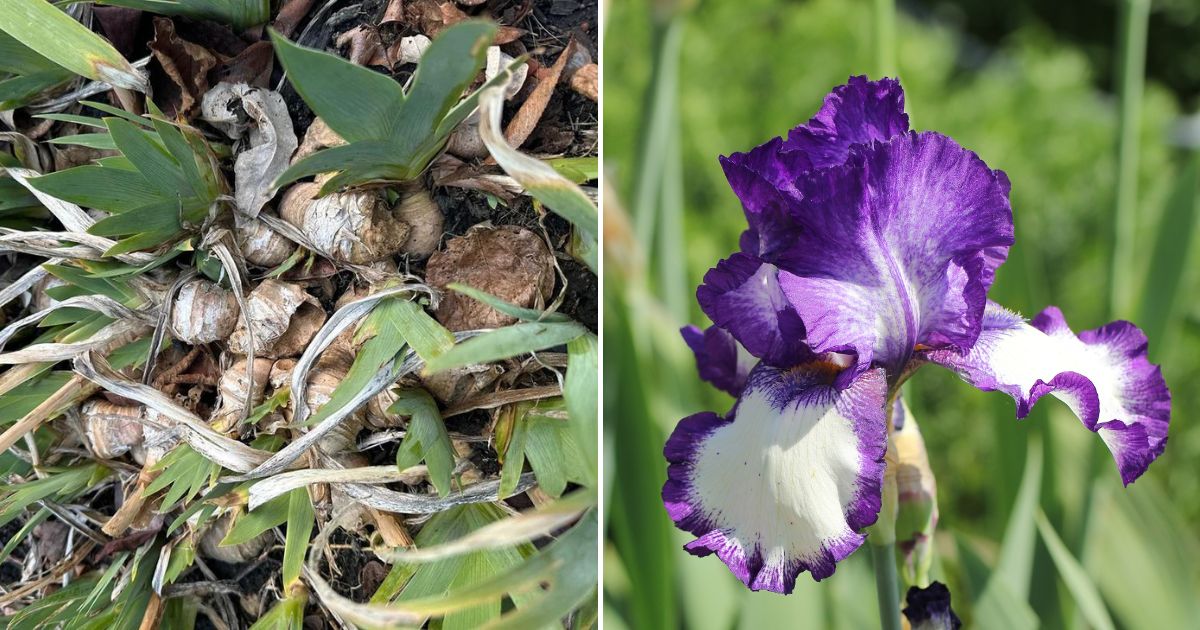
Certain signs indicate that your irises require division. One major sign is crowded rhizomes, which results in fewer blooms and diminished plant health. Another indicator is yellowing or browning leaves, a symptom of nutrient competition and inadequate space.
An irregular blooming cycle, showing inconsistent or sparse blooming, also signals the need for division. You might also observe small or deformed flowers. Keep a lookout for these indicators to maintain a thriving iris garden.
Seasonal Timing
The optimal time to divide irises typically falls in late summer to early fall. Post-bloom periods, particularly between July and September, provide favorable conditions for division.
During this time, the weather is still warm enough to encourage root establishment before winter.
Late summer divisions also benefit from reduced plant stress and the timing frames their natural growth cycle perfectly.
Avoid dividing in early spring or late fall as these times don’t allow adequate root development, which is crucial for healthy regrowth.
Preparation for Division
Before dividing your irises, gathering the necessary tools and ensuring the plants are well-prepared for the procedure can make the process smoother and more effective.
Proper preparation contributes significantly to the successful propagation of healthy, thriving irises.
Essential Tools
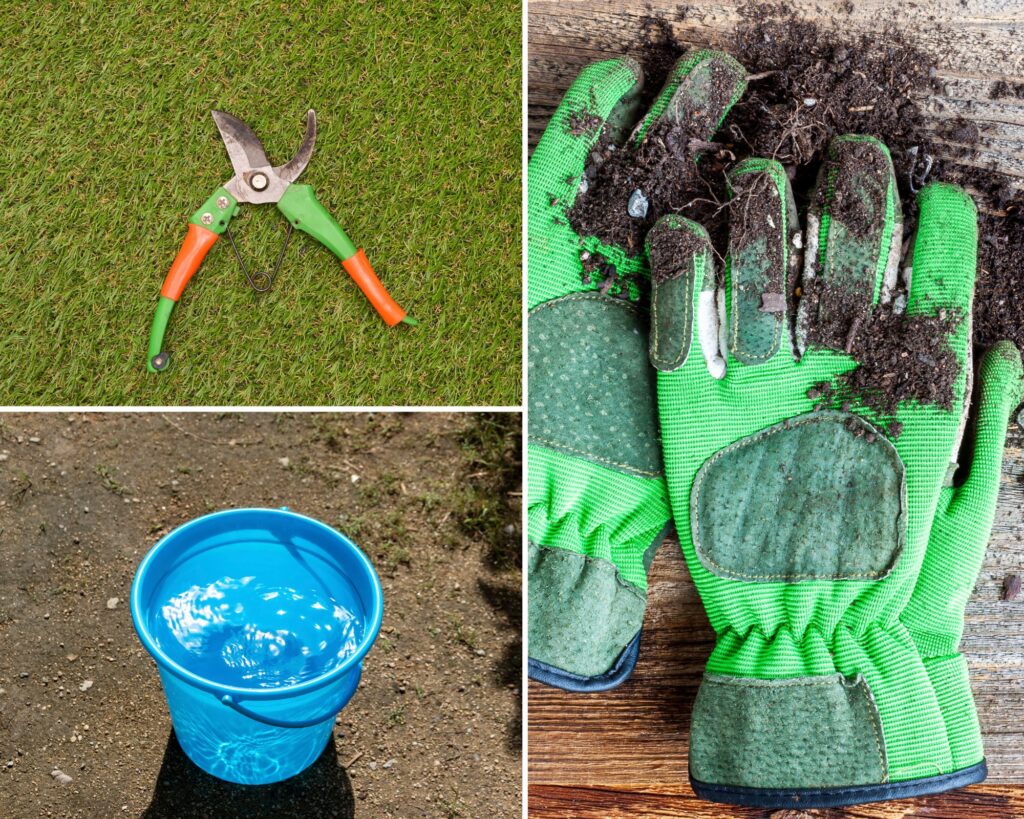
Having the right tools at hand is critical. You will need a sharp spade or garden fork to dig up the iris clumps without damaging the roots. A sharp knife or pruning shears is essential for cutting the rhizomes.
Other helpful items include gardening gloves to protect your hands, a bucket of water to rinse the rhizomes, and rubbing alcohol or bleach solution to sterilize your cutting tools.
Sterilization helps prevent disease transfer between plants. Ensure you have a clean, dry place to temporarily set your irises, like a tarp or old sheet.
Pre-Division Care
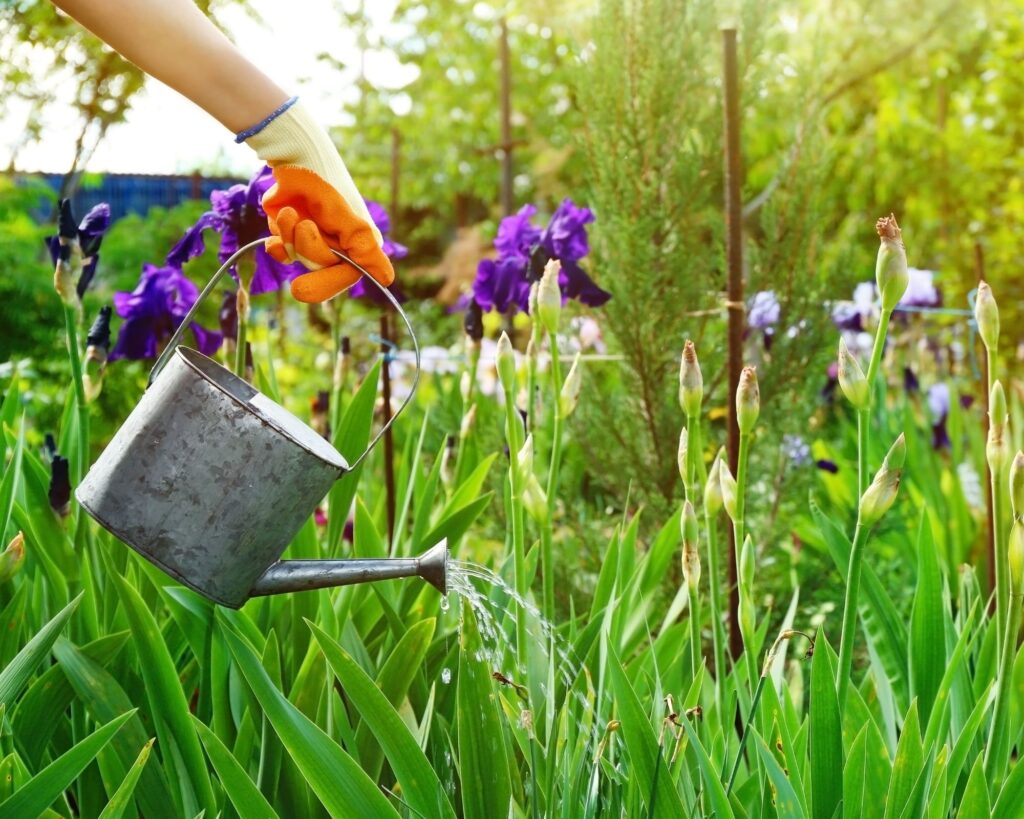
Two days before dividing, water your irises thoroughly. This makes digging easier and helps the plants cope with the stress of division. Inspect the irises for any signs of disease or pests and remove any damaged foliage.
Cut back the leaves to about 6 inches tall. This reduces water loss and makes handling the plants easier. If your iris bed has any weeds, clear them out to give your divided irises a healthier start.
Following these steps ensures your irises are in the best condition for division and recovery.
Division Methodology
Dividing irises involves lifting the clumps, separating the rhizomes, and ensuring proper care after division. Each of these steps is crucial to maintain the health and beauty of your plants.
Lifting the Iris Clumps
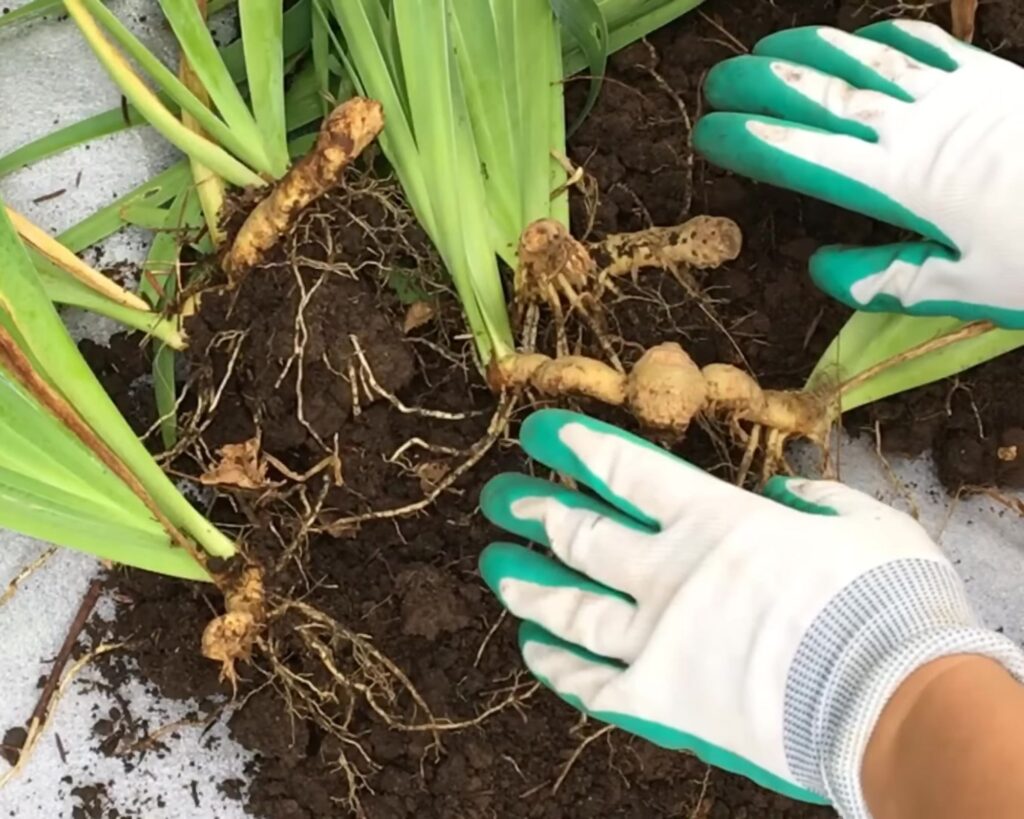
Begin by carefully digging around the iris clump with a garden fork or spade. Insert the tool about a foot away from the base to avoid damaging the roots. Gently lift the whole clump out of the ground. Remove as much soil as possible without harming the roots.
To handle large clumps, you may need assistance or additional tools. Place the lifted clumps in a shady area to prevent the rhizomes from drying out while you work on separating them.
Separating the Rhizomes
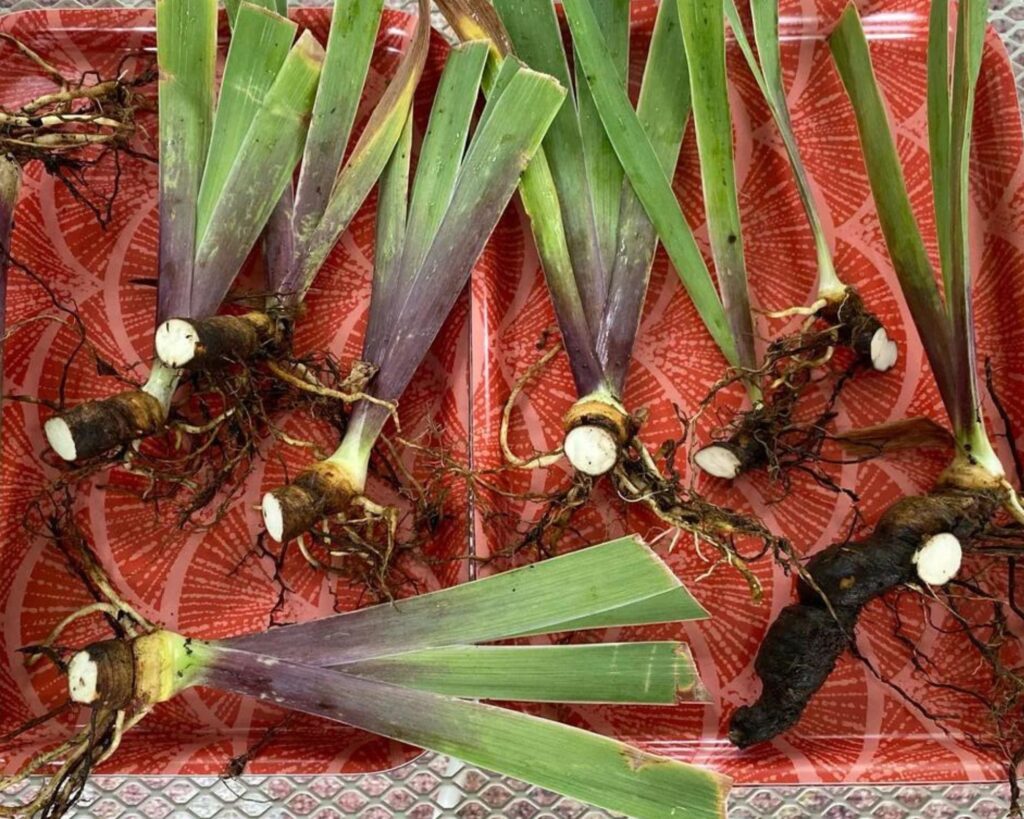
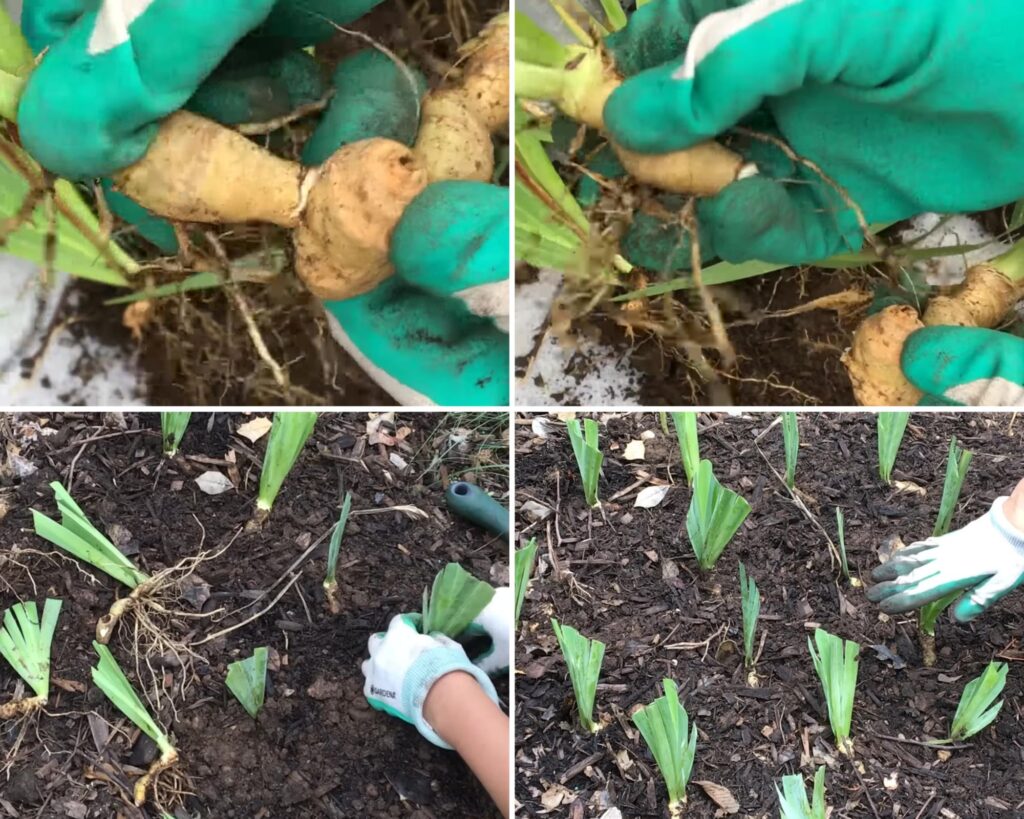
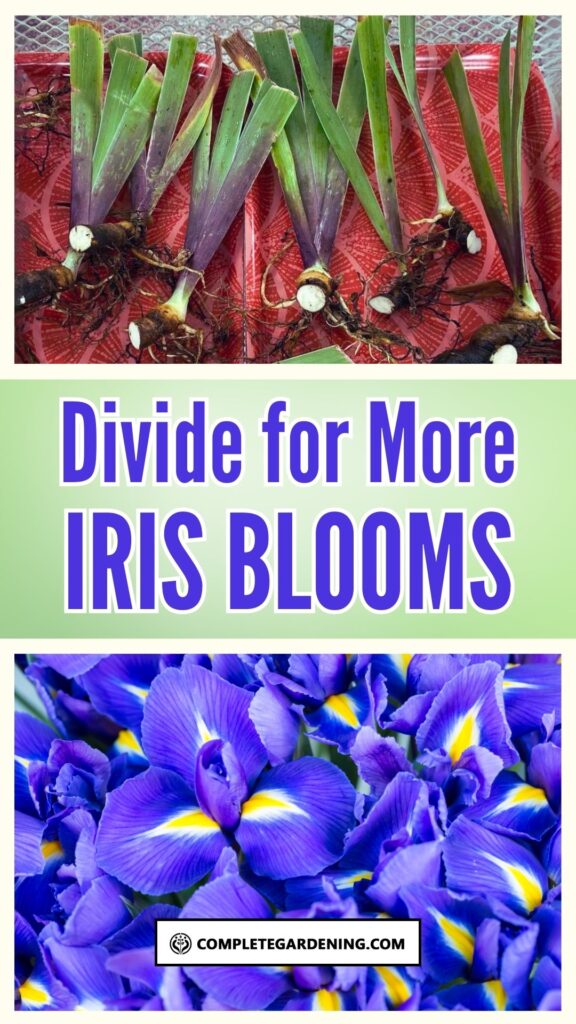
After lifting, use a sharp knife or garden shears to cut the rhizomes apart. Each section should have at least one healthy fan of leaves and several inches of healthy rhizome.
Inspect the rhizomes for any sign of disease or rot. Discard any soft or rotted parts. Trim the leaves to about six inches to reduce water loss and stress on the plant.
Post-Division Iris Care
Replant the divided rhizomes promptly in well-draining soil. Plant the rhizomes just below the surface, with the tops slightly exposed. Space them about 12-24 inches apart to give them room to grow.
Water the newly planted irises thoroughly to help them establish roots. Mulch lightly around the plants to retain moisture but avoid covering the rhizomes to prevent rot.
Regular care and attention in the weeks following division will help ensure successful growth and blooming.
Aftercare and Replanting
After dividing your irises, take proper care to ensure they thrive in their new environment. Preparing the planting bed adequately and using optimal planting techniques are crucial steps.
Iris Bed Preparation
Begin by selecting a well-draining spot that receives plenty of sunlight. Irises thrive in areas with six or more hours of direct sunlight each day.
Clear the soil of any weeds, rocks, or debris. This creates a clean slate for your irises. Enrich the soil with compost or well-rotted manure to provide nutrients. This promotes robust growth and reduces stress on the plants.
After enriching the soil, ensure proper pH balance. Irises prefer a slightly acidic to neutral pH, around 6.0 to 7.0. You can adjust the pH by adding lime (to raise it) or sulfur (to lower it).
Finally, rake the soil to create a smooth planting surface. With the bed prepared, your irises will have a strong start in their new home.
Optimal Planting Techniques
Space the rhizomes 12 to 24 inches apart to allow for their growth and air circulation. Proper spacing helps prevent diseases and overcrowding.
Plant the rhizomes shallowly, with the top just barely covered by soil. Roots should spread below while the rhizome itself should remain near the surface. This helps prevent rot and encourages flowering.
Water the newly planted irises lightly to settle the soil around them. Avoid overwatering, which can lead to rot.
For the first few weeks, monitor the moisture level. The soil should be kept lightly moist but not soggy. Once established, irises are quite drought-tolerant.
Applying a light mulch can help retain moisture and reduce weed competition. Use organic materials like straw or bark chips but keep the mulch away from the rhizomes to prevent rot.
Dividing your irises is an essential practice for maintaining their health and ensuring vibrant blooms for years to come.
By timing the division for late summer to early fall, you provide the rhizomes with the best opportunity to establish new roots before winter.
By taking these steps, you not only rejuvenate your garden’s beauty but also encourage more vibrant and plentiful blooms. Your irises will flourish, adding a splash of color and life to your garden with each passing season.
