
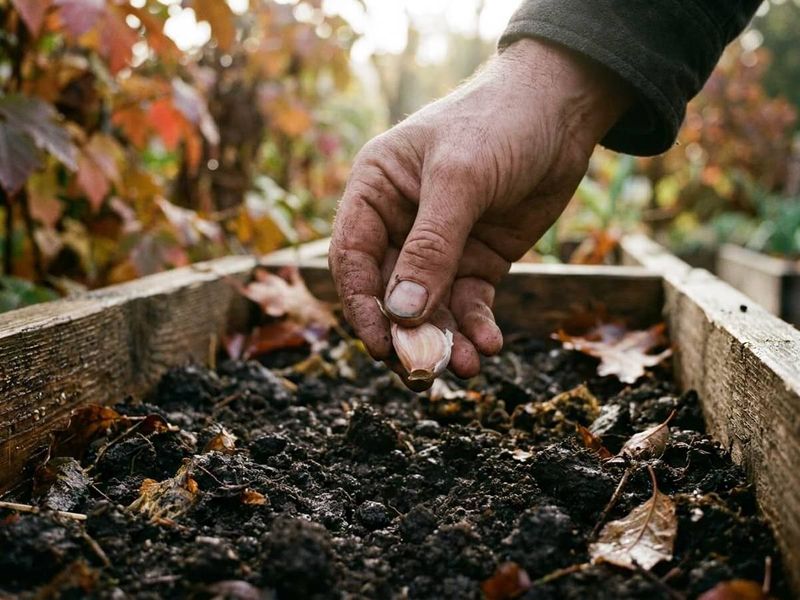
Planting garlic in the fall feels like a sure thing, but pulling back the soil weeks later to find a soft, mushy clove where a sprout should be is genuinely discouraging. The good news is that a missing shoot does not automatically mean the clove has rotted, and even when decay is real, the cause is usually something fixable.
Excess moisture, poor drainage, diseased planting stock, and regional timing mismatches all play a role, and sorting out which one hit your bed is the first step toward a better harvest next season.
A soft clove needs inspection, not an automatic depth diagnosis
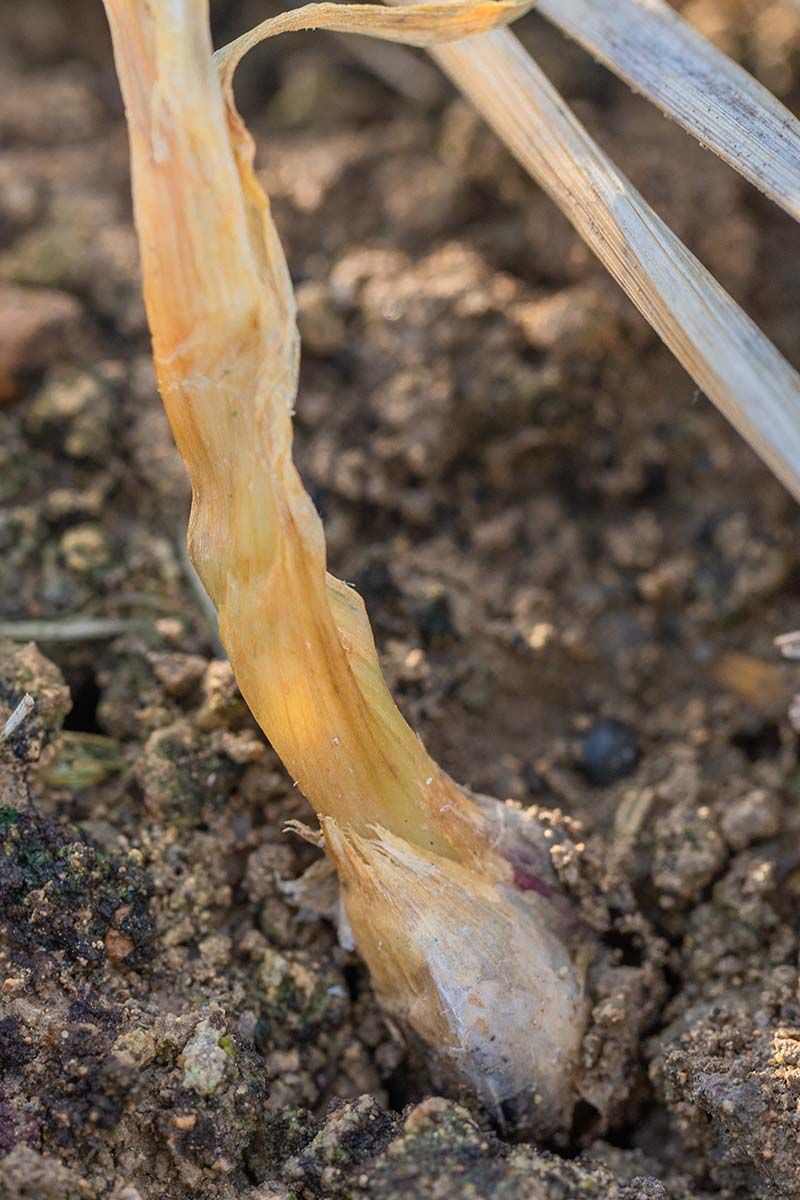
Reaching into the soil and pulling up a soft, squishy clove is alarming, but the knee-jerk conclusion that you planted too deep may be sending you in the wrong direction. A clove that has not yet produced a shoot could be dormant, planted at the wrong time for your climate, or simply a poor cultivar match for your region.
Softness and mushiness are worth taking seriously, but they point toward a different set of suspects than depth alone.
Excess moisture, poor drainage, and pre-existing disease in the planting stock are among the more plausible explanations when cloves break down before foliage appears. Penn State Extension’s garlic production guide notes that garlic is especially vulnerable to Fusarium basal rot, white rot, Penicillium decay, and other bulb diseases that can destroy a clove before any green growth shows.
Poorly drained soil raises the risk of these problems considerably.
Depth does matter for establishment, but the evidence does not support blaming one depth mistake as the usual reason cloves fail. WSU Extension’s home garlic guide and University of Maryland Extension both treat drainage and planting stock quality as central concerns alongside proper depth.
The sections that follow walk through how to inspect a failed clove, fix drainage, choose healthy stock, manage water, and account for Southern timing before you replant.
What a failed clove can reveal
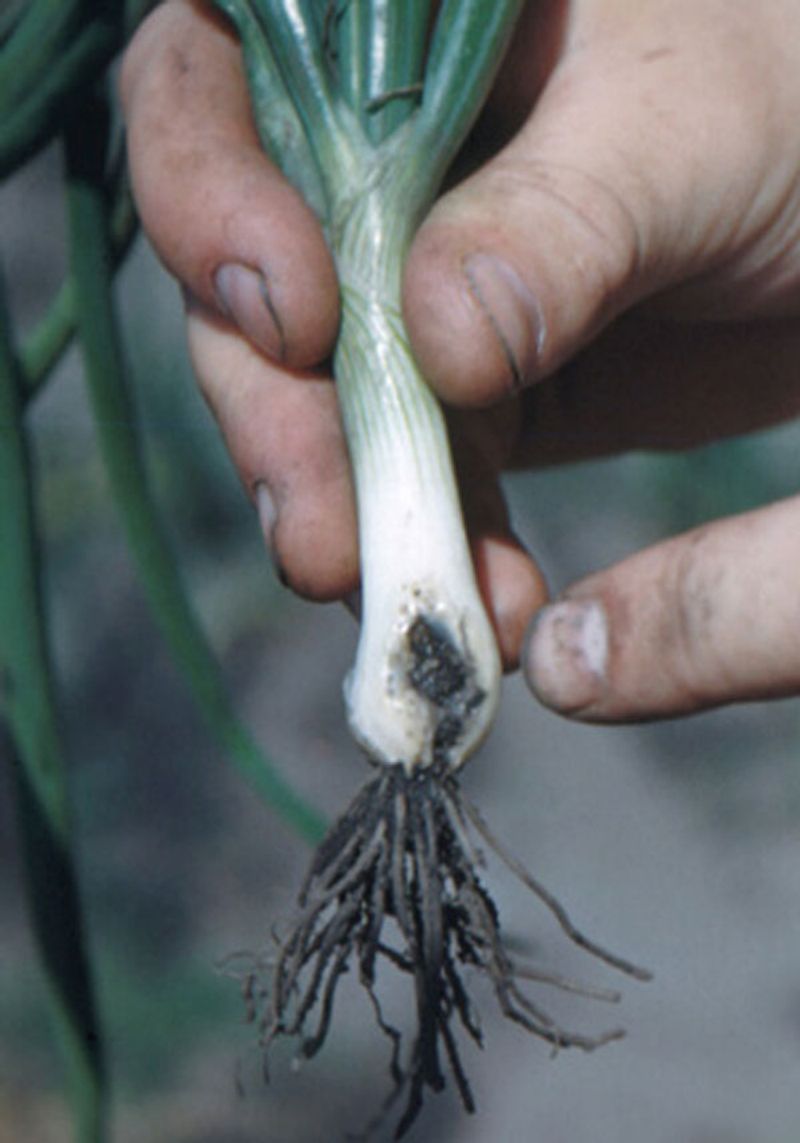
Before you adjust anything in the bed, dig up one of the failed cloves and look at it closely. The appearance of the clove itself carries far more diagnostic information than the bare fact that nothing sprouted above ground.
According to the University of Minnesota Extension garlic diagnostic tool, blue-green fuzz combined with pre-emergence decay is consistent with Penicillium decay, a fungal problem that can attack cloves in storage or in the ground. White fungal growth accompanied by tiny, dark, seed-like structures may suggest white rot, a persistent soil-borne disease.
Watery brown discoloration that begins at the flat basal plate and moves upward is consistent with Fusarium basal rot. A clove that appears hollowed out rather than mushy may point toward insect injury, such as onion maggot feeding.
Every one of those descriptions is a possibility, not a guaranteed diagnosis. WSU Extension’s garlic guide points out that several garlic diseases and pests can produce overlapping symptoms, making a confident home diagnosis difficult.
If you find decay but cannot identify it clearly, your state’s plant diagnostic laboratory can examine a sample and give you a reliable answer. Knowing the actual cause matters because white rot, Fusarium, Penicillium, nematodes, and insect damage each call for different management responses down the road.
Depth affects emergence, but depth is not the same as rot
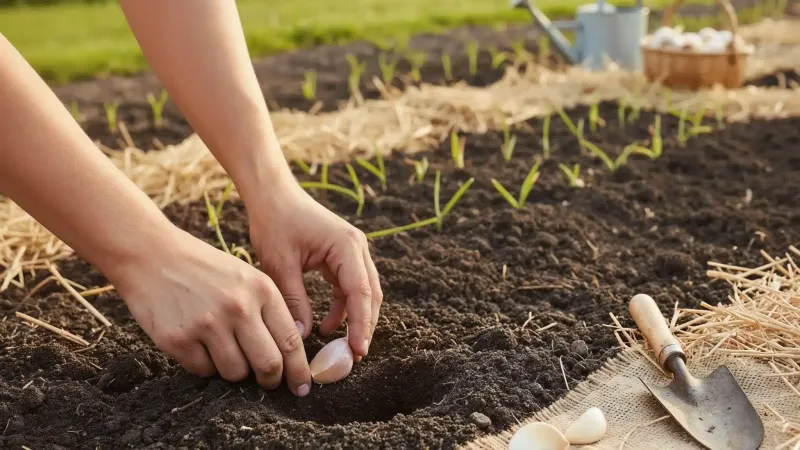
Planting depth genuinely matters for how garlic establishes, but depth problems and wet-soil or disease problems are not the same thing and should not be treated as interchangeable. Getting depth wrong can slow emergence or interfere with bulb development without ever producing the mushy, decayed tissue that wet soil and pathogens cause.
Plant too shallowly and the clove can dry out between rain events, get displaced by birds or heavy rain, or get pushed out of the soil entirely by frost heaving during cold snaps. Go too deep and the shoot has more soil to push through before it reaches light, which can delay emergence noticeably.
University of Maryland Extension’s garlic fact sheet cautions that excessive depth can restrict bulb expansion as the season progresses.
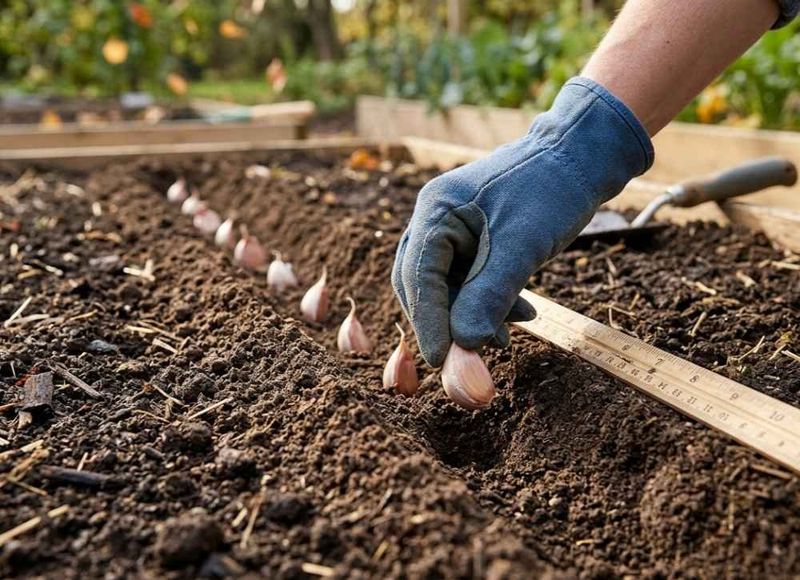
The practical target most extension programs agree on is placing the root end down and the pointed growing tip up, with approximately 1 to 2 inches of soil covering the top of the clove. University of Georgia Extension and Utah State University Extension both use this general range, while some regional guides frame it as 2 to 3 inches of total planting depth.
Elephant garlic is commonly planted deeper than standard types. Follow the guidance for your specific cultivar and region rather than applying one universal measurement to every variety in every climate.
Fix trapped water before planting again
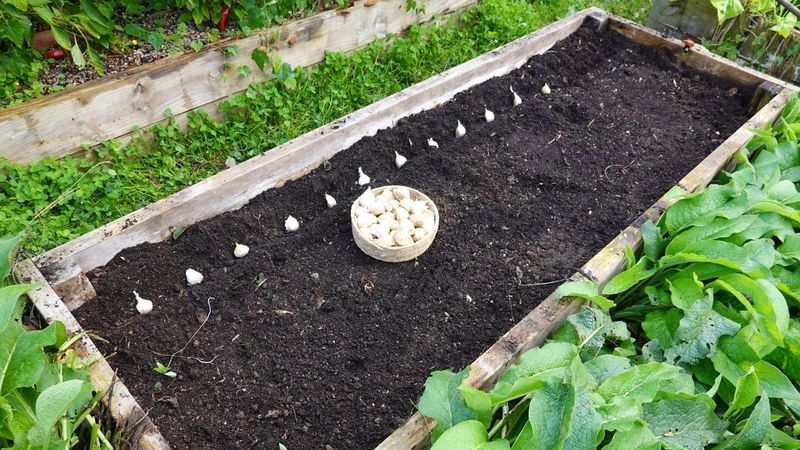
Standing water and persistently soggy soil create the conditions where bulb and root diseases thrive. Fixing that problem before you put another clove in the ground is more important than adjusting planting depth, because no depth correction protects a clove sitting in waterlogged soil.
Loose, well-drained soil is the starting point. UGA Extension’s soil management guidance and Penn State’s garlic production resource both identify heavy clay, compacted soil, and poor drainage as conditions that raise disease risk and can produce misshapen bulbs.
Adding compost to clay soil can improve structure over time, but organic matter alone does not guarantee drainage improvement. Compaction, the underlying soil layer, bed elevation, and how much irrigation the bed receives all affect whether water moves through or stays trapped.
Where the soil consistently holds water, building or converting to a raised bed is often the most reliable correction. Texas A&M AgriLife’s soil and fertilizer guidance notes that Texas gardeners dealing with heavy or compacted soils benefit from improving physical soil conditions before planting.
Elevating the bed above the surrounding grade allows water to drain away from the root zone rather than pooling around the cloves. If your bed is in-ground and water remains after rain or irrigation, that structural issue needs a structural solution, not just an amendment.
Healthy planting stock prevents problems a new depth cannot solve
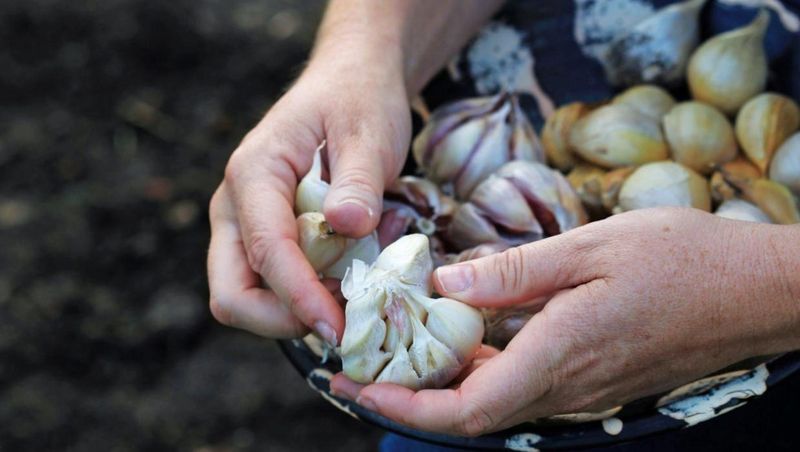
Correcting drainage and depth will not protect your bed if the cloves going into it are already carrying disease. Infected planting stock can introduce pathogens into otherwise healthy soil, and once certain diseases like white rot establish in a bed, they can persist for years.
University of Maryland Extension recommends sourcing garlic from a reputable seed-garlic supplier rather than relying on grocery store bulbs, which may carry disease or have been treated to suppress sprouting. Before planting, examine every clove.
Reject any that feel soft or spongy when pressed, appear shriveled or dried out, show visible mold, carry heavy discoloration, or have a basal plate that looks soft, sunken, or discolored. The basal plate is the flat root-end of the clove, and decay there is often the first visible sign of Fusarium basal rot.
The tricky part is that USDA ARS research on garlic planting stock confirms that disease can be present inside bulbs that look perfectly acceptable on the outside. That is why sourcing from a reputable supplier matters as much as the visual check.
Extension’s Ask an Expert guidance is clear that a soft, moldy, or visibly diseased clove should be discarded, not moved to another bed where it can spread the problem. Clean planting material is the single most controllable variable at planting time.
Water enough to establish garlic without saturating the bed
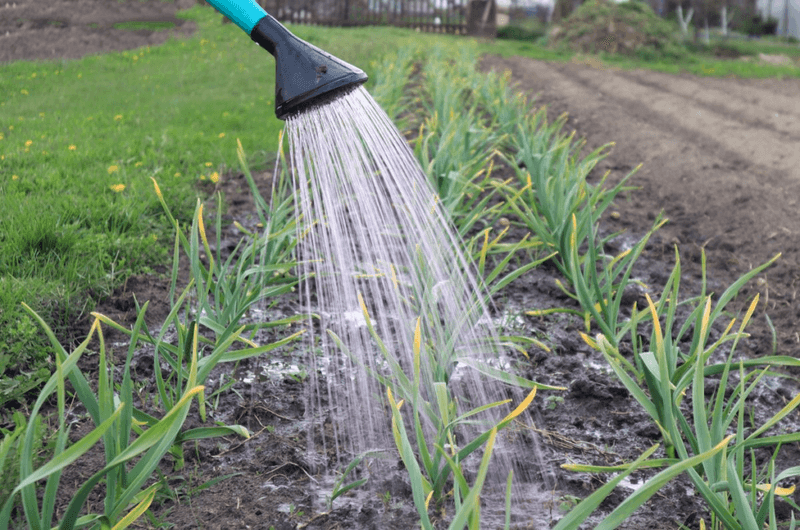
Watering after planting is necessary, but the amount and timing matter more than most gardeners realize. The goal at planting is simply to settle the soil around the cloves and remove air pockets, not to soak the bed.
After that initial watering, let the soil guide you rather than following a fixed schedule. UGA Extension’s garlic planting guide and Penn State Extension both emphasize that garlic needs consistent moisture during active root and shoot development, but saturated soil promotes the exact rot and disease conditions described in earlier sections.
How often you need to water depends on your rainfall, soil texture, how well the bed drains, and what growth stage the garlic has reached.
Sandy soils dry out faster and may need more frequent attention than clay-heavy beds, which hold moisture longer and are already at higher risk of staying too wet. Utah State University Extension’s garlic guide notes that as bulbs begin to mature in late spring, irrigation should be reduced or stopped according to local guidance to allow the outer wrappers to form properly.
USU’s vegetable water recommendations reinforce tying irrigation decisions to actual soil conditions rather than a preset calendar. Checking soil moisture a few inches down before watering is a simple habit that can prevent a great deal of unnecessary damage.
Southern timing and chilling can delay emergence
Warm fall soil is one of the most common reasons Southern garlic takes longer to emerge than gardeners expect, and slow emergence is not the same as a failed or rotted clove. Understanding how timing and chilling requirements interact with your specific location can prevent a lot of unnecessary digging and second-guessing.
In Texas, Texas A&M AgriLife Extension’s garlic guide generally recommends planting in October across much of the state, with cloves set about 1 inch deep. Additional Texas A&M research notes that timing varies by region and cultivar, so gardeners in South Texas may need to adjust compared to those in the Panhandle.
Florida presents a more complicated picture. UF/IFAS Gardening Solutions indicates that garlic can be planted from late fall through early winter in Florida, with softneck types generally better suited to the state’s mild winters.
UF/IFAS Sarasota County Extension explains that many garlic varieties need several weeks of cold exposure to develop properly, and that refrigerating cloves before planting may help some Florida gardeners, though results depend heavily on variety and location. UF/IFAS Ask IFAS guidance reinforces that performance varies and that cultivar selection is critical in Florida’s climate.
A clove that sits in warm soil without the chilling it needs may simply stall rather than rot.
Remove diseased material before it reaches the next bed
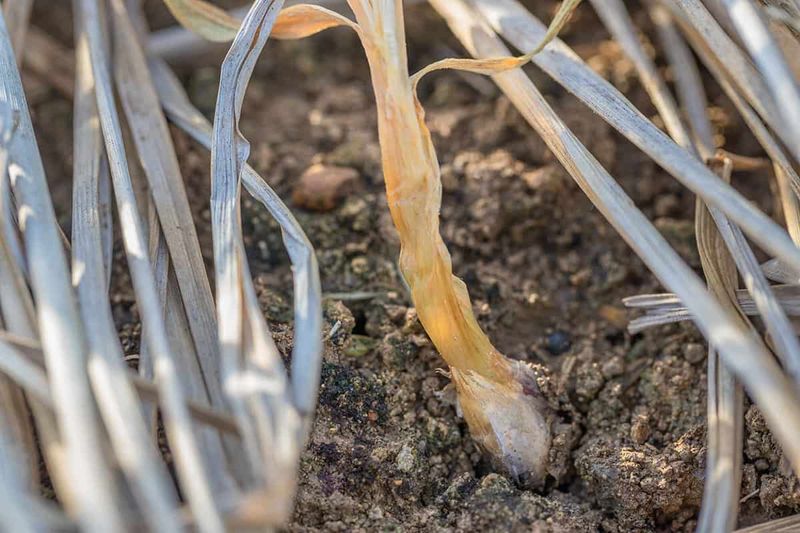
Once you have inspected the failed cloves and identified decay, the priority is containment. Diseased cloves, infected soil, and plant debris can carry pathogens to a new bed if they are moved carelessly, and some garlic diseases, particularly white rot, can survive in soil for many years without a host plant present.
University of Minnesota Extension’s disease management guidance is direct on this point: do not use diseased bulbs as planting stock, and do not move contaminated soil or plant debris to a clean bed. Discard clearly rotted cloves in the trash rather than the compost pile, since home compost piles rarely reach temperatures high enough to neutralize soil-borne pathogens reliably.
WSU Extension and Penn State Extension both recommend crop rotation as a longer-term safeguard, avoiding garlic and other alliums in the same bed for several years after a disease problem.
The decision sequence for a failed bed comes down to this: inspect first, then correct drainage and irrigation before anything else, then assess depth and orientation, and finally consider timing and regional cultivar suitability. Replant only with firm, healthy, disease-free cloves from a reputable source.
A garlic crop that struggles one season can recover the next when the root causes are addressed rather than just the depth. The clove is only as good as the conditions waiting for it.