
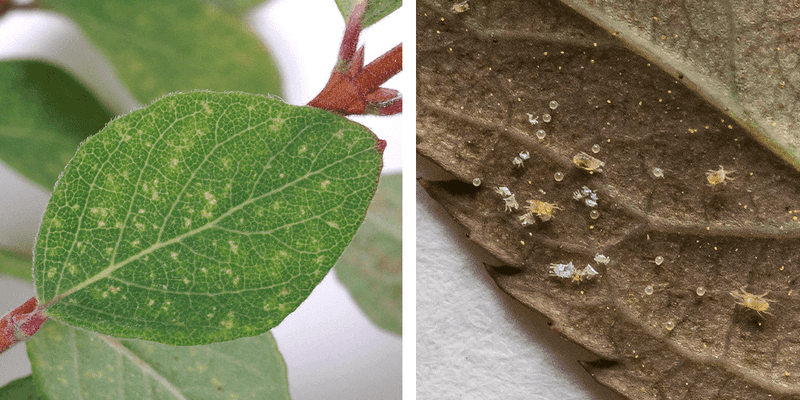
When the weather starts cooling off, it’s time to move your leafy friends back indoors before the first chilly night. But those pots may be carrying tiny hitchhikers like bugs, eggs, and even slimy critters hiding in the soil.
If you bring them in without checking, you could end up with an indoor pest problem all winter long. Here’s a simple checklist to help you move plants inside cleanly and keep your home bug-free.
1. Flip the Leaves and Inspect the Undersides
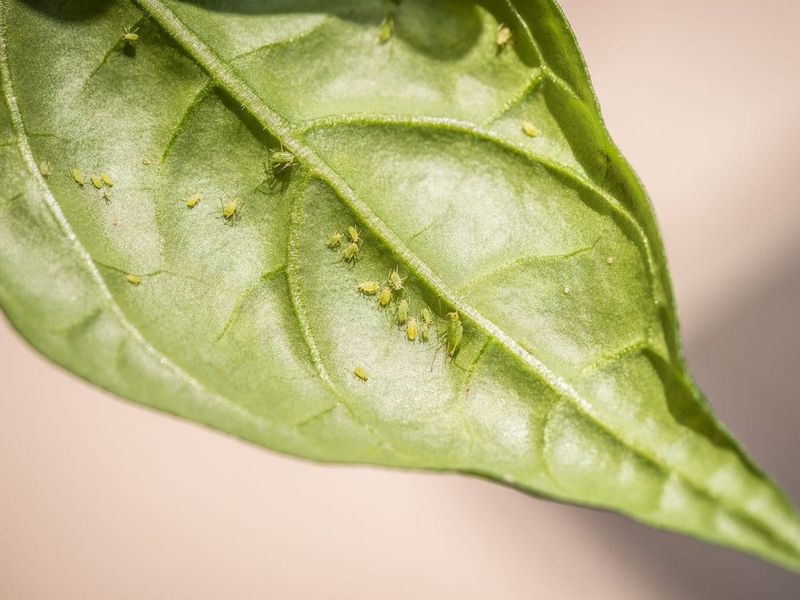
Most of the trouble starts where you least expect it, and that’s the hidden underside of every leaf. Aphids, spider mites, and whiteflies love tucking themselves against the veins where they stay cool and out of sight.Run your fingers gently across the back of each leaf and look for sticky residue, tiny webs, or little moving dots.
A magnifying glass helps if your eyes aren’t catching much, since spider mites are barely bigger than a speck of pepper.Don’t forget the spot where the leaf meets the stem, because pests gather in those tight corners too. If you spot anything, a strong spray from the garden hose can knock many of them loose before the plant ever reaches your door.For stubborn clusters, wiping leaves with a damp cloth or a cotton ball dipped in soapy water may help clear them out.
Checking every plant this way takes a few extra minutes, but it beats discovering an infestation spreading across your windowsill in December. Give the whole plant a slow, careful once-over so nothing sneaks past you.
2. Dunk the Root Ball to Flush Out Soil Dwellers
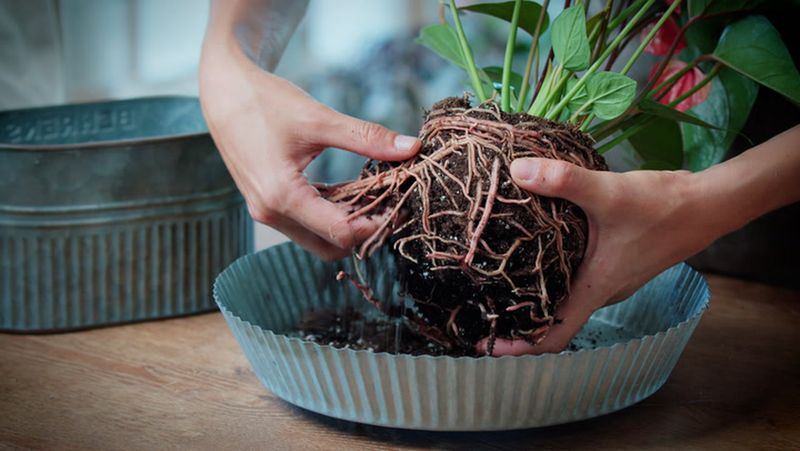
Some of the sneakiest pests never touch the leaves at all, because they’re living down in the dark, damp soil. Ants, fungus gnat larvae, pill bugs, and even small slugs can ride inside completely unseen until they show up in your living room.The trick many Southern gardeners swear by is a good soak.
Fill a bucket or tub with lukewarm water and lower the whole pot in until the soil surface sits about an inch under.Give it fifteen to twenty minutes, and you’ll often see critters float or crawl to the top where you can skim them away. This method can flush out hidden hitchhikers that spraying alone misses.Adding a small squirt of mild dish soap to the water may help drive out the more stubborn burrowers.
Let the pot drain fully before you bring it inside so you’re not carrying dripping mud through the house.Warm climates like Florida and Texas keep soil pests active well into fall, so this step matters more here than in colder regions where the ground has already frozen them out.
3. Look for Fungus Gnats Hovering Above the Pot
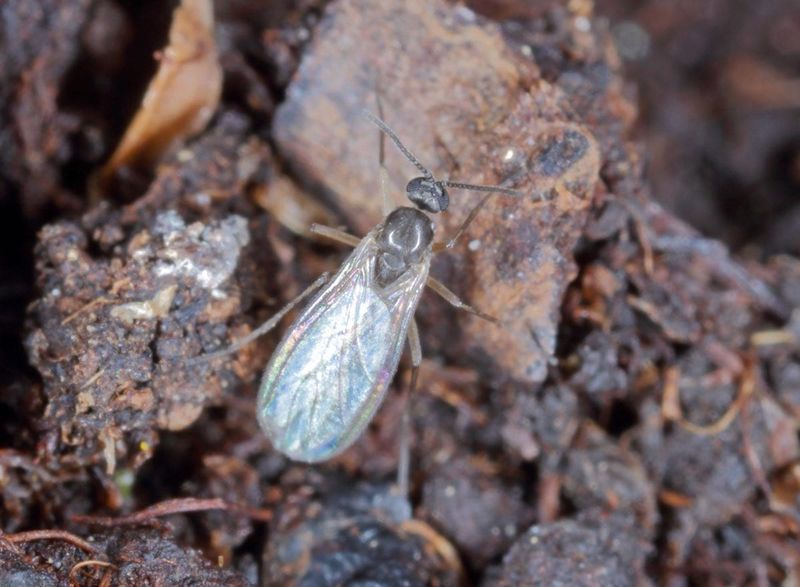
Ever notice a little cloud of tiny black flies rising up whenever you water a plant? Those are fungus gnats, and they’re one of the most annoying pests to invite indoors by accident.Adults are harmless, but their larvae munch on roots down in the moist top layer of soil.
Once they settle inside your warm home, they breed fast and spread from pot to pot.To check, tap the side of the container and watch for anything that flutters up from the surface. You can also press a slice of raw potato flat on the soil overnight, then flip it over to see if larvae have gathered underneath.Letting the top inch of soil dry out before bringing plants inside often makes the environment far less welcoming to them.
A layer of sand or fine gravel over the surface can discourage females from laying more eggs.Yellow sticky traps placed near the pots help you monitor whether any adults are still hanging around after your treatment, so you catch a problem early instead of chasing it all winter.
4. Check for Spider Mites With the White Paper Trick
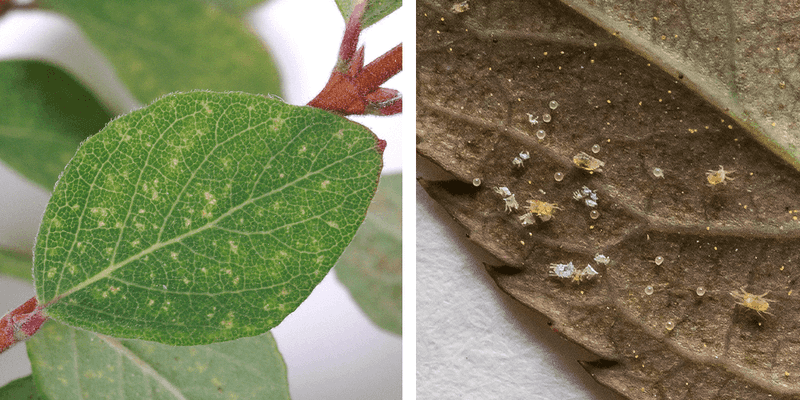
Spider mites are masters of hiding, so tiny that you might never see them until the damage is already done. The first clue is usually pale speckling or a dusty, faded look across the leaves.Here’s a clever way to catch them red-handed.
Hold a sheet of plain white paper under a leaf and give the leaf a firm tap or two.If little specks fall onto the paper and start slowly crawling around, you’ve found spider mites. Look closely for fine webbing between stems and leaves too, since heavy populations spin silk like miniature spiders.Warm, dry conditions make them multiply quickly, which is exactly the kind of weather that lingers across the South well into autumn.
Rinsing the plant thoroughly and boosting humidity can make life harder for them, since they hate moisture.Insecticidal soap or a neem oil spray applied to both leaf surfaces may help knock down an active outbreak before you move the plant in. Isolate any suspicious plant away from healthy ones for a couple weeks so you don’t accidentally seed an indoor invasion.
5. Scrape the Rim and Drainage Holes for Hidden Eggs
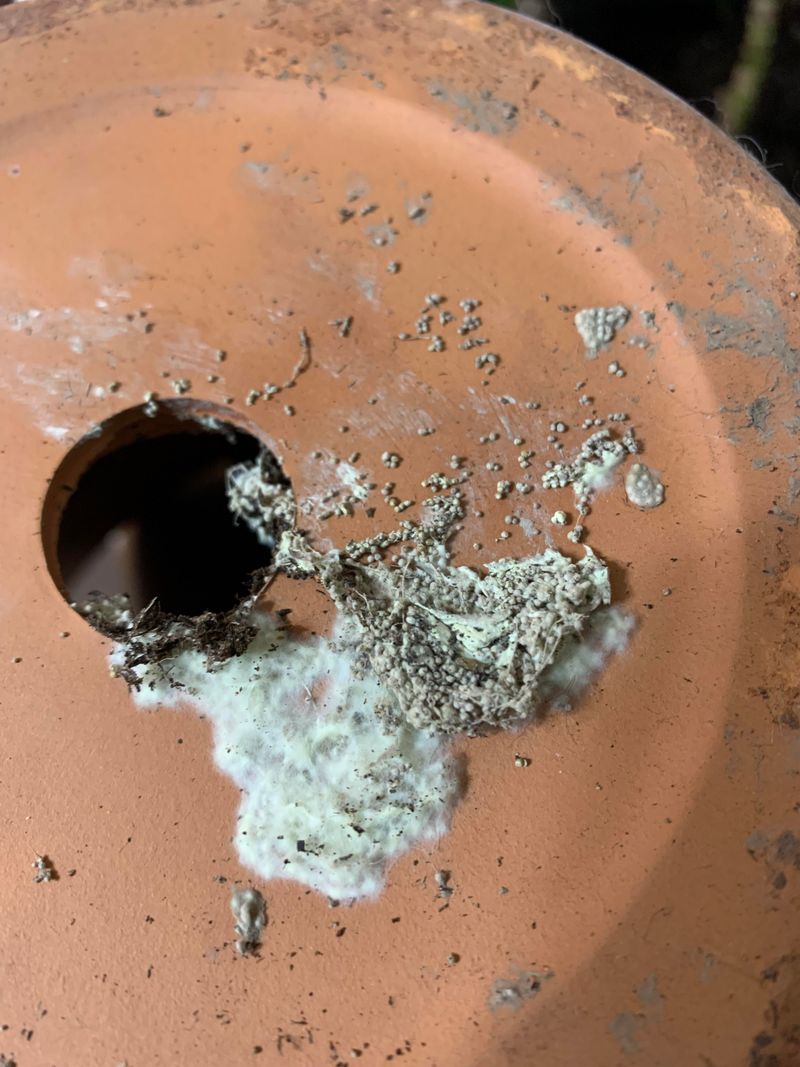
Pots have more hiding spots than people realize, and the rim and drainage holes are pest favorites. Slugs, snails, and various insects love tucking eggs into these sheltered nooks where rain and sun can’t reach.Lift each pot and take a good look underneath, especially around the drainage holes where slimy trails or clustered eggs often show up.
Run a finger or an old butter knife along the inside lip of the rim to scrape off anything stuck there.Terracotta pots are especially prone to collecting egg masses in their rough, porous surface. You may also find beetle larvae or curled-up centipedes wedged in the gap between the pot and its saucer.Wiping the whole exterior down with soapy water clears away eggs you can’t easily see.
Don’t overlook the saucer itself, since standing water there becomes a breeding ground for mosquitoes and gnats.Giving the outside of every container a solid cleaning takes just a minute per pot, and it stops a surprising number of stowaways from ever crossing your threshold. A clean pot is a big part of a clean move.
6. Hunt for Mealybugs in the Stem Joints
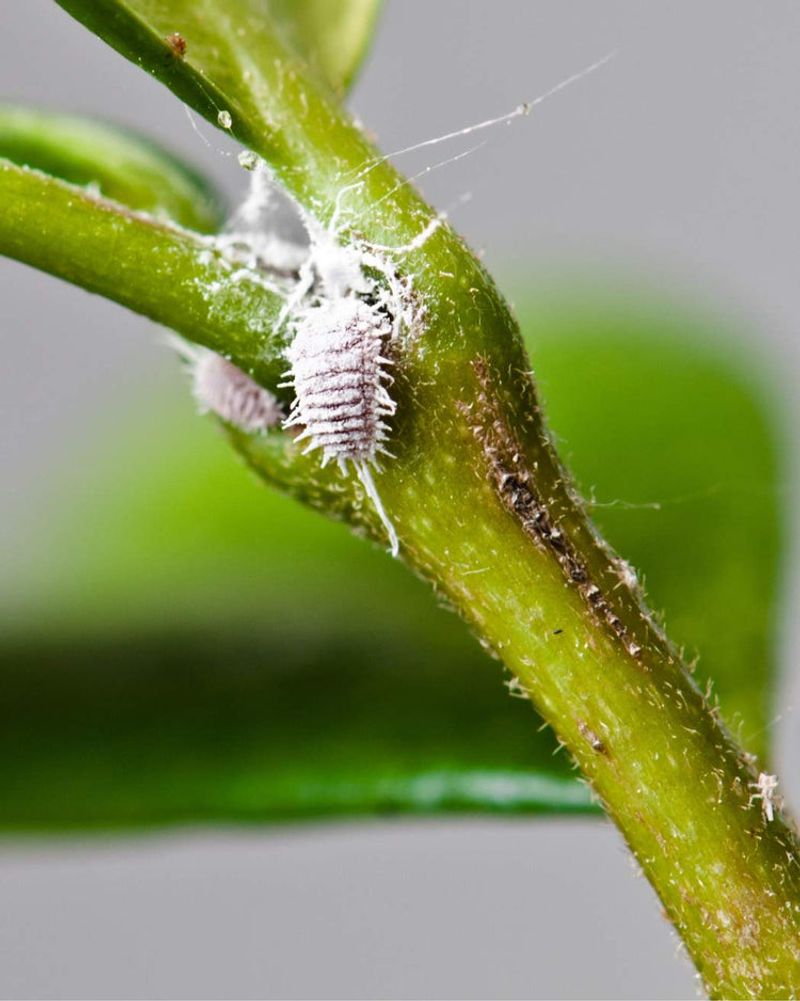
Spot what looks like little bits of cotton stuck to your plant? Those fuzzy white specks are almost certainly mealybugs, and they’re sneaky feeders that drain the sap right out of your greenery.They gather in the tight joints where leaves meet stems, along with the crown of the plant where growth is newest and softest.
Their waxy coating protects them, which is why plain water rinses often fail to budge them.A cotton swab dipped in rubbing alcohol touched directly to each cluster can help dissolve that coating and kill them on contact. Check thoroughly, because a single overlooked pocket can rebuild the whole colony within weeks.Mealybugs also leave behind sticky honeydew that attracts ants and grows black sooty mold, so their damage spreads beyond just the bugs themselves.
Look under leaves and even at the soil line, since some species hide near the roots.Gardeners in humid Southern climates tend to see them stick around longer thanks to the warmth. Treating a plant before it comes inside keeps these fuzzy freeloaders from hopping onto every other pot in your collection.
7. Trim Away Dead Leaves and Overgrown Foliage
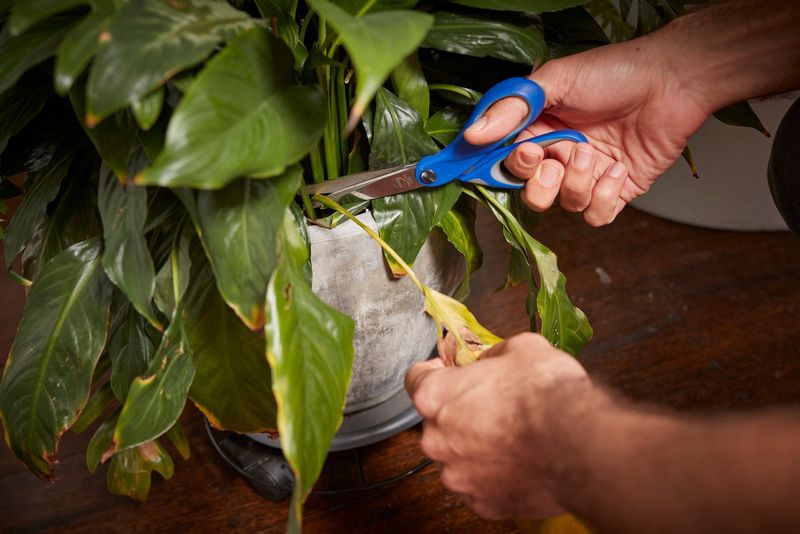
Before a single pot comes inside, grab your pruners and give each plant a good tidy. Dead leaves, spent flowers, and yellowing growth are exactly where pests love to hide and lay eggs.Clearing out that debris removes their shelter and makes any remaining bugs much easier to spot.
Snip off anything brown, mushy, or clearly on its way out, and rake away fallen bits sitting on top of the soil.Thinning dense, overgrown foliage also improves airflow, which matters a lot indoors where stagnant air lets fungus and insects thrive. Better air movement means fewer damp pockets for mold and gnats to settle into.Always use clean, sharp shears and wipe them with rubbing alcohol between plants so you don’t spread problems from one to the next.
Toss the trimmings in the trash rather than a compost pile near your door, since eggs can survive there.A lighter, cleaner plant also handles the shock of moving indoors better than a crowded, stressed one. Think of this step as both a health checkup and a fresh start heading into the darker months.
8. Quarantine New Arrivals Away From Your Indoor Plants
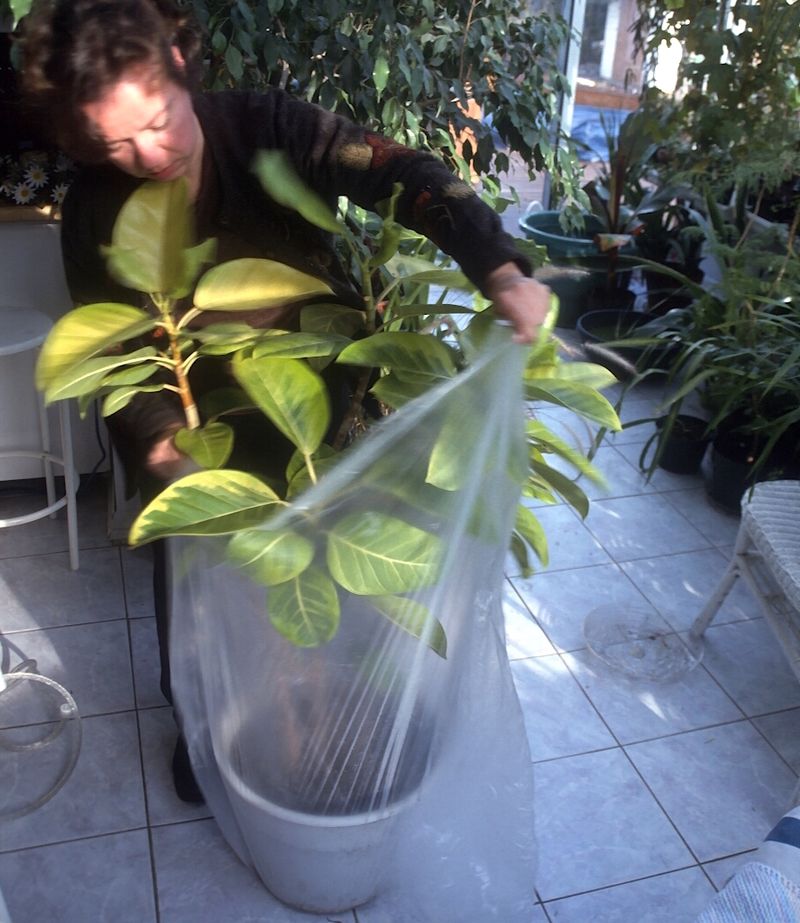
Even after a careful cleaning, no inspection catches everything, which is why smart gardeners never trust a plant right away. Setting your returning plants in a separate room for two to three weeks acts like a safety net.Any pests or eggs you missed will hatch and reveal themselves during that window, and you’ll catch them before they reach your established indoor collection.
Pick a spot with decent light but away from your other greenery, like a spare bedroom, bathroom, or corner of the garage.Check the quarantined plants every few days for fresh webbing, flying bugs, or new speckling on the leaves. If something shows up, you can treat that one plant in isolation instead of battling an outbreak across your whole home.Keep watering light during this stretch so the soil stays on the drier side, which discourages gnats and root pests from thriving.
Only move a plant in with the others once it’s stayed completely clean for the full quarantine period.A little patience here saves you weeks of frustration later, and it’s the single best insurance against a winter full of indoor bugs.
9. Give Everything a Preventive Neem Oil Treatment
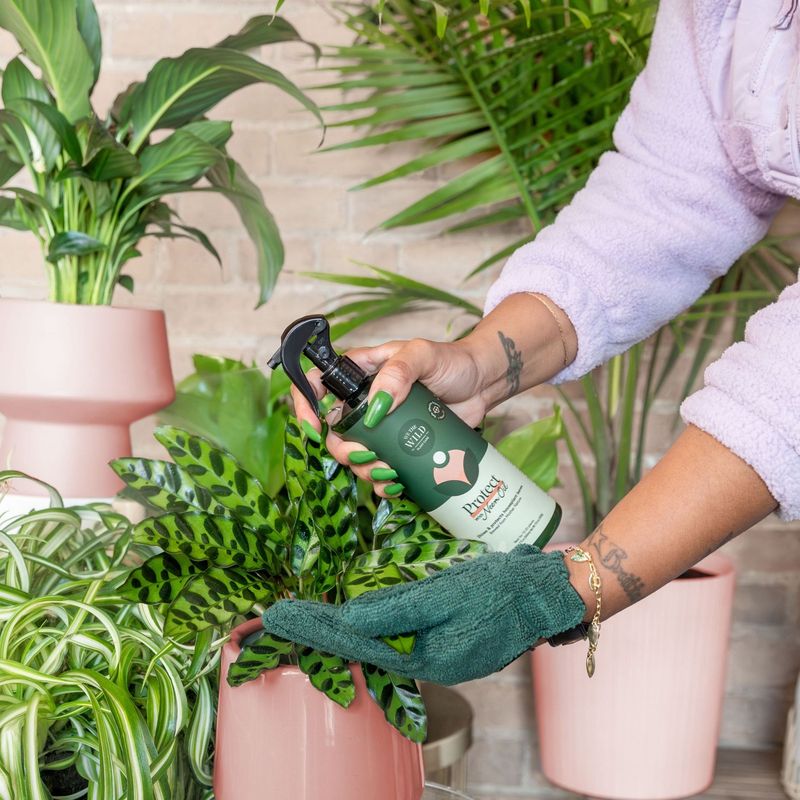
Think of a final neem oil spray as the last line of defense before your plants cross the threshold. Even plants that look perfectly clean can harbor eggs too small to see, and a preventive treatment gives you real peace of mind.Neem oil works by coating soft-bodied pests and disrupting their ability to feed and breed, so it may help stop a hidden problem before it starts.
Mix it according to the label, usually with a few drops of mild soap to help it blend with water.Spray the tops and undersides of leaves, the stems, and even the top layer of soil until everything glistens lightly. Do this in the shade or in the cool of the evening, since spraying in hot sun can scorch the foliage.Give the plant a day or two to dry and settle before moving it indoors.
Repeating the treatment once about a week later can catch any eggs that hatch after the first round.Gentle and plant-safe when used correctly, neem is a favorite among Southern gardeners who want a natural buffer against overwintering bugs without harsh chemicals in the house.