
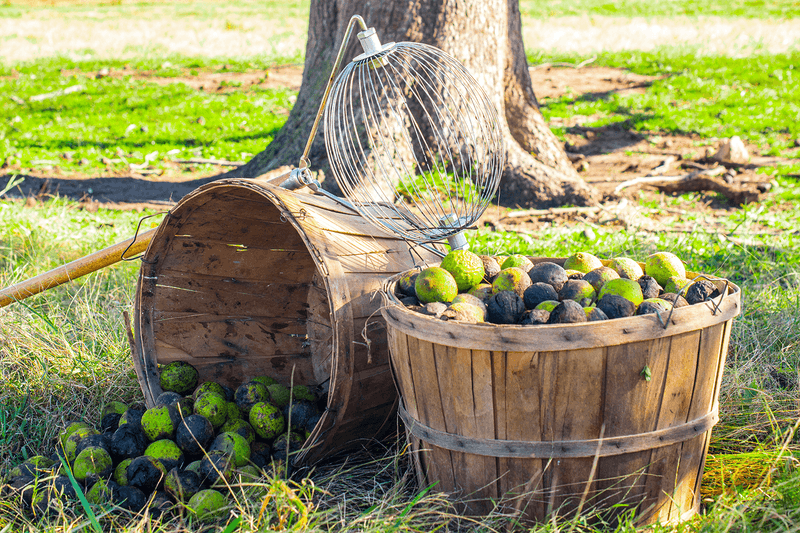
Black walnuts wrapped in thick green hulls can litter a North Carolina yard and leave dark stains on anything they touch. Inside each one is a hard shell, and inside that shell is a nut with a bold flavor unlike store-bought English walnuts.
Getting from the fallen fruit to a bowl of kernels takes patience, gloves, and a plan. This guide walks you through each step so you can decide for yourself if the work suits you.
Check whether the walnuts are ready
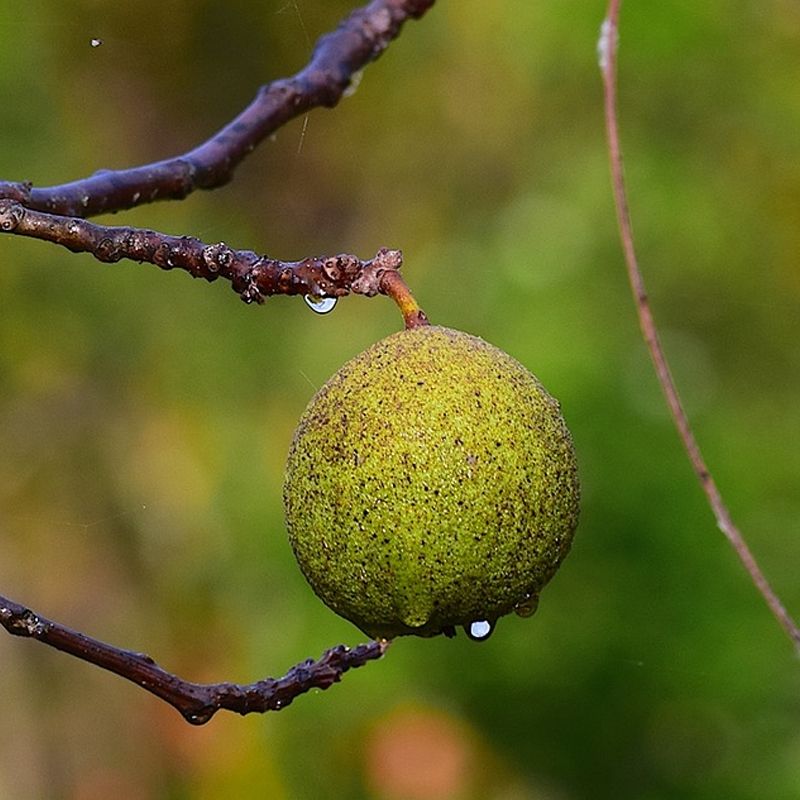
Black walnut (Juglans nigra) is a native, edible tree, and NC State’s plant profile notes it grows across the state. Before you grab a bucket, though, think about timing.
NC State’s harvest guide lists August through September as the approximate harvest window in North Carolina.
That is a rough range, not a promise about what is falling in your yard this week. Dates shift with region, year, and even from one tree to the next.
A broader USDA Forest Service account describes mature nuts dropping from late September into early October, so some trees may still be holding or dropping nuts later than you expect.
Let the nuts tell you. Ripe nuts fall from the tree on their own.
A ripe husk gives under thumb pressure and leaves a dark mark. When you crack a sample, the kernel should be creamy white and firm.
Walk under your own tree, look at what is on the ground, and test a few. Your local observation counts for more than any calendar.
Gather fallen nuts before the hulls linger
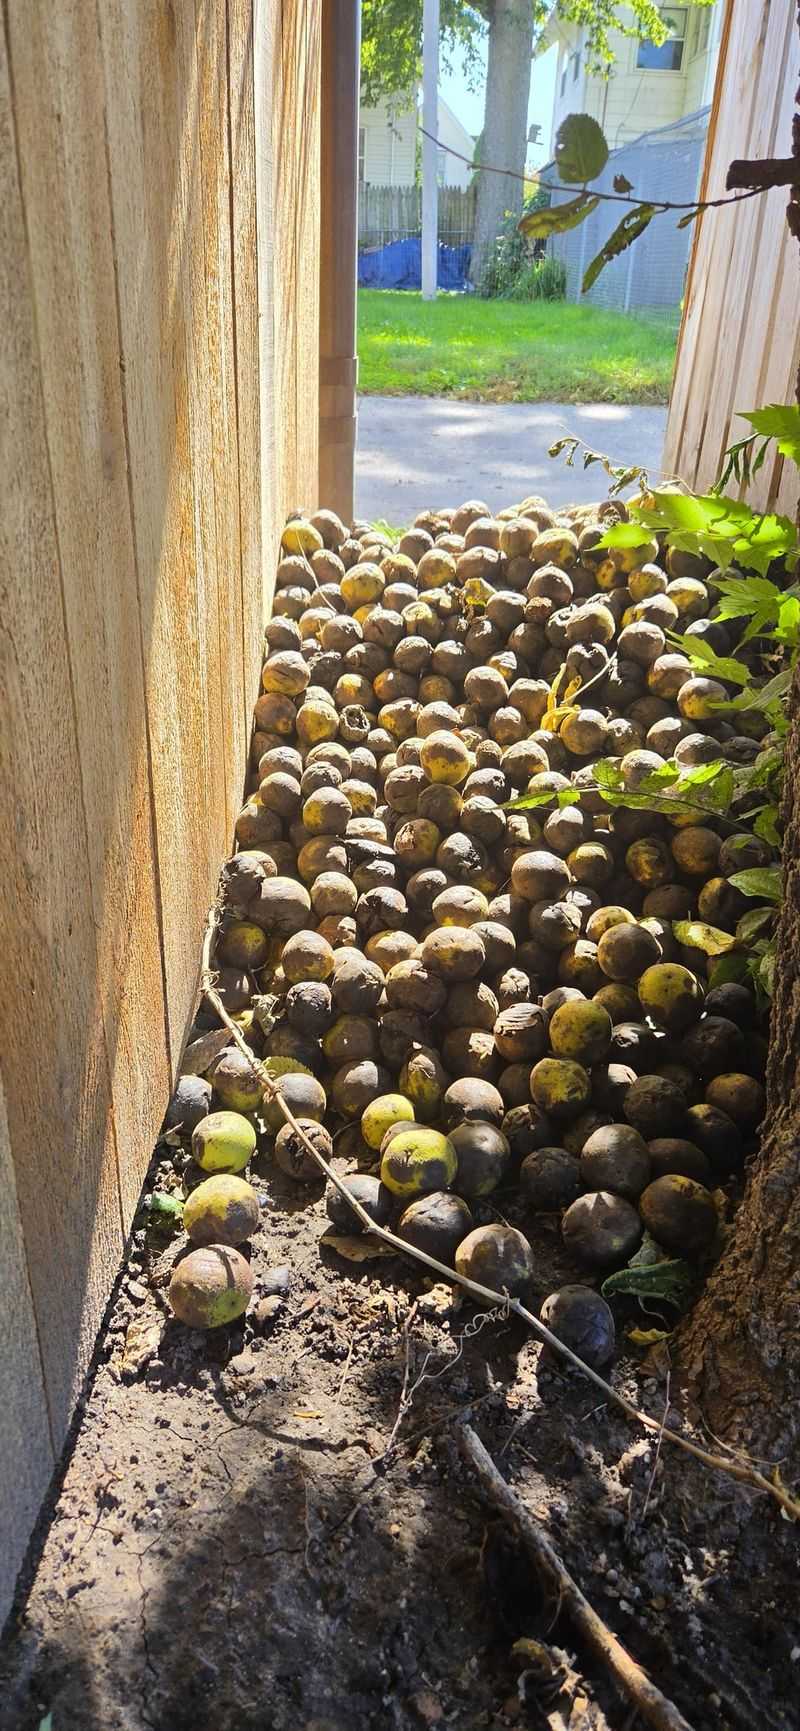
Once mature nuts are down, scoop them up soon. Hulls left sitting on the kernel’s shell can stain and discolor the nutmeat inside, and they can add a strong, off flavor you will not enjoy.
Squirrels will compete with you, so a quick pass every few days helps.
Pull on rubber gloves before you touch a single nut. As Iowa State Extension points out, the hull juice stains skin and clothing, and it can irritate skin too.
Wear old shoes and a shirt you do not mind ruining.
A sturdy bucket or wheelbarrow works well for carrying. Keep your haul off porches, concrete, and light-colored surfaces, because the staining juice can seep out.
Gather only what you have time to process, since a heap of unhulled nuts waiting for next weekend is how kernels end up spoiled.
Nobody can say for you whether this chore is a pleasure or a pain. Some people enjoy the ritual, and others decide one bucketful is plenty.
Start small and see how you feel after the first batch.
Remove the fleshy hull without breaking the shell
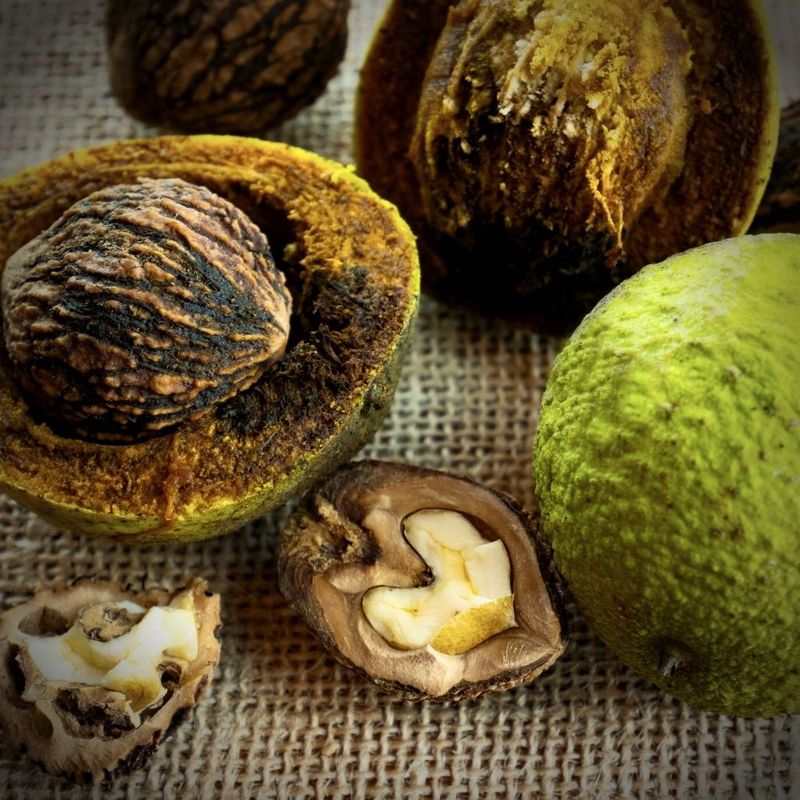
Hulling means taking off the fleshy outer covering, not cracking the hard shell beneath it. That shell protects the edible kernel, so your goal is to peel the hull away while leaving the shell whole.
Extension sources describe a few hand-powered options. You can stomp or pound nuts underfoot, or roll them under your shoe on a hard surface.
Iowa State Extension also mentions driving over nuts spread on gravel. K-State Extension offers more guidance on preparing freshly fallen nuts.
Whichever route you pick, keep your gloves on the whole time. Work over a tarp, old boards, or a spot of dirt you do not care about, since the juice stains concrete, decking, and clothes.
Hold a nut firmly and ease the hull off in pieces. If it sticks, try a bit more pressure, but stop short of crushing the shell.
No method is truly mess-free. Expect dark hands under your gloves, splashed boots, and stains on your tools.
If your first technique feels like a wrestling match, try another. Stopping every so often to rinse your gloves can keep the staining from spreading.
Wash and sort the hulled nuts
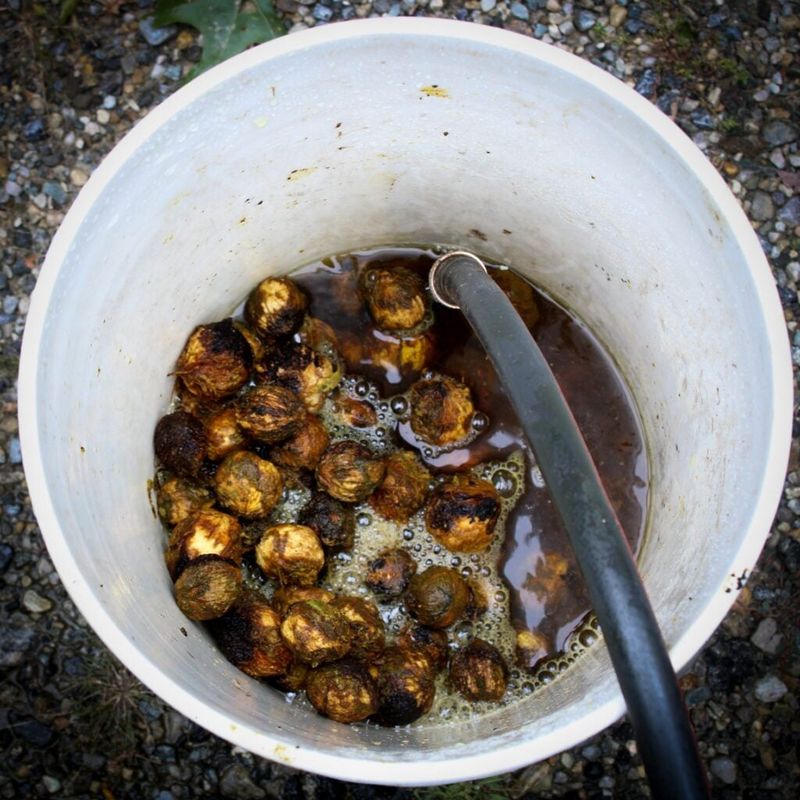
With the hulls off, rinse the hard-shelled nuts to remove leftover juice and bits of hull. A bucket and a hose work fine, and a stiff brush helps with stubborn debris.
Keep wearing gloves, since the wash water turns dark and stains.
Many people then try a float test. Drop the clean nuts into a bucket of water.
According to Iowa State Extension and K-State Extension, floaters are often unfilled or likely empty. That makes this a rough screen only.
A floater is not automatically unsafe, and the test does not tell you whether a nut is safe to eat.
Before you commit hours of labor, crack a handful as a sample. You will see quickly whether the kernels are filled out and worth your effort.
Mold and rot are separate questions from floating. Discard any nut with visible mold.
University of Maine Extension recommends tossing moldy black walnuts, and USDA FSIS warns that some molds can produce harmful mycotoxins.
Do not try to rescue those nuts by washing, scraping, or cooking them. Throw them away and move on to the sound ones.
Dry the in-shell nuts before storing them

Curing, in this case, simply means drying your cleaned nuts while their hard shells stay intact. It does not transform every batch into something special, but it prepares the nuts for storage or cracking.
Spread the nuts out in a shallow layer, no more than three nuts deep. Mesh screens, open crates, or racks let air move underneath.
Choose a cool, dry, well-ventilated spot such as a shaded porch, a breezy shed, or a garage. Keep them out of direct sun.
Plan on roughly two to three weeks, as Iowa State Extension and Illinois Extension describe. That figure is a ballpark.
Humid Coastal Plain weather in North Carolina may slow things down compared with a dry spell in the Piedmont, so do not count on a fixed ready date.
Stir the nuts now and then so air reaches every side. Check for any that look moldy and remove them right away.
Keep squirrels in mind too. A covered rack or a screened space can protect your work from hungry visitors while still letting air through.
Cracking takes patience, but the flavor is distinctive
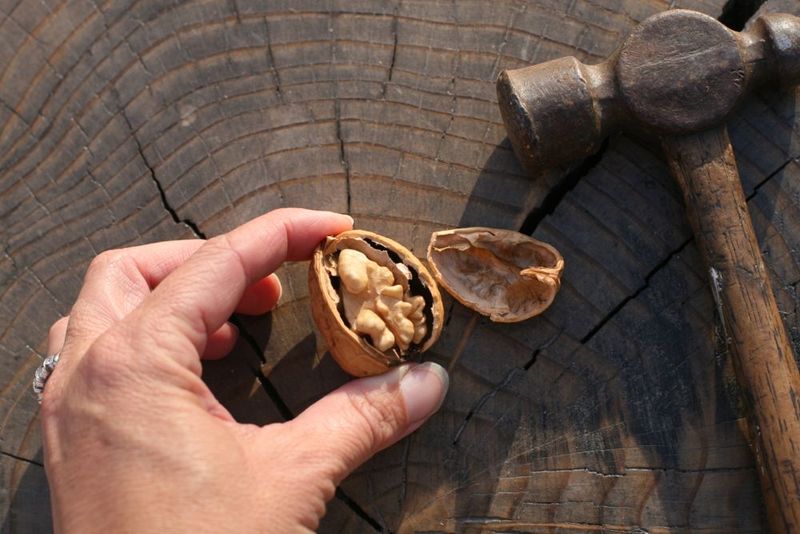
After drying, you finally crack the shell to reach the edible kernel. Black walnut shells are exceptionally tough, and kernels often break into pieces rather than coming out whole.
Iowa State Extension describes the work as labor-intensive, so give yourself time and expect a modest pile of nutmeat from a big pile of nuts.
Use a sturdy tool made for the job, or a hammer on a solid surface, and protect your fingers and eyes. Pick out the kernel with a nutpick, working slowly around the shell’s ridges.
As for taste, black walnut is distinctive and stronger than the English walnut you buy at the store. Some people find it rich, and others find it too assertive.
Buttery is a matter of opinion, and nobody can promise it.
Handling matters. As Illinois Extension and USDA Forest Service research explain, contact with the hull can darken kernels and make the flavor stronger or spoil it.
Drying does not guarantee a particular taste.
Whether all this is worth it is your call. Crack a cup’s worth, taste it, and decide how much more of your weekends belong to the walnut tree.
Store the kernels for winter
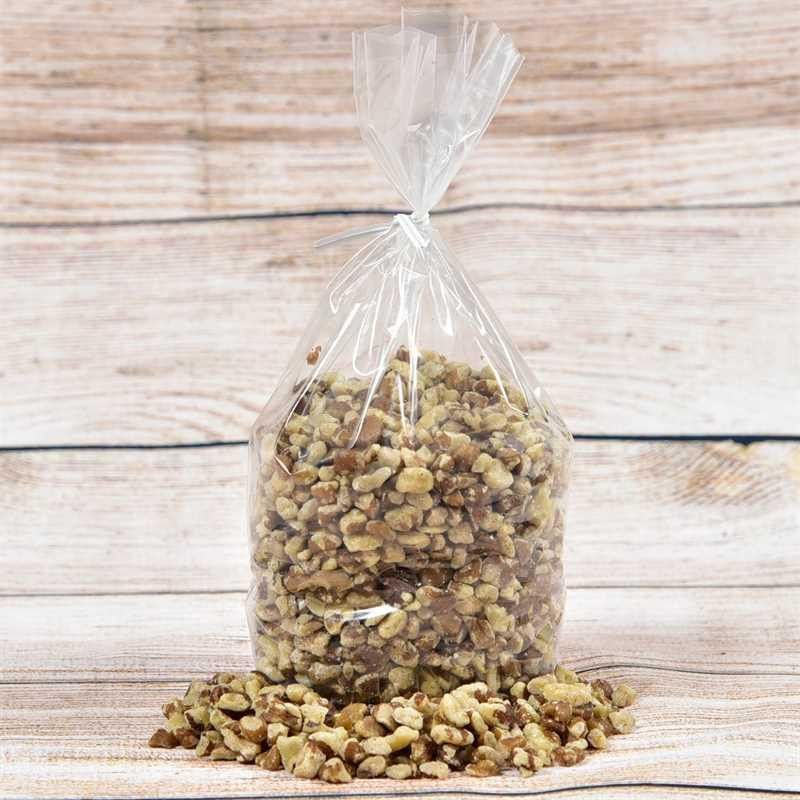
Once your nuts are fully dry, the unshelled ones can sit in a cool, dry place until you are ready to crack them. A mesh bag or open container in a garage or pantry works well, as long as it stays dry and away from pests.
Shelled kernels need more care. Illinois Extension notes they can be refrigerated or frozen for longer storage.
Pack them in an airtight jar or freezer bag, and label it with the date. Check University of Maine Extension for tips on judging whether nuts look sound.
Prompt hulling, careful drying, and realistic expectations give you the best shot at usable nuts. Whether the labor suits you is personal, and plenty of people are happy to do it once and call it enough.
A winter bowl of hard-won kernels is a small reward, and it tastes like your own tree.