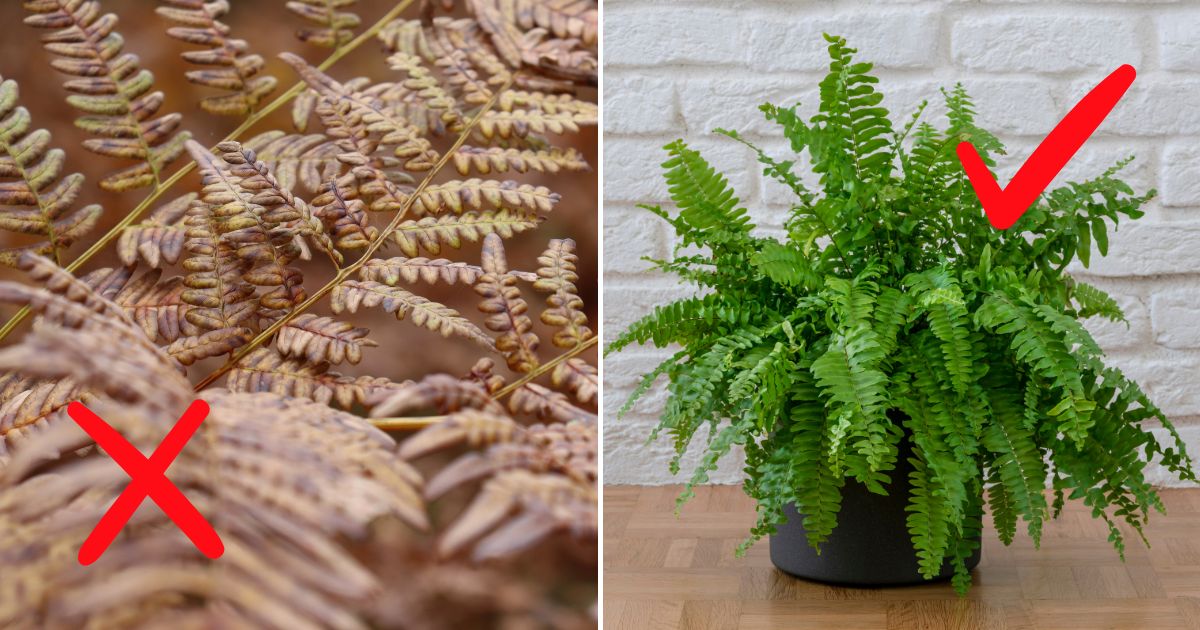
Is your once-vibrant fern now looking droopy and dull? Imagine transforming it back to its lush, green beauty with just a few hydration secrets. Proper watering can revive your fern, and knowing how and when to hydrate it is crucial for its survival.
You’ll be astonished at how quickly a wilted fern can spring back to life with the right care. By mastering the balance between underwatering and overwatering, you can ensure your fern thrives. Keep an eye out for signs of dehydration, like limp leaves and dry soil, and adjust your watering schedule accordingly.
Discover the hydration techniques that will make your fern lush and healthy again in no time. Let’s explore how to give your fern the perfect care it needs to flourish!
Understanding Fern Hydration Needs
Proper hydration is crucial for the health and appearance of your fern. It’s important to keep the soil consistently moist and watch for signs of dehydration to maintain a lush, vibrant plant.
The Importance of Consistent Moisture
Ferns thrive in environments where the soil remains consistently moist. They are sensitive to both drought and overwatering.
Soil moisture should be checked regularly, aiming to keep it damp but not waterlogged. Over time, you may notice that the amount of water needed can vary based on the season and indoor conditions.
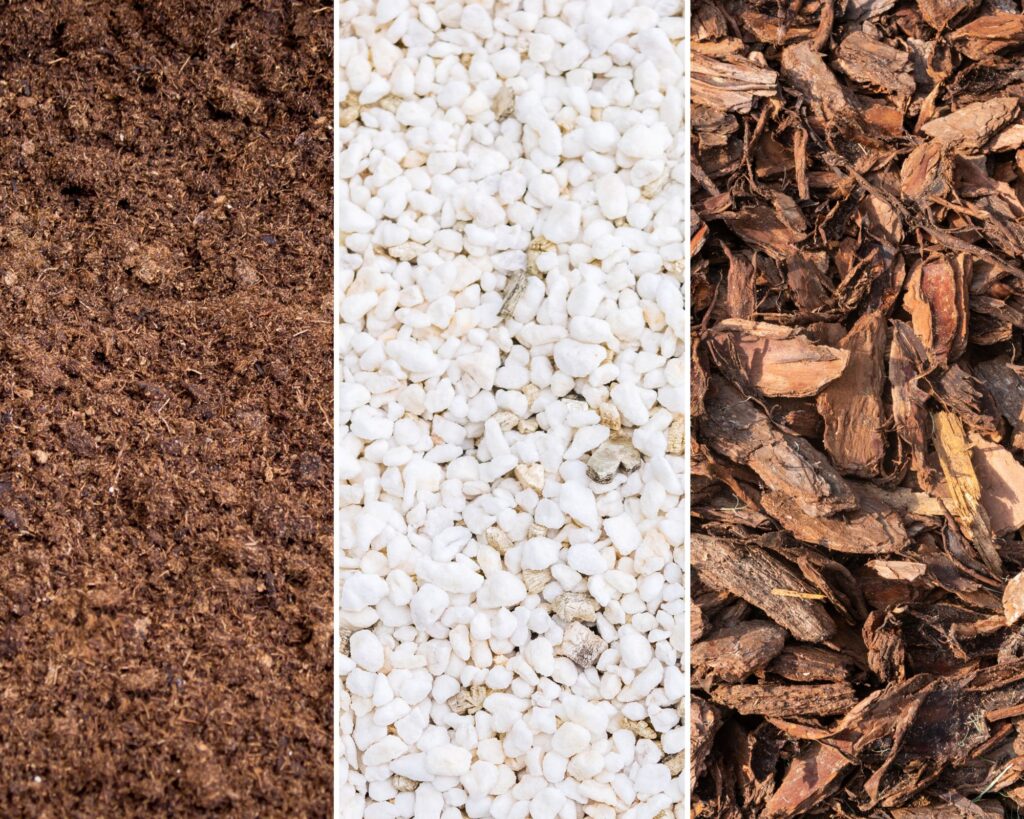
Using a well-draining potting mix can help manage moisture levels effectively. Adding materials like peat moss or perlite can improve water retention while preventing the roots from sitting in excess water.
Signs of Dehydration in Ferns
Recognizing dehydration in your fern helps you address watering issues promptly.
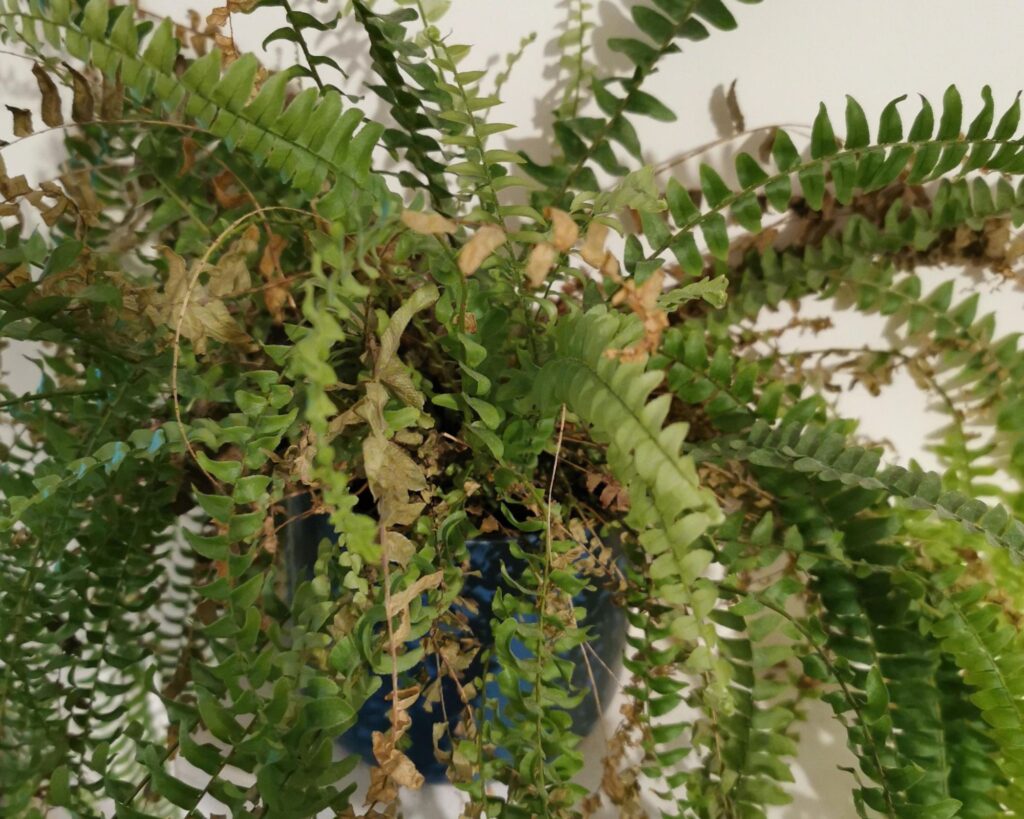
Look for leaves that are wilting, browning at the edges, or appearing crispy. These are clear indicators that your fern is not receiving enough moisture.
Leaf drop can also signal hydration problems. If your fern starts shedding leaves, it may be stressed due to dry conditions. Adjust your watering schedule immediately to prevent further damage.
Checking the soil regularly and feeling its moisture content can help you stay ahead of any potential hydration issues.
By keeping a close eye on these signs, you can ensure your fern stays healthy and hydrated.
Choosing the Right Water
Getting the appropriate water for your fern is crucial to its health. The type of water and its temperature can significantly impact your plant’s vitality.
Filtered vs. Tap Water
Ferns are sensitive to the chemicals often found in tap water. Chlorine and fluoride, common in municipal water supplies, can harm a fern’s delicate roots and foliage. Using filtered water can help remove these chemicals, making it a safer option for your plant.
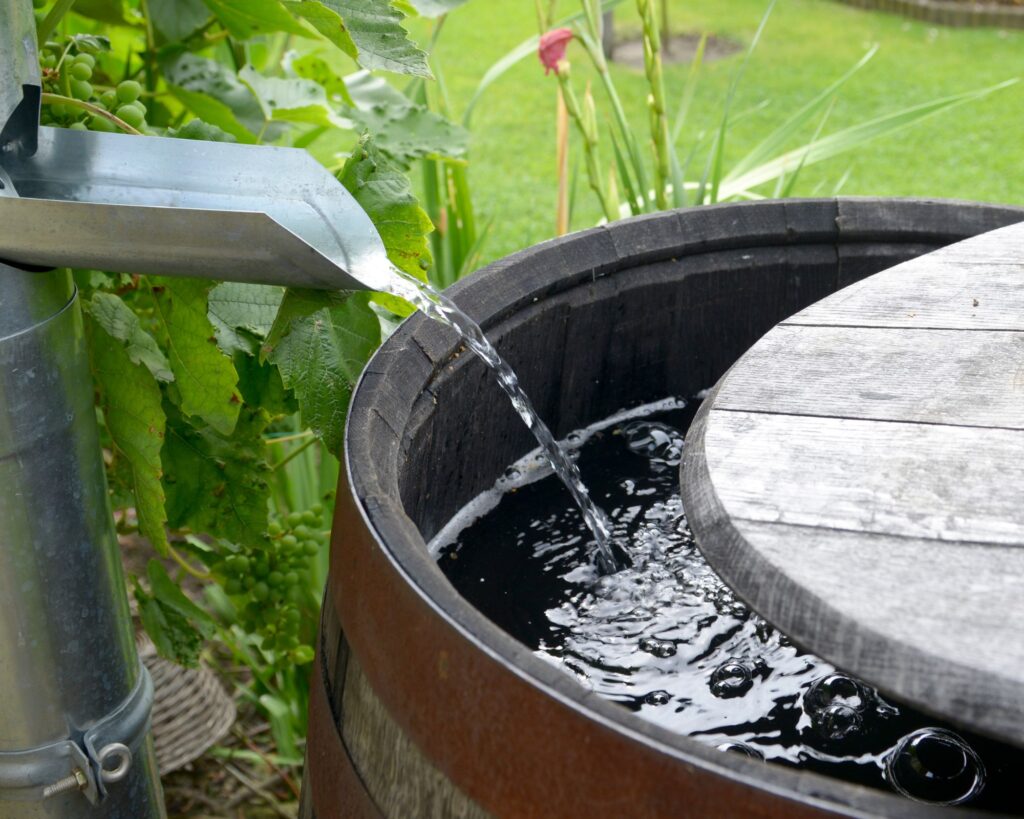
Even if your tap water is safe for drinking, it might not be ideal for plants. Filtered water mimics natural rainfall, providing a more suitable hydration source. If a filtration system isn’t available, consider using rainwater, which naturally benefits ferns due to its purity.
Temperature Effects on Ferns
Water temperature also plays a pivotal role in your fern’s health. Cold water can shock the roots, causing stress and potentially leading to wilting. On the other hand, very hot water can scald the plant, damaging the roots and leaves.
Room temperature or slightly lukewarm water is the best choice. It closely matches the natural environment of ferns, ensuring their roots absorb water more efficiently without any stress. Check water temperature before watering to help maintain a healthy and vibrant plant.
Watering Techniques for Ferns
Proper watering can revive your wilted fern. Understanding both soaking and misting methods ensures your fern receives the right amount of moisture to thrive.
Soaking Method
Soaking is an effective way to deeply hydrate your fern’s roots. Fill a basin or sink with lukewarm water and submerge the pot. Ensure the potting mix becomes thoroughly saturated.
Allow the fern to soak for about 10-15 minutes, letting the water drain completely before returning it to its usual spot. Avoid over-soaking to prevent root rot.
This method is particularly useful for ferns that have become very dry, as it ensures even water distribution through the potting mix.
Misting to Maintain Humidity
Ferns thrive in high-humidity environments. Regular misting helps maintain this humidity, especially in dry indoor conditions.
Use a fine mist spray bottle to gently mist the fern’s fronds, ideally in the morning. This prevents excess moisture from sitting on the leaves overnight, which can lead to fungal issues.
Misting 2-3 times a week should be sufficient. Aim to mist in addition to your regular watering routine for the best results. If your home is particularly dry, consider using a humidifier.
Troubleshooting Common Issues
If your fern isn’t thriving, you might be dealing with issues related to overwatering or fungal infections. Both can cause significant problems, but they’re manageable with the right steps.
Overwatering Symptoms
Overwatering is a frequent cause of fern distress. You’ll notice yellowing fronds, which may eventually turn brown. The fern may also appear limp and less vibrant. Check the soil’s consistency; it should be moist but not soggy.
To fix this, reduce your watering frequency and ensure your pot has proper drainage. Sometimes, improving air circulation can also help. Raise the fern slightly with a small tray or stand to avoid water pooling at the base.
If the soil remains too wet, consider replanting your fern in fresh, well-draining soil.
Fungal Infections and Excess Water
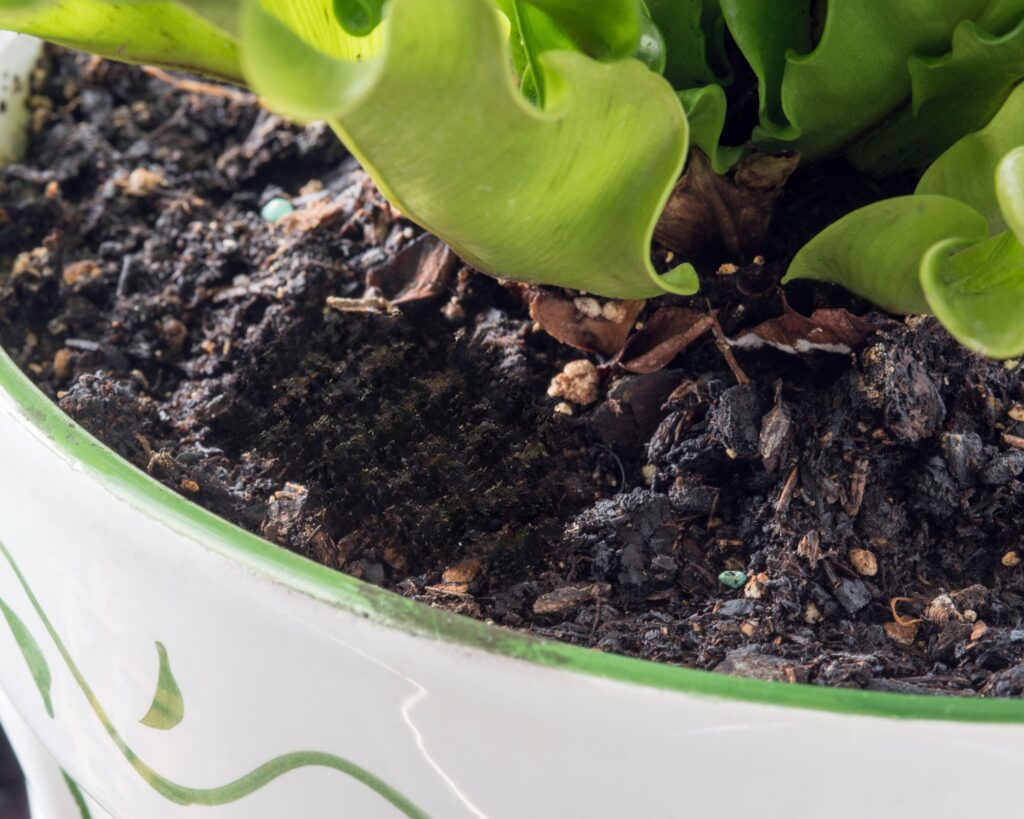
Excess water can cause fungal infections, evident from black spots on the fronds or a musty odor. The soil may develop a white, powdery mold. Fungal spores thrive in overly damp environments, negatively impacting your fern’s health.
Remove affected fronds carefully to prevent the spread.
Treat the soil with a fungicidal solution. You can also spray the fern with a diluted hydrogen peroxide mixture to combat mold.
Make sure to place your fern in a location with good ventilation. Avoid misting the fern excessively, as this can further promote fungal growth.
Creating an Ideal Environment
To revive a wilted fern, you need to focus on the right soil mix and maintaining the proper humidity levels. Correct positioning can greatly affect the fern’s health and growth.
Proper Soil Composition
Ferns thrive in soil that retains moisture but drains well. Use a soil mix that includes equal parts of peat moss, perlite and pine bark. This combination keeps the soil light and airy, which is essential for root health.
Tip: Avoid dense garden soil as it can lead to root rot in ferns. Adding a bit of sand can improve drainage if you find the mix too water-retentive.
Repot your fern every 1-2 years to refresh the soil and provide more nutrients. This can also help prevent the soil from becoming compacted, ensuring your fern remains healthy.
Positioning and Ambient Humidity
Place your fern in an area with indirect light. Direct sunlight can scorch the delicate fronds, so a north or east-facing window is ideal. Rotate the pot occasionally to prevent uneven growth.
Ferns need high humidity to thrive. Keep ambient humidity around 50% or higher. Mist the leaves regularly or use a humidifier to maintain moisture levels.
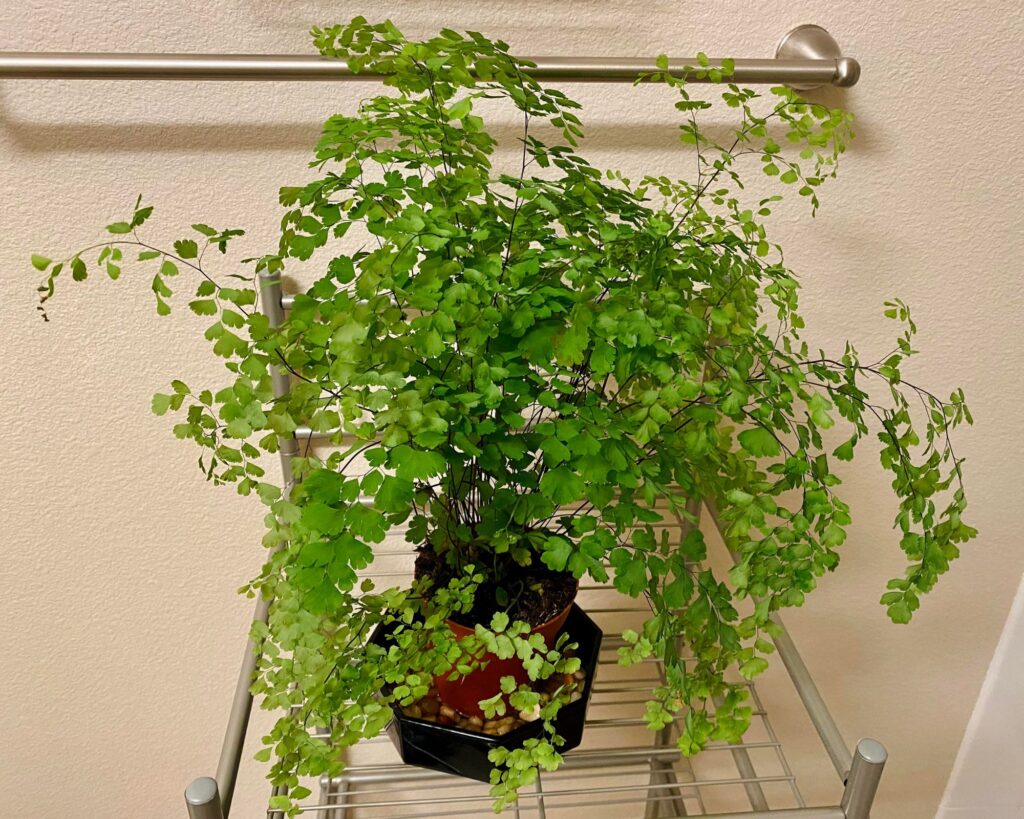
Alternatively, place the pot on a tray filled with water and pebbles, ensuring the pot itself isn’t sitting in water. This helps maintain a humid micro-environment around the fern, which mimics their natural habitat.
Reviving a wilted fern requires prompt action and a good understanding of the plant’s hydration needs. By assessing the situation, rehydrating the plant, improving humidity, and adjusting the environment, you can bring your fern back to life.
Prevent future issues by establishing a consistent watering routine, using the right soil and pot, monitoring humidity levels, and performing regular maintenance.
With proper care, your fern will thrive and continue to add a touch of natural beauty to your home.
