Ferns can bring a touch of elegance and lushness to your home or garden. To grow and maintain healthy ferns, provide them with the right balance of humidity, light, and water, while also being mindful of their unique soil needs.
With the right care, these beautiful plants can thrive and enhance your space.

Understanding the specific requirements of different fern varieties will help you create an ideal environment. Whether you’re looking to cultivate them indoors or outdoors, matching their needs to your surroundings is key.
By paying attention to their light and moisture preferences, you can enjoy vibrant ferns that flourish for years.
If you’re ready to embrace the beauty of ferns, you’re in the right place. From selecting the perfect type to troubleshooting common issues, this guide will equip you with everything you need to know to keep your ferns thriving.
The Fern Life Cycle
Ferns have a unique life cycle that includes both a vascular and a non-vascular stage. Knowing the different types of ferns and their reproduction methods can significantly enhance your gardening experience.
Types of Ferns
There are several types of ferns, each with distinct characteristics. Here’s a brief overview of some popular varieties:
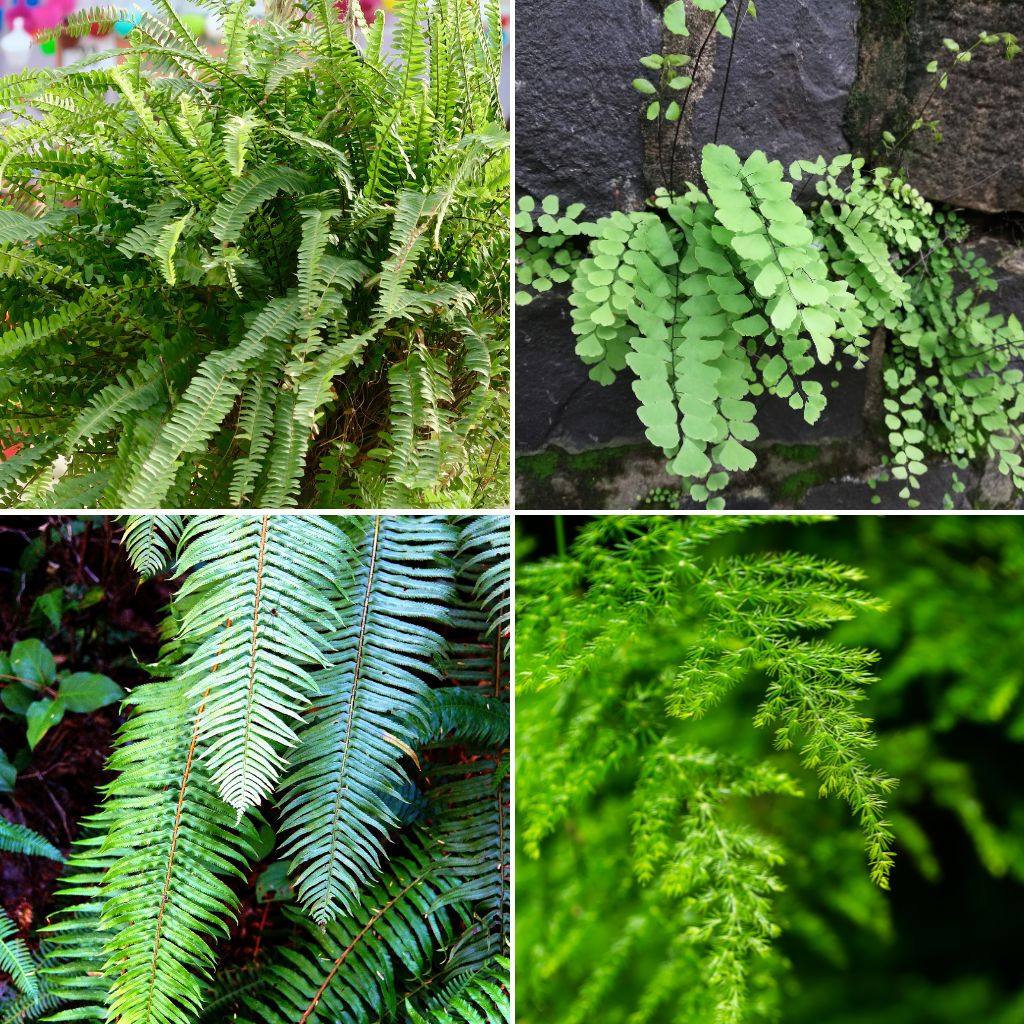
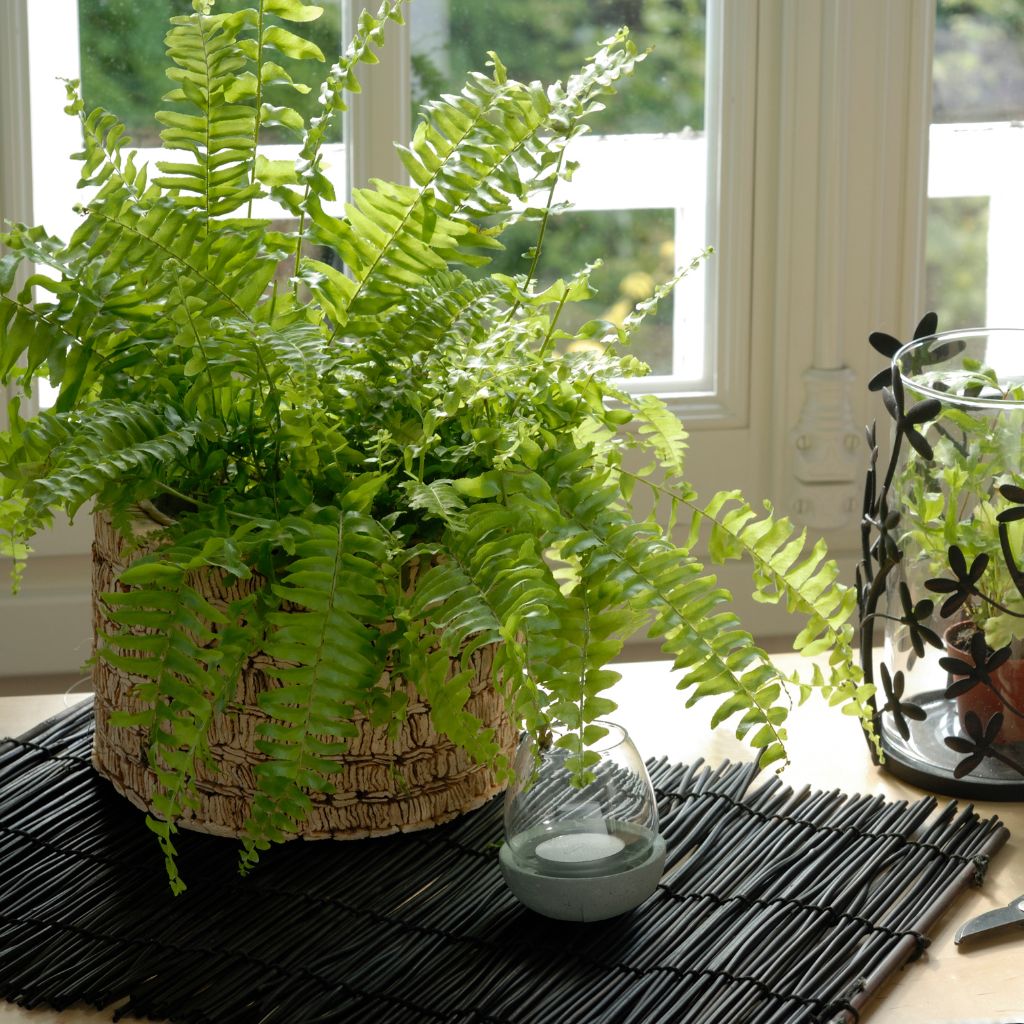
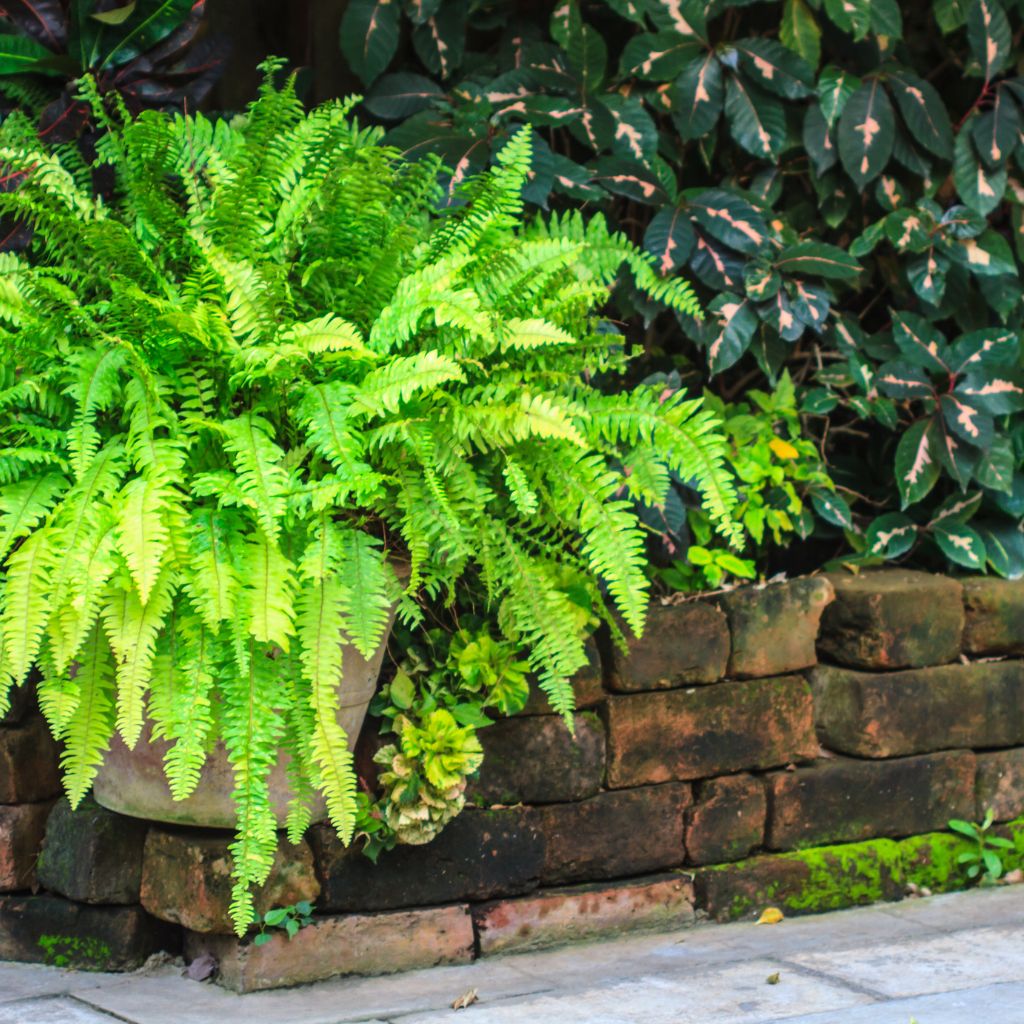
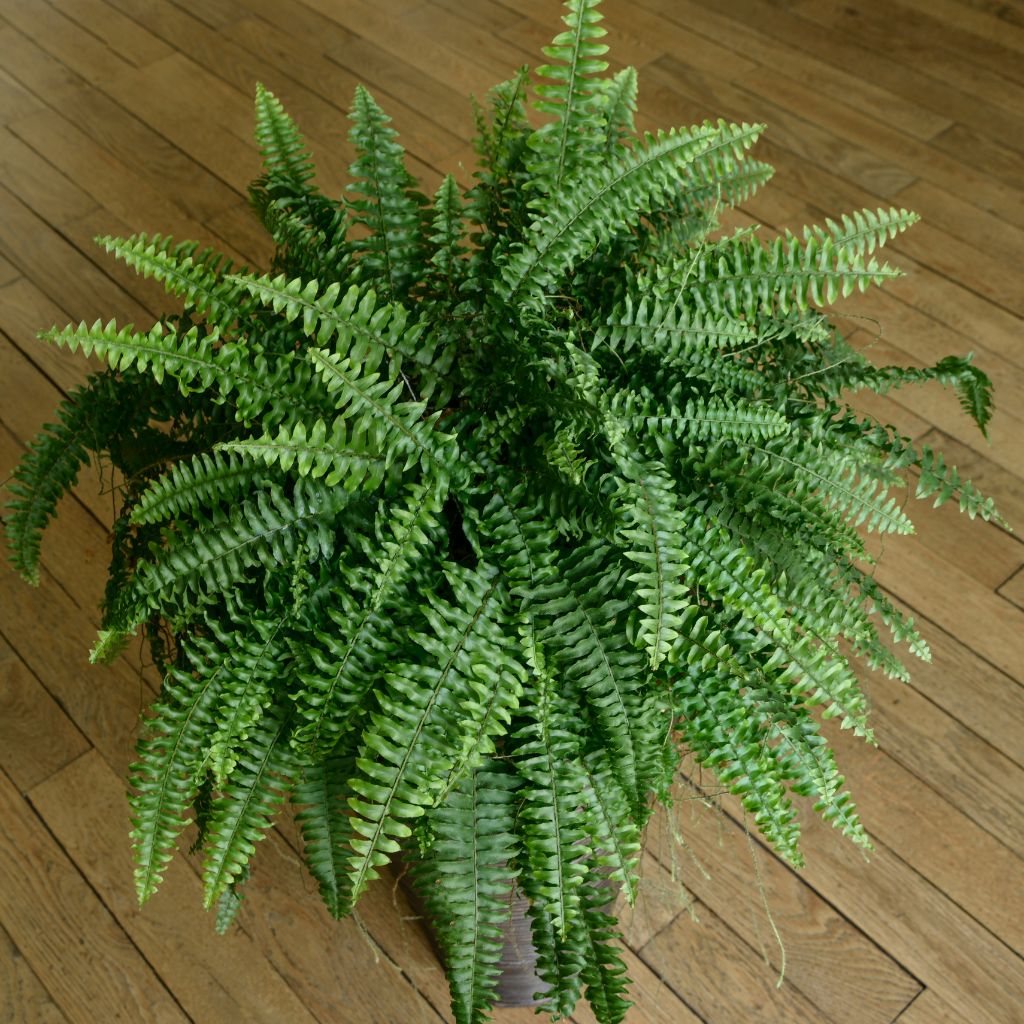
Boston Fern (Nephrolepis exaltata): Known for its graceful fronds, it’s commonly used indoors due to its air-purifying qualities.
Maidenhair Fern (Adiantum): Features delicate, fan-shaped leaves and prefers high humidity.
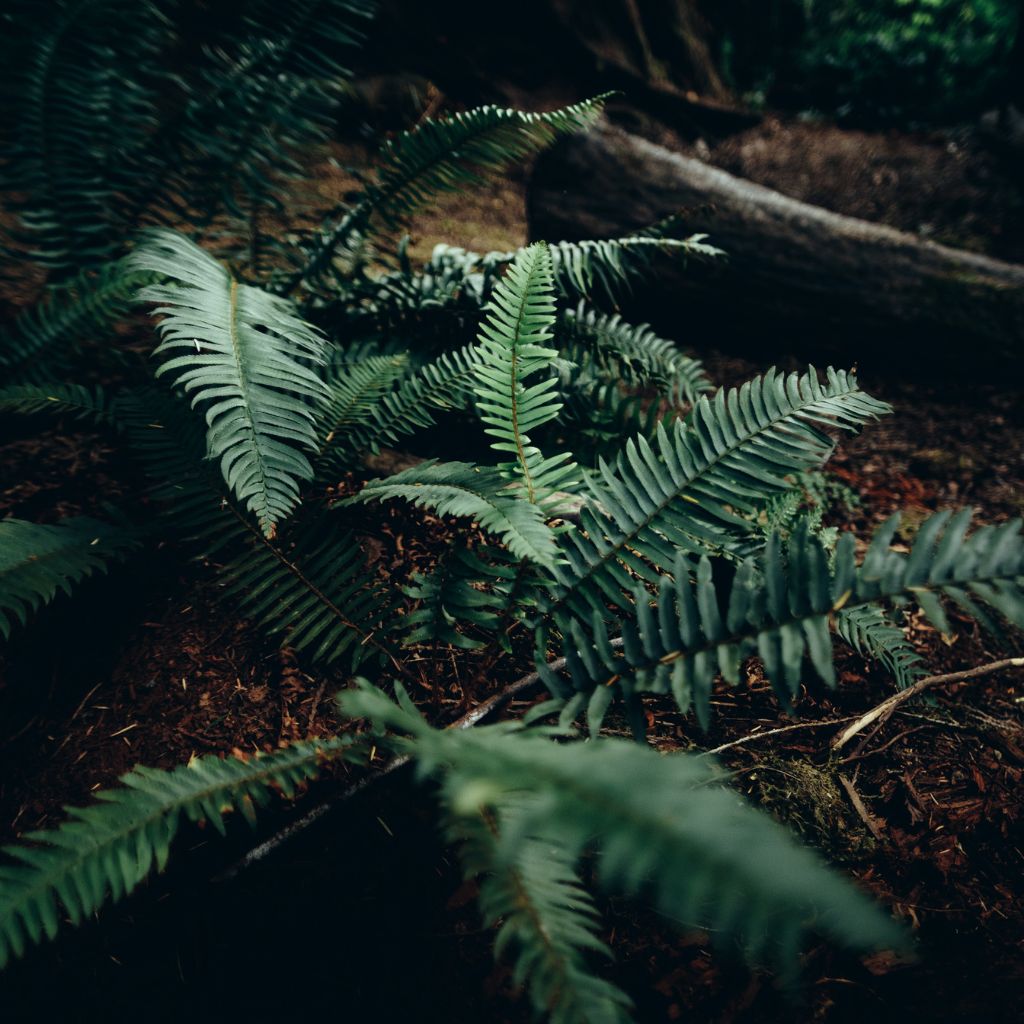
Sword Fern (Polystichum munitum): With its sturdy fronds, this type is great for landscaping and is tolerant of drought conditions.
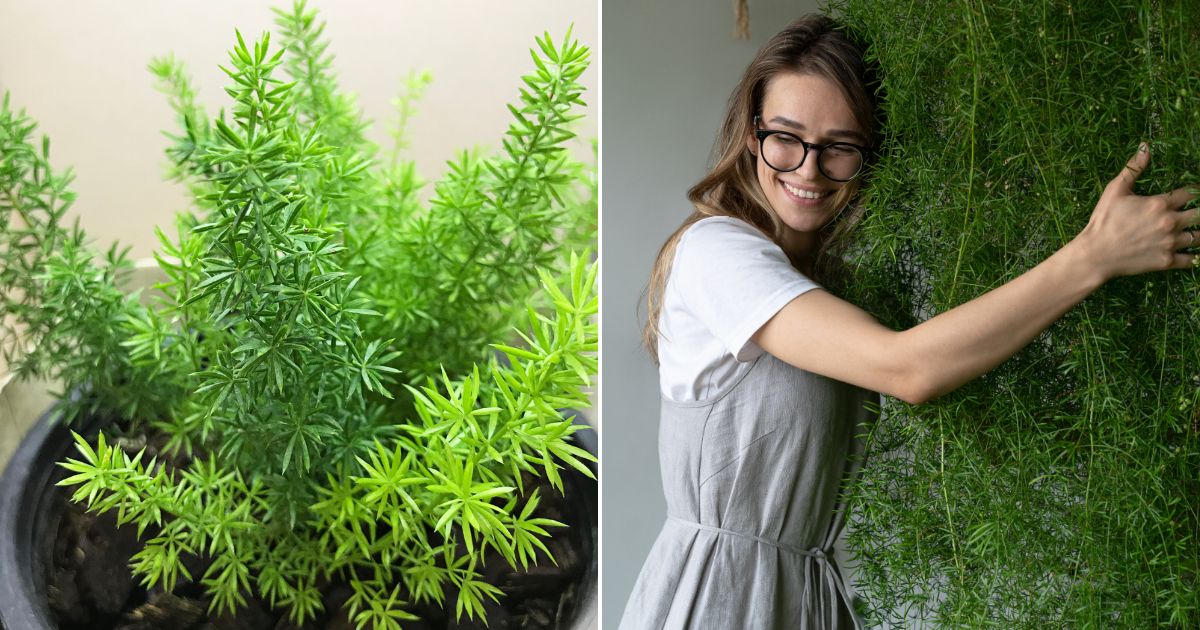
Asparagus Fern (Asparagus setaceus): Despite its name, it’s not a true fern and is often used as a decorative ground cover.
Each fern type offers unique aesthetics and challenges, making it essential to choose according to your growing conditions.
Fern Reproduction

Ferns reproduce through spores rather than seeds. This process occurs in two main stages:
Sporophyte Stage: This is the familiar leafy plant you typically see. Sporophytes produce spores in structures called sporangia.
Gametophyte Stage: Spores germinate into small, heart-shaped gametophytes. These contain both male and female reproductive cells.
Fertilization occurs when water allows sperm from male gametophytes to swim to female gametophytes. After fertilization, a new sporophyte develops from the egg, completing the cycle. Understanding this process can guide you in creating the right environment for healthy ferns.
Choosing the Right Ferns for Your Space
Selecting the appropriate ferns for your specific environment is essential for thriving plants. Consider factors such as light, humidity, and temperature to ensure success.
Indoor Ferns
When choosing indoor ferns, focus on varieties that thrive in lower light conditions. Some excellent options include:
Boston Fern: Thrives in humidity; great for hanging baskets.
Maidenhair Fern: Needs consistent moisture; delicate leaves add beauty.
Bird’s Nest Fern: Prefers indirect light; has a unique rosette shape.
Ensure your indoor ferns are placed away from direct sunlight to prevent leaf burn. Regular misting or using a pebble tray can help maintain humidity levels, particularly in dry environments. Observe their growth and adjust placements as needed to find the best spot.
Outdoor Ferns

Outdoor ferns often enjoy more light and varied conditions. Here are a few popular choices:
Ostrich Fern: Grows well in partial shade; forms beautiful, lacy fronds.
Royal Fern: Tolerates wet soil; adds a touch of elegance to gardens.
Japanese Painted Fern: Known for its striking colors; prefers shaded areas.
Before planting, assess the moisture levels and sunlight exposure in your garden. Many outdoor ferns prefer rich, well-drained soil. Avoid planting in excessively dry or overly wet areas to ensure healthy growth.
Assessing Your Environment
Understanding your environment is critical to choosing the right ferns. Start by evaluating:
Light Levels: Determine if your space receives direct, indirect, or filtered light.
Humidity: Assess if your space is more humid (like bathrooms) or drier.
Temperature: Consider your region’s climate and how it influences plant growth.
Regularly monitor these factors to help adjust care routines. If conditions vary throughout the year, opt for ferns that can adapt to changing environments. Making informed choices based on your unique surroundings will promote a successful fern collection.
Essentials of Fern Care
Taking care of ferns involves understanding their specific needs regarding soil, light, and water. Each aspect plays a crucial role in helping your ferns thrive in your home or garden.
Soil Requirements
Ferns prefer a well-draining potting mix rich in organic matter. A blend specifically for ferns can include:
- Peat moss
- Perlite or vermiculite
- Compost
Aim for a slightly acidic pH, around 5.5 to 6.5. This range helps your fern absorb nutrients efficiently.
Ensure that the soil maintains moisture without becoming waterlogged. Use pots with drainage holes to prevent root rot. Regularly check the soil’s moisture level, as dry soil can harm ferns.
Lighting Needs

Ferns thrive in indirect light conditions. Bright, filtered light is best for them, as direct sunlight can scorch their delicate leaves.
Position your ferns near east or north-facing windows, if indoors. Outdoors, choose shaded areas, especially during the hotter parts of the day.
If your ferns seem to be losing their vibrant color, consider adjusting their location. You may also notice symptoms like yellowing leaves or stunted growth if their lighting conditions are unsuitable.
Watering Techniques
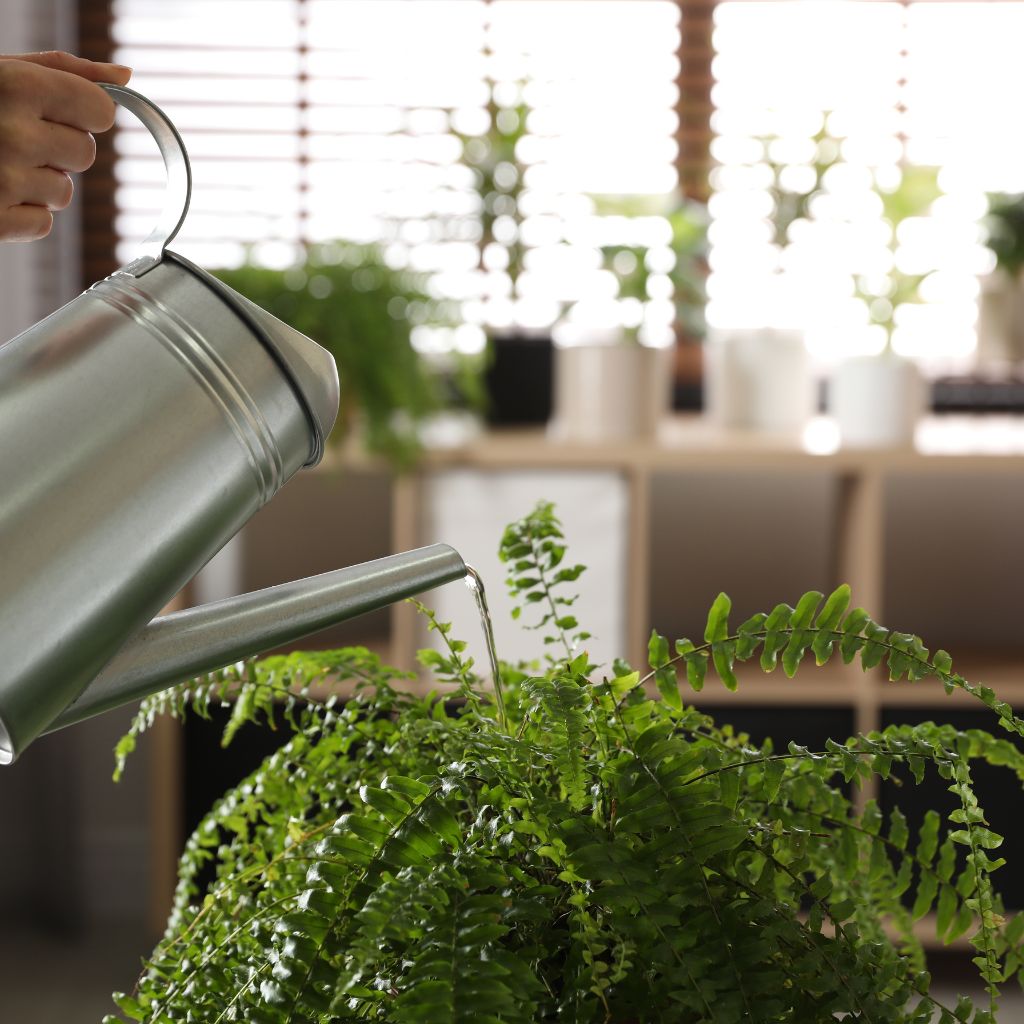
Ferns generally require consistent moisture, but overwatering can pose issues. Check the top inch of soil; if it’s dry, it’s time to water.
Use lukewarm water to make the experience gentler for your ferns. Water until you see excess draining from the bottom.
Mist the leaves regularly to maintain humidity, especially in dry environments. Ferns typically thrive in humidity levels of 40–60%. Be attentive to your plant’s appearance to adjust your watering routine as needed.
Fertilizing Your Ferns
Fertilizing your ferns is essential for promoting healthy growth and lush foliage. Choosing the right fertilizer and adhering to a proper fertilizing schedule will keep your ferns vibrant and thriving.
Choosing the Right Fertilizer
When selecting a fertilizer for your ferns, opt for a balanced, water-soluble fertilizer with a ratio like 20-20-20. This means it contains equal amounts of nitrogen, phosphorus, and potassium, which support overall growth.
You can also consider specialized fern fertilizers. These products are formulated with nutrients that cater specifically to ferns’ unique needs.
Remember to read labels carefully. Look for fertilizers that are low in phosphorus, as many ferns prefer a nutrient blend that avoids excess phosphorus.
Fertilizing Schedule
Fertilize your ferns every 4-6 weeks during the growing season, which typically runs from spring to early fall. This timing ensures they receive adequate nutrients when they need them the most.
Dilute the fertilizer to half the recommended strength to prevent over-fertilization. This helps avoid damaging your ferns.
During the winter months, reduce or eliminate fertilization. Ferns often go dormant and do not require as many nutrients. Always monitor your ferns for signs of nutrient deficiency or over-fertilization, adjusting your schedule as needed.
Pruning and Maintenance
Keeping your ferns healthy involves regular pruning and maintenance. This helps them thrive and prevents overcrowding, pests, and diseases.
When to Prune
Pruning ferns is best done during the early spring, just before the new growth begins. This timing allows you to remove any dead or damaged fronds, promoting healthier growth.
Monitor your ferns throughout the growing season. If you notice any yellowing or browning fronds, trim them back immediately to encourage new growth.
In the fall, consider light pruning as well. Removing dead fronds can help maintain tidiness and reduce the risk of mold or pests over the winter months.
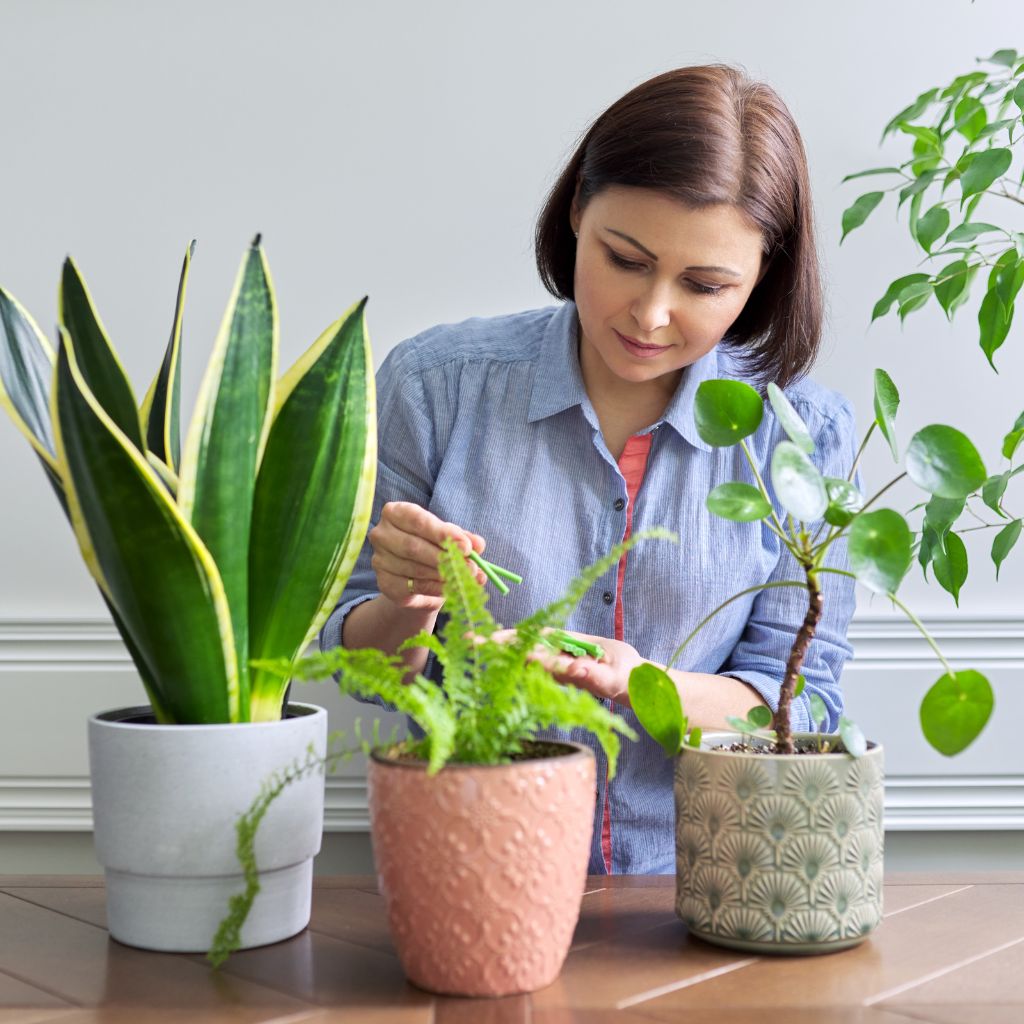
How to Prune
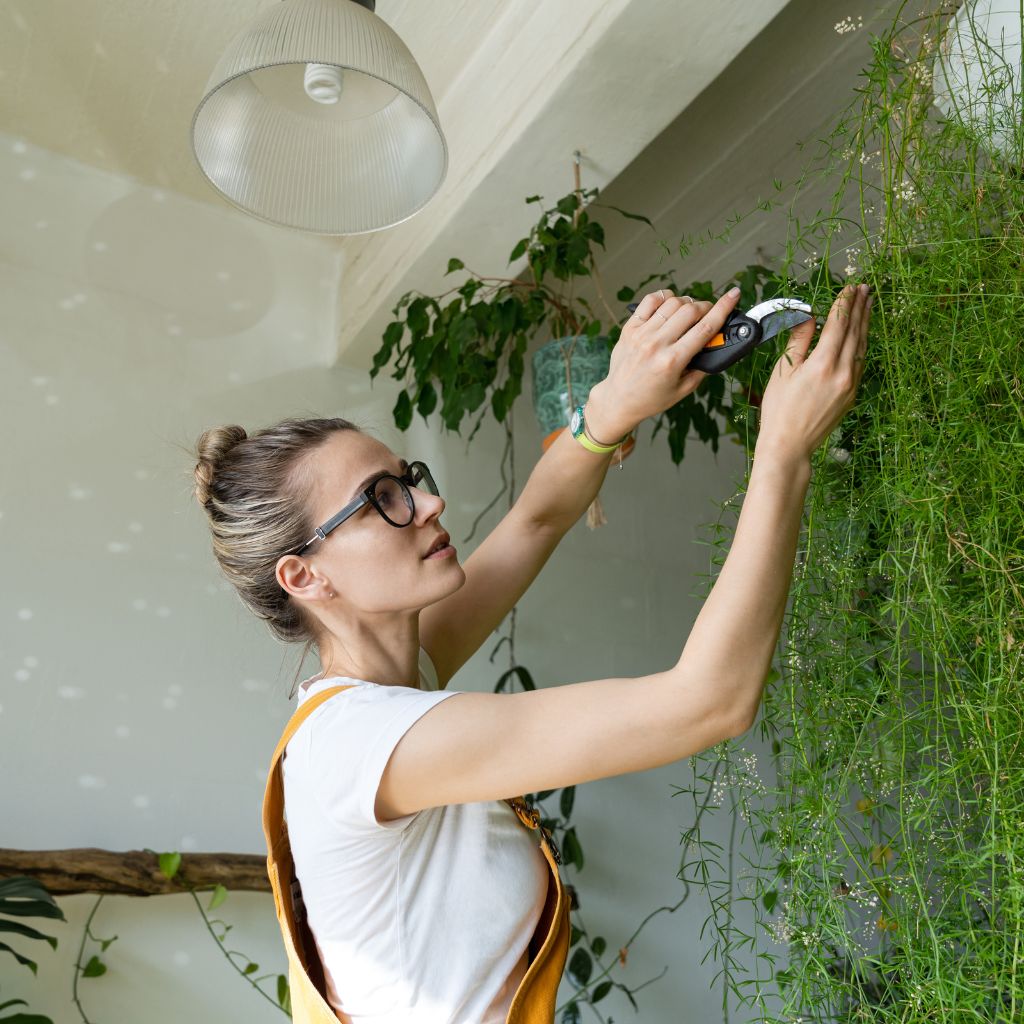
Use sharp, clean pruning shears to avoid damaging your ferns. Start by identifying fronds that are dead, yellow, or damaged. Cut them at their base to ensure a clean removal.
For shaping, selectively trim fronds to maintain a balanced appearance. Aim for a shape that allows light to reach all parts of the plant.
After pruning, inspect the fern for signs of pests or disease. Treat any issues promptly to maintain the health of your plant.
Regular maintenance, such as dusting the fronds and checking moisture levels, contributes to their lushness and vitality.
Troubleshooting Common Issues
When caring for ferns, you may encounter several common problems. Recognizing these issues and taking appropriate action can keep your ferns healthy and thriving.
Pests and Diseases
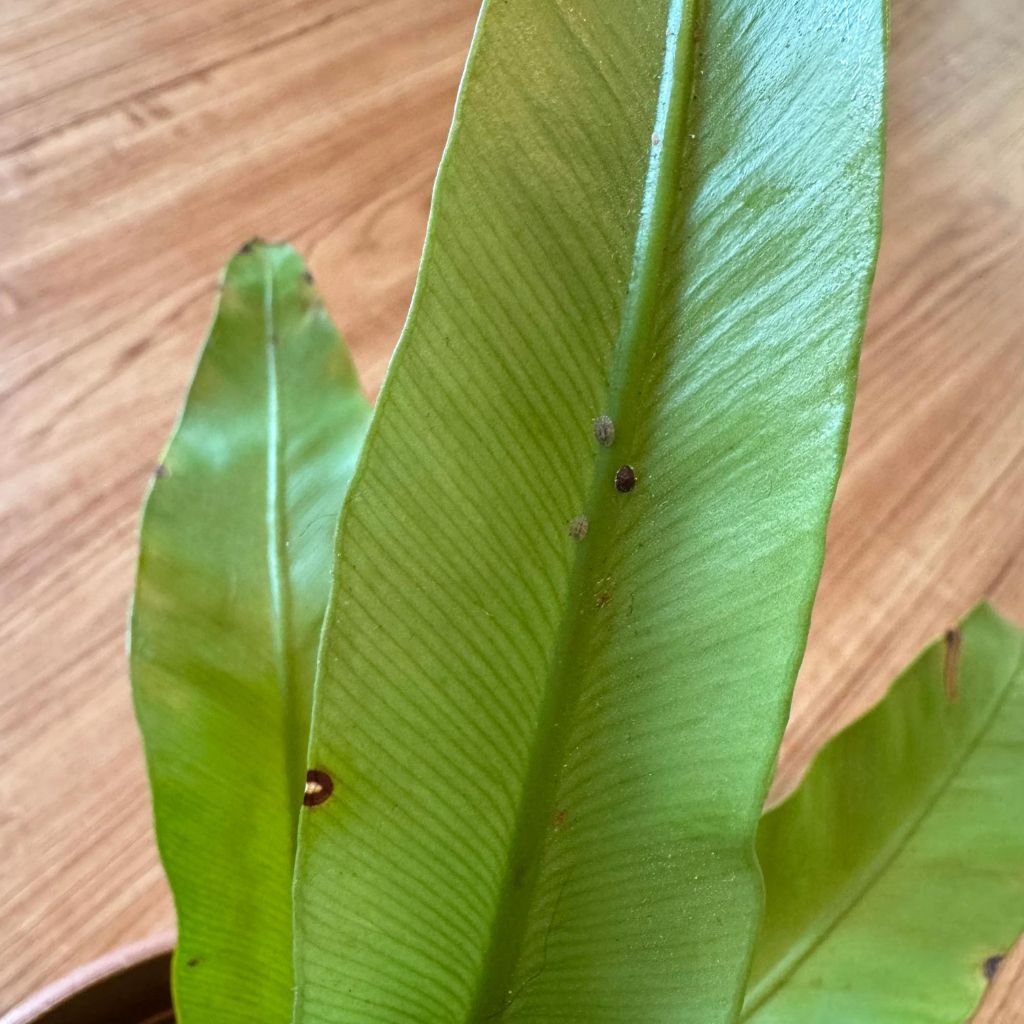
Ferns can attract pests like mealybugs, aphids, and spider mites. Regularly inspect the undersides of leaves for early signs of infestation.
To address pests, use insecticidal soap or neem oil. Apply it according to the product instructions. Ensure good air circulation to prevent fungal infections.
Common diseases include root rot, often caused by overwatering. If you notice yellowing leaves and a foul smell, consider repotting in fresh soil and reducing watering frequency. Always remove any dead fronds to improve overall health.
Yellowing Leaves

Yellowing leaves can indicate several issues, including improper watering and nutrient deficiencies. If leaves appear dull and yellow, check your watering schedule.
Fern roots prefer consistently moist soil, but not soggy. Always allow the top inch of soil to dry slightly before watering again.
Nutrient deficiencies can also cause yellowing. Feed your ferns with a balanced, water-soluble fertilizer every month during the growing season for optimal health.
Monitor the moisture level and adjust as needed to promote lush, green foliage.
Foliage Problems

Foliage problems, like browning tips or frayed edges, often result from low humidity or environmental stress. Ferns thrive in humid conditions, so consider misting your plants or using a humidity tray.
If you notice browning, increase humidity around your ferns by grouping them or placing a humidifier nearby.
Foliage can also suffer from exposure to direct sunlight. Positioning your ferns in indirect light prevents scorched leaves.
Regularly trim damaged fronds to encourage new growth and maintain an attractive appearance. Keeping an eye on these signs helps ensure the health of your ferns.
Propagation of Ferns
Ferns can be propagated successfully using two primary methods: spore propagation and the division method. Understanding these techniques will help you expand your fern collection and maintain healthy plants.
Spore Propagation
Propagating ferns from spores is an engaging process that allows you to witness the entire life cycle.
Locate Mature Spores: Start by identifying a mature fern frond. Spores are usually found on the undersides.
Harvest Spores: Gently tap or rub the frond to release the spores onto clean paper. Allow them to dry.
Prepare a Growing Medium: Use a sterile, well-draining mix like peat moss or vermiculite.
Sow Spores: Lightly sprinkle the spores on the surface of the medium. Do not cover them, as they require light for germination.
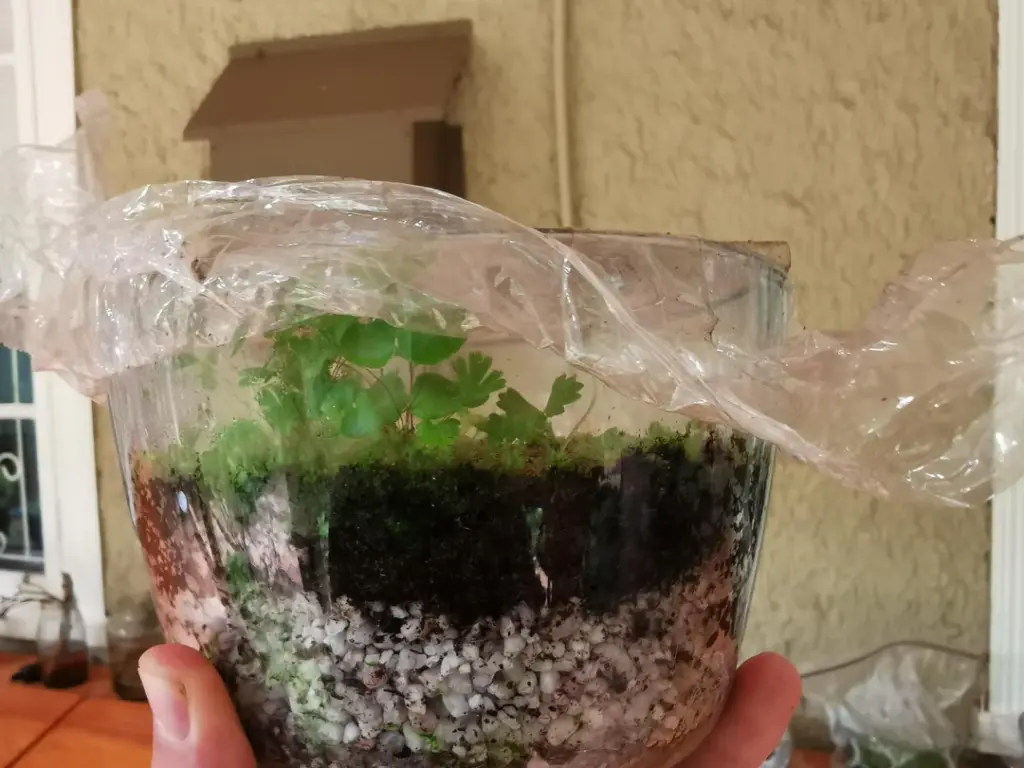
Provide Humidity: Mist the soil to keep it moist, and cover it with a clear plastic lid or bag to maintain humidity.
Light Conditions: Place the container in indirect light. Germination typically takes 2-4 weeks.
Be patient, as the spores will develop into small gametophytes before they grow into juvenile ferns.
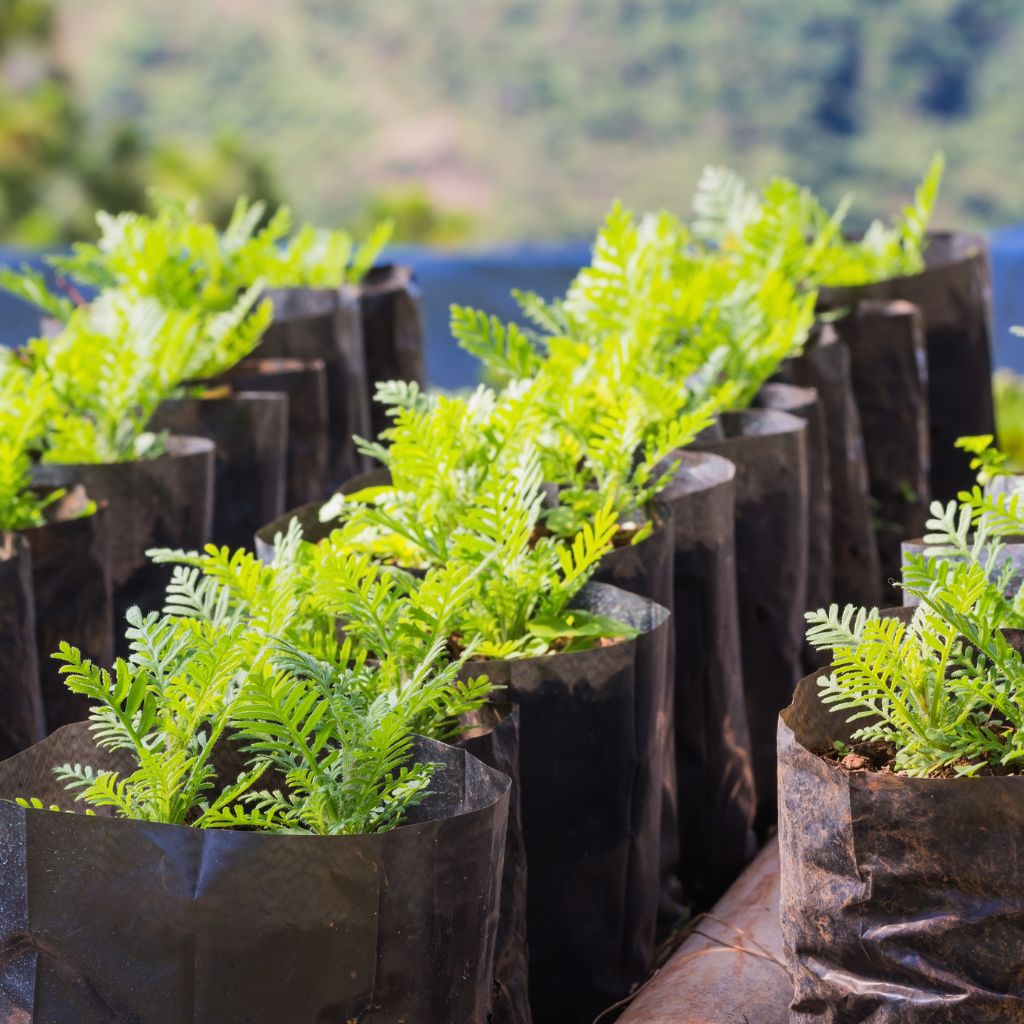
Division Method
The division method is a quicker way to propagate established ferns, allowing you to create multiple plants from one.
1. Choose the Right Time: Early spring is ideal when ferns are actively growing.
2. Prepare Tools: Gather a sharp spade, knife, and clean pots with fresh potting soil.
3. Remove the Plant: Carefully dig up the fern, ensuring minimal root disturbance.
4. Divide the Root Ball: Gently separate the root ball into smaller sections, each with a few leaves and roots. Aim for sections that are at least a few inches in size.
5. Replant Sections: Place the divided sections in pots with fresh soil. Water them well to settle the soil around the roots.
6. Care for Your New Ferns: Keep the newly potted ferns in a shaded area until they establish roots, then gradually introduce them to brighter light.
This method is particularly effective for ferns that have outgrown their pots, allowing for rejuvenation and increased growth.
Winter Care for Ferns
Proper winter care is essential for keeping your ferns healthy and vibrant during the colder months. Whether your ferns are indoors or outdoors, specific attention is required to ensure they thrive until spring.
Indoor Fern Winter Care
When caring for indoor ferns in winter, focus on light and humidity. Ferns prefer bright, indirect light. You may need to rotate them occasionally to ensure all sides receive sufficient light.
Humidity is crucial. To maintain humidity levels, consider using a humidity tray. Fill a shallow tray with water and pebbles, then place your fern pot on top, ensuring the pot is above the water line.
Monitor soil moisture closely. Reduce watering frequency as indoor air tends to be drier in winter. Check the top inch of soil; if it’s dry, it’s time to water. Avoid letting your fern sit in standing water, as this can lead to root rot.

Outdoor Fern Winter Protection
Outdoor ferns require careful protection during winter. Start by mulching around the base of the ferns with a 2-3 inch layer of organic mulch. This will insulate the roots against freezing temperatures.
You can also cover ferns with burlap or frost cloth during extreme cold spells. Make sure to secure the coverings to prevent them from blowing away.
If you have potted ferns outdoors, consider bringing them inside if temperatures drop significantly. For those left outside, ensure they are placed in a sheltered location to minimize exposure to harsh winds and frost.
Regularly check the foliage for damage, and trim any dead or brown fronds to keep the plant healthy.
Creating a Fern-Friendly Garden

Designing a garden that supports ferns requires attention to plant selection and layout. By carefully choosing companion plants and designing your space effectively, you can create a thriving environment for your ferns.
Companion Planting
Choosing the right companions for your ferns can enhance their growth. Look for shade-loving plants that share similar water and light needs. Some excellent options include:
Hostas: These broad-leaf plants provide ground cover and help retain moisture, which ferns appreciate.
Astilbes: Their feathery flowers add color while thriving in similar conditions.
Bleeding Heart: This plant’s delicate blooms contrast beautifully with ferns.
Avoid plants that compete for nutrients or excessively crowd your ferns. Consider the height, foliage texture, and flowering times to create a balanced look. Mixing greens and incorporating different shades keeps the garden visually appealing without overwhelming your ferns.
Designing a Fern Garden Layout
When planning your fern garden, aim for a layout that maximizes their natural beauty. Start by selecting an area with partial to full shade.
Layering: Place taller plants or structures behind ferns to create depth, ensuring shorter ferns remain visible in the front.
Grouping: Plant ferns in clusters rather than single specimens. This mimics their natural habitat and enhances their impact.
Pathways: Designate pathways that allow easy access for maintenance and viewing. Use natural materials like stones or mulch to create a seamless transition.
Consider seasonal changes in light as well. Ferns will thrive better if they’re protected from harsh afternoon sun, making thoughtful layout essential to their long-term growth.
Enjoying Your Lush Ferns
Your ferns can enhance various environments, bringing a sense of tranquility and beauty. You’ll find that they create ideal spaces for relaxation and add unique touches to your home decor.
Contemplative Spaces
Creating a contemplative space with your ferns can provide a perfect retreat for relaxation. Consider placing a fern near a window where natural light filters through. This creates a serene atmosphere while providing the right conditions for growth.
A comfortable chair or a cushion next to your fern can invite you to pause and reflect. To enhance the experience, add elements like soft lighting or calming music. You might also incorporate other plants or decorative stones to complement your ferns and create a peaceful corner.
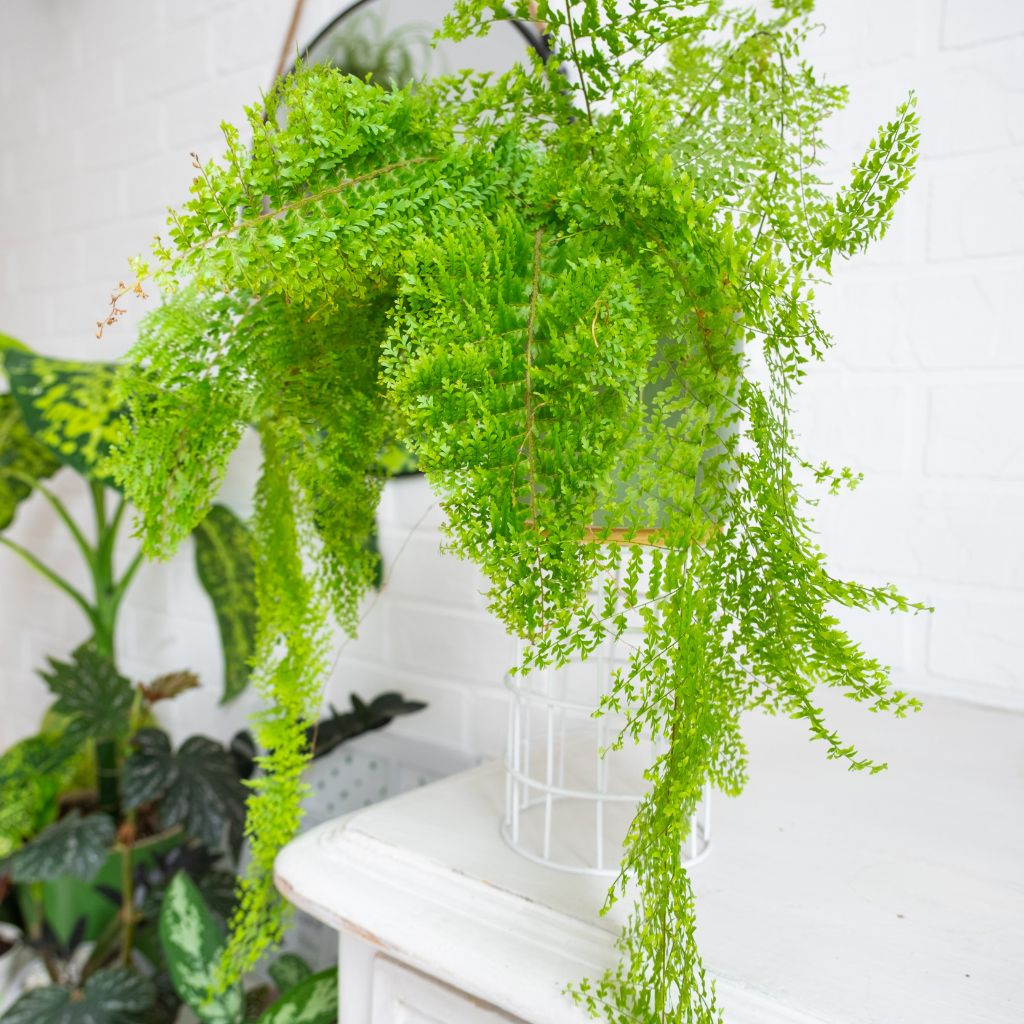
Ferns in Home Decor
Using ferns in your home decor can elevate the aesthetic appeal of your space. Hanging ferns, for instance, can bring greenery to high spots, making your room feel lush and vibrant. They can be placed in decorative pots to match your interior design.
Consider grouping smaller ferns together on a shelf or table. This arrangement creates visual interest and fosters a miniature indoor garden. Using various sizes and types of ferns allows for more creativity in your decor.
Wherever you place them, ensure they have the right amount of light and humidity, enhancing both their beauty and health. With mindful placement, your ferns will pop in any space.