Daylilies are stunning garden favorites that can bloom all summer long – if you know how to care for them properly. Deadheading, the process of removing spent blooms, is the secret to extending their flowering season and keeping your garden vibrant.
By following these seven simple steps, you can encourage your daylilies to produce more flowers and prevent them from wasting energy on seed production.
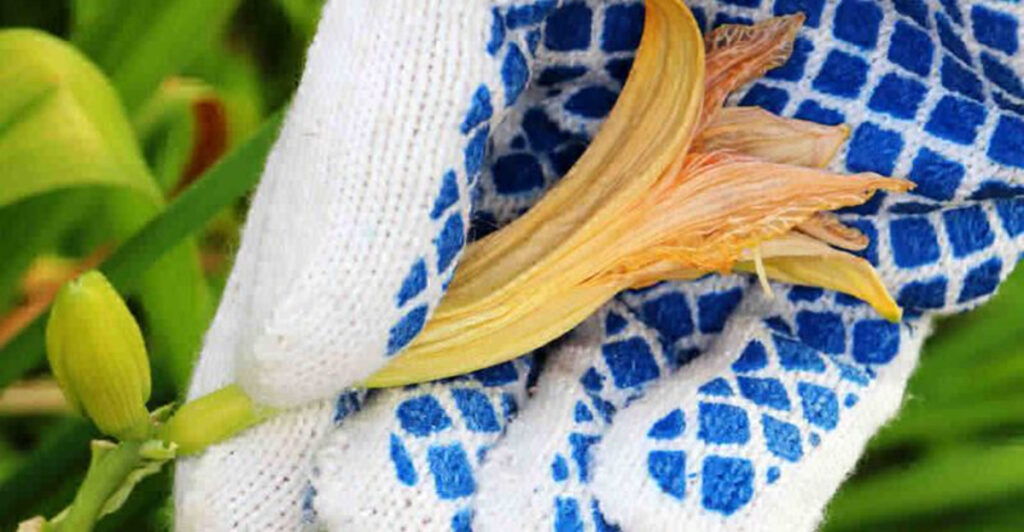
1. Wait Until the Flower Fades
Patience is key when deadheading daylilies. Look for blooms that have clearly wilted, with petals that appear shriveled, discolored, or papery to the touch. These flowers have completed their cycle and are ready to be removed.
Healthy, vibrant blooms should be left alone to enjoy their brief but beautiful day of glory. Remember that each daylily bloom typically lasts just 24 hours – hence their name! Removing them prematurely robs you of their beauty and doesn’t benefit the plant.
Morning is often the best time to check for spent blooms, as you’ll easily spot yesterday’s faded flowers contrasted against fresh new openings.
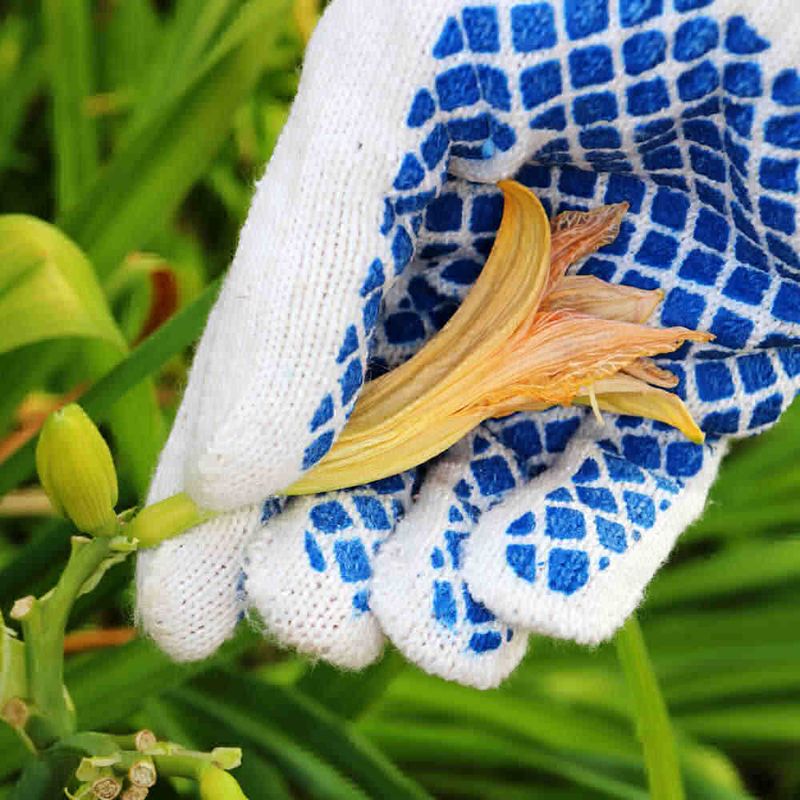
2. Pinch or Snip the Spent Bloom
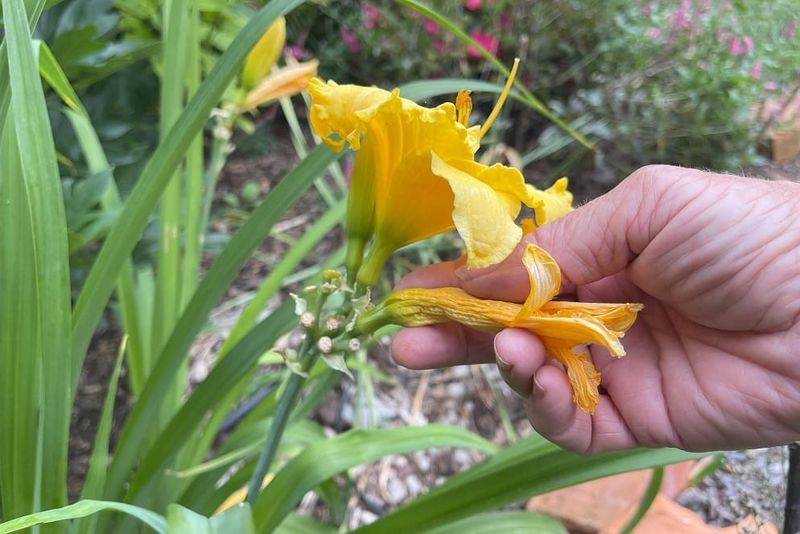
Armed with clean fingers or precision garden tools, you’re ready to remove those faded blooms. Grasp the wilted flower between your thumb and forefinger, then give a gentle but firm pinch and pull. The spent bloom should detach cleanly from the stem.
For gardeners who prefer tools, small scissors or pruning snips work wonderfully. Make your cut just below where the flower connects to its small stem, ensuring a clean separation without damaging nearby buds.
Some gardeners swear by the pinching method for its precision, while others find snipping less strenuous on the hands when deadheading numerous plants.
3. Remove the Entire Flower Head, Not Just the Petals
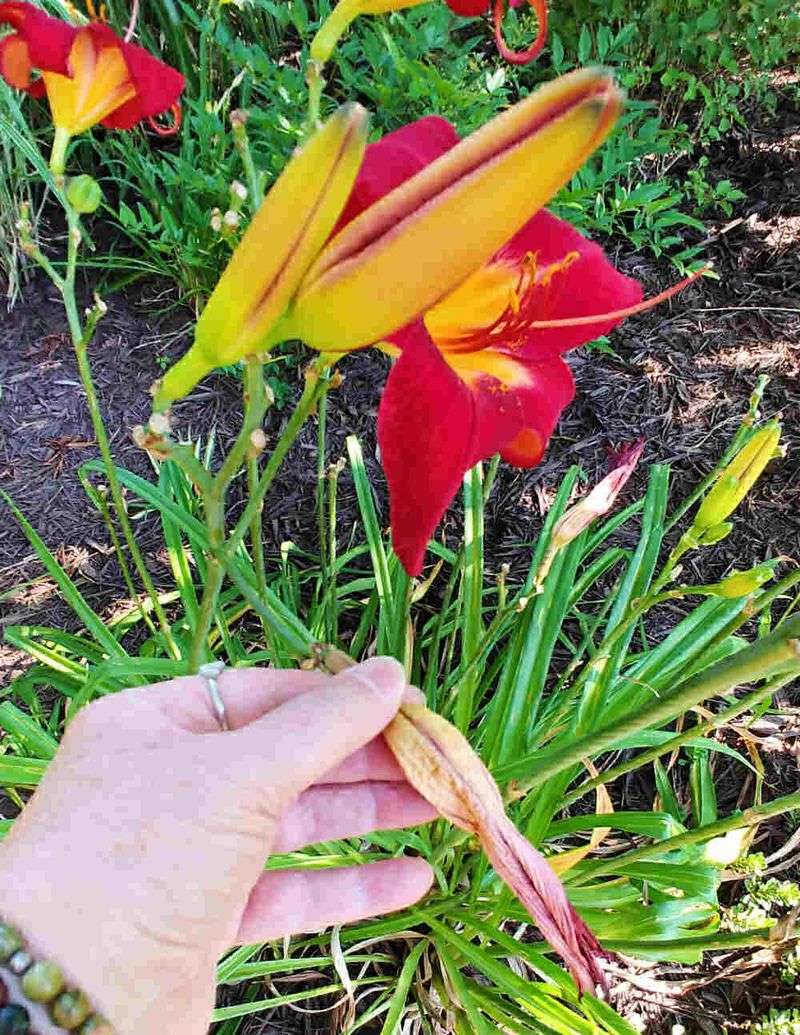
Behind those beautiful petals lies a small green bulb-like structure – the ovary. This seed-producing powerhouse must go! Simply pulling off the withered petals isn’t enough; you need to remove the entire flower head including this ovary.
Left intact, the ovary will develop into a seed pod, diverting precious energy away from flower production. The plant’s resources will shift toward seed development rather than creating new blooms, cutting your flowering season short.
Look closely at the structure when deadheading – you should remove everything from the point where the individual flower joins the main stem, leaving no remnant of the bloom behind.
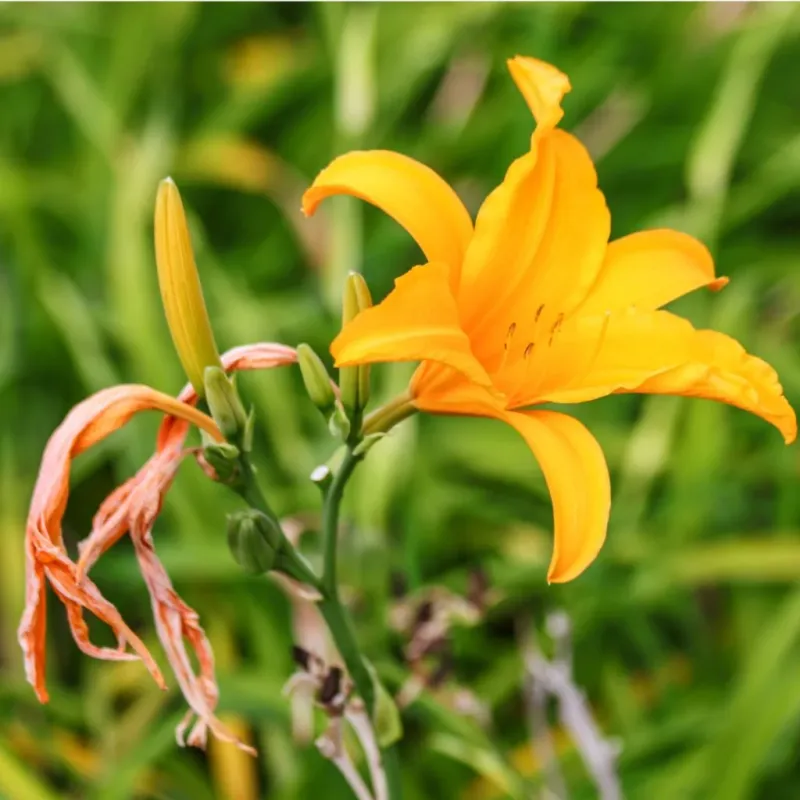
4. Leave the Stem Until All Blooms Are Done
The tall, elegant stems rising from daylily foliage – called scapes – are remarkable bloom factories. Each scape typically produces between 10-20 buds that open sequentially over several weeks, making them nature’s perfect bouquet delivery system.
Resist the urge to cut down the entire stem after just a few flowers have bloomed and faded. Those little green buds along the scape are future flowers waiting for their moment to shine! Only remove individual spent blooms while leaving the main stem intact.
You’ll recognize a scape that’s finished its blooming cycle when no more buds remain and the last flower has been deadheaded.
5. Cut Down Empty Scapes
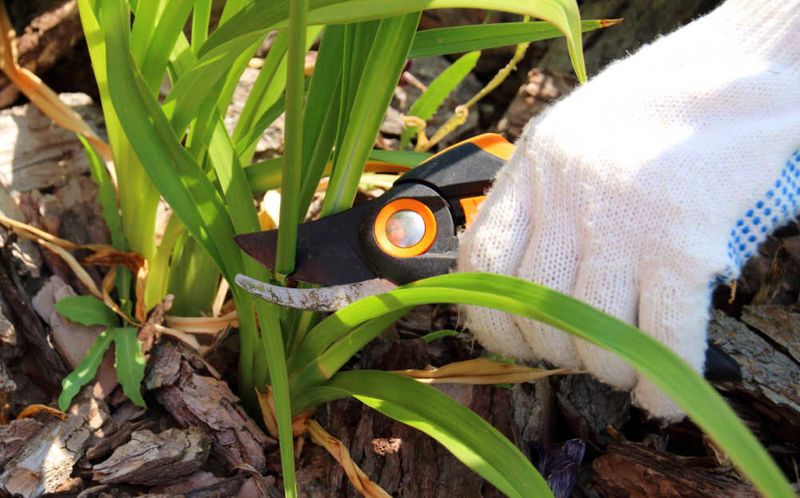
Once a scape has finished its flowering performance – with all buds opened and subsequently deadheaded – it’s time for the final cut. These empty stems serve no further purpose and can be removed completely.
Using clean, sharp pruners, cut the bare scape all the way down to the base where it emerges from the fan of foliage. Make your cut at a slight angle about half an inch above the crown of the plant.
Removing these spent scapes not only keeps your garden looking tidy but also redirects the plant’s energy to root development, foliage growth, and the formation of new flower scapes rather than maintaining empty stems.
6. Deadhead Regularly During Bloom Season

Consistency transforms an ordinary daylily display into a spectacular flowering performance. Establish a routine of checking your daylilies every 2-3 days during their peak blooming period, which typically spans from early summer through fall depending on your variety.
Morning garden walks with coffee in one hand and pruners in the other make for a peaceful deadheading ritual. Each prompt removal of spent blooms signals to the plant that its reproductive mission remains unfulfilled, triggering the development of more flowers.
This regular attention prevents seed formation, which requires significant energy that could otherwise fuel new blooms, extending your colorful garden show for weeks longer.
7. Use Clean Tools
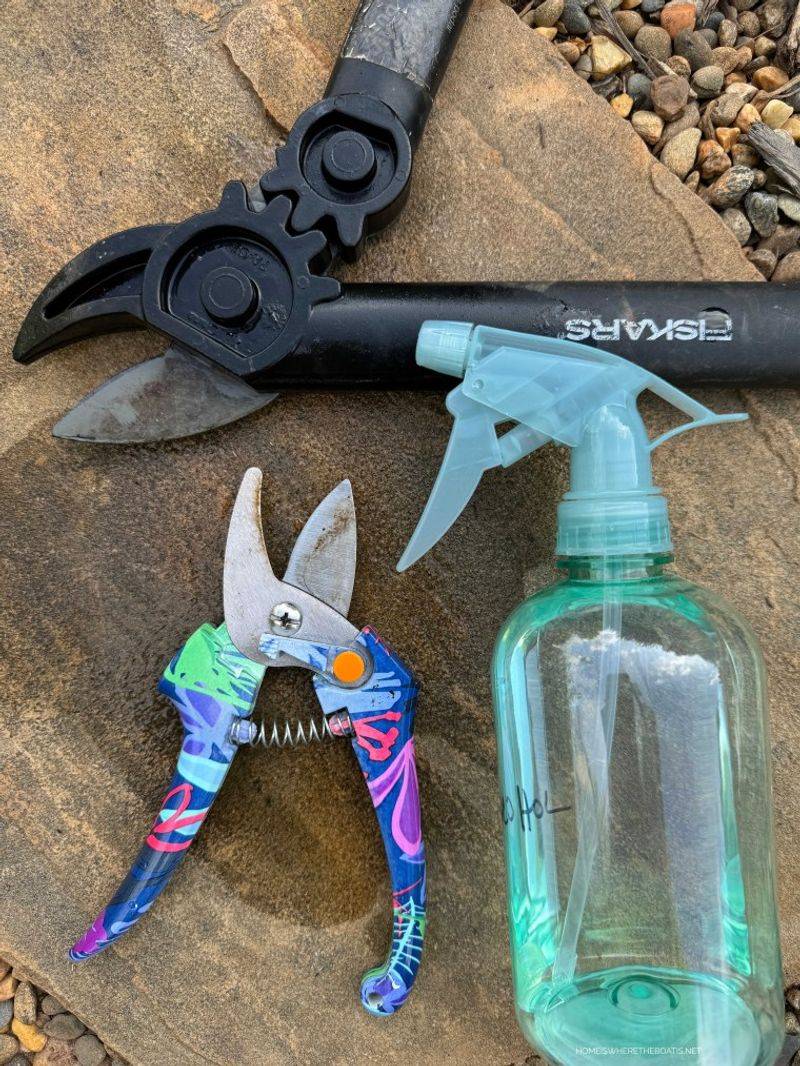
Garden tools can be silent disease carriers when moving between plants. Before deadheading your precious daylilies, take a moment to sanitize your scissors, pruners, or snips with a quick wipe of rubbing alcohol or a diluted bleach solution (one part bleach to nine parts water).
This simple step prevents the spread of fungal spores, bacteria, and viruses that could devastate your garden. Many experienced gardeners keep a small spray bottle of sanitizing solution handy during maintenance sessions.
For those who prefer hand-pinching, washing hands between working on different plant varieties offers similar protection. This preventative practice becomes especially crucial when you’ve recently removed diseased material from other garden areas.