Ever wondered how to keep a plant thriving with minimal effort? Caring for a Calandiva is your answer – a plant that not only adds a burst of color to your home but does so effortlessly.
It’s not just about giving it a bit of water and sunlight; there’s a secret to maintaining its vibrant blooms year-round.
With the right care – like ensuring proper humidity and using the perfect soil – your Calandiva will flourish. And don’t forget to stay alert for pests to keep it in top shape.
Want to uncover the secrets to a thriving Calandiva? Let’s explore.
Understanding Calandiva Basics
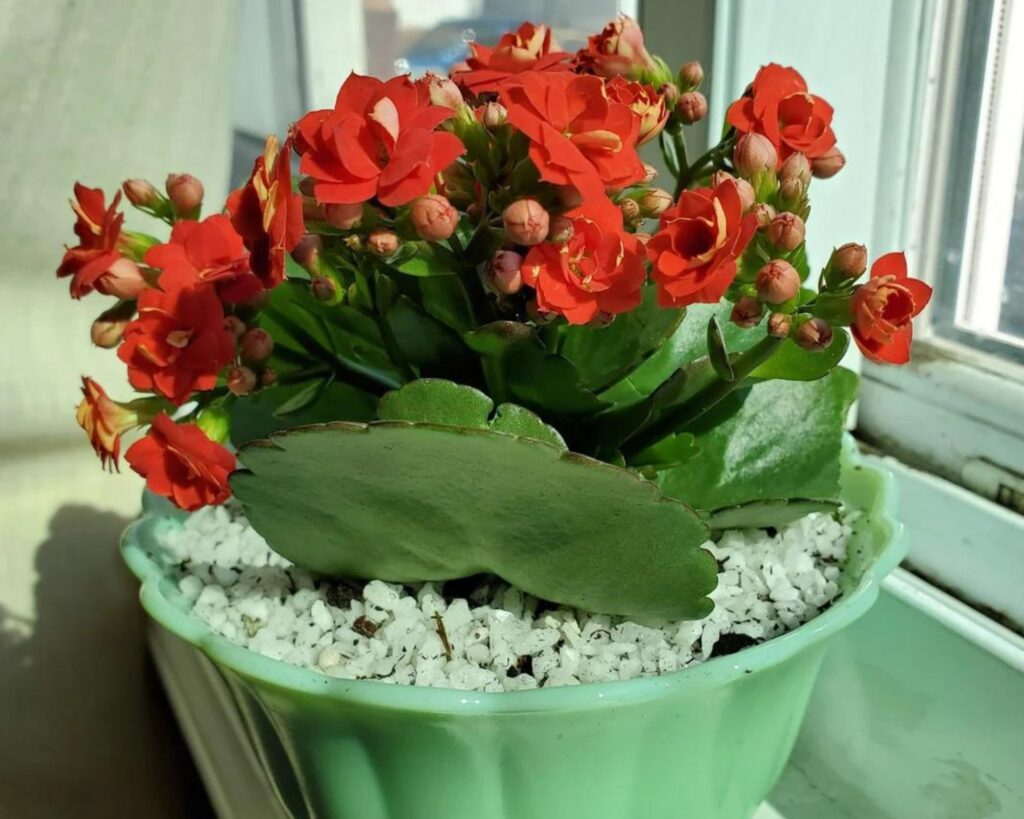
Calandiva is a popular houseplant known for its striking blooms that add vibrant color to any indoor space. Understanding its botanical characteristics and growth habits will help you care for this plant effectively.
Botanical Profile
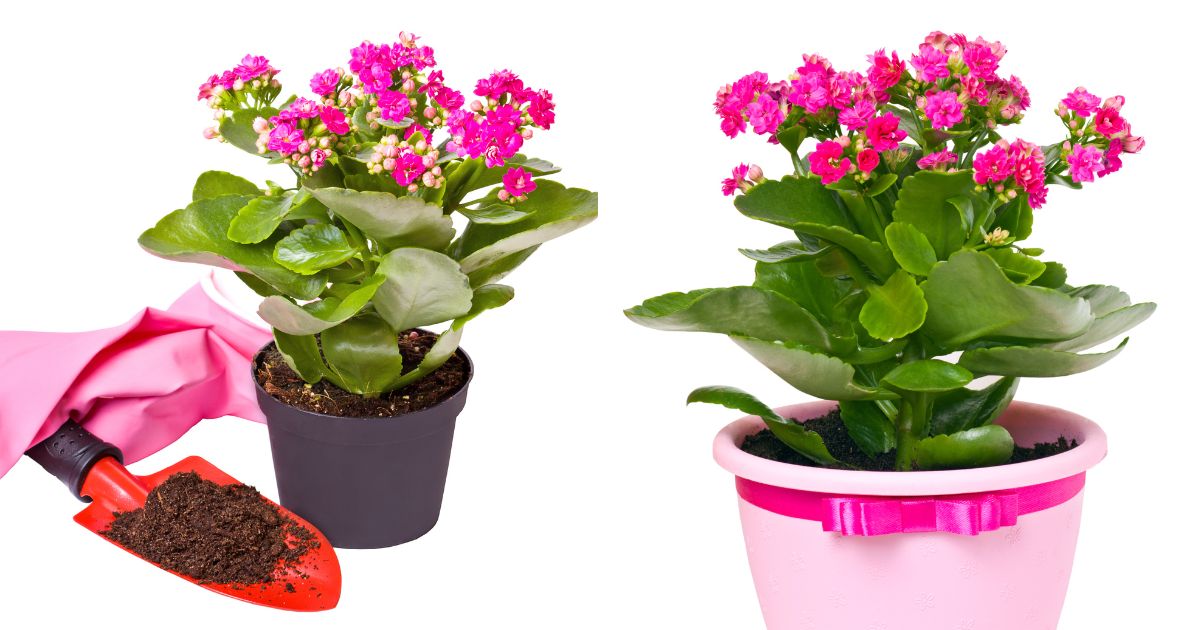
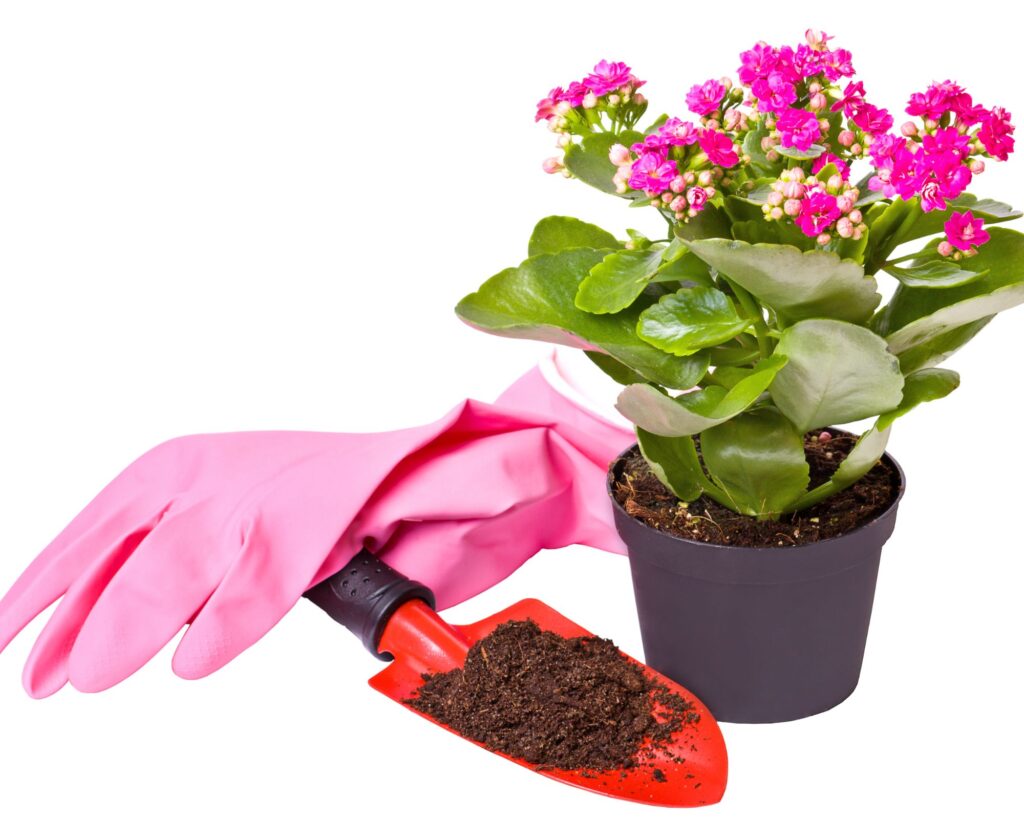
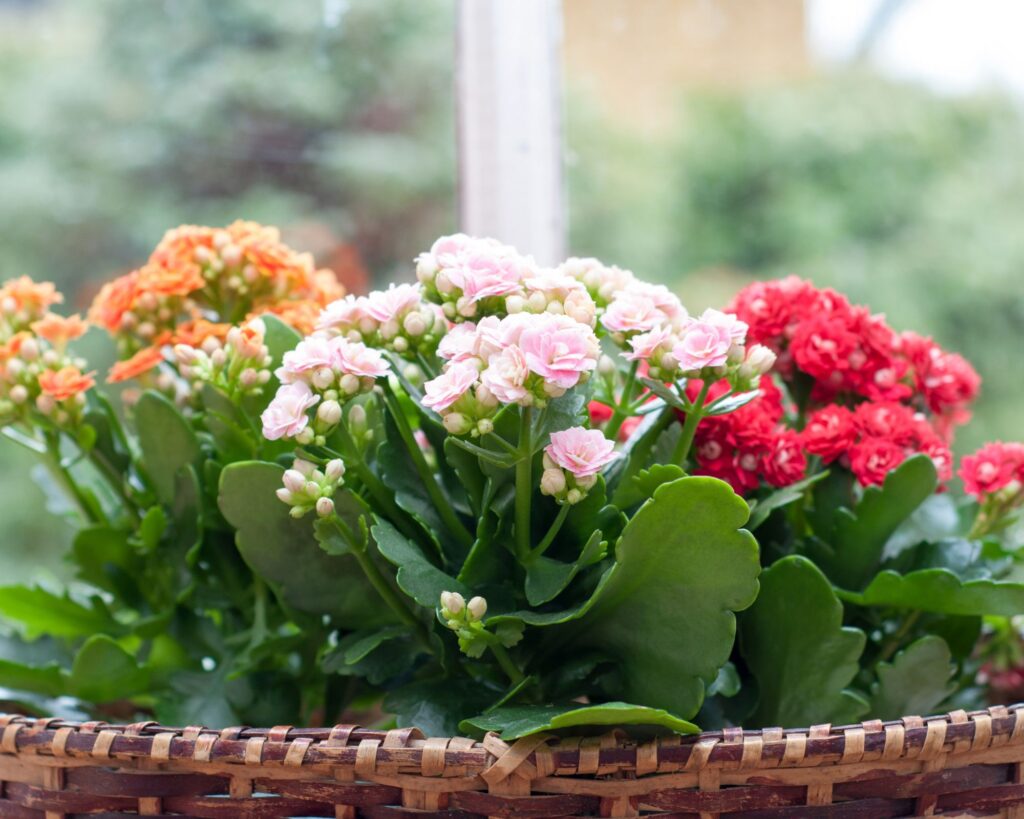
Calandiva is a cultivar of the Kalanchoe species, native to Madagascar. It belongs to the Crassulaceae family. Known for its succulent leaves that store water, it’s well-suited for dry environments. The plant features dense clusters of small, double-petaled flowers that bloom in various colors including pink, red, yellow, and white.
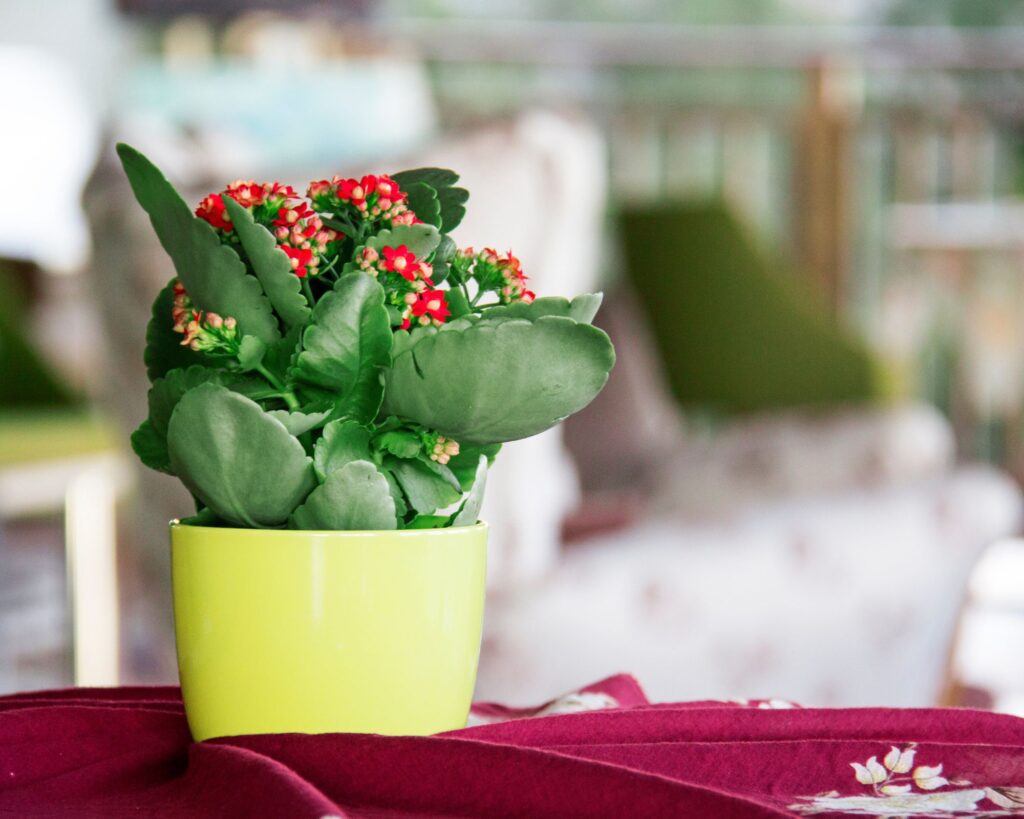
The flowers can last for several months, making Calandiva a long-lasting and visually appealing houseplant. The plant itself is compact, with fleshy leaves that can be green or tinged with red. It’s essential to note that Calandiva is a low-maintenance plant, ideal for both novice and experienced gardeners.
Growth Habits
Calandiva grows best in bright, indirect light. Direct sunlight can be too intense and may cause the leaves to scorch. If natural light is insufficient, you can use fluorescent lights to supplement. The plant thrives in well-draining soil; a succulent or cactus mix works well. It’s important to let the soil dry out between waterings to prevent root rot.
You should water Calandiva sparingly, approximately once every couple of weeks. In winter, reduce watering as the plant’s growth slows down. Calandiva also benefits from occasional fertilization; a balanced, water-soluble fertilizer applied once a month during the growing season will support healthy growth. Regularly remove spent flowers and dead leaves to encourage new blooms and maintain the plant’s aesthetic appeal.
Ideal Growing Conditions
Calandiva plants thrive in specific conditions that include adequate lighting, consistent temperatures, and proper soil. Paying attention to these factors ensures your plant stays healthy and blooms beautifully.
Lighting Needs
Calandiva plants require bright, indirect sunlight. They grow best when placed near a window that receives ample light but is shielded from direct midday sun, which may scorch the leaves. If grown indoors, a spot near an east or west-facing window is usually ideal.
Consider using sheer curtains to diffuse light during the peak sun hours. Calandivas can also adapt to lower light but may bloom less frequently and exhibit slower growth. Remember, lighting consistency is key to a healthy, vibrant plant.
Temperature and Humidity
Ideal temperature for Calandiva plants ranges from 60°F to 75°F (15°C to 24°C). These plants prefer stable temperatures and can experience stress from sudden changes. They don’t tolerate cold well, so make sure they are not exposed to temperatures below 50°F (10°C).
Humidity levels should be around 40-50%. While average indoor humidity is typically sufficient, during especially dry periods, you can increase humidity by using a pebble tray with water or a room humidifier. Avoid placing the plant near heaters or air conditioners, as they can dry out the air and the plant.
Soil and Repotting
Calandiva plants thrive in well-draining soil. A mix specifically designed for succulents or cacti is ideal. This blend ensures proper drainage, preventing root rot. Avoid heavy, compact soils that retain excess moisture, as these can harm the plant.
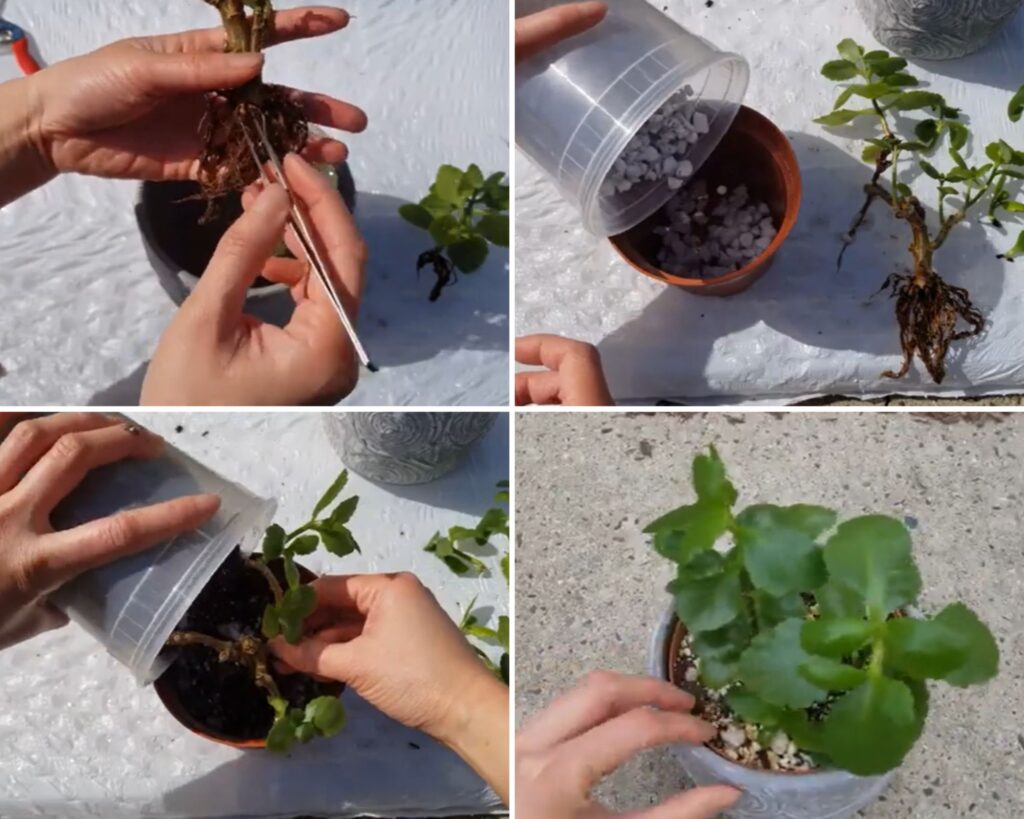
Repotting should be done every two years. When repotting, choose a pot that is just slightly larger than the current one. Ensure good drainage by selecting pots with holes at the bottom. Gently loosen the roots and replace the old soil to refresh the nutrient supply.
Watering Techniques
Watering Calandiva plants requires a careful balance. Allow the soil to dry out completely between waterings, typically every 2-3 weeks. Stick your finger into the soil up to an inch deep to check for moisture; if it feels dry, it’s time to water. When you do water, water thoroughly until it drains out of the bottom of the pot.
Avoid overwatering, as the roots are susceptible to rot. In colder months, reduce watering frequency as the plant’s growth slows. Always use room temperature water and avoid letting the plant sit in waterlogged soil.
Plant Nutrition and Fertilization
Giving your Calandiva the right nutrients ensures optimal growth and vibrancy. You’ll need to know the right types of fertilizer and signs to watch out for that indicate nutrient deficiencies.
Fertilizer Types and Timing
Use a balanced, water-soluble fertilizer like a 10-10-10 mix. Apply it every two weeks during the growing season, which is typically spring and summer. Dilute the fertilizer to half the recommended strength to avoid over-fertilizing.
Organic fertilizers like compost tea or liquid seaweed are also effective. Apply these every month. They’re less concentrated, making it harder to cause nutrient burn. Look for slow-release options if you prefer less frequent applications.
Signs of Nutrient Deficiencies
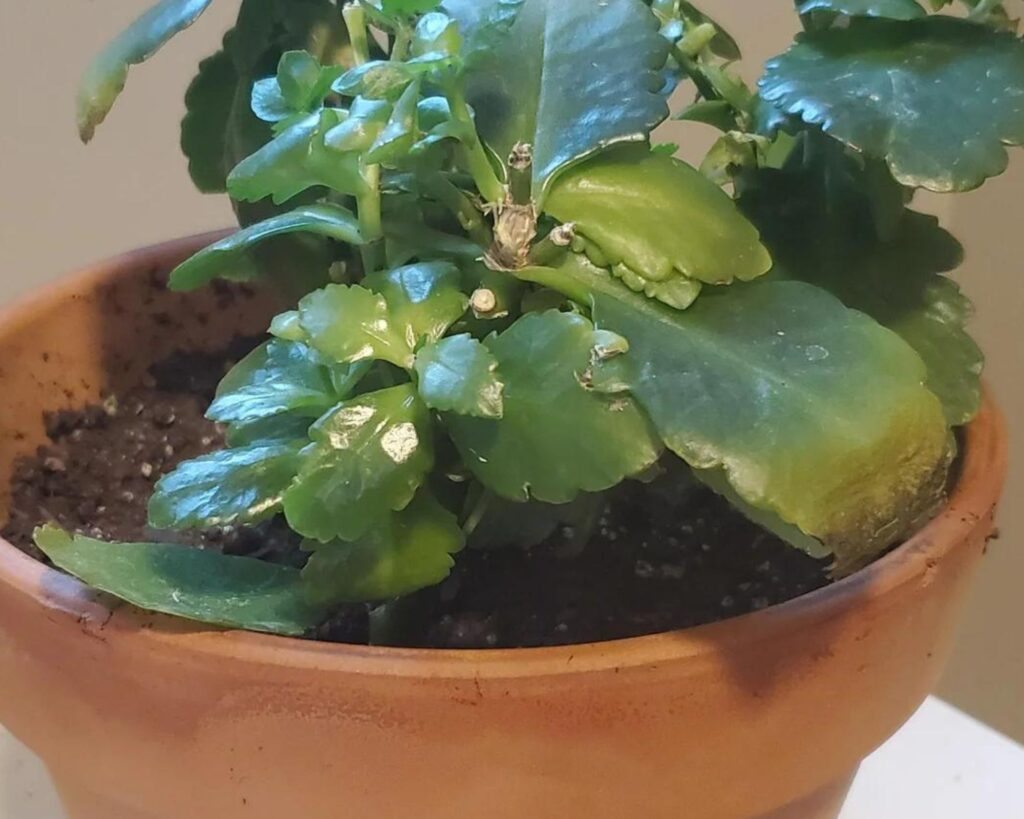
Yellowing leaves might indicate nitrogen deficiency. Dark, purplish hues on leaves suggest a phosphorus shortage. Brittle leaves can be a sign of potassium deficiency. Monitor your plant closely for these signs.
Stunted growth points to a lack of essential nutrients. If your Calandiva isn’t flowering well, it may need more phosphorus. Regularly check for unusual spotting or discoloration. Adjust your fertilization schedule accordingly to keep your plant healthy.
Pruning and Maintenance
To keep your Calandiva healthy and thriving, regular pruning and maintenance are essential. This involves trimming your plant for growth and taking steps to protect it from pests.
Pruning Tips
Prune your Calandiva to maintain its shape and promote blooming. Use clean, sharp scissors or pruning shears to make clean cuts. Remove dead or yellowing leaves and spent flowers. This encourages new growth and helps the plant focus energy on blooming.
Prune after the flowering season is over. Trim back leggy stems to keep the plant compact. Avoid cutting more than one-third of the plant at a time to prevent stress. Regular pruning keeps your Calandiva looking lush and vibrant.
Pest Prevention Strategies
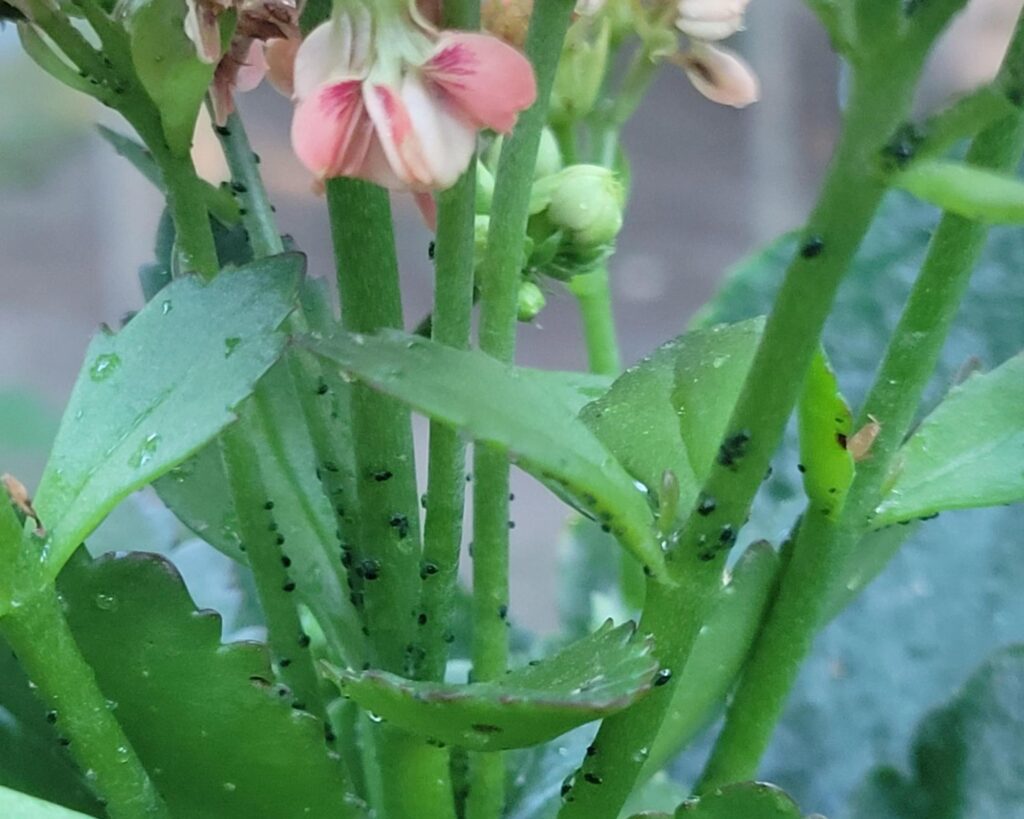
Monitor your Calandiva for pests such as aphids, spider mites, and mealybugs. Inspect leaves regularly, especially the undersides, for signs of infestation. Isolate affected plants to prevent spreading.
Use natural remedies like neem oil or insecticidal soap for minor infestations. Apply weekly until the pests are gone. Keep the plant clean by wiping leaves with a damp cloth. Maintaining proper air circulation and avoiding overwatering can also reduce the risk of pests.
Propagating Calandiva
Propagating your Calandiva is a fun way to create new plants from an existing one. The best method for this plant is by using stem cuttings.
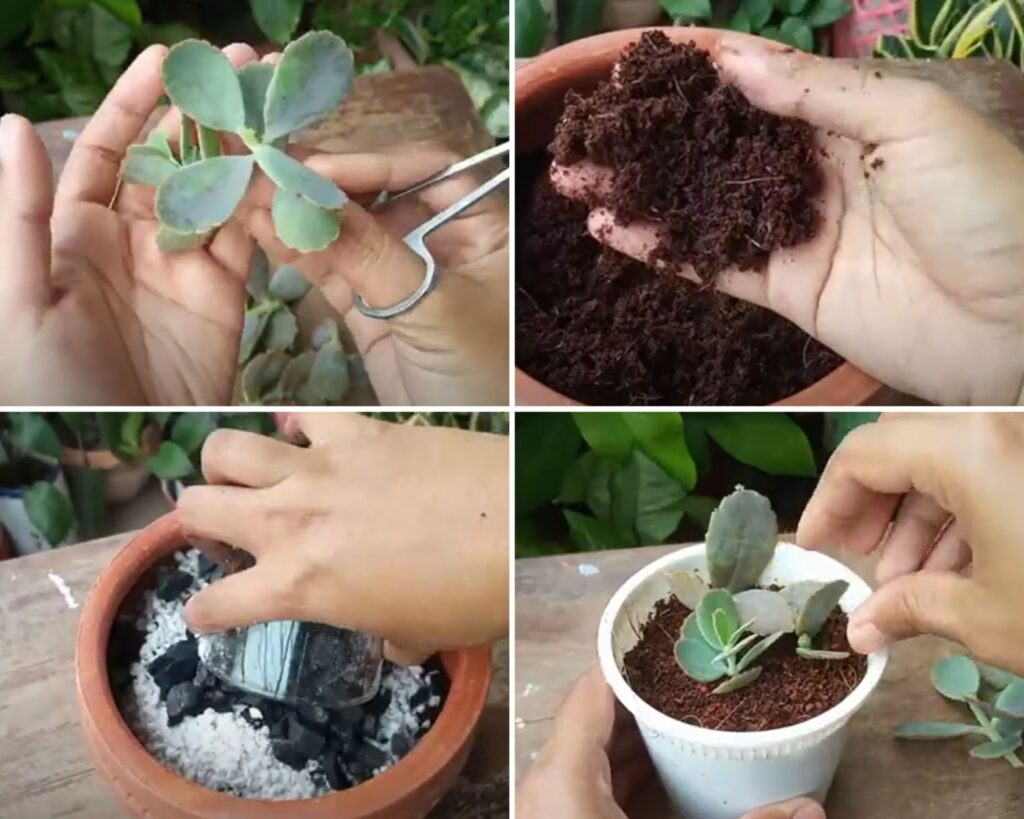
Start with a healthy parent plant. Choose a stem with a few leaves. Make a cut just below a leaf node, about 3-4 inches long.
Take your time to remove the lower leaves. Ensure at least two nodes are exposed. This is where roots will form.
Let the cutting dry for a couple of days. This helps prevent rot when planted. Place it in a bright, dry spot.
Once dry, plant the cutting in well-draining soil. A mix of cactus soil and perlite works well.
Water your new cutting sparingly. Overwatering can lead to rot, so allow the soil to dry out between waterings.
Place the potted cutting in indirect sunlight. Too much direct light can stress the plant as it roots.
In about 2-3 weeks, check for new root growth by gently tugging at the cutting. If it resists, roots have formed.
You can use a rooting hormone, although Calandiva cuttings often root well without it.
Patience is key. With the right care, your cutting will grow into a healthy new Calandiva plant.
Keep an eye out for pests like aphids, as they can hinder growth during this stage. Regularly inspect the plant to catch any issues early.
Maintaining a Calandiva plant is a simple yet gratifying task that can bring vibrant colors and lush greenery into your home.
By focusing on the basics – such as ensuring proper lighting, well-draining soil, and mindful watering – you can keep your plant thriving. Regular upkeep, including pruning and monitoring for pests, will help your Calandiva stay in peak condition. Propagating the plant can also be a rewarding endeavor, allowing you to enjoy more of these beautiful blooms.
With just a little care and attention, your Calandiva will flourish, brightening your indoor space with its lasting beauty.
