Ever wondered how you can make your garden flourish while cutting down on water costs? A rain barrel might be your answer.
This eco-friendly DIY project not only helps you save water but also reduces your utility bills. By the end of this guide, you’ll be equipped with everything you need to set up your own rain barrel and use it effectively.
Curious about how this simple tool can make such a big difference? Let’s dive in and find out.
The Basics of Rain Barrels
Rain barrels offer practical benefits and serve important functions in conserving water and reducing runoff.
What Is a Rain Barrel?
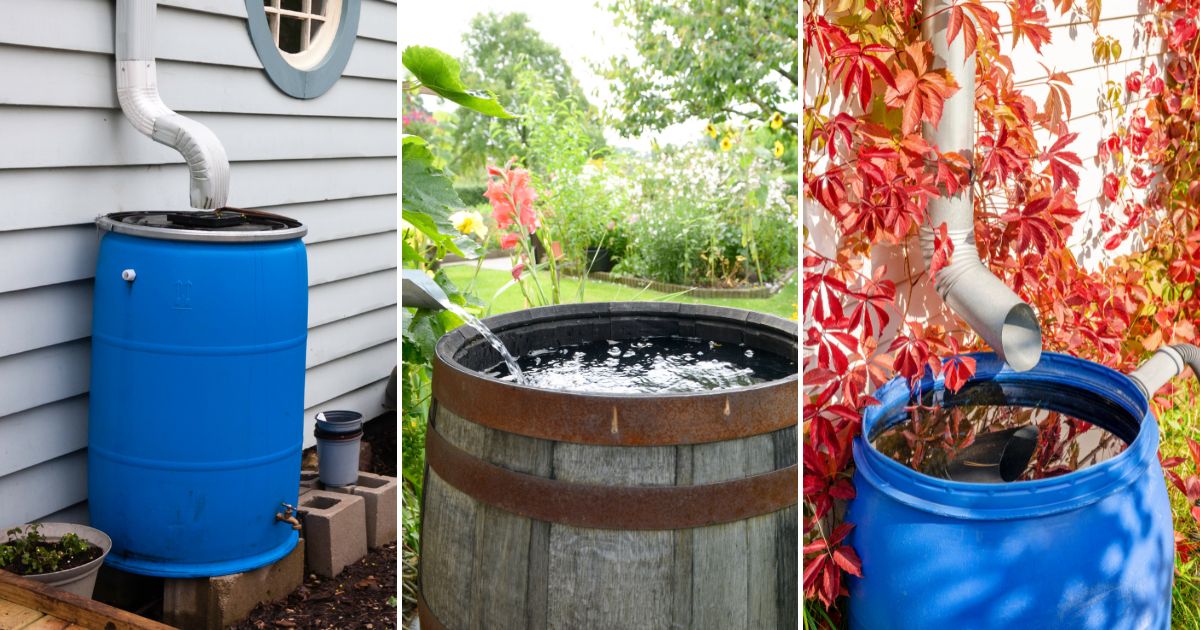
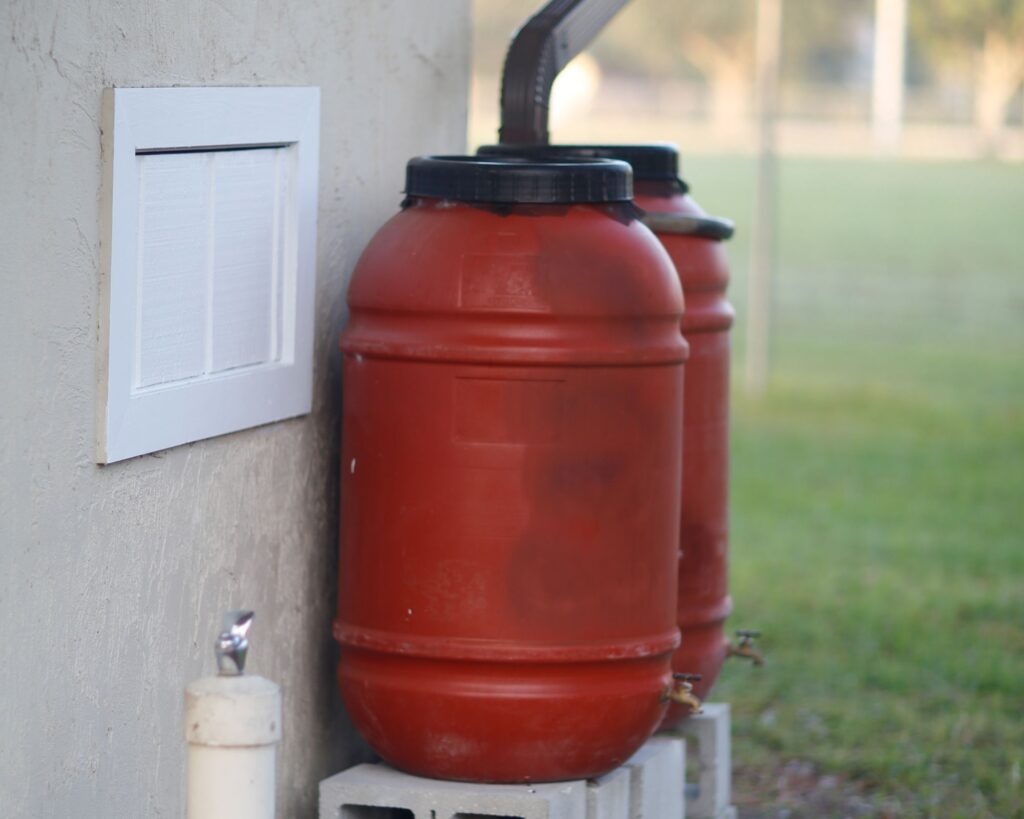
A rain barrel is a container that collects and stores rainwater from your roof. Typically made of plastic, metal, or wood, it connects to your gutter downspouts. Sizes vary, ranging from 50 gallons to over 100 gallons. Most rain barrels come with a spigot for easy water access and an overflow valve to manage excess water during heavy rainfall.
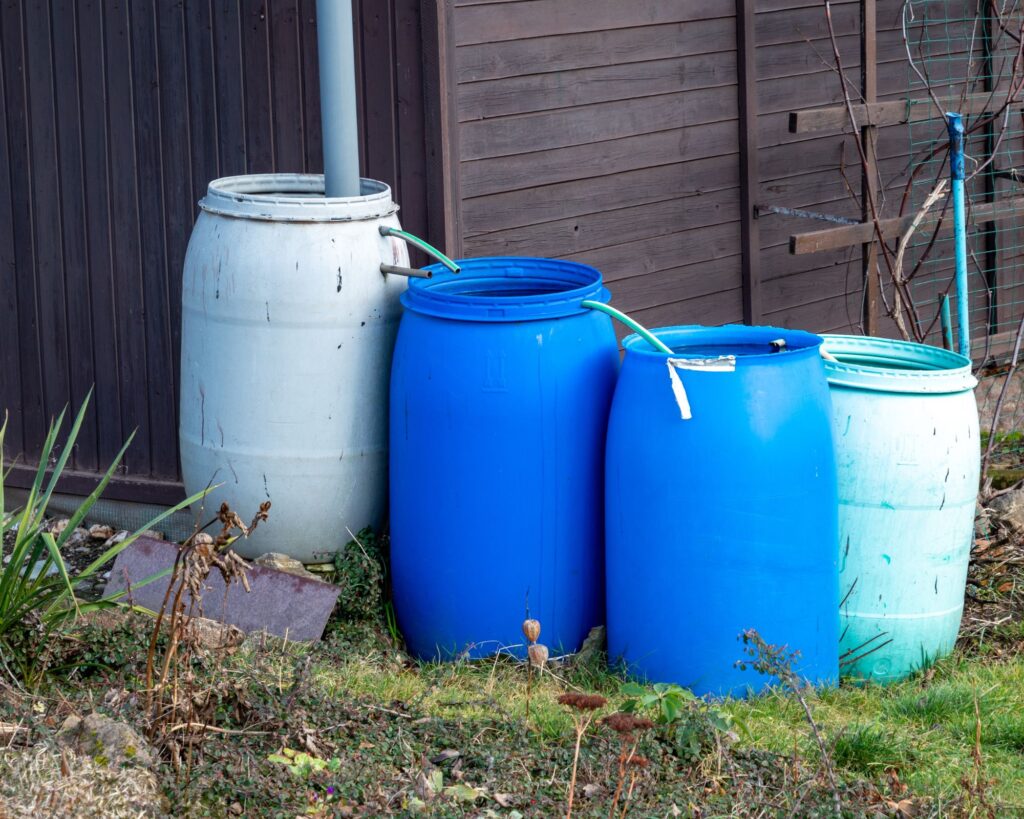
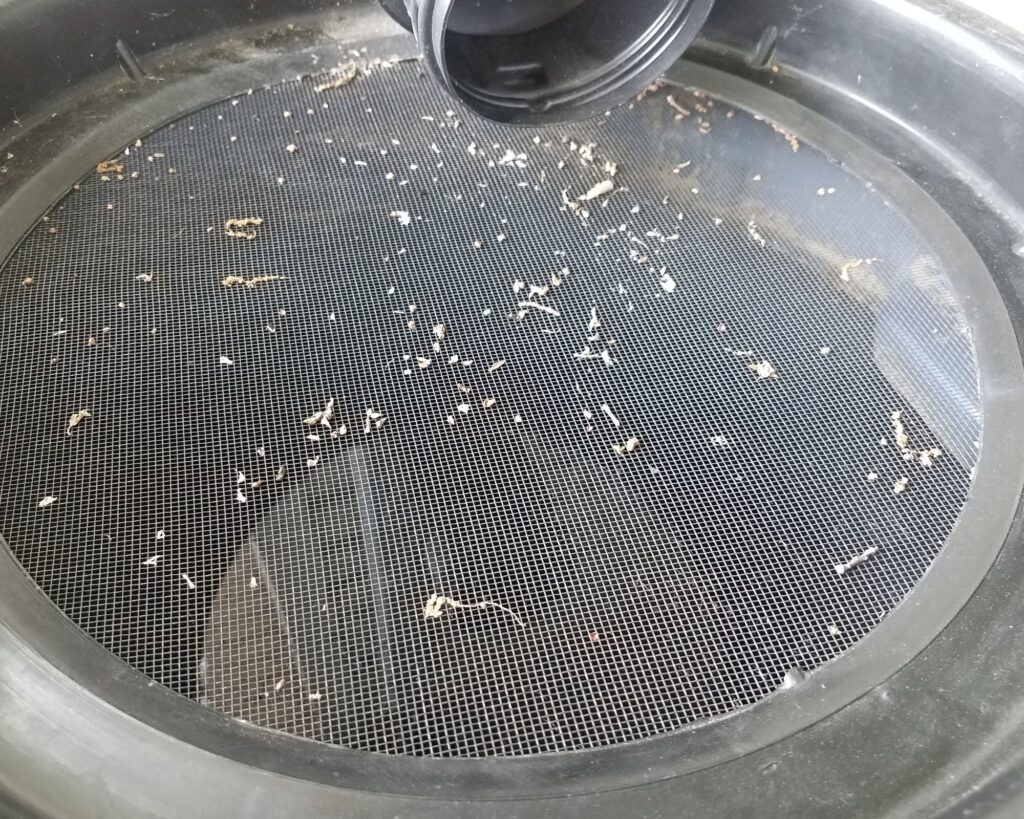
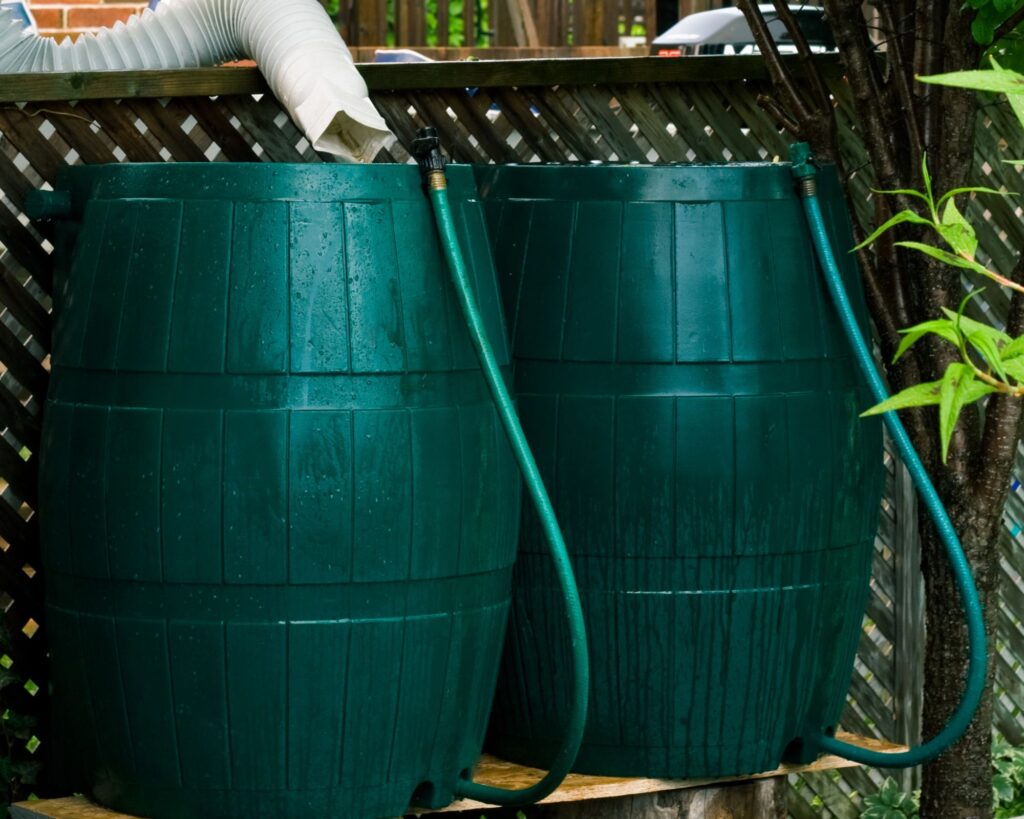
Rain barrels often have a mesh screen on top to prevent debris and mosquitoes from entering. They can be placed under any downspout around your home, making them convenient and adaptable. Some models even include linking systems to connect multiple barrels for increased storage capacity.
Benefits of Using Rain Barrels
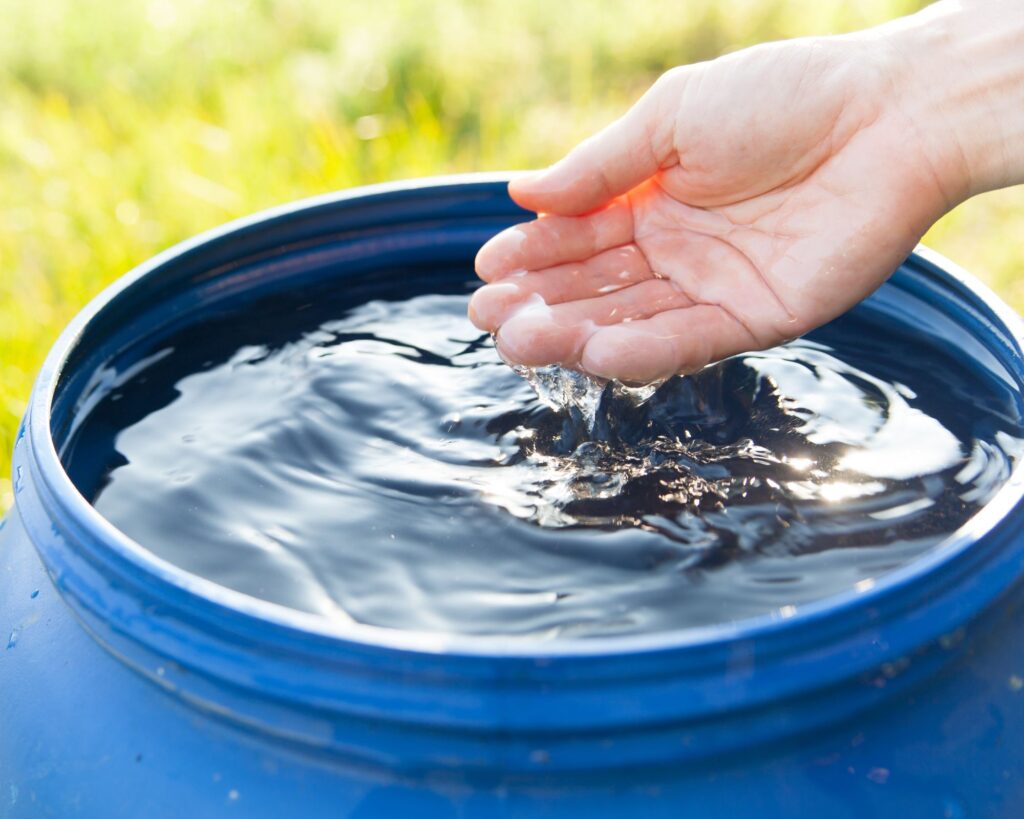
Rain barrels help conserve water by capturing runoff from your roof, which you can later use for watering your garden, washing your car, or other non-potable uses. This reduces your reliance on the municipal water supply, lowering your water bill. Additionally, using rainwater can be better for plants as it is naturally soft and free of chlorine and other chemicals.
Reducing runoff also helps prevent soil erosion and decreases the load on stormwater systems, reducing the risk of flooding. The environmental benefits extend to lowering your carbon footprint, as less energy is required to treat and pump municipal water. Rain barrels are an easy, cost-effective way to make your home more sustainable.
Choosing the Right Barrel
When selecting a rain barrel, consider the type of barrel, its size, and the material it’s made from to ensure it meets your specific needs.
Types of Barrels

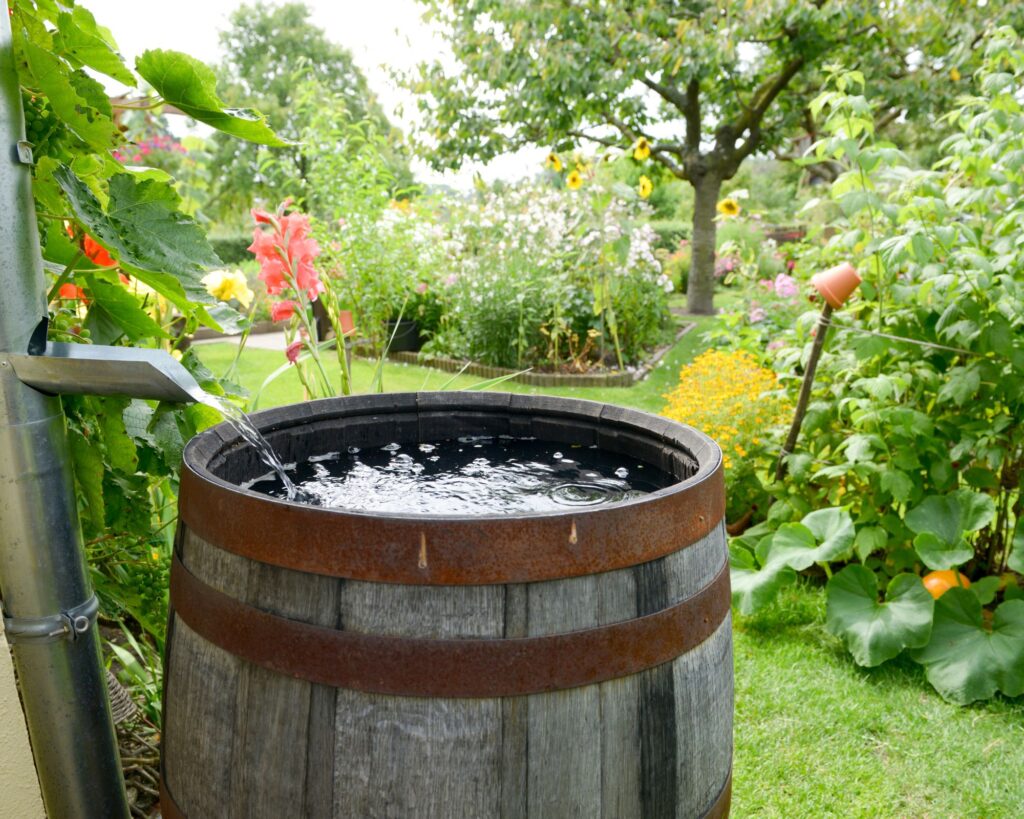
Several types of rain barrels are available, each with its own features and benefits. Plastic barrels are common and affordable, offering resistance to rust and decay. Wooden barrels add a rustic charm but require more maintenance. Metal barrels, often made of galvanized steel, are durable but can be prone to rust. Look for repurposed food barrels, which are cost-effective and environmentally friendly.
Ready-made kits and DIY options provide flexibility depending on your budget and skill level. Evaluate the ease of installation, the location where you plan to place the barrel, and any legal requirements or permits you might need.
Sizing Your Rain Barrel
The size of your rain barrel should align with your water usage needs and available space. Common sizes range from 50 to 100 gallons. For smaller gardens or minimal watering needs, 50-55 gallons might be sufficient. Larger gardens or higher water demands benefit from 75-100 gallon barrels or even bigger.
To calculate the ideal size, consider your roof’s area and the average rainfall in your region. A simple formula is 1 inch of rain on a 1,000 sq. ft. roof equals about 623 gallons. You might also want multiple barrels connected to capture more water if space allows.
Material Considerations
The material of your rain barrel impacts durability and maintenance. Plastic is lightweight, corrosion-resistant, and generally inexpensive but can degrade under prolonged UV exposure. Wood offers good insulation and aesthetic appeal but requires regular treatment to prevent rot. Metal barrels, especially galvanized steel, are strong and weather-resistant, though they can rust over time and need protective coatings.
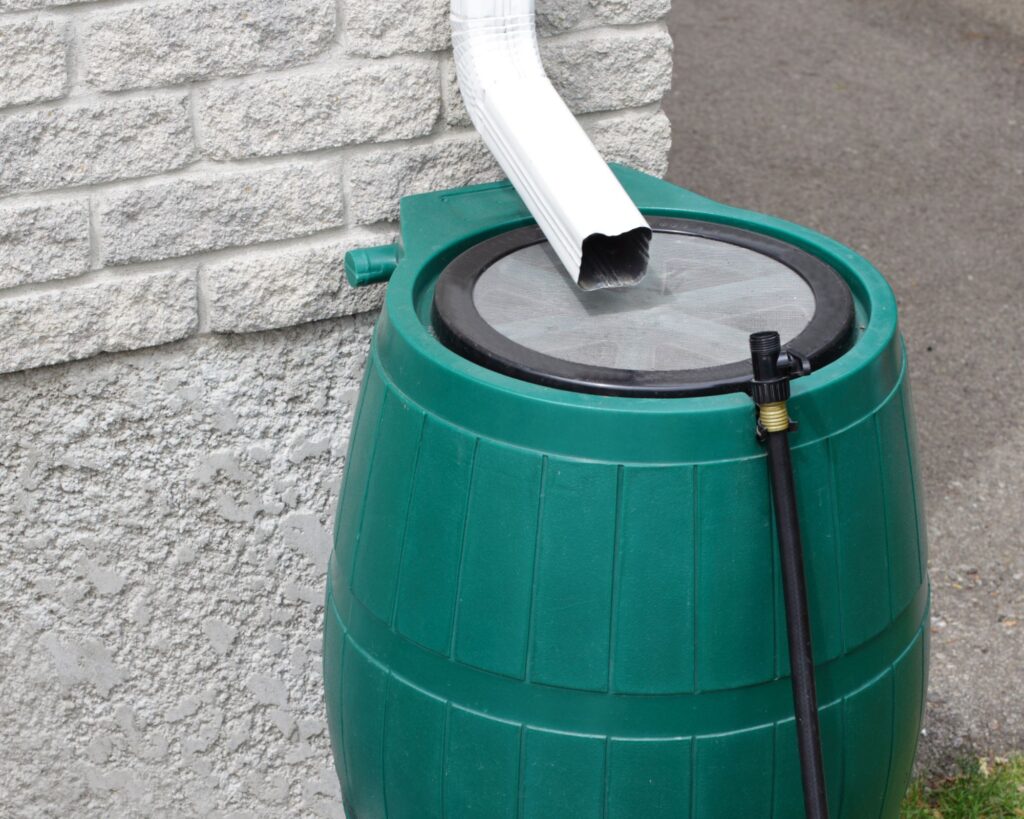
Make sure the barrel has a tight-fitting lid to prevent debris and mosquito breeding. Look for UV-protected materials to ensure longevity. Evaluate whether you need accessories like spigots and overflow valves, often made of the same material as the barrel, to ensure compatibility and ease of use.
Collecting Rainwater Safely
Collecting rainwater can be both eco-friendly and cost-efficient. It’s important to focus on the roof and gutter setup and also on preventing mosquito and algae growth.
Roof and Gutter Setup
To collect rainwater safely, ensure your roof is made from safe, non-toxic materials. Avoid roofs with asbestos or lead-based paints. Clean your roof regularly to remove debris that can contaminate your water.
Install gutters that lead directly to your rain barrel. Use mesh screens or guards to keep leaves and larger debris out of the gutters. This reduces clogs and contamination.
Position downspouts to channel water efficiently into the barrel. Elevate the rain barrel on a sturdy platform to improve water pressure and make access easier.
Mosquito and Algae Prevention
Standing water attracts mosquitoes and fosters algae growth. Use a tight-fitting, fine-mesh screen to cover the opening of the rain barrel. This prevents mosquitoes from laying eggs in the water.
Regularly use water treatments like mosquito dunks that are safe for plants and animals to prevent larvae development. To avoid algae buildup, place the rain barrel in a shaded area and consider adding a few drops of natural algaecide.
Cleaning your barrel every few months helps maintain water quality. Empty and scrub the interior using a solution of water and mild, non-toxic soap. Rinse thoroughly before refilling to ensure no soap residue remains.
Installing Your Rain Barrel
Setting up your rain barrel involves some basic tools and a step-by-step process to ensure it works effectively. Here’s how to do it right.
Tools and Equipment Needed
To install your rain barrel, you will need a few essential tools and materials. These include a drill, a downspout diverter kit, a hacksaw or tin snips, and a level.
You’ll also need PVC piping, rubber washers, and silicone sealant to ensure a leak-free connection. It’s crucial to have a stand or blocks to elevate the barrel, which helps in gravity feed water flow.
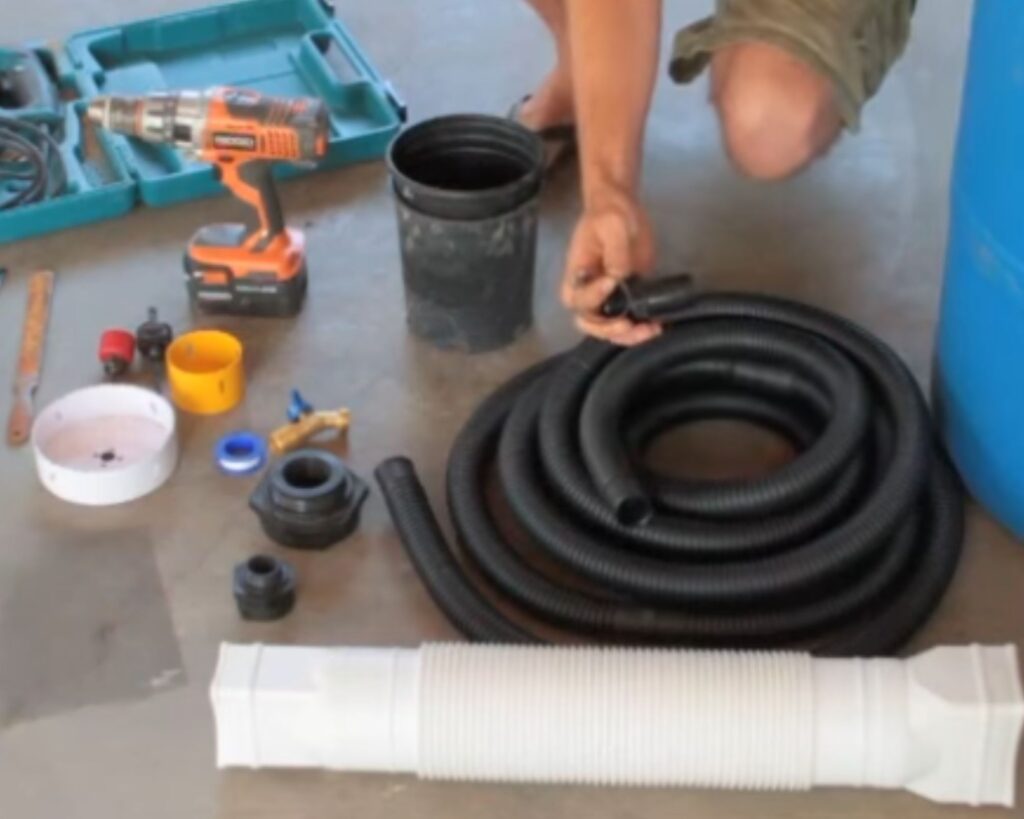
Gathering all these items before starting will make the process smooth and efficient.
Step-by-Step Installation Guide
- Choose a Location: Find a spot near a downspout and ensure there’s a firm, level base.
- Prepare the Downspout: Use a hacksaw to cut the downspout about 12 inches above the barrel’s height. Attach the diverter kit to the downspout.
- Set Up the Barrel: Place the barrel parallel to the cut downspout on a sturdy stand.
- Connect the Diverter: Link the downspout diverter to the rain barrel using PVC piping and rubber washers to ensure a tight fit.
- Seal the Openings: Apply silicone sealant around joints and connections to prevent leaks.
- Install an Overflow Valve: Ensure excess water can exit to avoid overflow issues by attaching an overflow valve and directing it away from your foundation.
- Check the Setup: Make sure everything is secure and the barrel is stable.
Following these steps will help you install your rain barrel properly, ensuring efficient rainwater collection.
Maintaining Your Rain Barrel
Proper maintenance of your rain barrel ensures longevity and water quality, important for effective use and care. Key aspects include regular cleaning and preparing your barrel for winter.
Regular Cleaning and Care
Regularly clean your rain barrel to keep it in good working condition. Start by emptying any remaining water and removing debris from the screen or inlet. Use a scrub brush and mild detergent to clean the inside thoroughly. Rinse well to ensure no soap residues remain.
Check the spigot and connections for leaks or blockages. If necessary, replace worn-out parts to prevent water waste. Inspect and clean the downspout diverters to maintain optimal water flow.
Additionally, keep the surrounding area clear of leaves and debris to prevent contamination.
Winterizing Your Rain Barrel
Prepare your rain barrel for colder months to avoid damage from freezing. Drain all the water to prevent ice formation, which can crack or break your barrel. Disconnect the downspout and store the barrel in a sheltered area, such as a garage or shed.
If storing indoors isn’t possible, turn the barrel upside down and secure it to avoid water accumulation. This simple act can extend the lifespan of your rain barrel, ensuring it’s ready for spring rains.
Incorporating a rain barrel into your home is a smart and sustainable way to conserve water and reduce your utility bills. By following the steps outlined in this guide, you can easily set up and maintain your own rain barrel, turning rainwater into a valuable resource for your garden and other non-potable uses.
Not only does this practice benefit your wallet, but it also supports environmental conservation by reducing runoff and easing the burden on municipal water systems.
Start your rain barrel project today and enjoy the rewards of eco-friendly living for years to come.