Tired of store-bought garlic that lacks the robust flavor you crave? You’re not alone. The good news is, you can take matters into your own hands this fall. By planting garlic now, you’ll be on your way to harvesting plump, flavorful bulbs that transform your cooking.
This tips will show you exactly how to get started, ensuring that your garlic-growing experience is as rewarding as the taste of your first homegrown clove.
The Benefits of Fall Planting
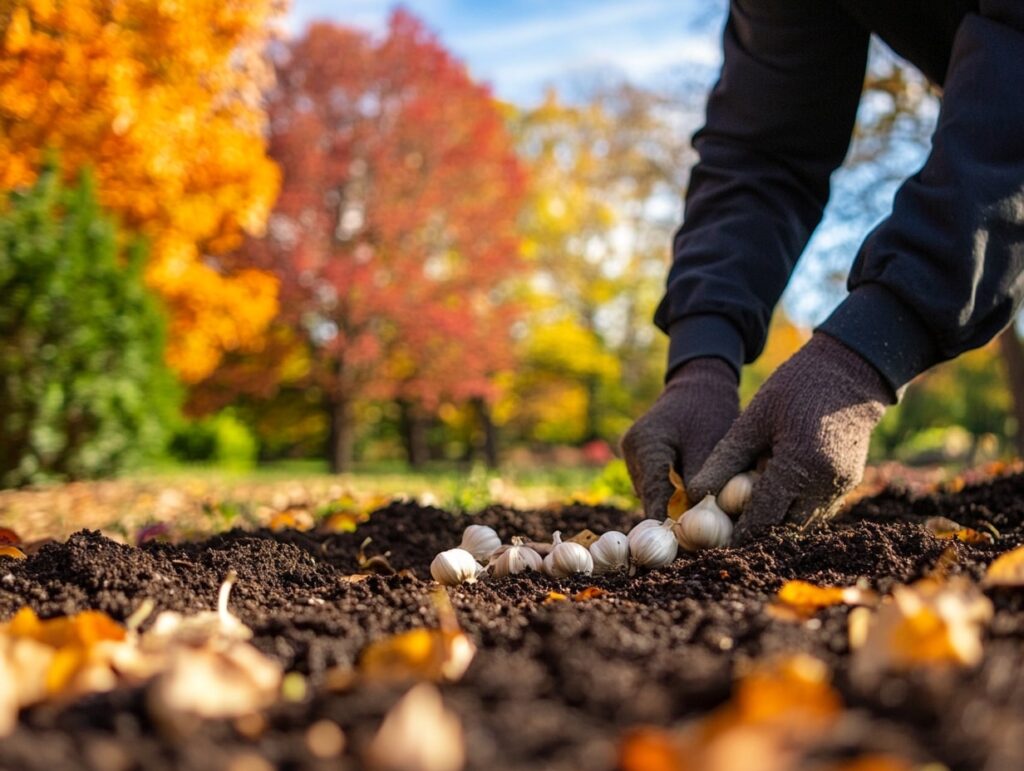
Planting garlic in the fall offers several advantages. It allows the garlic cloves to establish roots before winter, ensuring robust growth when spring arrives. The natural cold period during winter is crucial for larger, more flavorful bulbs.
Fall planting gives your garlic a head start in the growing season, leading to a more abundant yield in the summer.
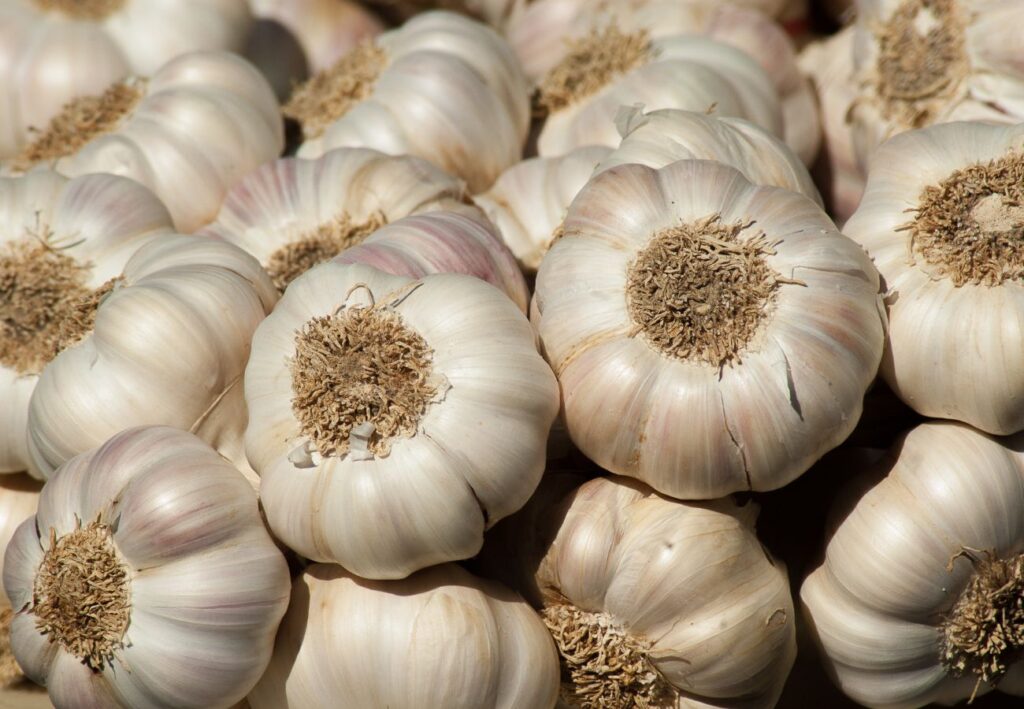
Imagine pulling up those plump, aromatic bulbs from your garden next year. It’s a simple process with big rewards, and you’ll have fresh garlic to enhance your favorite dishes.
Selecting the Right Garlic Variety
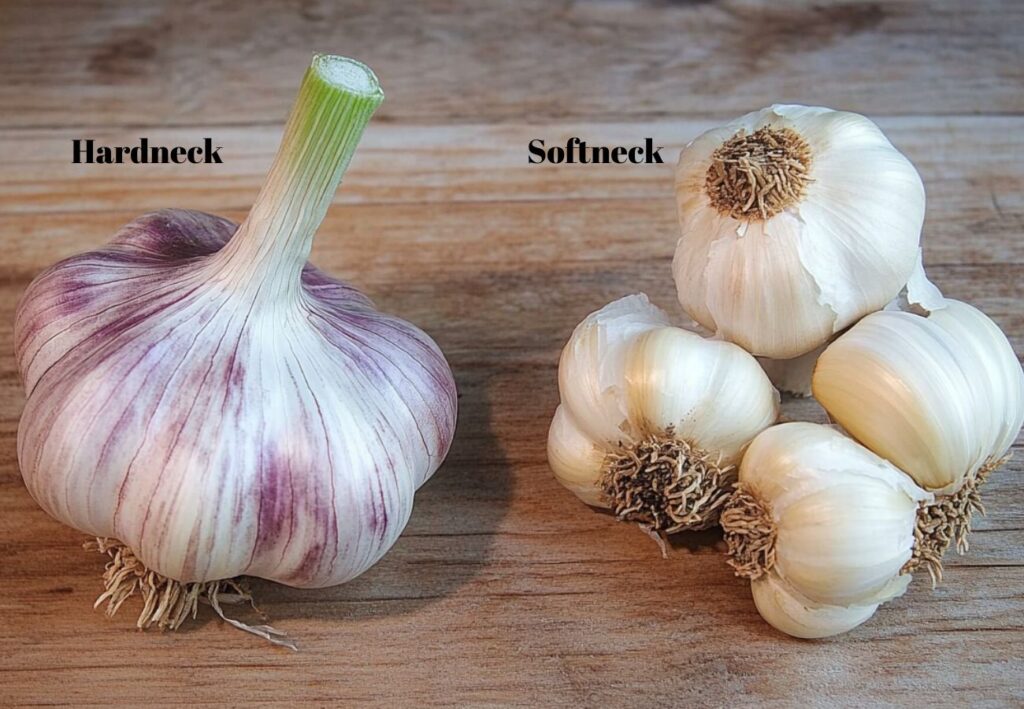
When planting garlic in the fall, choosing the right variety is crucial for success. Garlic comes in two main types: hardneck and softneck. Your choice depends on your climate and culinary needs.
Hardneck Garlic
Hardneck garlic thrives in colder climates and is known for producing a flower stalk called a “scape,” which is not only edible but also considered a delicacy by many chefs. The cloves of hardneck garlic are larger and easier to peel, making them a favorite for cooking.
Examples: German Extra Hardy, Chesnok Red
Softneck Garlic
Softneck garlic does well in milder climates and lacks the flower stalk, allowing for longer storage. The cloves are smaller and more numerous than those of hardneck varieties, making them ideal for braiding and storing.
Examples: California Early, Inchelium Red
Consider your local climate and your culinary needs when deciding which type of garlic to plant. If possible, explore local varieties that might be well-suited to your specific region.
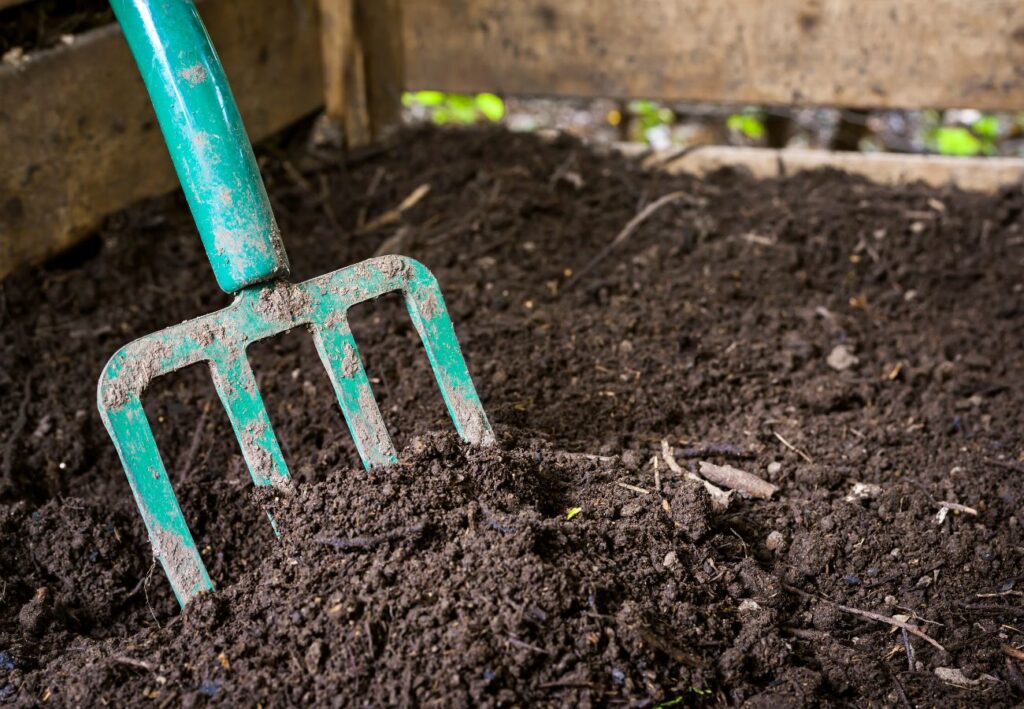
Preparing the Soil for Planting
To ensure your garlic grows successfully, you need to prepare the soil carefully. This involves testing soil composition, amending the soil, and choosing the right planting location.
Testing Soil Composition
Start by checking the soil’s pH level and nutrient content. Garlic prefers slightly acidic to neutral pH, around 6.0 to 7.0. You can use a soil testing kit to determine these levels. If the pH is off, you can add lime to raise it or sulfur to lower it.
Pay attention to soil texture as well. Garlic thrives in well-drained, loamy soil. If your soil is sandy or clay-heavy, you’ll need to amend it. Mixing soil samples from different areas of your garden can give you a more accurate reading of your soil’s overall condition.
Amending the Soil
Once you’ve identified your soil type, amending it is essential for balancing nutrients. For nutrient-deficient soil, add organic matter such as compost or well-rotted manure. This enhances soil fertility and improves texture.
Incorporate a balanced fertilizer rich in phosphorus and potassium to support robust garlic growth. A common recommendation is a fertilizer ratio like 10-10-10. Avoid high nitrogen fertilizers, as they encourage leaf growth over bulb formation.
Ensure the soil has good drainage. If it retains too much water, consider raising your planting beds or adding sand to improve aeration. Proper amendments lead to a nutrient-dense growing medium for your garlic.
Choosing a Planting Location
Select a sunny location that receives 6-8 hours of direct sunlight daily. Areas with partial shade aren’t ideal, as garlic needs plenty of light to develop large bulbs. Ensure the spot has excellent drainage to prevent waterlogging.
Avoid areas that have recently grown onions or garlic, as disease pathogens can persist in the soil. Rotating crops helps maintain soil health and reduces pest issues. Choose an area protected from strong winds but with good air circulation to prevent fungal problems.
If you’re planting in raised beds or containers, ensure they meet these criteria. Proper site selection sets the stage for a healthy garlic harvest.
Planting Garlic Cloves Properly
Proper planting techniques are key to a successful garlic crop. This involves separating the cloves, determining the appropriate planting depth and spacing, and planting them correctly.
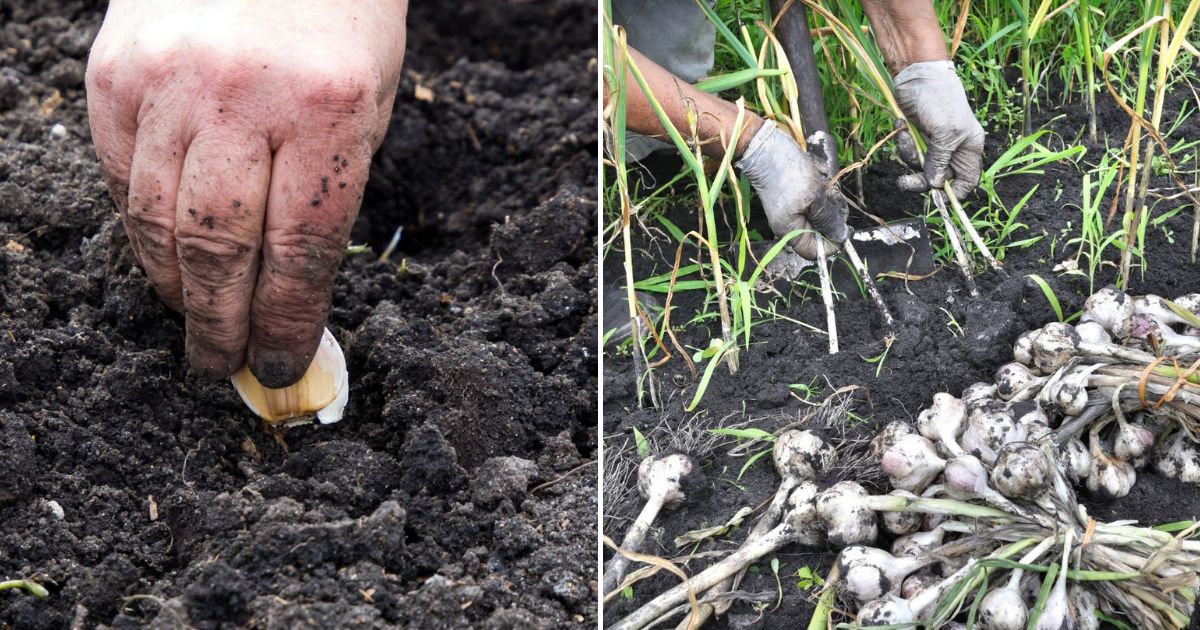
Separating the Cloves
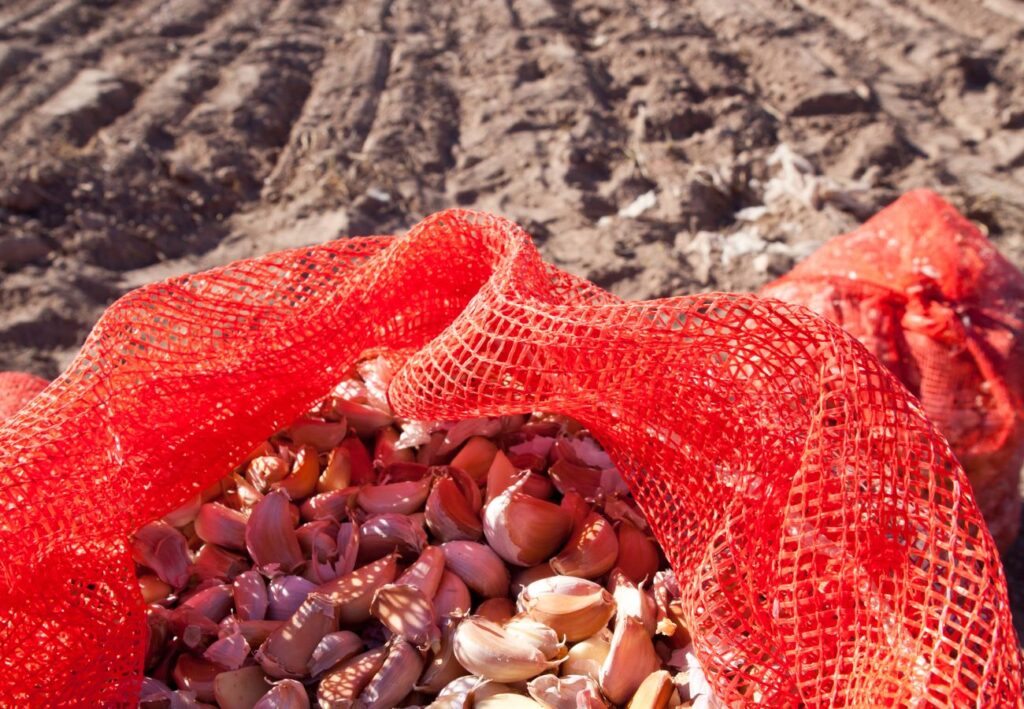
Begin by carefully breaking apart a bulb of garlic into individual cloves. Choose the larger cloves for planting, as they tend to produce the healthiest plants. Peel away any loose, papery skin, but keep the protective skin intact around each clove to prevent rot.
Handle the cloves gently to avoid bruising, which makes them more susceptible to diseases and pests. Once separated, store the cloves in a cool, dry place until you’re ready to plant them.
Determining Planting Depth and Spacing
Garlic needs to be planted at the correct depth and spacing to ensure optimal growth. Plant each clove 1.5 to 2 inches deep to provide adequate coverage and protection from temperature extremes, which also supports root development.
Space each clove about 4-6 inches apart. This spacing gives the garlic enough room to expand without competing for nutrients. If you’re planting in rows, allow 6-8 inches between rows to ensure the plants receive sufficient sunlight and airflow, reducing the risk of disease.
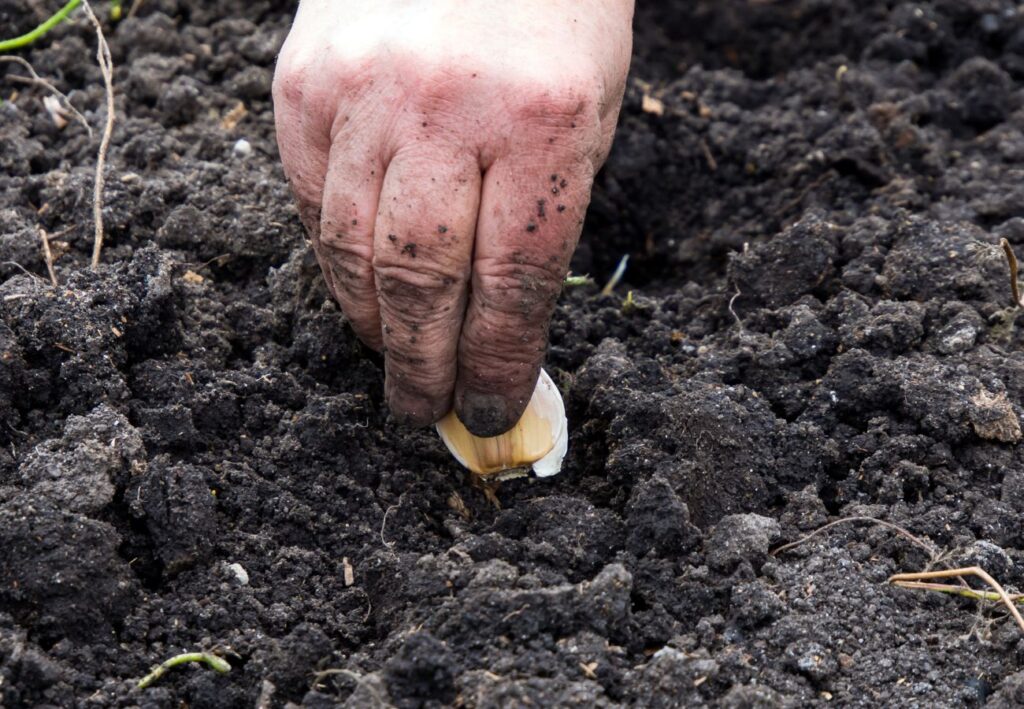
The Right Way to Plant Cloves
Plant each garlic clove with the pointed end facing up and the root end facing down. Gently press the clove into the soil to secure it. Cover with soil and lightly pat it down to remove any air pockets.
After planting, water the area thoroughly. Moist soil helps the cloves start establishing roots. If you’re planting in cooler climates, consider adding a light layer of mulch to help protect against frost and retain moisture.
Caring for Garlic During the Fall and Winter
Your garlic will need proper care during the fall and winter months to ensure a healthy harvest. Focus on watering, mulching, and managing weeds to protect your garlic plants during this period.
Watering Requirements
Garlic requires consistent moisture, especially in the early stages after planting. Aim to keep the soil evenly moist but not waterlogged, as overwatering can lead to rot while underwatering can stress the plants.
Check the soil regularly, and if it’s dry an inch below the surface, it’s time to water. A soaker hose can help deliver water directly to the roots, preventing water from splashing onto the leaves and reducing the risk of fungal diseases.
As temperatures drop, reduce watering, but don’t let the soil dry out completely.
Mulching Techniques
Mulching is essential for protecting garlic during the fall and winter. Apply a 3-4 inch layer of organic mulch, such as straw or shredded leaves, over your garlic bed. This helps retain moisture, moderate soil temperature, and suppress weeds.

As temperatures drop, add an extra layer of mulch for insulation. In areas with harsh winters, a thicker mulch layer can prevent the ground from freezing and heaving, which can damage the garlic. Remove some mulch in early spring to allow the soil to warm up.
Weed Management
Keep your garlic bed free of weeds, as garlic does not compete well with them. Hand-pull weeds or use a hoe to remove them carefully, avoiding damage to the garlic.
Apply mulch to suppress weed growth. Organic mulches such as straw or shredded leaves not only help with moisture retention but also prevent weed seeds from germinating.
Regular weeding throughout the fall and winter will ensure your garlic has the best chance to thrive without competition.
Understanding the Garlic Growth Cycle
Garlic grows in several distinct stages, each crucial to its development. Here’s an overview of the garlic growth cycle:
- Planting (Fall): Plant garlic cloves in the fall, typically before the first frost. Space them about 6 inches apart in well-drained soil.
- Germination (Winter): Garlic will sprout roots even in cold weather. The shoots will emerge from the soil in early spring.
- Vegetative Growth (Spring): As temperatures rise, garlic will grow green tops, indicating that your plants are in their vegetative growth phase.
- Scape Formation (Late Spring): In late spring, garlic will produce flower stalks known as scapes. These should be removed to focus energy on bulb development.
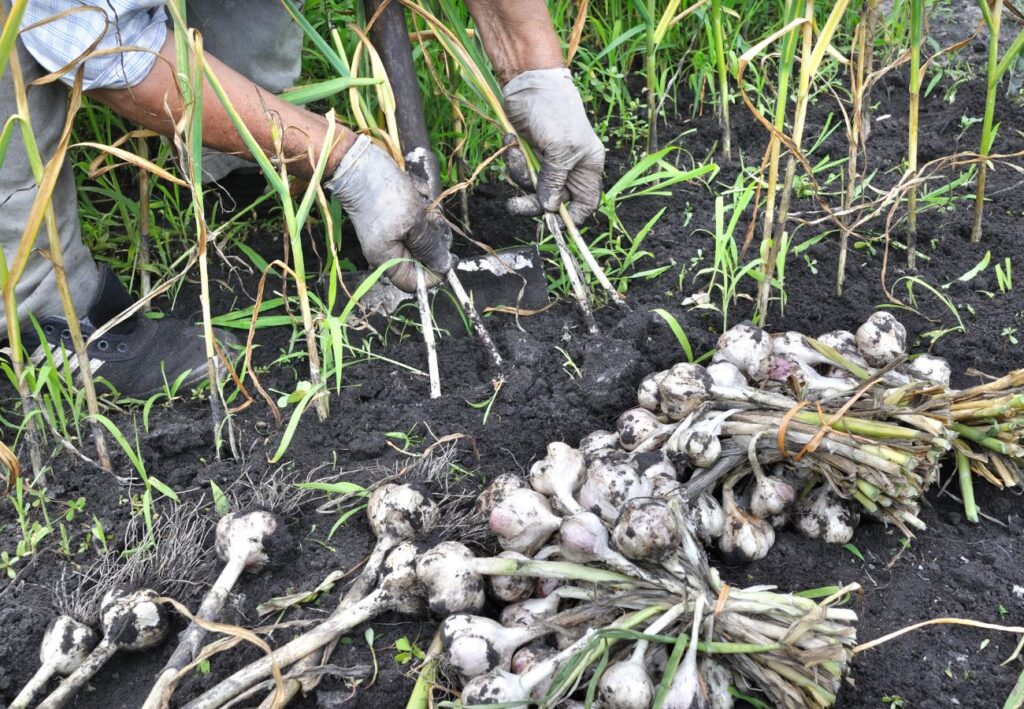
- Bulb Development (Summer): During summer, garlic plants will transfer energy from leaves to the bulb. Leaves will start to yellow and die back.
- Harvest (Midsummer): Garlic is ready to harvest when 3-4 lower leaves turn brown, usually in midsummer. Dig up the bulbs carefully to avoid damage.
Here’s a quick reference table to keep track of the garlic growth cycle stages:
| Stage | Timeframe | Key Actions |
|---|---|---|
| Planting | Fall | Plant cloves, space 6 inches apart |
| Germination | Winter | Roots form, shoots appear in spring |
| Green Growth | Spring | Monitor growth, maintain soil health |
| Scape Formation | Late Spring | Remove scapes for better bulbs |
| Bulb Development | Summer | Watch for yellowing leaves |
| Harvest | Midsummer | Dig up bulbs carefully |
Planting garlic in the fall is a straightforward task that yields delicious results. By choosing the right variety, preparing the soil, and following proper planting and care techniques, you’ll set yourself up for a bountiful harvest.
With a little attention through the fall and winter, you’ll be rewarded with plump, flavorful garlic bulbs next summer, ready to add a touch of homegrown goodness to your kitchen.