There’s something undeniably enchanting about roses—their delicate petals, intoxicating fragrance, and vibrant hues. Yet, for many gardeners, the idea of growing roses from buds seems like a near-impossible challenge.

But what if I told you that this seemingly intricate process could be broken down into simple steps? Imagine plucking a tiny bud from an established rose bush and nurturing it into a full-blooming masterpiece of your own.
Sounds almost magical, right? Whether you’re a gardening novice or a seasoned pro, learning how to propagate roses can be not just doable, but incredibly rewarding. Let’s demystify the process and show you how this gardening art can be your next success story.
Why Grow Roses from Buds?
The question that always precedes this type of project is: Why go through the trouble? Why not buy a fully grown rose plant from a nursery and skip the whole process?
It’s true that buying a rose plant gives you a head start, but there’s a level of satisfaction that comes with nurturing something from almost nothing.
Growing roses from buds allows you to multiply your existing plants or introduce a rare variety into your garden without spending a dime. It’s essentially free gardening—a slow investment that pays off in time.
Moreover, propagating roses is a bit like gardening alchemy: turning a small, seemingly insignificant piece of a plant into a thriving bush that rewards you year after year with breathtaking blooms.
You don’t need to be a professional to do this, but you do need a bit of patience and some key know-how. Let’s dive into that.
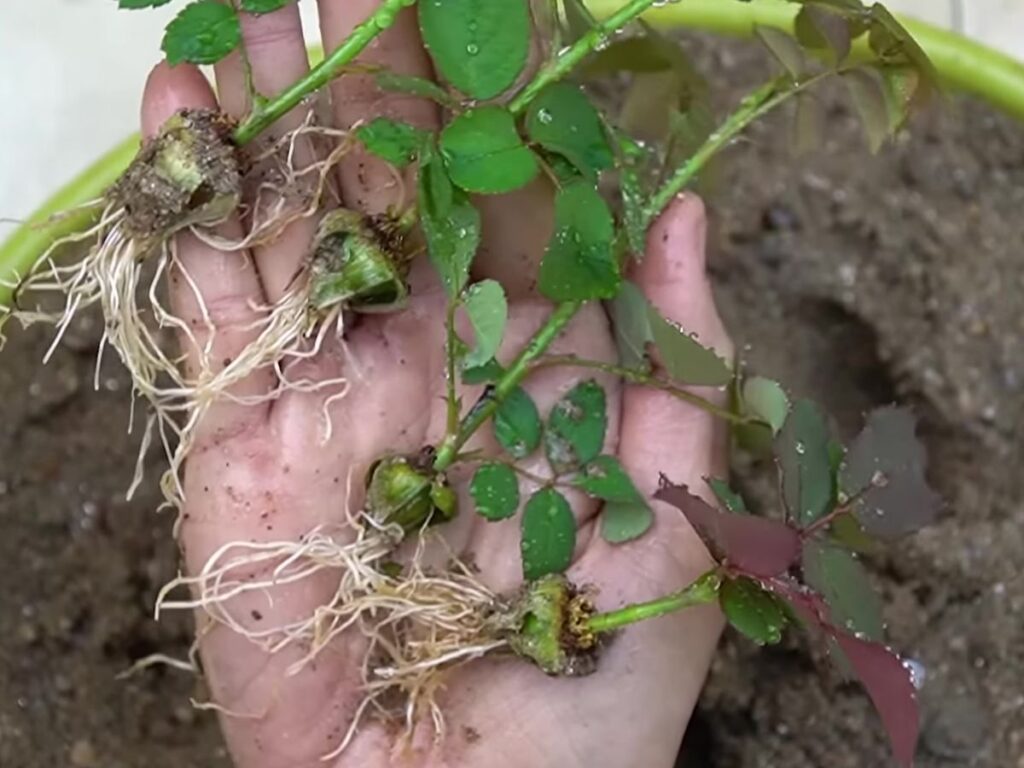
Step 1: Selecting the Right Rose Bud
The first and most important part of the process is choosing the right bud. You want to start by selecting a healthy, mature rose from your existing garden or a friend’s garden.
The ideal time to take a cutting is during the early summer months, when the rose has finished blooming but the wood is still semi-soft. This stage is called “softwood,” meaning it’s not too green and not too woody.
Here’s the thing about roses: not every stem will work. You need to pick a stem that is straight, healthy, and has several leaf nodes (the bumps where the leaves sprout). A good rule of thumb is to select a stem that is about the thickness of a pencil.
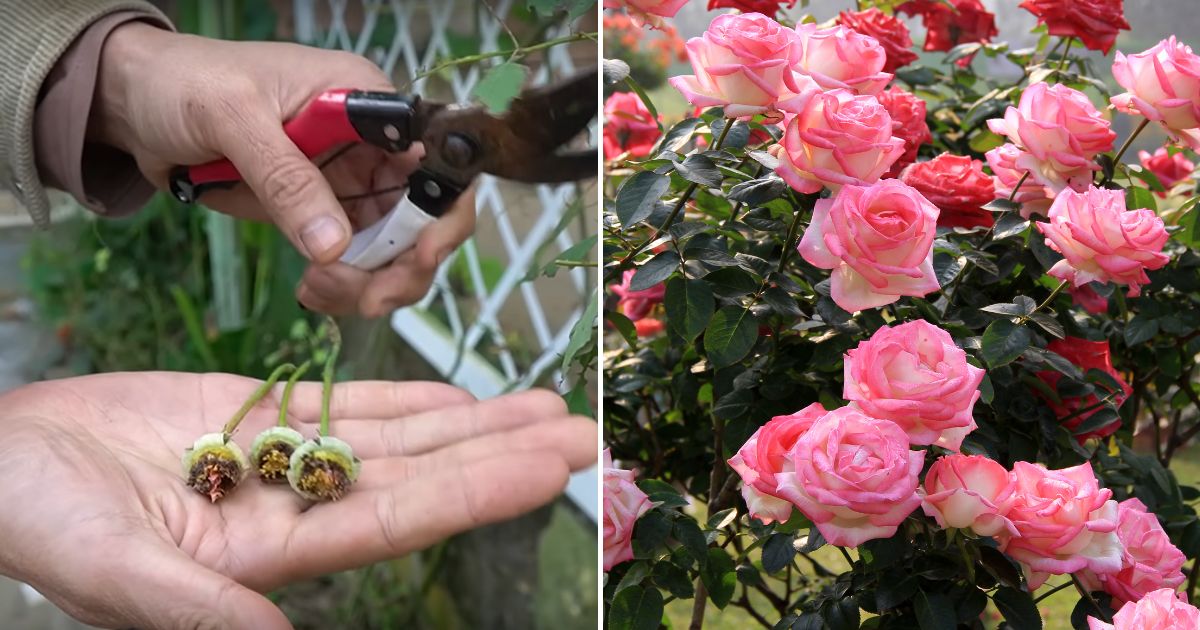
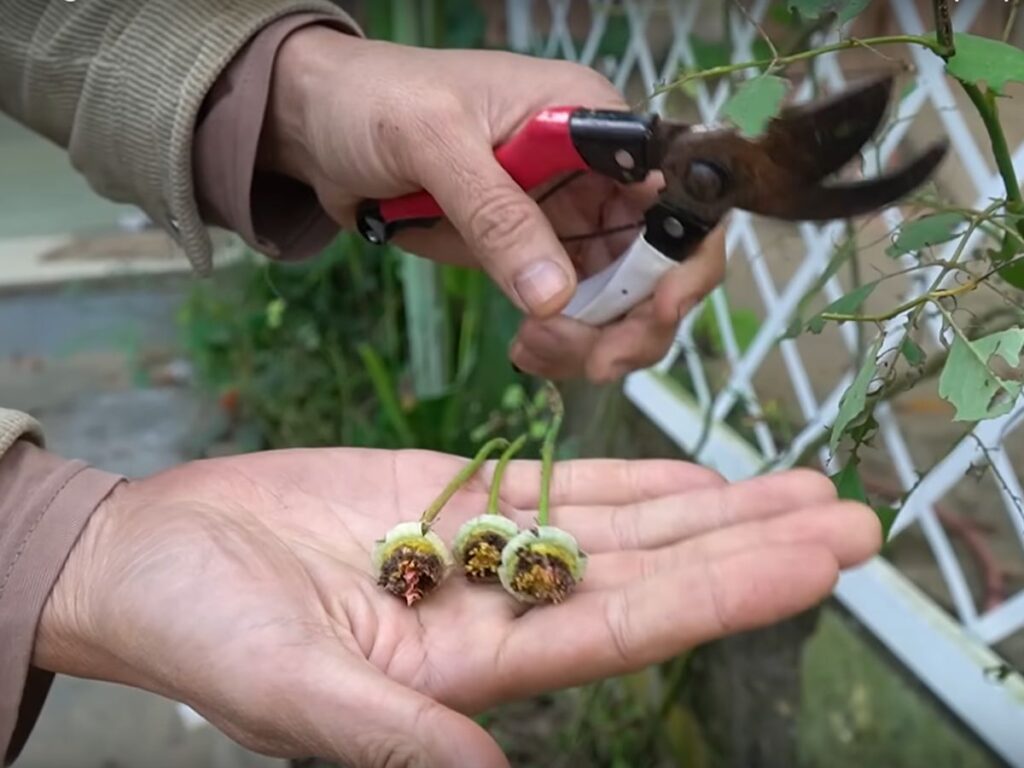
Once you have your stem, cut about 6-8 inches of it with a pair of sharp, sterilized pruning shears. Be sure to cut right below a leaf node, as this is where new roots will start to grow.
Keep the cutting hydrated by immediately placing it in a jar of water or wrapping it in a damp paper towel.
Step 2: Preparing the Bud Cutting for Propagation
Now that you have your rose cutting, the next step is to prepare it for rooting. This part can feel a bit delicate, but once you’ve done it a few times, it becomes second nature.
First, remove the leaves from the lower half of the cutting. The reason for this is simple: you want to minimize water loss while the cutting develops roots. If there are too many leaves, the cutting will lose moisture faster than it can grow roots, leading to a failed attempt. Leave a couple of leaves at the top to help with photosynthesis.
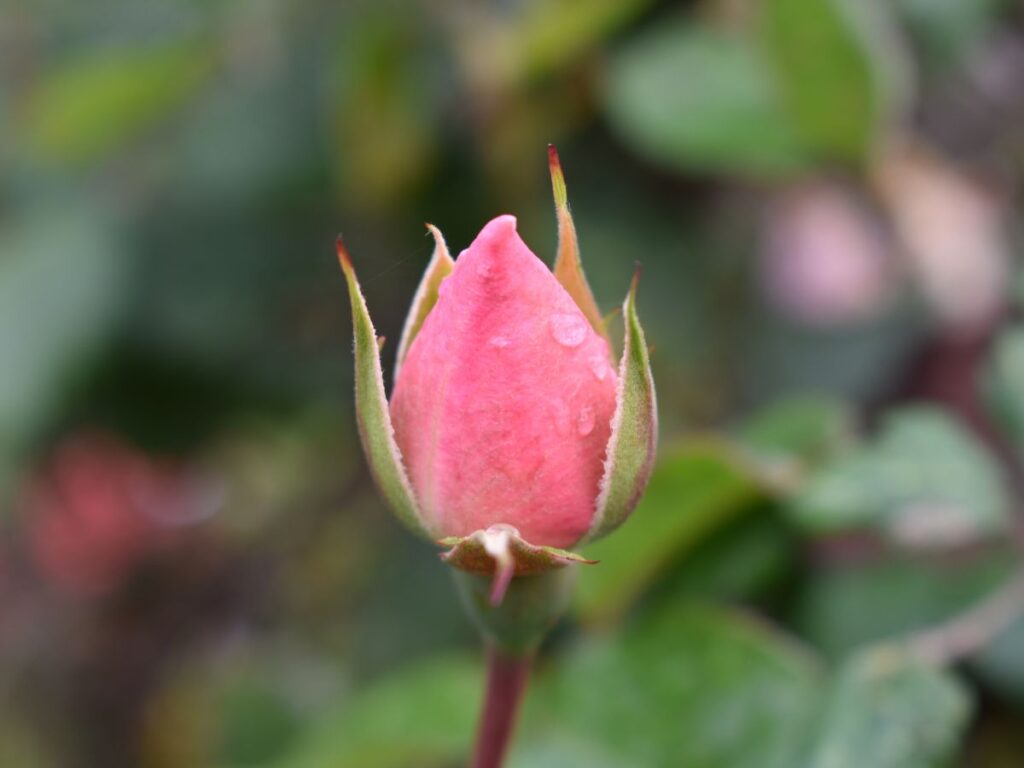
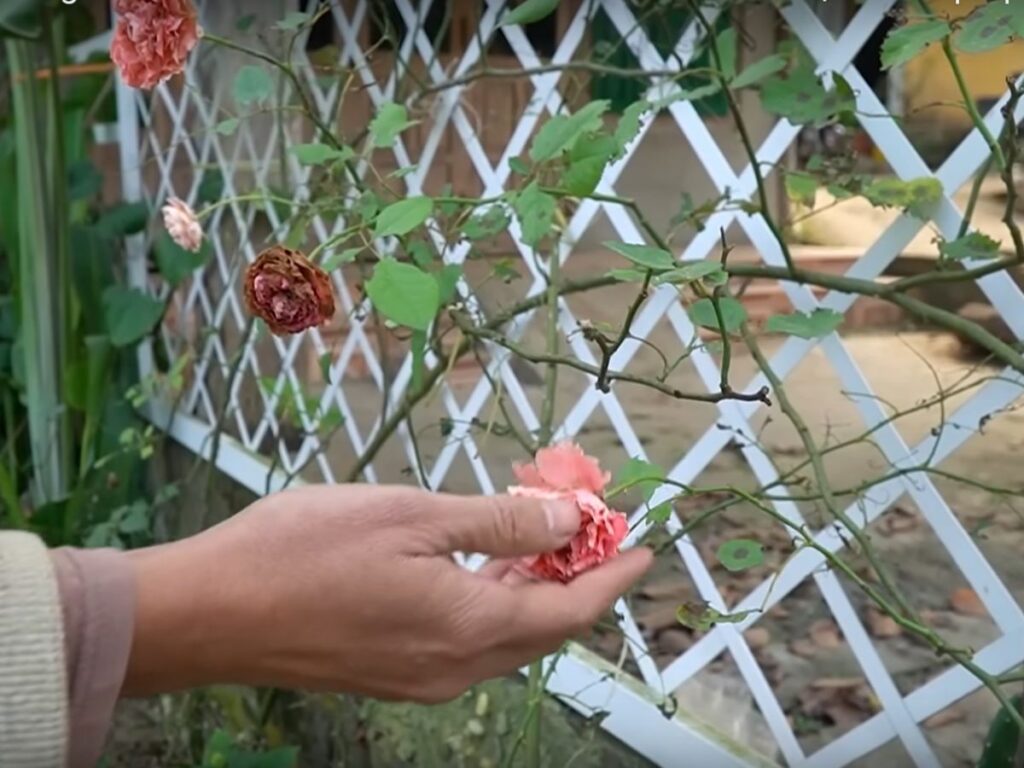
At this point, you’ll also want to remove any flowers or flower buds from the cutting. As tempting as it is to keep the flowers intact, they will only drain the cutting of energy that could be used to grow roots.
Step 3: Rooting Hormone—To Use or Not?
Here’s where things get interesting. Some gardeners swear by rooting hormones, while others prefer a more natural approach like aloe vera. Rooting hormone is a powder or gel that stimulates root growth in plant cuttings. It’s like a boost of steroids for your plant babies.
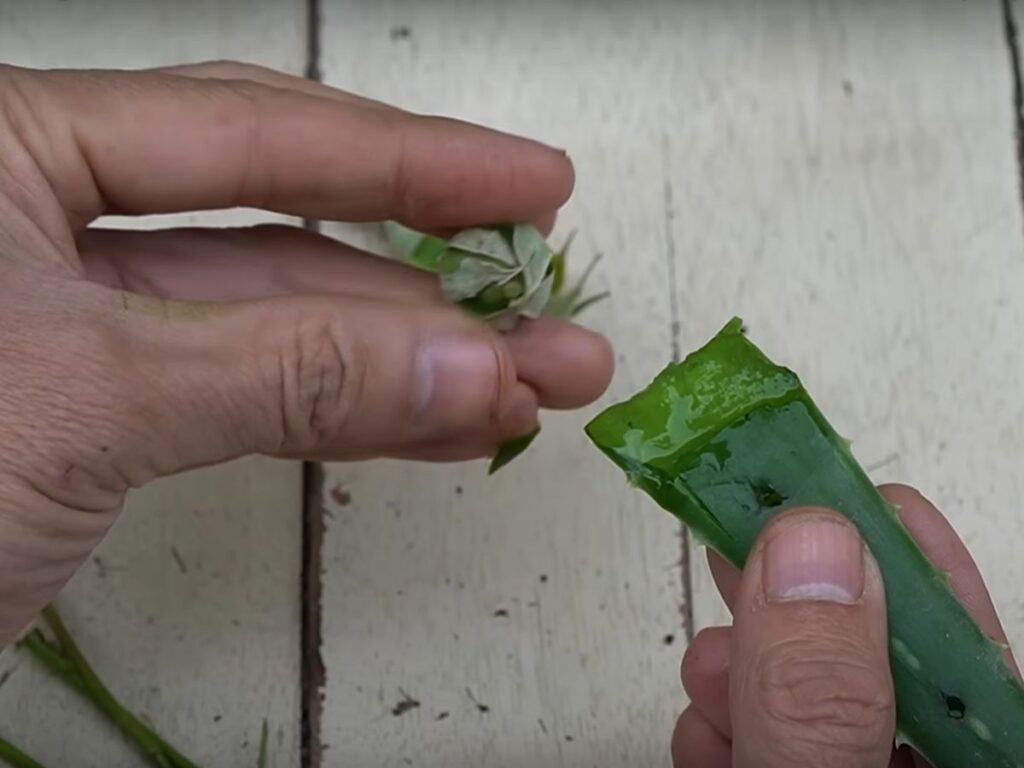
To use it, dip the bottom of your cutting (the part where you made the cut) into the hormone, making sure to cover the area around the leaf node. If you don’t have rooting hormone on hand, don’t worry.
While it may speed up the process, roses are perfectly capable of rooting without it.
Step 4: Planting the Cutting
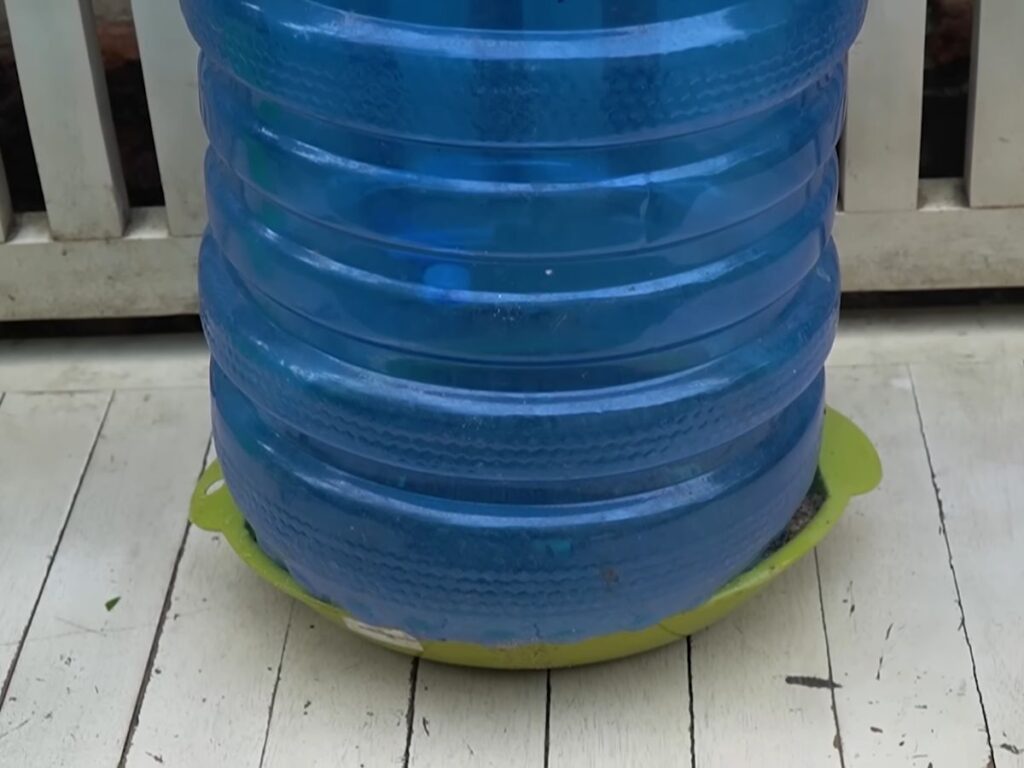
Now comes the exciting part—planting the cutting. Choose a small pot (about 6 inches wide) with drainage holes. Fill the pot with a well-draining soil mix, ideally one that includes equal parts perlite and peat moss.
This helps prevent the cutting from sitting in water, which can cause it to rot before it has a chance to root.
Make a hole in the soil with a pencil or stick and insert the cutting, making sure that the leaf nodes are buried. Press the soil gently around the cutting to hold it upright, but don’t pack it too tightly.
After planting the cutting, water it lightly but thoroughly. You don’t want the soil to be soggy, but it should be evenly moist.
Step 5: Creating the Perfect Environment
Now, the goal is to create a mini greenhouse environment for your rose cutting. This is crucial because rose cuttings need high humidity to encourage root growth. One simple way to do this is by placing a plastic bag over the pot, creating a humid atmosphere.
Be sure the plastic doesn’t touch the leaves, as this could lead to mold or fungal growth.
Another method is using a clear plastic container or glass jar to cover the cutting, making sure to leave some space for air to circulate. Place the cutting in a bright, warm spot but out of direct sunlight, as too much heat can cause the cutting to dry out.
Step 6: Patience and Monitoring
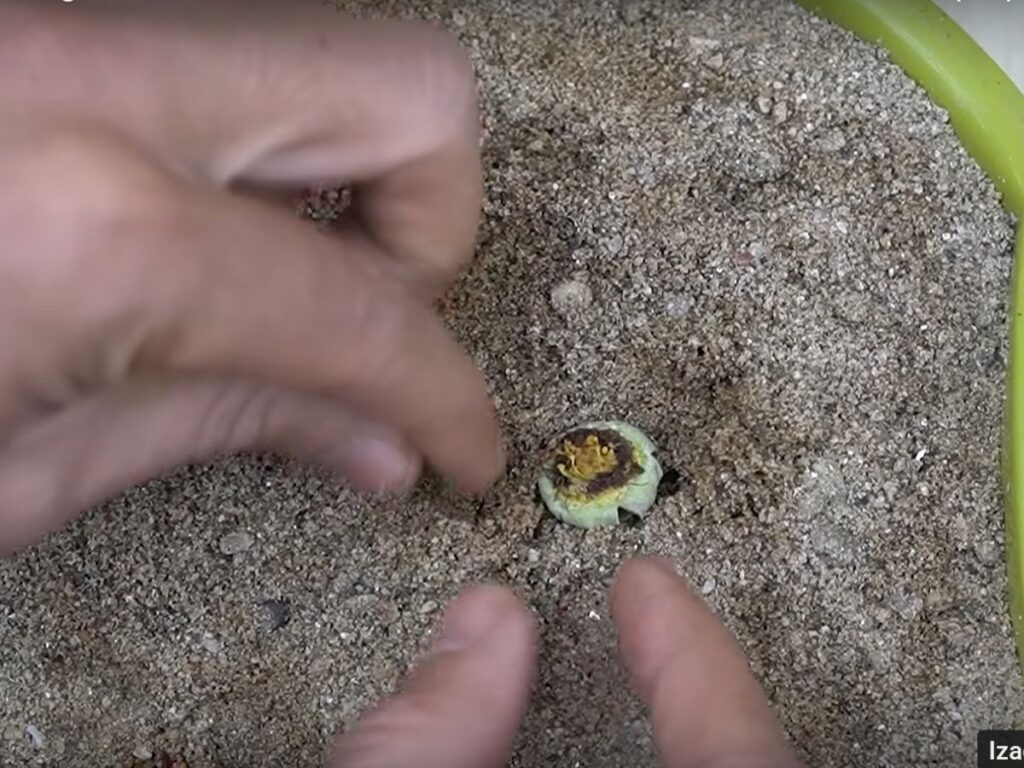
This is the hardest part for most gardeners—waiting. It can take anywhere from a few weeks to a couple of months for rose cuttings to root. During this time, keep the soil consistently moist, but avoid overwatering.
How will you know if it’s working? One sign that the cutting has taken root is new growth appearing on the stem. This is usually a good indicator that roots are forming beneath the soil.
Another way to test is by gently tugging on the cutting. If you feel resistance, congratulations—you’ve successfully rooted a rose cutting.
Step 7: Transplanting and Care
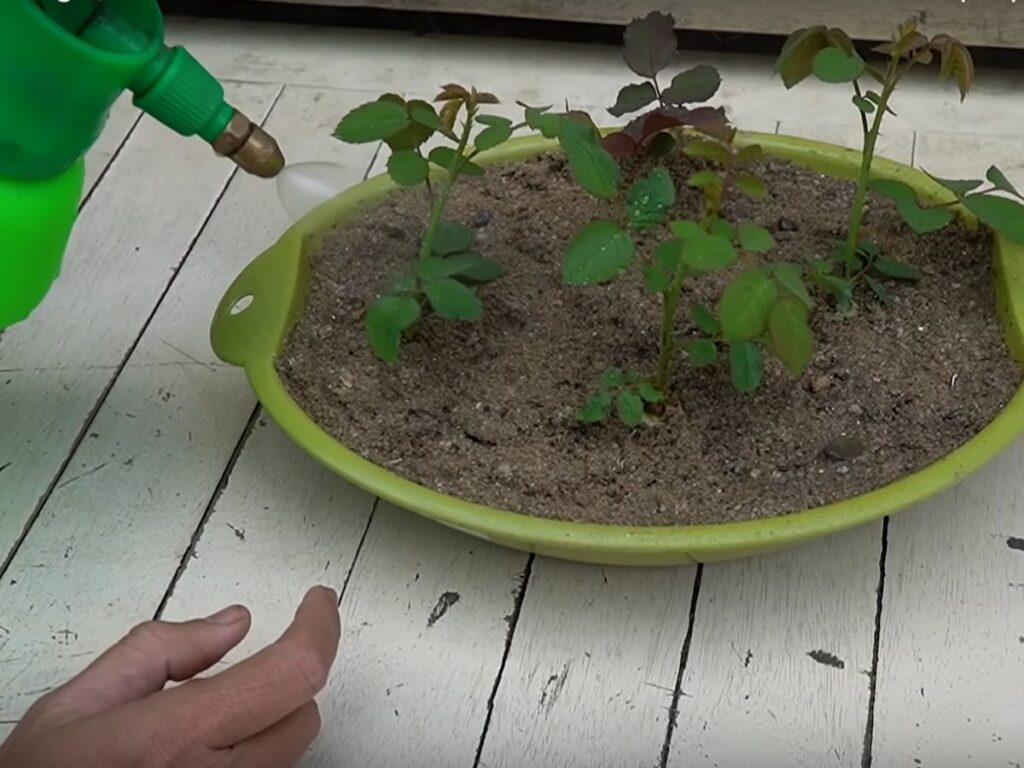
Once your cutting has developed a healthy root system, it’s time to transplant it into a larger pot or directly into your garden. Wait until the roots are at least a couple of inches long before doing this, as they need to be strong enough to handle the move.
Transplant the rose into well-draining soil in a sunny spot. Continue to water regularly and provide the plant with rose fertilizer to encourage strong growth.
Growing roses from buds is a rewarding process that transforms your relationship with your garden. You begin to see potential in every bloom, understanding that each flower can become the start of something new.
Whether you’re propagating a favorite rose bush or trying your hand at a rare variety, the sense of accomplishment from growing your roses from scratch is unparalleled.
By following these simple steps, you can experience the joy of watching your rose cutting evolve into a thriving plant, adding beauty and fragrance to your garden for years to come.