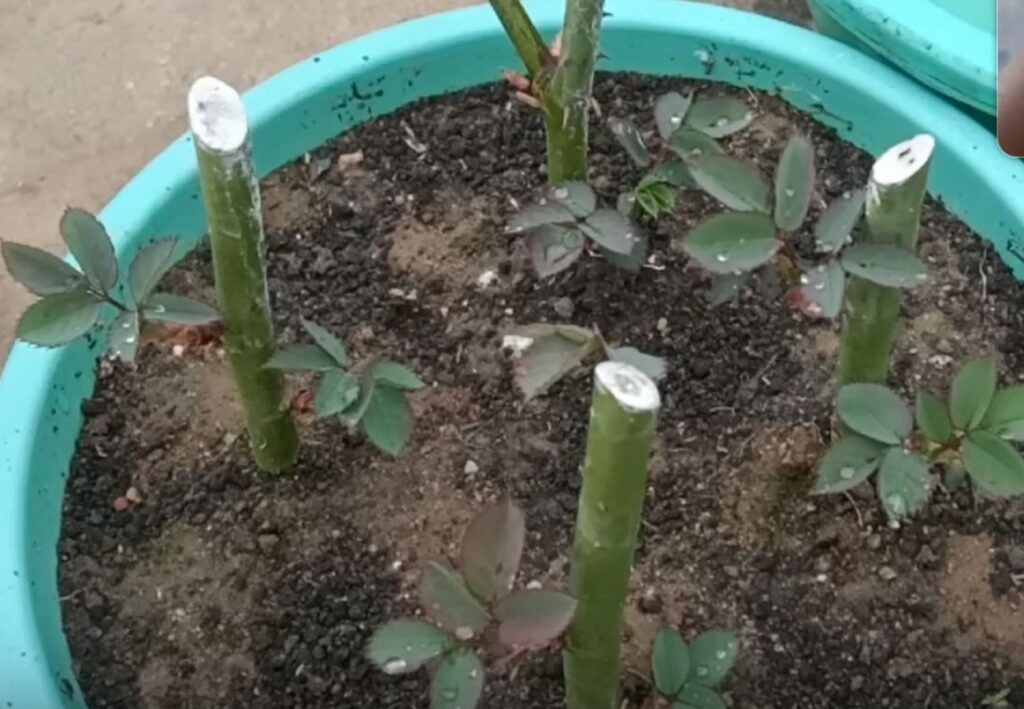
Tired of spending too much on new rose bushes every season? What if you could easily grow a new rose bush from a cutting, saving both money and the hassle of buying new plants?
Imagine the pride of watching a new bush bloom, knowing you nurtured it from just a tiny cutting.
This method isn’t just cost-effective; it’s deeply rewarding and surprisingly simple. I’m here to guide you through the process, step by step, so you can grow a flourishing rose bush and add lasting beauty to your garden. Ready to discover how? Let’s get started!
Understanding Rose Cuttings
Growing a rose bush from cuttings involves selecting the right type of cutting and knowing the best time for propagation. These factors significantly impact the success rate of your new rose plant.
Types of Cuttings
There are three main types of rose cuttings: softwood, semi-hardwood, and hardwood.
- Softwood cuttings come from the soft, new growth of the plant. They’re usually taken in late spring to early summer. These cuttings root quickly but are delicate and need more attention.
- Semi-hardwood cuttings are taken in mid to late summer. They come from the current season’s growth that has started to harden. These cuttings are a bit sturdier than softwood ones.
- Hardwood cuttings are collected in late autumn or early winter. These cuttings come from mature, woody stems. Although they take longer to root, they are the most robust.
Understanding which type of cutting to use can make a big difference in your rose bush’s growth and health.
Best Time for Propagation
Timing is essential when propagating rose cuttings. The best time is typically during late spring to early summer when using softwood cuttings.
During this period, the plant is in a growth phase, promoting quicker root development. Semi-hardwood cuttings should be taken in mid to late summer when the stems have partially matured.
For hardwood cuttings, you’ll want to wait until the plant is dormant, usually in late autumn or early winter. By choosing the correct time, you ensure that the cuttings have the best chances of rooting and growing into healthy rose bushes.
Proper timing not only affects rooting speed but also the overall vitality of the new plants.
Preparing Your Cuttings
Healthy rose cuttings need to come from the right stems and be properly cut and treated. Each step ensures that your cutting has the best chance of becoming a strong, new rose bush.
Selecting the Right Stem
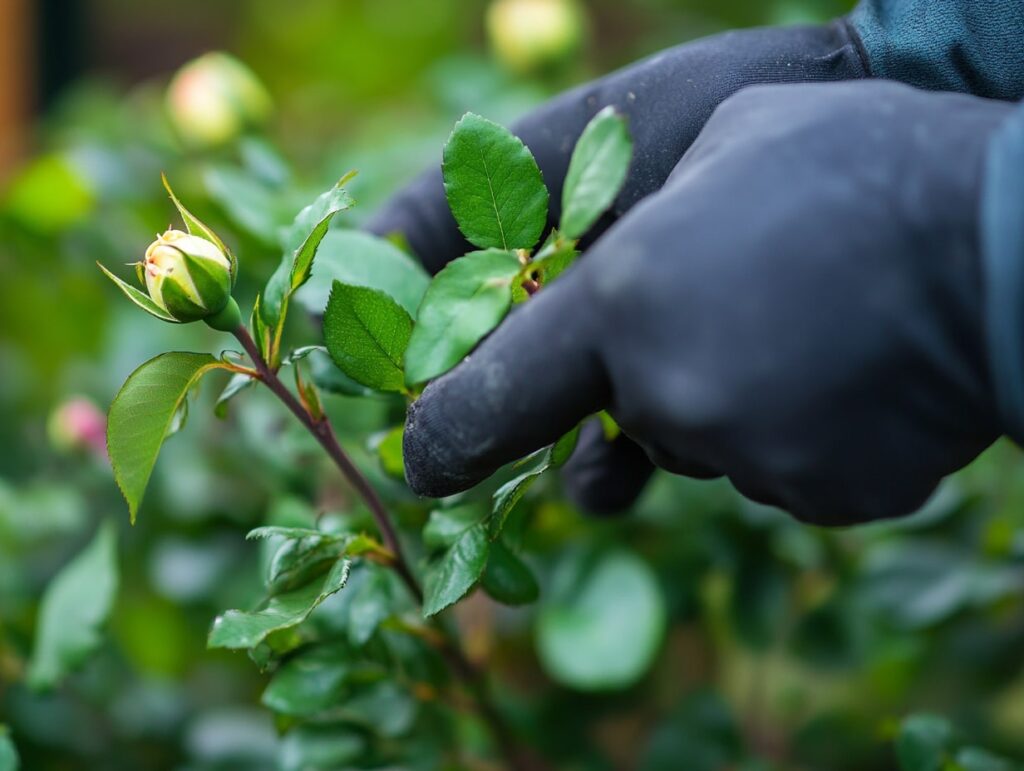
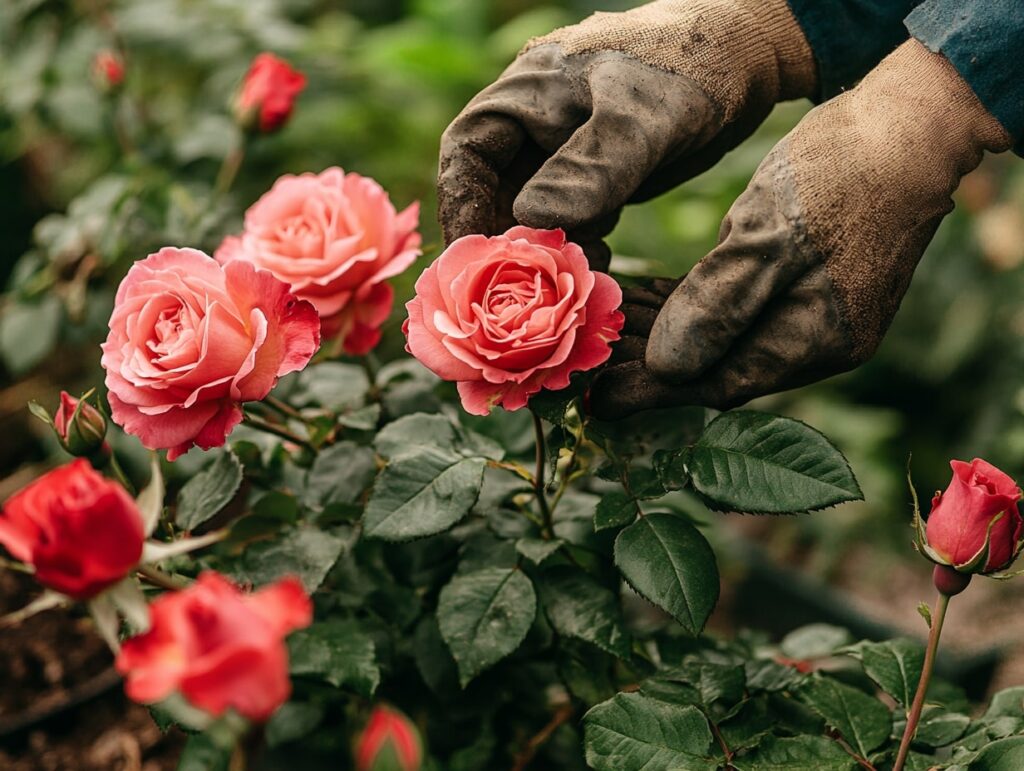
Choose a healthy stem approximately the thickness of a pencil. It should come from a mature rose bush with no signs of disease. The best stems to take are those that have just finished blooming.
Look for stems that are green with a slightly woody base. Soft, green stems won’t take root as easily. Ensure the stem has at least three sets of leaves and a length of approximately 6 inches.
Making the Cut
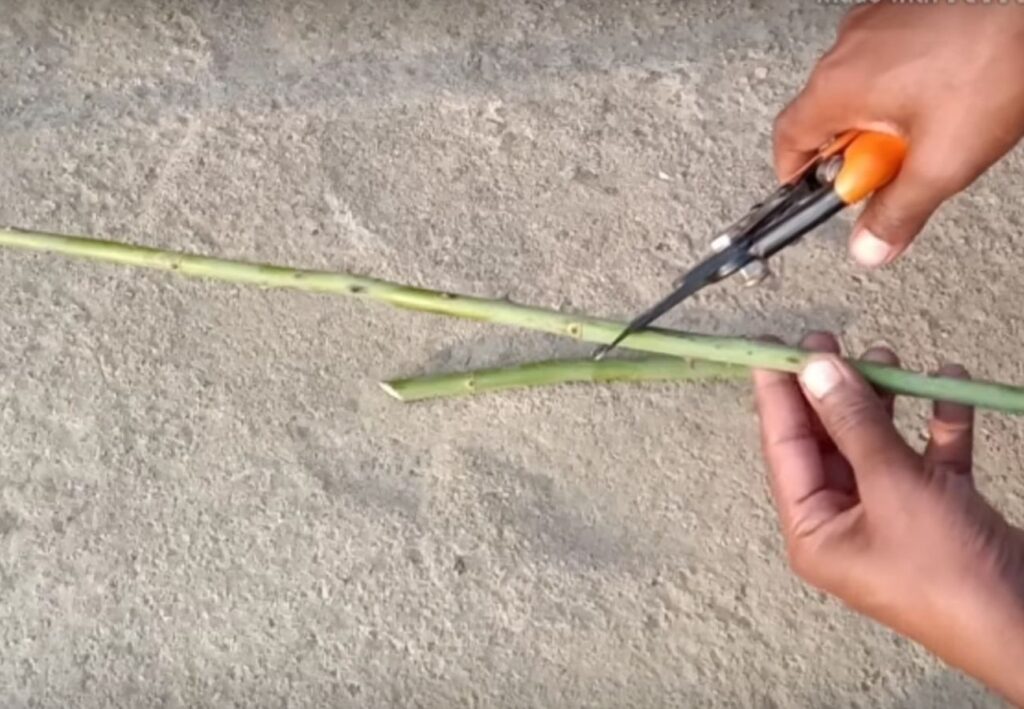
Use sterilized, sharp pruners to make clean cuts. Cut the chosen stem at a 45-degree angle just below a leaf node.
This angle provides a larger surface area for rooting. Remove any flowers or buds as they can divert energy from root formation. Cut the top of the stem just above a leaf node to prevent water loss.
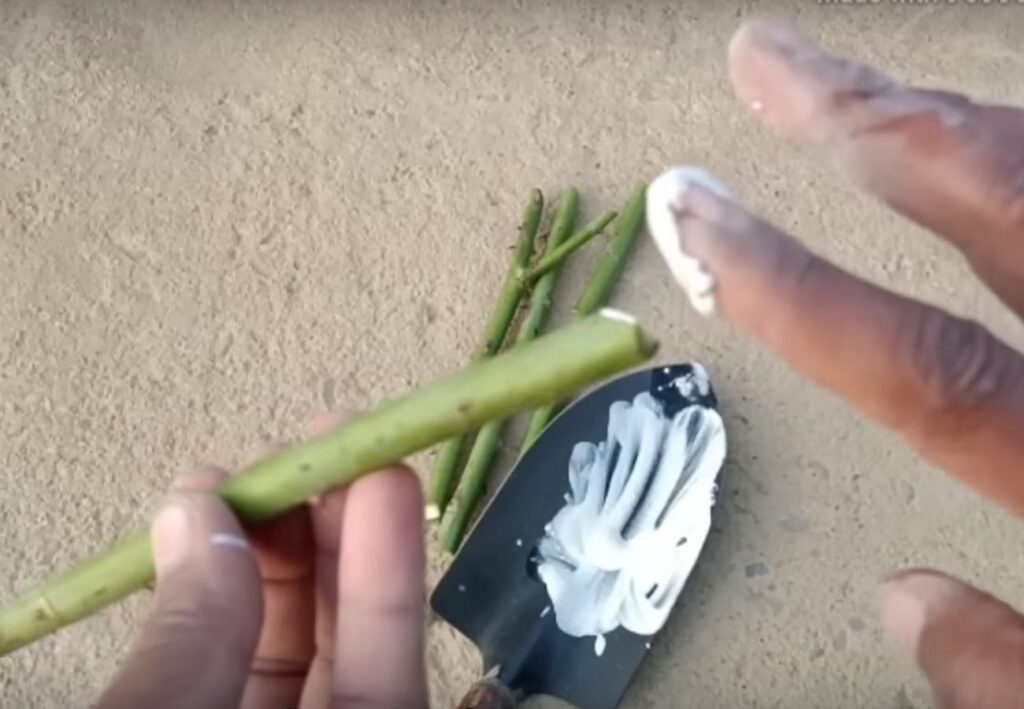
Treating the Cutting Ends
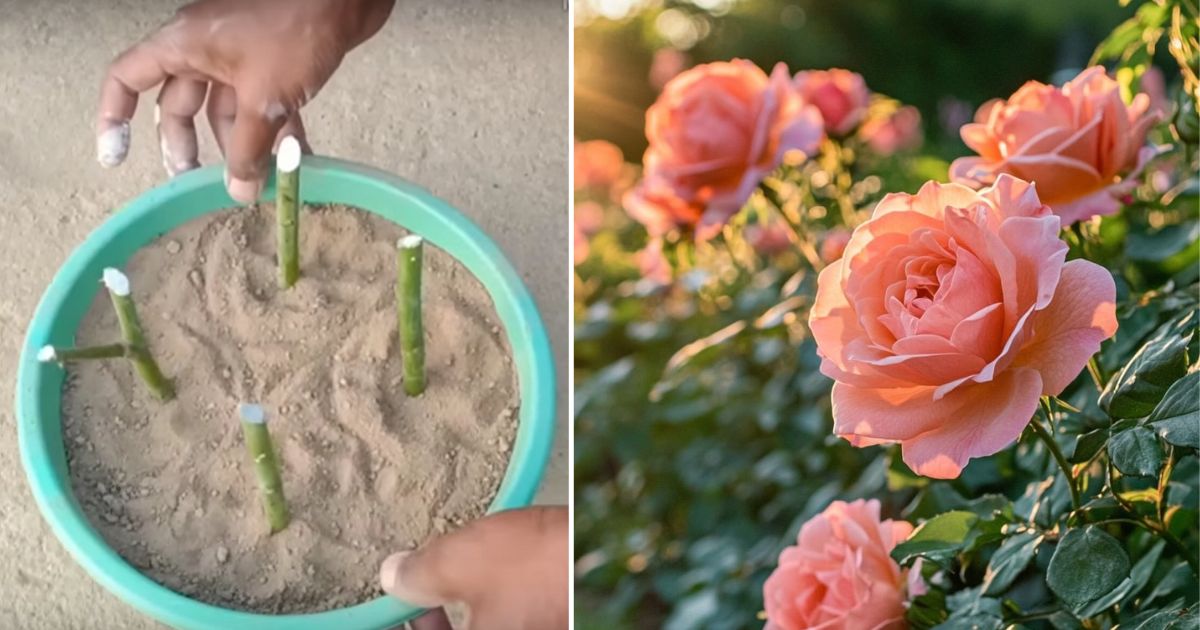
Dip the bottom end of the cutting in rooting hormone powder. This encourages faster and stronger root development.
You can use a small container to pour a bit of rooting hormone and gently dip the cutting. Shake off any excess powder before planting. Rooting hormone isn’t mandatory, but it significantly increases success rates.
You can also use fungicide and put it on both sides of cuttings before you plant them.
Rooting Your Cuttings
Rooting rose cuttings involves selecting the right growing medium and maintaining an ideal environment to encourage root development. These steps are crucial for healthy roots and guarantees successful propagation.
Choosing a Growing Medium
Selecting the right growing medium ensures the cuttings receive proper nutrients and water. You have several options:
- Potting Soil: Light and well-draining.
- Perlite: Promotes root aeration.
- Sand: Drains well and avoids waterlogging.
Mixing potting soil and perlite (50-50) is a balanced choice. Avoid heavy garden soil as it may retain too much moisture and cause rot. Sterilize the medium by baking it in the oven at 180°F for 30 minutes.
Creating the Right Environment
Creating a conducive atmosphere for your cuttings is paramount. Use a clear plastic bag or a mini greenhouse to maintain high humidity around the cuttings. Place the cuttings in a location with indirect light to avoid scorching.
Temperature is another key aspect: maintain between 70-75°F during the day. Keep the medium moist but avoid overwatering. Misting can help maintain humidity without waterlogging the medium.
Caring for New Rose Plants
To ensure your new rose plants thrive, focus on proper watering, feeding, adequate sunlight, and the right temperature. When ready, transplant them carefully to your garden.
Watering and Feeding
New rose plants need consistent moisture. Water them deeply once or twice a week, depending on the weather. Use a soaker hose or water at the base to avoid wetting the foliage, which can lead to diseases.
Feeding is essential for growth. Use a balanced fertilizer, like a 10-10-10 formula, every 4-6 weeks. You can also apply compost or well-rotted manure around the base. Avoid over-fertilizing as it can harm the plants.
Managing Sunlight and Temperature
Roses need at least six hours of direct sunlight each day. Ensure they’re placed in a spot where they can receive morning sun, which helps dry dew and reduces disease risk.
Temperature is crucial. Protect newly planted roses from extreme heat by providing shade during the hottest part of the day. In cooler climates, mulching helps maintain soil temperature and moisture.
Transplanting to the Garden
Prepare the garden spot before transplanting. Dig a hole twice as wide and just as deep as the pot. Add compost to the hole to enrich the soil.
Gently remove the rose from its pot, keeping the root ball intact. Place it in the hole and fill with soil, ensuring the graft union is at soil level. Water thoroughly and apply mulch around the base to retain moisture.
Troubleshooting Common Issues
Growing a rose bush from cuttings can come with its own set of challenges.
Yellow Leaves: This is often due to overwatering or poor soil drainage. Check the soil and ensure that water is draining properly.
Wilting: Wilting can occur from underwatering or transplant shock. Make sure the cuttings receive consistent moisture.
Mold: Mold growth on the cuttings can be prevented by ensuring good air circulation and not allowing water to sit on the leaves.
Root Rot: This happens when the soil remains too wet. Make sure your cutting doesn’t sit in overly moist soil for too long.
| Symptom | Cause | Solution |
|---|---|---|
| Yellow Leaves | Overwatering | Improve drainage |
| Wilting | Underwatering | Consistent watering |
| Mold | Poor air circulation | Ensure air flow |
| Root Rot | Excess moisture | Allow soil to dry out |
Pay attention to these signs and adjust care as needed. Being proactive can help your rose bush cutting thrive.
Propagating rose bushes from cuttings is not only a cost-effective alternative to purchasing new plants, but it also offers a rewarding and fulfilling gardening experience.
By carefully selecting the right cuttings, timing the propagation perfectly, and providing the necessary care, you can successfully grow new rose bushes that will add lasting beauty to your garden.
This process, while requiring some patience and attention to detail, is surprisingly simple and accessible to gardeners of all skill levels.
Whether you’re looking to save money, expand your garden, or simply enjoy the satisfaction of nurturing a plant from its earliest stages, growing roses from cuttings is a worthwhile endeavor.
With the tips and techniques outlined in this guide, you’re well-equipped to embark on this gardening journey. So, why not give it a try? With a little time and care, you’ll soon be admiring the vibrant blooms of your very own homegrown roses.
