Alright, folks, buckle up because today, we’re diving into a garden project that’s both rewarding and surprisingly easy—celery!
Celery is one of those plants that may seem a little intimidating at first, but trust me, you’ll be a celery-growing master by the end of this guide.

Now, why celery? Well, celery’s not just that crunchy green stuff you toss in your salads or use to scoop up peanut butter—it’s a powerhouse in the kitchen.
Soups, stews, smoothies, you name it, celery’s in there. Plus, it’s incredibly satisfying to grow your own. So, let’s grab our gardening gloves and get to work!
Step 1: Planning Your Celery Growing Adventure
Why Grow Celery in the First Place?
First things first, let’s talk about why you might want to give celery a shot. Aside from its versatility in the kitchen, growing celery in your own backyard means you’ll have easy access to this nutrient-packed veggie whenever you need it.
It’s loaded with vitamins A, C, and K, plus it’s great for digestion. And let’s be real, homegrown celery just tastes better.
Know Your Growing Season
Celery is a bit picky when it comes to the weather—it’s a cool-season crop. It doesn’t love the extremes of summer or winter, so you’ll want to plan accordingly.
If you’re in a cooler climate, you can plant in early spring for a late-summer harvest or in the fall for an early-winter harvest. But if you’re in a warmer area, stick to planting in the fall so your celery can grow through the cooler months.
Timing is everything with celery. You’re looking at about 100 to 140 days from planting to harvest, so get your calendar ready and plan your gardening timeline.
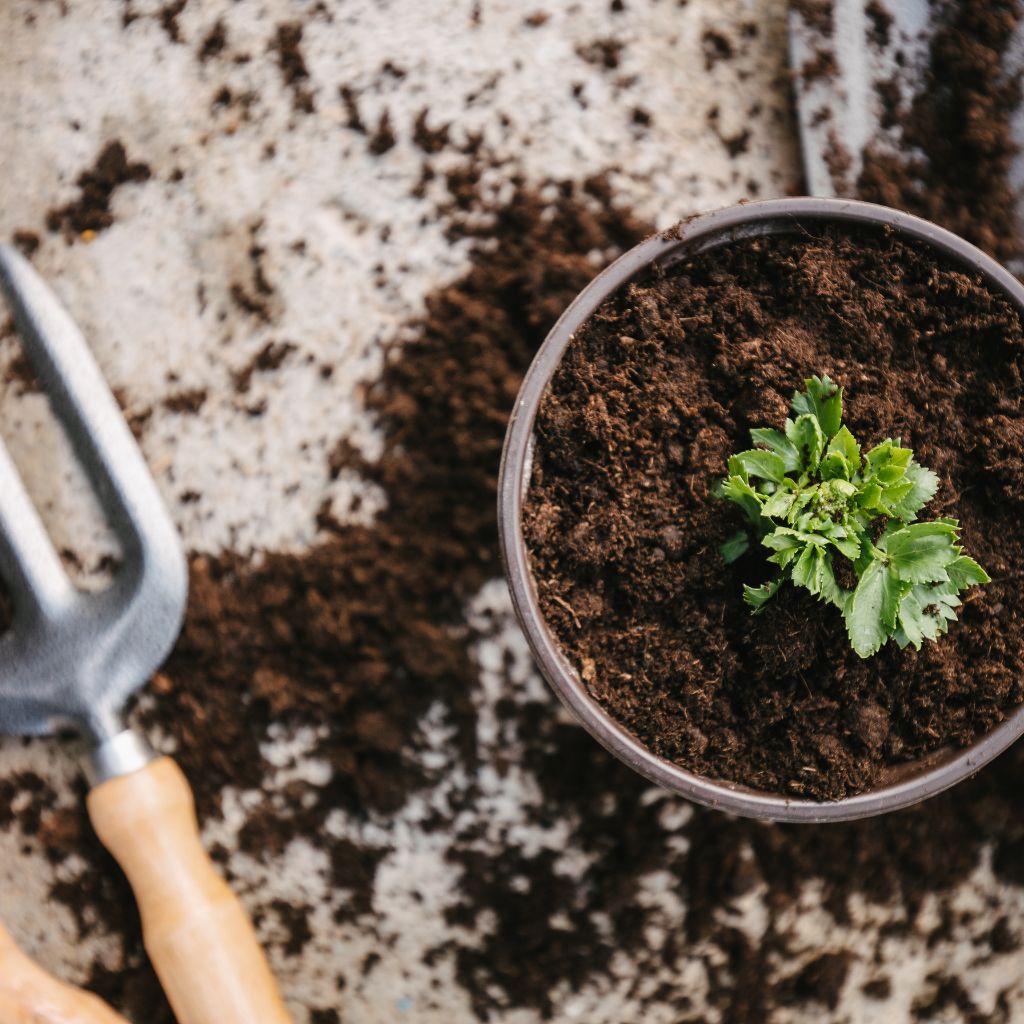
Step 2: Preparing the Perfect Soil
Now that you’ve got your planting season down, let’s talk about where you’re going to put this celery. Soil is everything, my friends, and celery is one of those plants that’s a bit of a diva when it comes to its growing conditions.
The Perfect Spot
Celery loves a sunny location, but it’s also going to need consistent moisture. Find a spot in your garden that gets at least six hours of sunlight a day, but also has rich, well-draining soil.
If you’re not sure about your soil, don’t be afraid to mix in some compost or aged manure. Celery thrives on organic matter—it’s kind of like giving your soil a multivitamin.
Soil Requirements
The soil should be loose and fertile, with a pH between 6.0 and 7.0. If you’re not sure about your soil’s pH, grab a testing kit from your local garden center and do a quick check.
You can adjust your soil if it’s too acidic or too alkaline by adding lime or sulfur, depending on what you need.
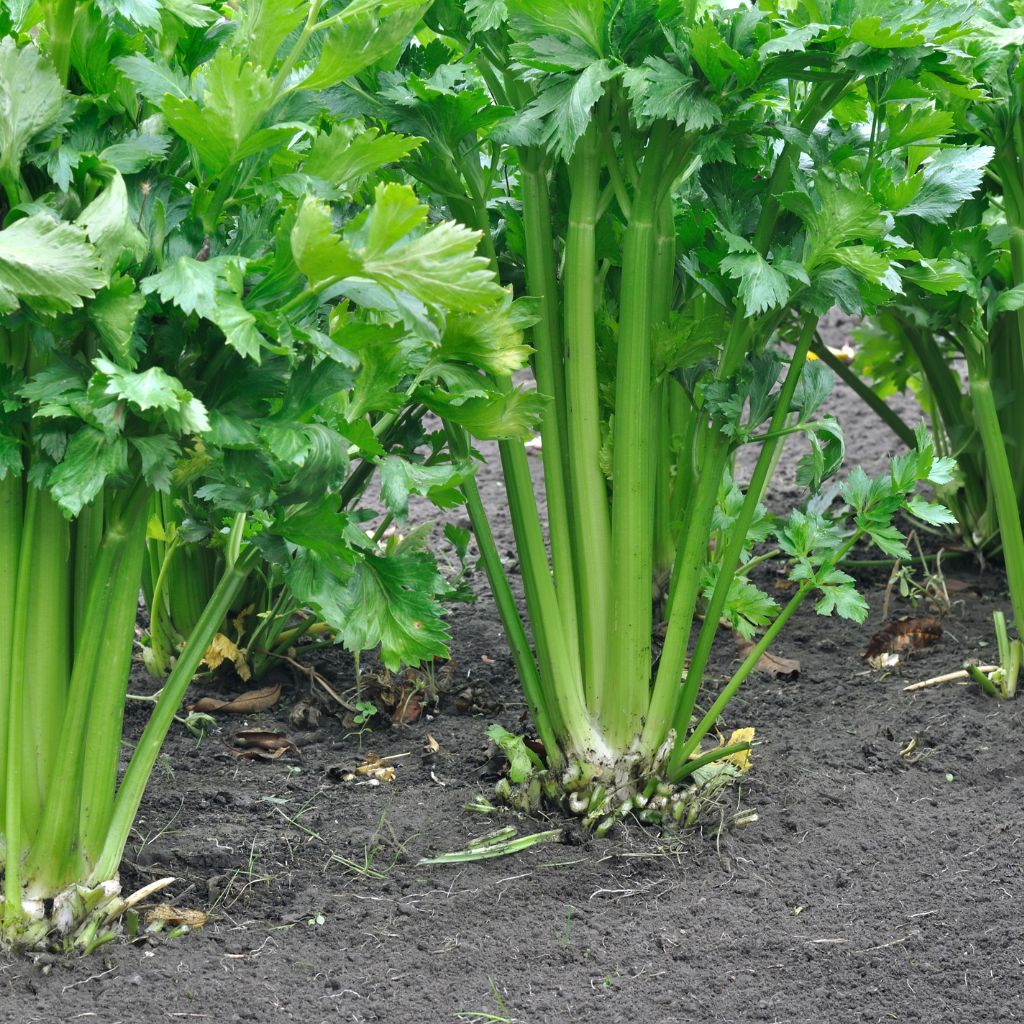
You want the soil to be rich, moist, and airy. Celery’s got shallow roots, so it won’t go digging deep for nutrients. It relies on you to make sure there’s plenty of goodness right there at the surface.
Step 3: Starting Your Celery from Seeds
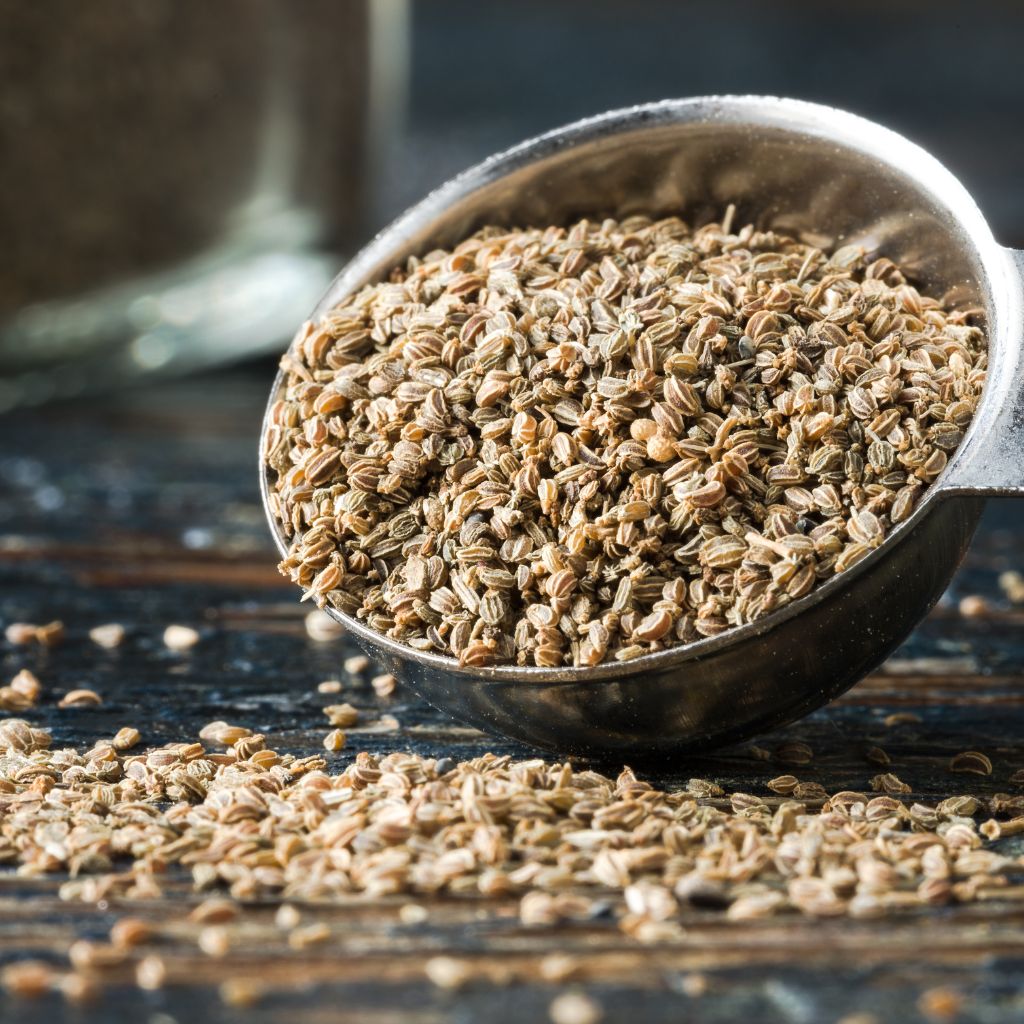
Alright, let’s talk seeds. Growing celery from seed can feel like a bit of a commitment because those tiny seeds take their sweet time to get going. But don’t worry—I’ve got you covered.
Starting Indoors
Because celery has such a long growing season, you’re going to want to start your seeds indoors.
This isn’t one of those plants you can just toss into the ground and hope for the best. Start your seeds about 10 to 12 weeks before your last expected frost date. Trust me, this head start is key.

Here’s how you do it:
1. Get Your Seed Trays: You’ll want to start your seeds in small trays or pots filled with a light seed-starting mix.
2. Plant the Seeds: Sprinkle the seeds on top of the soil and press them down lightly—celery seeds need light to germinate, so don’t bury them.
3. Water Gently: Keep the soil moist but not soggy. Celery seeds need consistent moisture, but you don’t want to drown them.
4. Keep Them Warm: Put your trays in a warm spot with plenty of sunlight. A sunny windowsill or under grow lights works perfectly.
Patience is Key
Now, here’s where you need to channel some gardening patience—celery seeds take anywhere from two to three weeks to germinate. It’s slow, but I promise, they’re working hard under the soil!
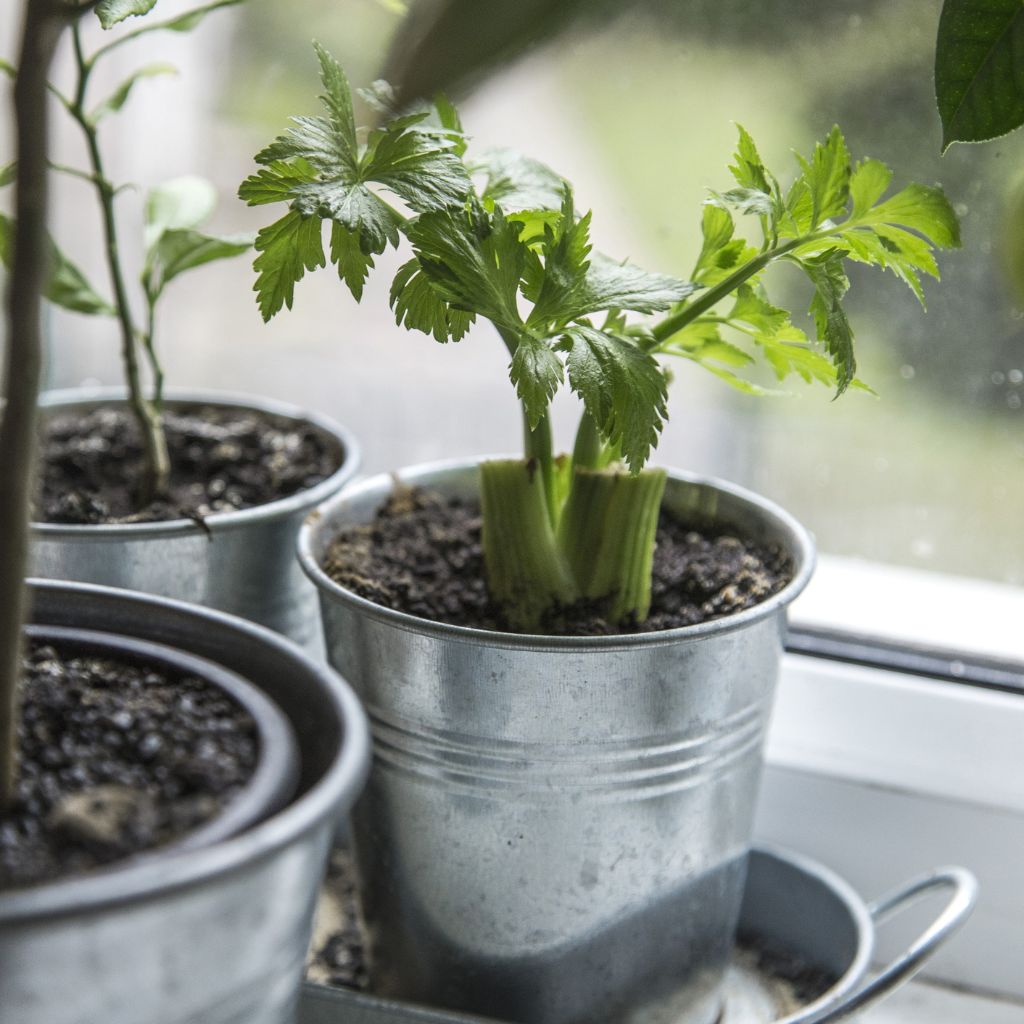
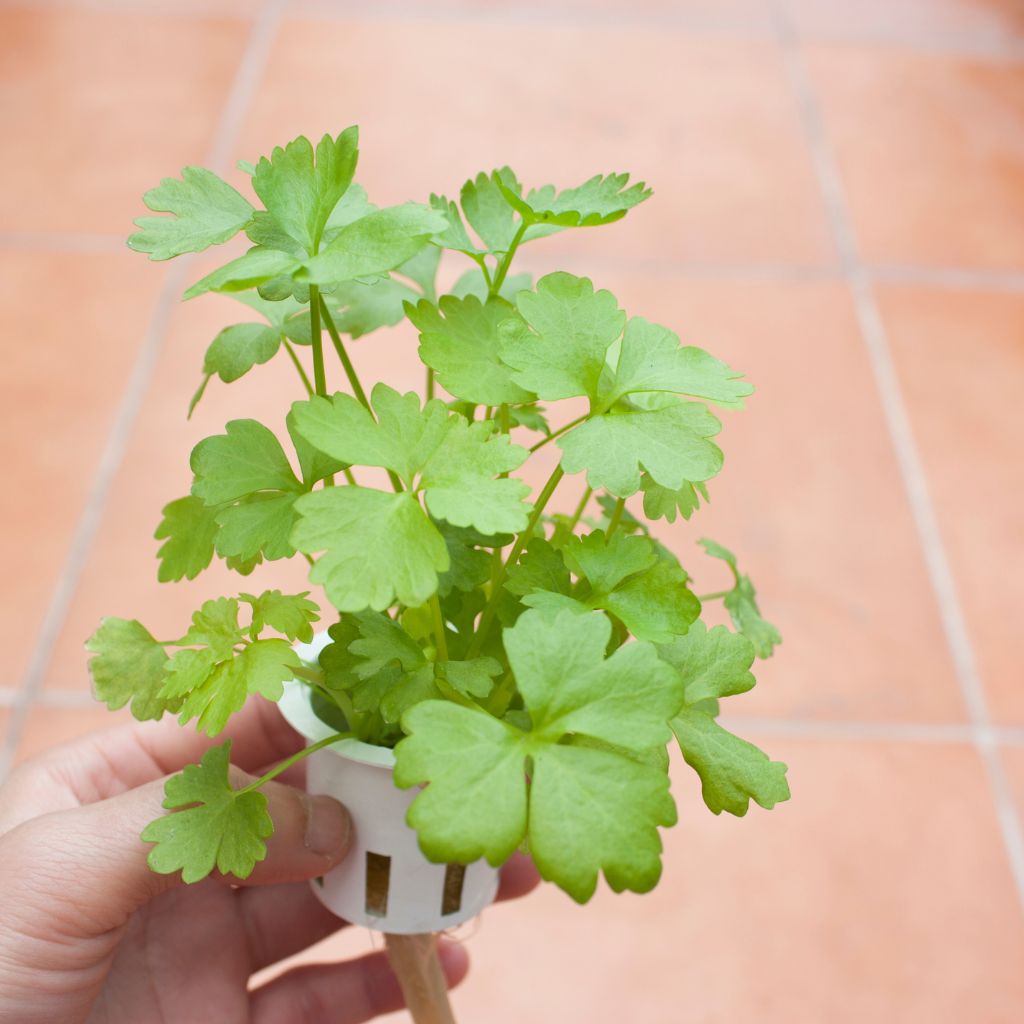
Once your seedlings are up and have a couple of true leaves, thin them out so the strongest plants remain.
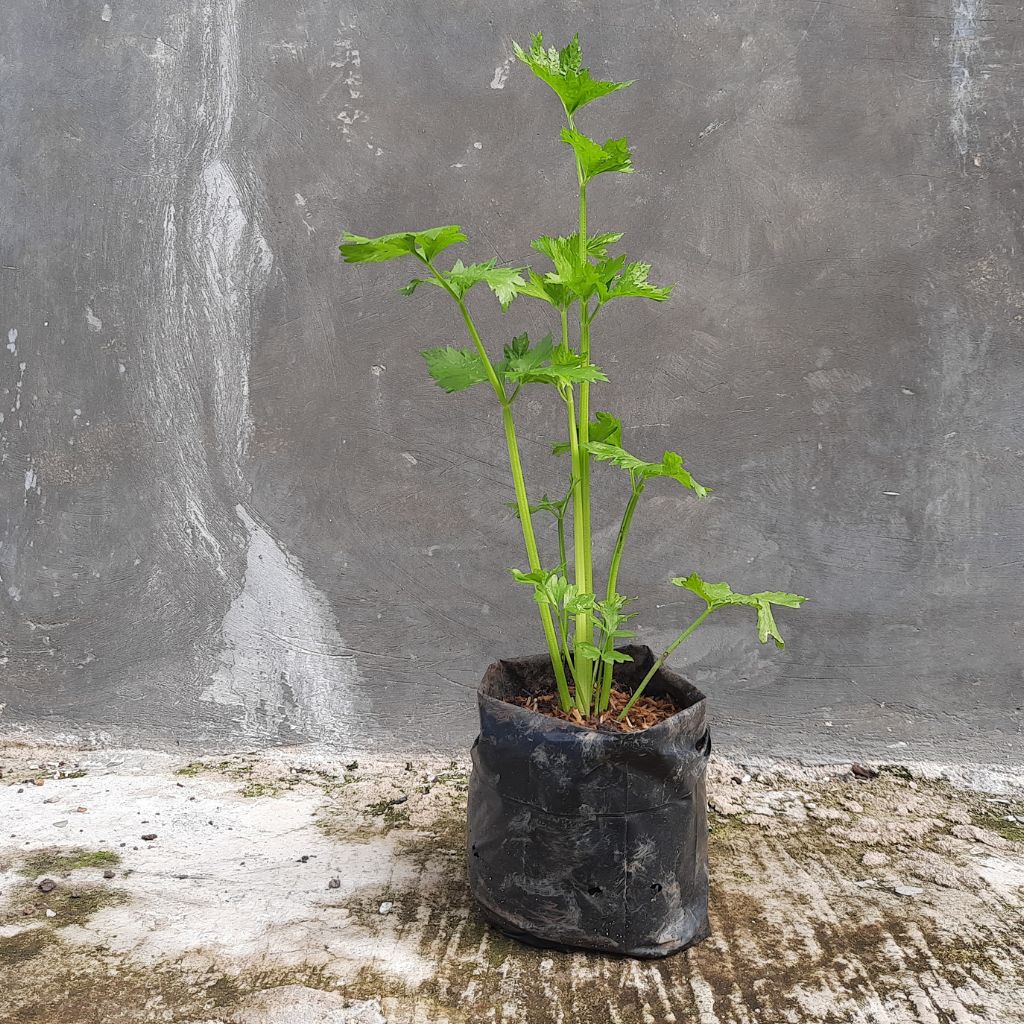
You want the best of the best, right? Keep those little guys growing indoors until they’re about four to six inches tall and ready for the big move outside.
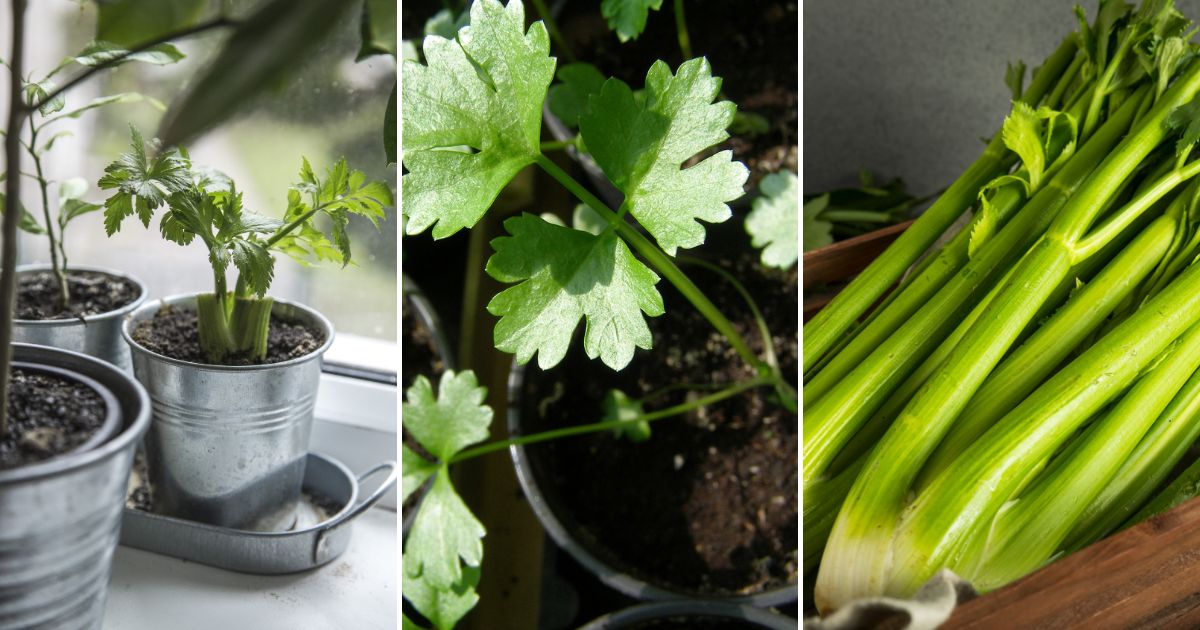
Step 4: Transplanting Your Celery
By now, your seedlings should be looking strong and ready for their outdoor debut. But before you rush them out to the garden, we need to talk about hardening off.
Harden Off Your Seedlings
Celery doesn’t love dramatic changes (kind of like all of us, right?), so you need to ease these plants into their new outdoor life.
About a week before transplanting, start taking your seedlings outside for a few hours each day, gradually increasing their time outdoors. This will help them get used to the weather without going into shock.
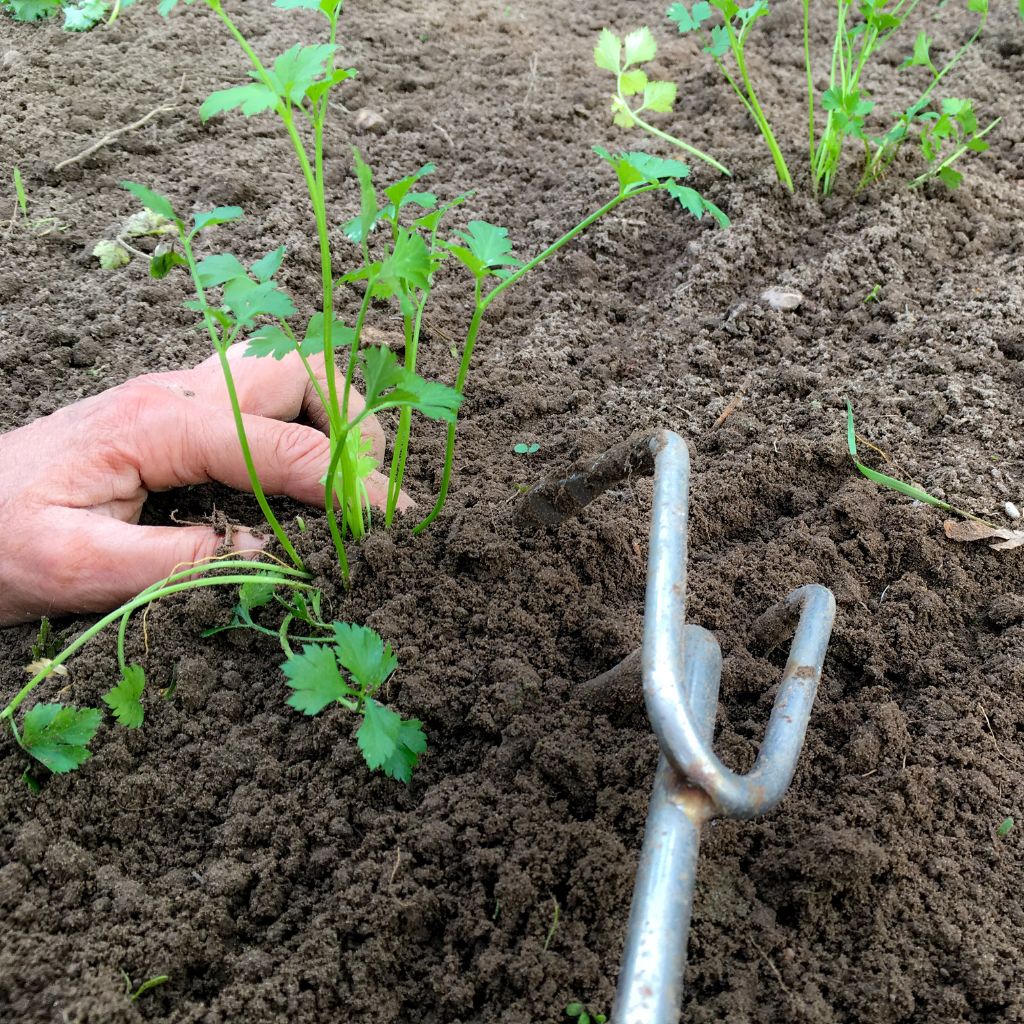
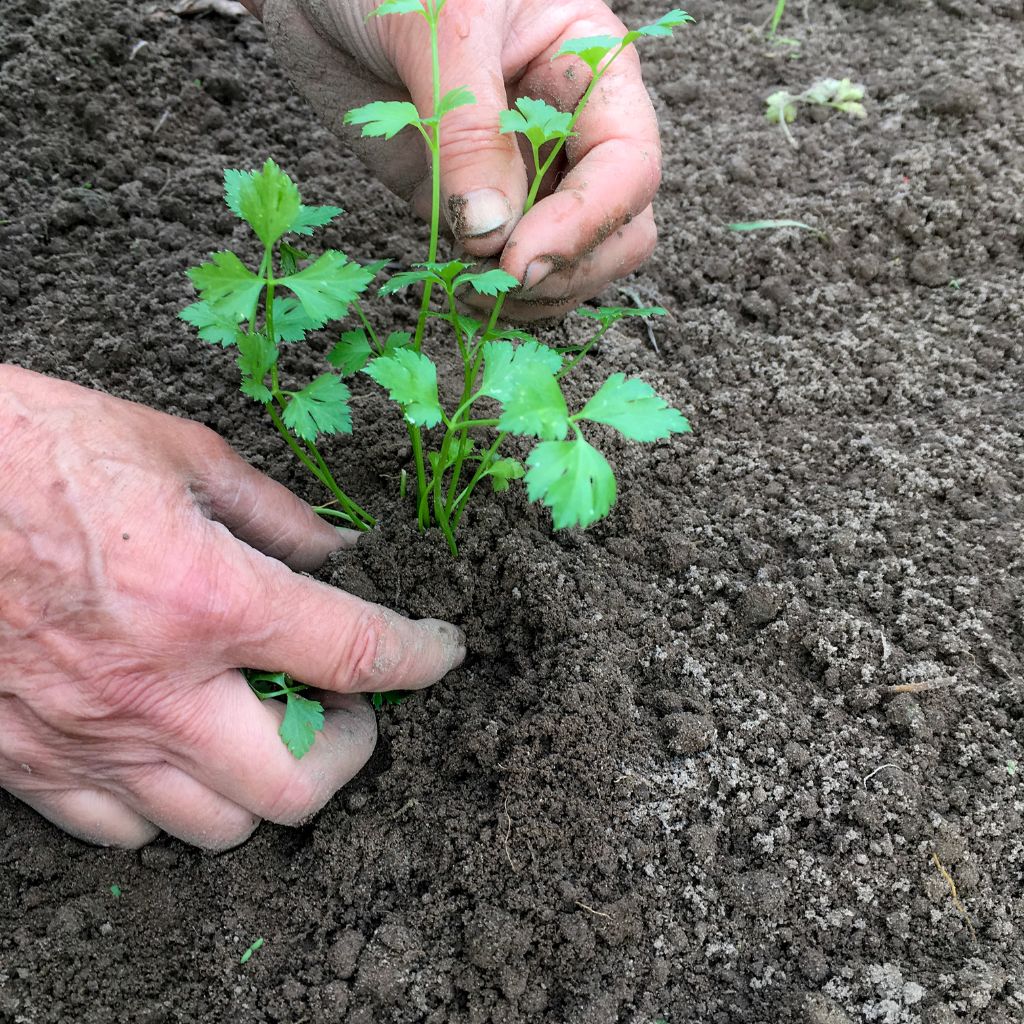
Transplant Time
Once your seedlings are hardened off, it’s time to transplant. Make sure your garden soil is well-prepped—loose, rich, and ready for action.
Here’s how to get them in the ground:
1. Space It Out: Dig holes about 8 to 10 inches apart for each plant. Celery needs space to grow, so don’t overcrowd them.
2. Plant Deep: Plant the seedlings at the same depth they were in their pots. Gently firm the soil around the base of the plant.
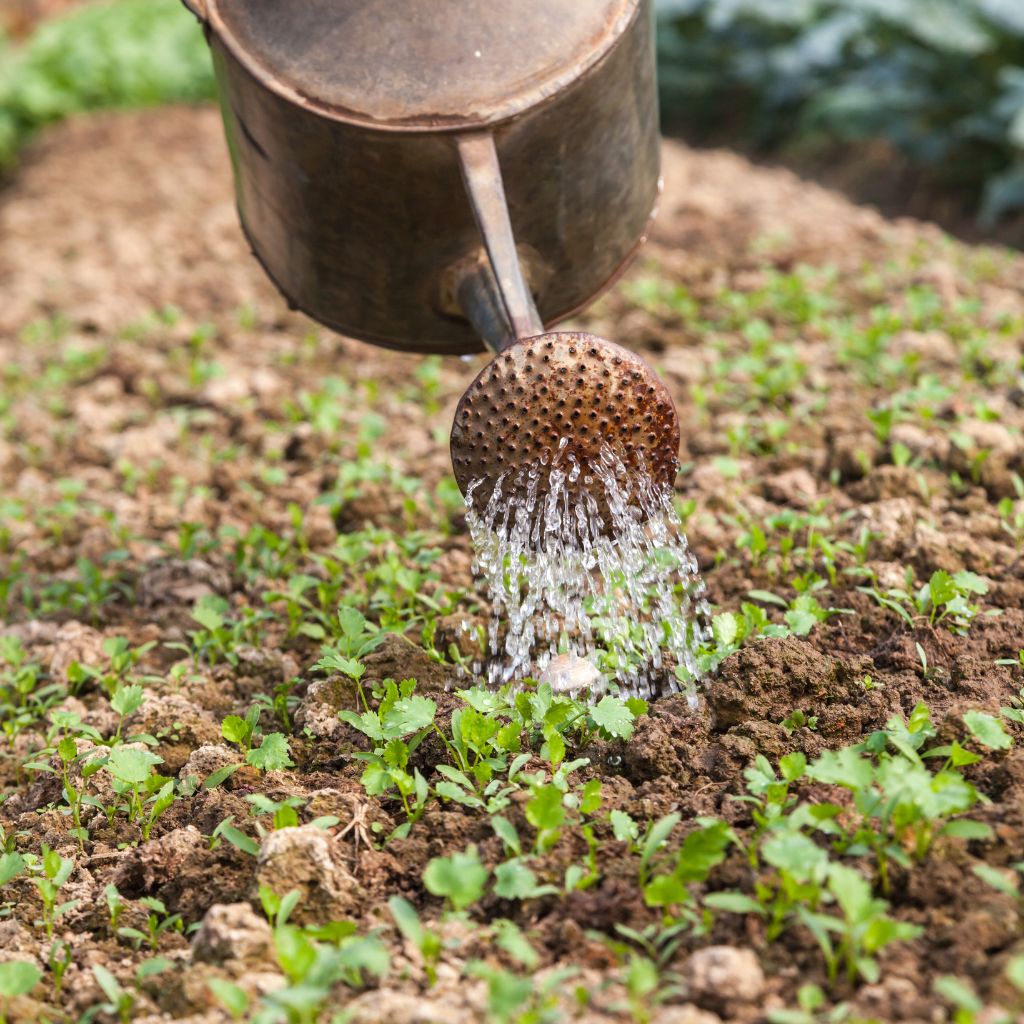
3. Water Well: After planting, give them a good soak. Celery loves consistent moisture, so keep it coming.
Step 5: Caring for Your Celery
Now that your celery’s in the ground, the real work begins. But don’t worry, it’s mostly just TLC from here on out.
Keep It Watered
Celery is about 95% water, so it’s no surprise that keeping your plants consistently moist is essential. Water your celery regularly, aiming for about an inch of water per week. If your plants start to look dry or wilted, give them a drink ASAP.
Mulching around the base of your plants can help retain moisture and keep the roots cool. Use straw, grass clippings, or any organic mulch you have on hand. This will also help prevent weeds from stealing nutrients from your celery.
Feed Your Plants
Celery is a heavy feeder, so it’s going to need a little extra nutrition along the way. About halfway through the growing season, give your plants a boost with a balanced fertilizer.
You can use an organic option like compost tea or a store-bought fertilizer. Just make sure it’s high in potassium to encourage healthy stalks.
Blanching Your Celery (Optional)

If you want that pale, tender celery like you see at the grocery store, you’ll need to blanch it. This means covering the stalks to block out sunlight, which prevents them from getting too green and bitter.
You can blanch celery by simply wrapping the stalks with paper or cardboard about two weeks before harvest. Some folks skip this step, though, because they like the extra flavor from unblanched celery. It’s totally up to you!
Step 6: Harvesting Your Celery
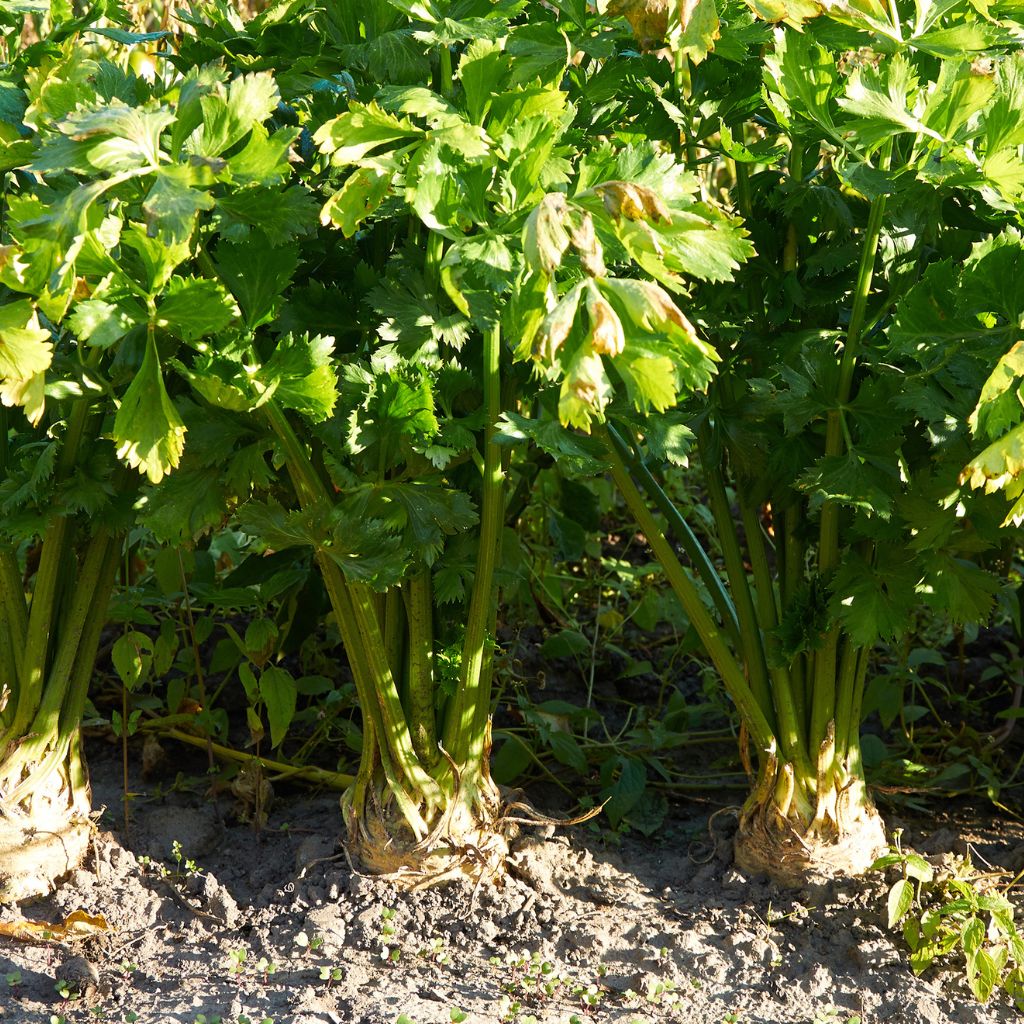
The moment you’ve been waiting for! After about 100 to 140 days of careful watering, feeding, and tending, your celery is ready to harvest.
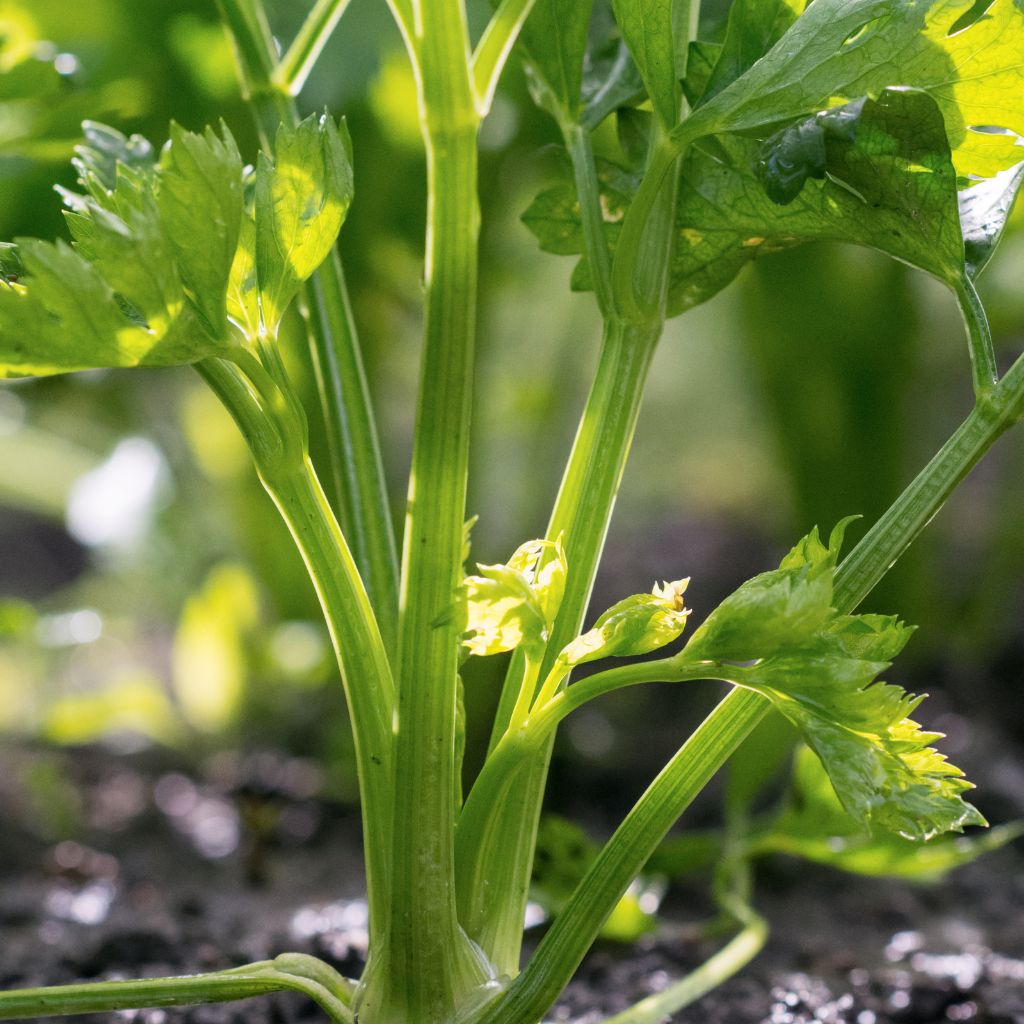
You’ll know it’s time when the stalks are about 12 inches tall and thick enough for your liking. Use a sharp knife to cut the entire plant off at the base, or you can harvest stalks individually as needed. Either way, you’re in for some homegrown goodness!
Storing Your Celery
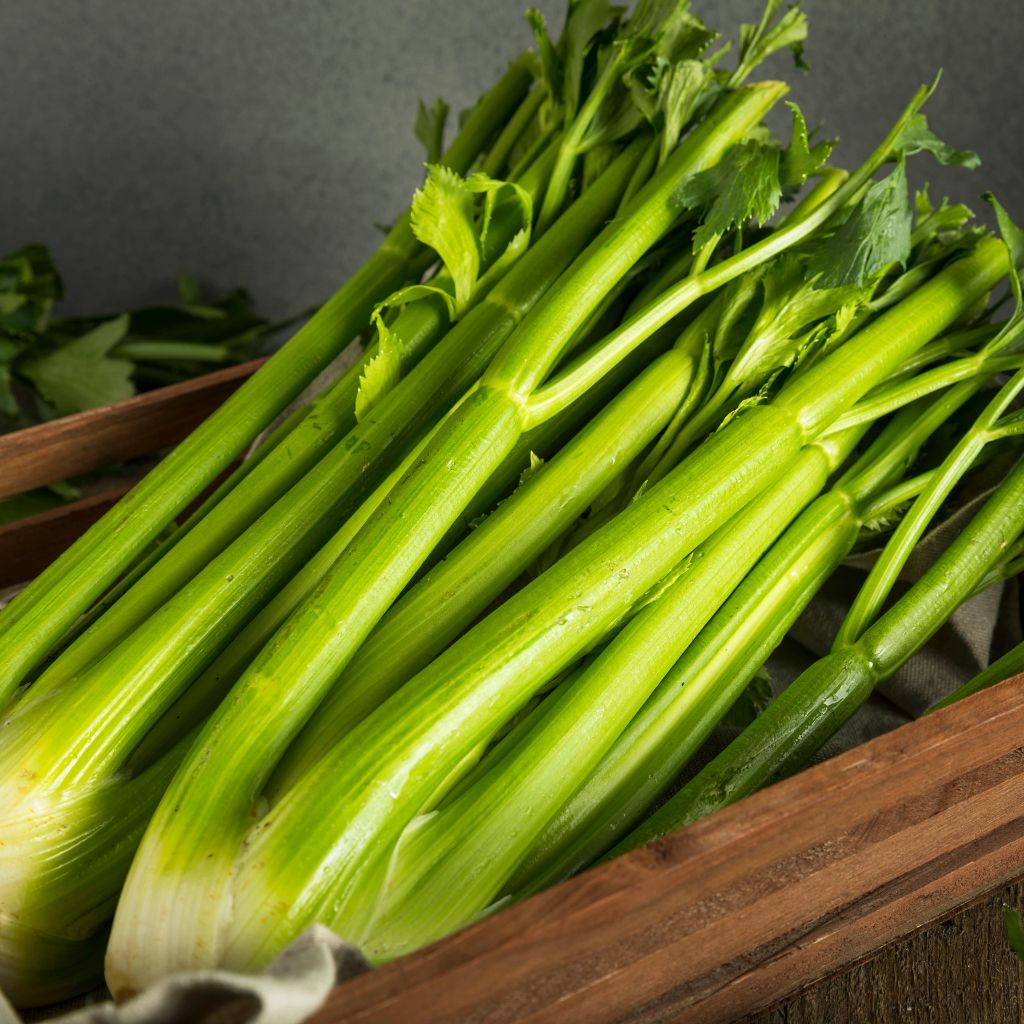
If you’ve harvested more celery than you can eat in one sitting (and let’s be honest, you probably did), no worries. Celery stores well in the fridge for about two weeks. Just wrap it in a damp paper towel and store it in a plastic bag to keep it fresh.
You can also freeze celery, but keep in mind that frozen celery works best for soups and stews rather than eating raw.
Step 7: Troubleshooting and Common Problems
Every gardening project comes with its challenges, and celery is no different. Here are a few common problems and how to handle them.
Pests: Aphids, slugs, and snails love celery. Keep an eye out for these pests and use natural remedies like neem oil or handpicking to keep them under control.
Bolting: If your celery flowers early, it’s probably due to stress from hot weather or inconsistent watering. Try to keep your plants cool and well-watered to prevent bolting.
So there you have it, folks! With a little patience and some care, you’ll be well on your way to growing your very own celery.
Whether you’re adding it to your salads, soups, or stir-fries, the satisfaction of harvesting your own homegrown stalks is unbeatable.