Microgreens are a fantastic way to add flavor and nutrition to your meals.
Their ease of growth and minimal space requirements make them ideal for anyone, from beginners to seasoned gardeners.
This guide will walk you through the essential steps to successfully grow microgreens like a professional.
1. Choose the Right Seeds
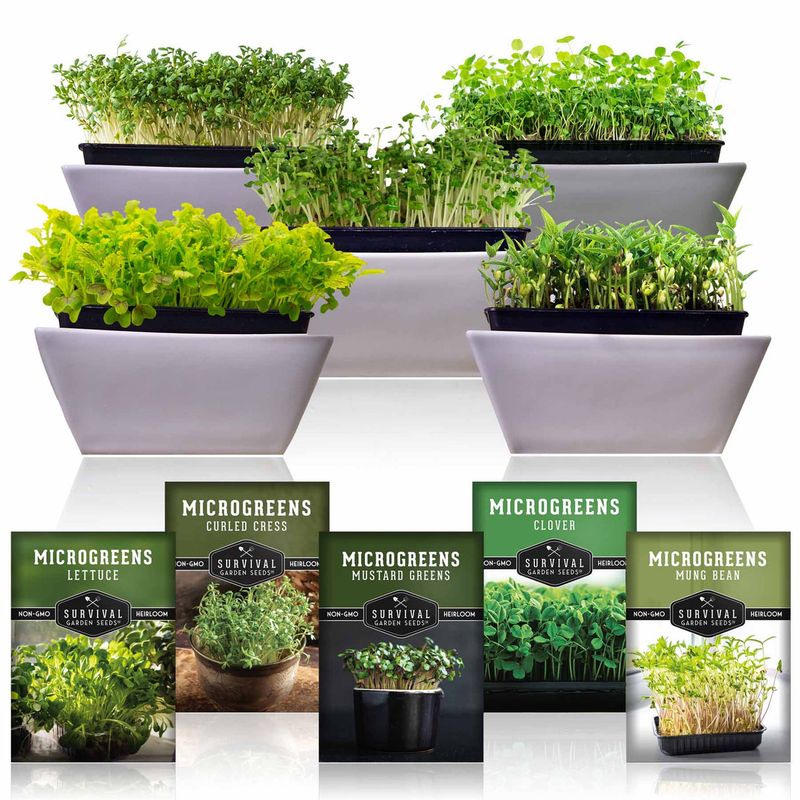
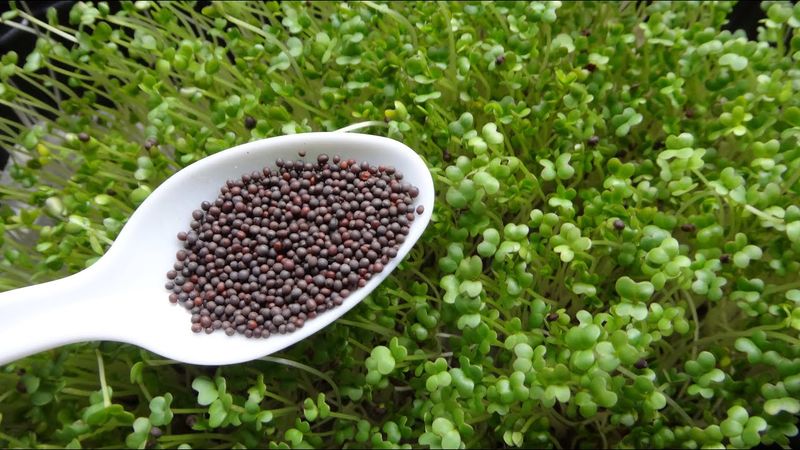
Selecting the right seeds is crucial. Not all seeds are suitable for microgreens. Look for seeds specifically labeled as microgreens, such as radish, broccoli, or sunflower.
These varieties are known for their quick growth and high yield. When purchasing seeds, ensure that they are organic and free from chemicals.
This will guarantee the best quality and flavor for your microgreens. It’s also cost-effective to buy seeds in bulk if you plan to grow them regularly. A little research goes a long way in choosing the ideal seeds for your needs.
2. Prepare Your Growing Medium
Microgreens thrive in well-draining soil. You can use a potting mix, coconut coir, or a blend of both. Fill your tray with the medium of choice, leaving some space at the top.
Ensure the medium is evenly spread and lightly moistened. A good growing medium supports root development and supplies nutrients.
Avoid compacting it, as this may hinder growth. Regularly check its moisture content, especially during warmer months. Consistent preparation of your growing medium ensures healthy and vibrant microgreens every time.
3. Set Up the Grow Area
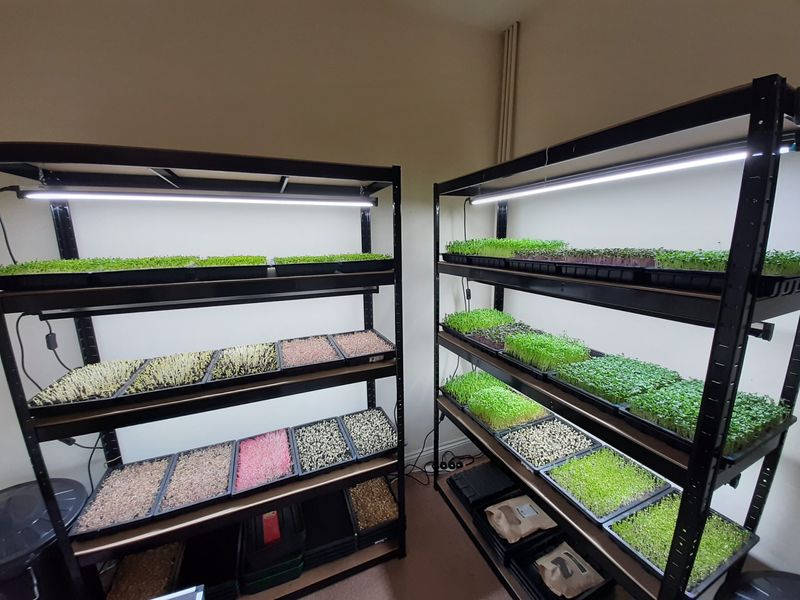
The environment where you grow your microgreens is key. Choose a well-lit area, such as a sunny windowsill or under LED grow lights.
Consistent light ensures robust growth and enhances flavor. If natural light is insufficient, invest in grow lights for optimal results.
Maintain a steady temperature, ideally between 65-75°F (18-24°C). This creates a conducive environment for microgreens to flourish. Proper setup of your grow area contributes significantly to the overall success of your microgreen farming.
4. Sow the Seeds Evenly
Sowing seeds evenly is vital for uniform growth. Scatter the seeds across the surface of the soil without clumping.
A uniform spread encourages consistent germination and growth. Lightly press the seeds into the soil but do not bury them.
Spraying a mist of water on top helps to settle them. Avoid overcrowding, as this can lead to poor air circulation and mold. Regular practice will improve your technique, resulting in a more productive harvest. Even sowing is a simple technique but yields great rewards.
5. Water with Care
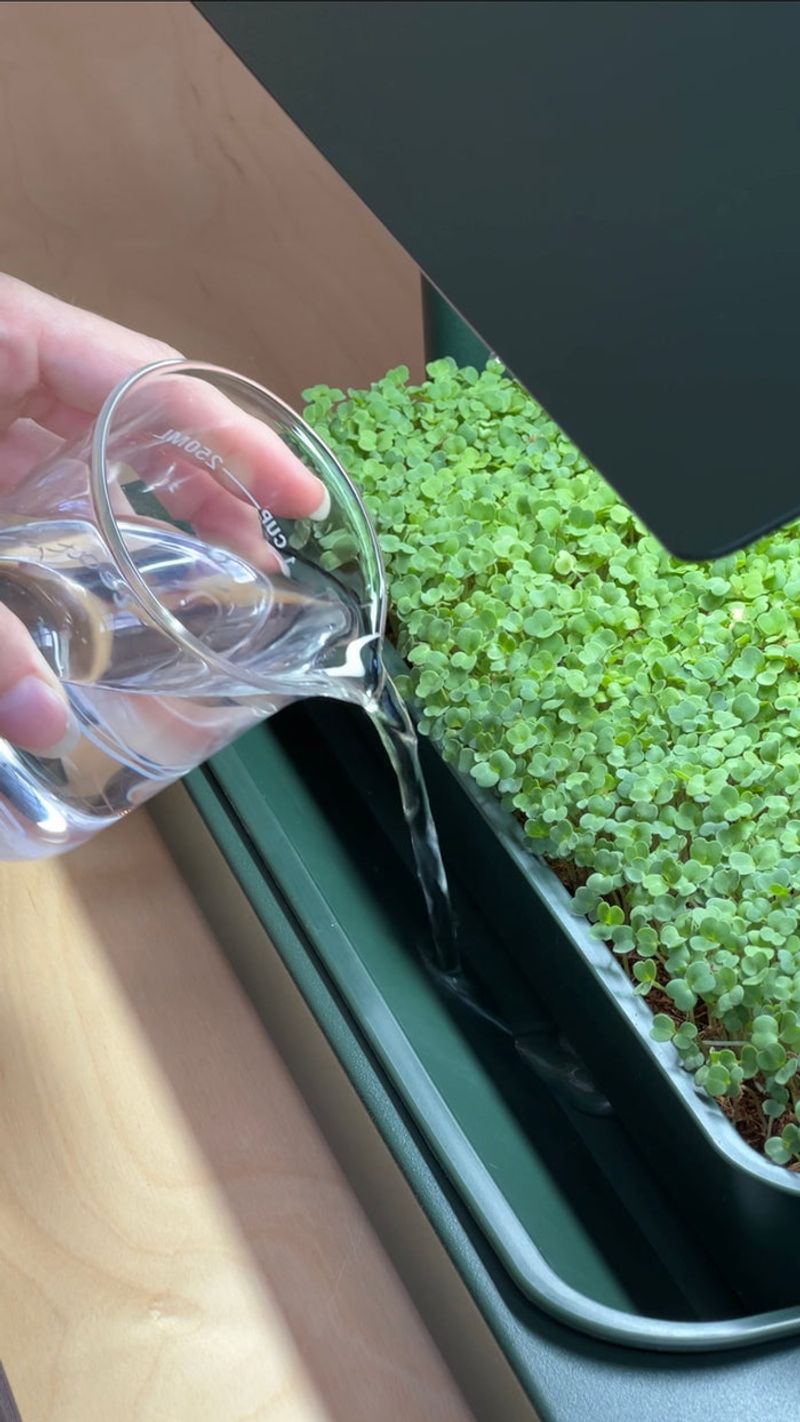
Watering microgreens requires precision. Use a spray bottle to mist the seeds, ensuring even moisture without overwatering.
Overwatering can drown the seeds, while underwatering may impede growth. It’s a delicate balance that needs regular attention.
Mist twice daily, adjusting based on the environment’s humidity. A consistent watering routine supports healthy growth and vibrant color. Remember, microgreens are delicate, so handle them with care. The right watering technique can significantly affect the quality and yield of your greens.
6. Monitor for Pests
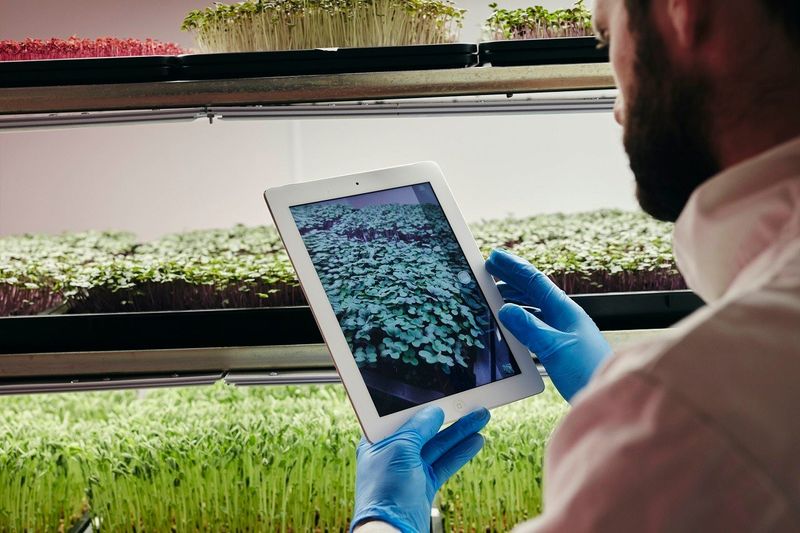
Vigilance against pests is essential for healthy microgreens. Regularly check for signs of insects or disease.
Remove any affected areas to prevent spreading. Maintain cleanliness in your growing space to deter pests naturally.
Use natural pest control methods if needed, such as neem oil. A healthy environment and careful monitoring minimize pest issues. Be proactive rather than reactive in pest control. With diligence, you’ll keep your microgreens thriving without the use of harsh chemicals.
7. Harvest at the Right Time
Timing is everything when harvesting microgreens. Most varieties are ready within 7-21 days, depending on the type.
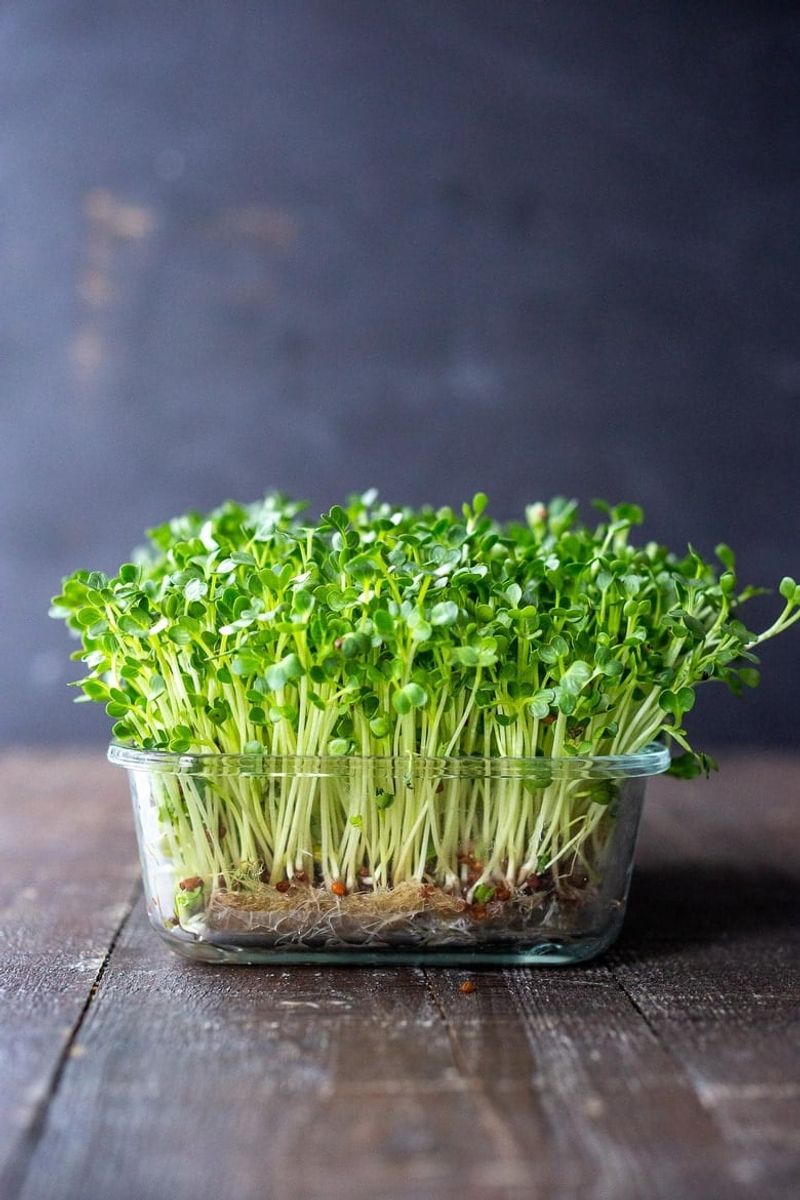
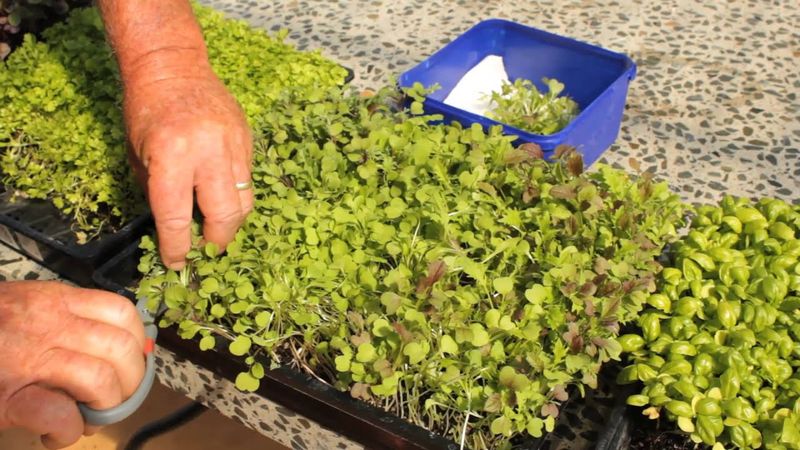
Look for the first true leaves as a signal. Use clean scissors to cut the greens just above the soil line.
Harvesting too early or late affects flavor and nutrition. Regular taste tests help determine the peak time. Handling them gently during harvest maintains their integrity and freshness. The right timing ensures maximum flavor and nutritional benefits from your microgreens.
8. Store Properly
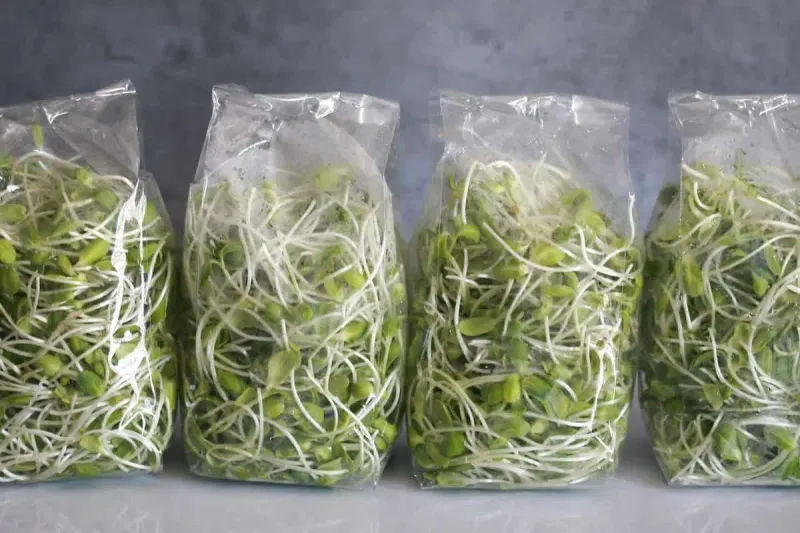
Proper storage extends the life of your microgreens. Place harvested greens in a breathable container.
Avoid airtight storage, which can lead to spoilage. Keep them in the refrigerator’s vegetable drawer for optimal freshness.
Use within a week for the best taste and nutrition. Regularly check for any signs of wilting or decay. Proper storage practices maximize shelf life and maintain quality. The right approach ensures that your efforts in growing are fully enjoyed at the dining table.
9. Experiment with Different Varieties
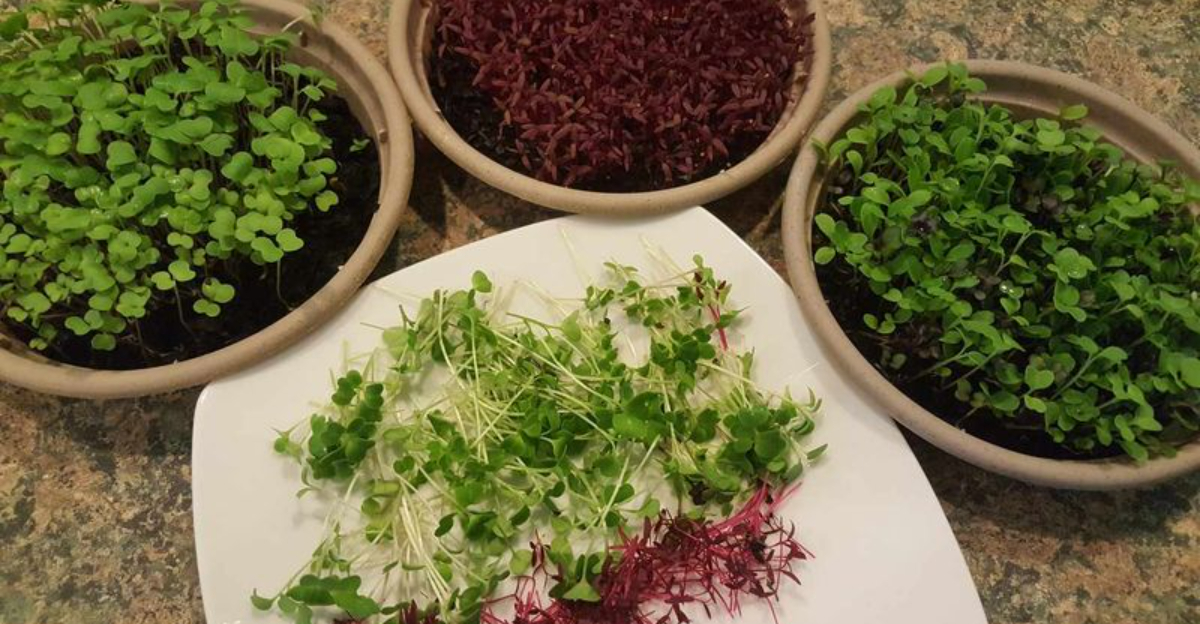
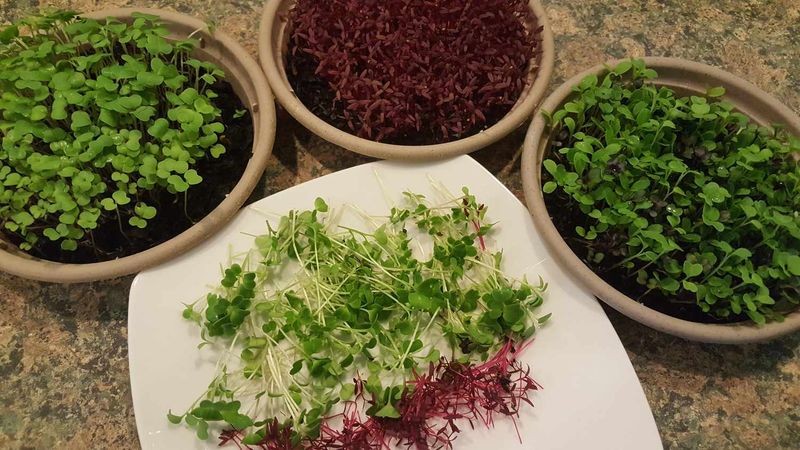
Diversity is the spice of life, even with microgreens. Experiment with different seed varieties like pea, beet, or mustard.
Each offers unique flavors and textures. Trying new types keeps the growing process exciting and educational.
Pay attention to each variety’s specific needs and characteristics. This experimentation leads to discovering new favorites and broadening culinary horizons. It’s a fun way to enhance both your gardening skills and your plate. Embrace variety to keep your microgreen adventure fresh and flavorful.
10. Share Your Harvest
Sharing makes the microgreen journey more rewarding. Gift a tray to friends or neighbors.
It’s a great way to share the flavors and benefits. You’ll inspire others to start their own microgreen adventures.
Sharing also opens opportunities for feedback and tips. Building a community around growing enhances the experience. It’s not just about the product but the connections made. Sharing your harvest spreads joy and encourages sustainable practices in your community.
