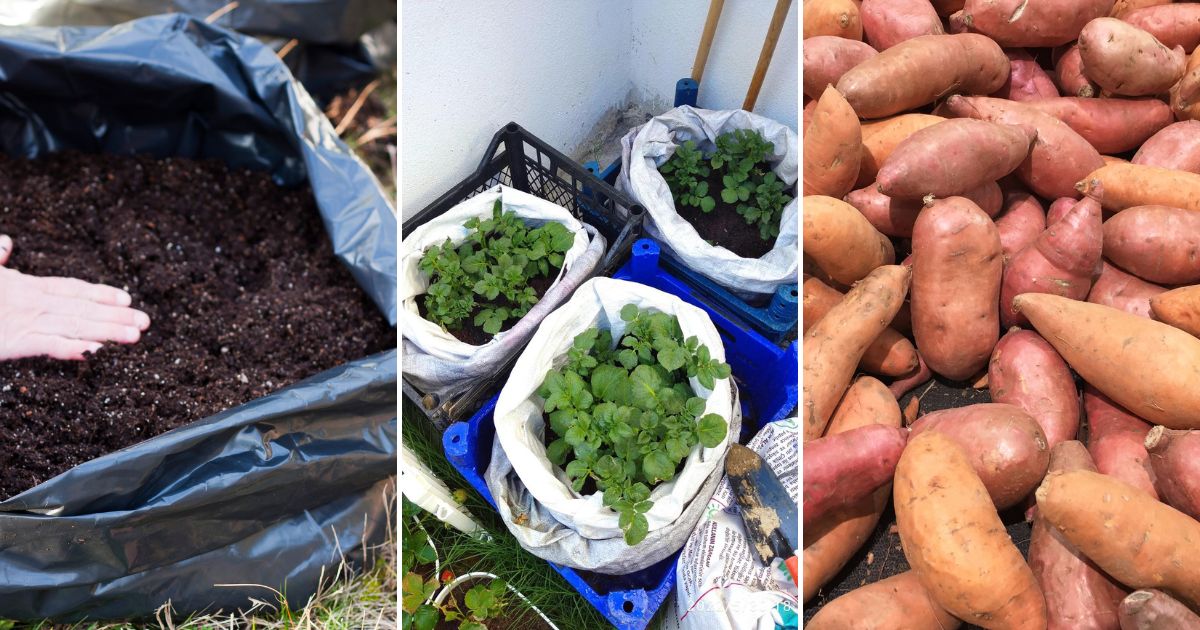
Imagine harvesting a bounty of vibrant, nutrient-packed sweet potatoes without ever needing a garden bed.
If you’ve been struggling with limited space or stubborn soil, there’s a solution that might surprise you: growing sweet potatoes in soil bags.
This technique not only maximizes your growing area but also simplifies the entire process, making it accessible for both seasoned green thumbs and curious beginners alike.
Ready to transform your gardening game? This guide will reveal the step-by-step secrets to cultivating sweet potatoes in soil bags, so you can enjoy a delicious and abundant harvest, no matter where you live. Let’s dig in!
1. Why Choose Soil Bags for Growing Sweet Potatoes?
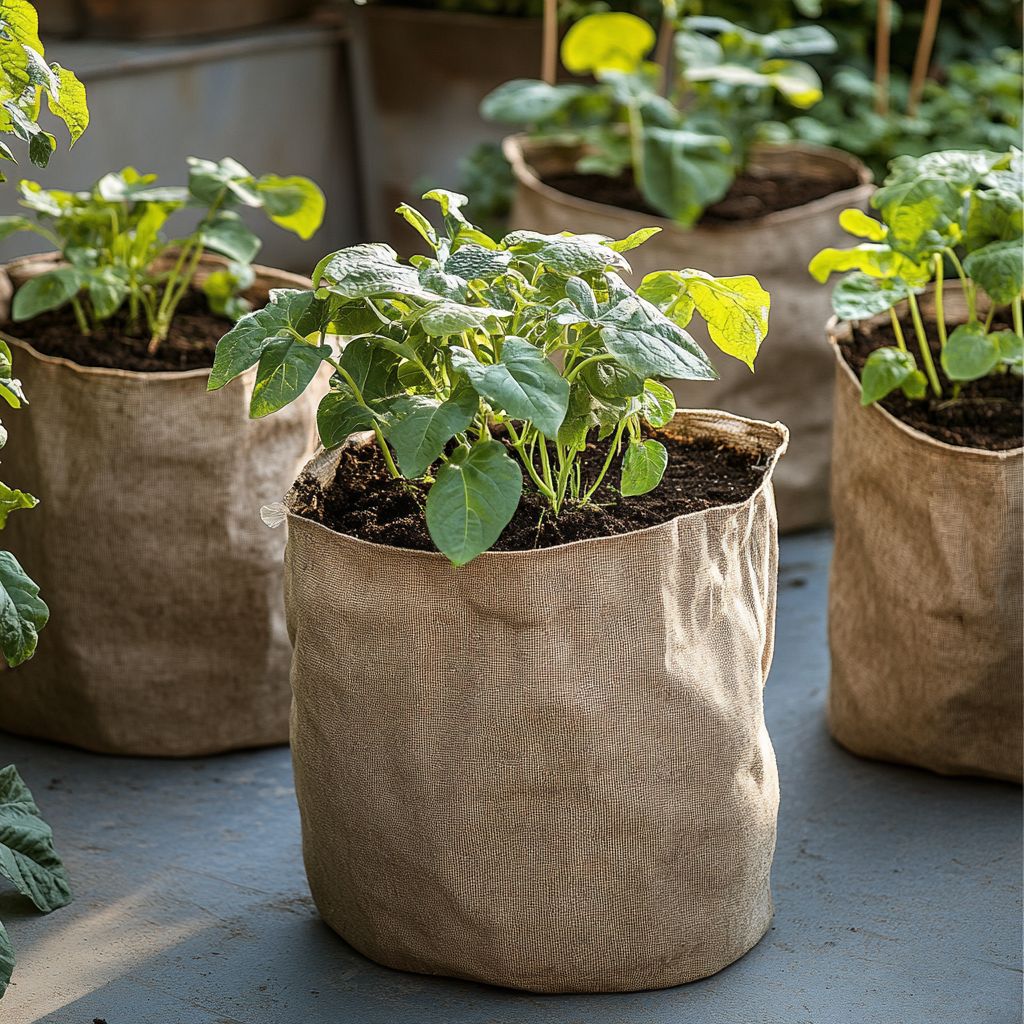
Soil bags, also known as grow bags, are a practical choice for growing sweet potatoes for several reasons. They offer excellent drainage, preventing waterlogging, which is a common issue in traditional gardens.
The bags are also portable, allowing you to move your plants to catch the best sunlight or avoid harsh weather. Additionally, soil bags help regulate temperature by allowing excess heat to escape, creating a more stable environment for root development.
2. Selecting the Right Soil Bag
When choosing a soil bag for your sweet potatoes, size matters. Sweet potatoes need space to spread out their roots, so opt for a bag that is at least 10-20 gallons in size.
Larger bags, such as 50 or 100 gallons, are even better if you want to grow multiple plants in the same bag.
Ensure the bag is made of durable, non-woven fabric that allows for proper aeration and drainage. These features are crucial to prevent root rot and promote healthy growth.
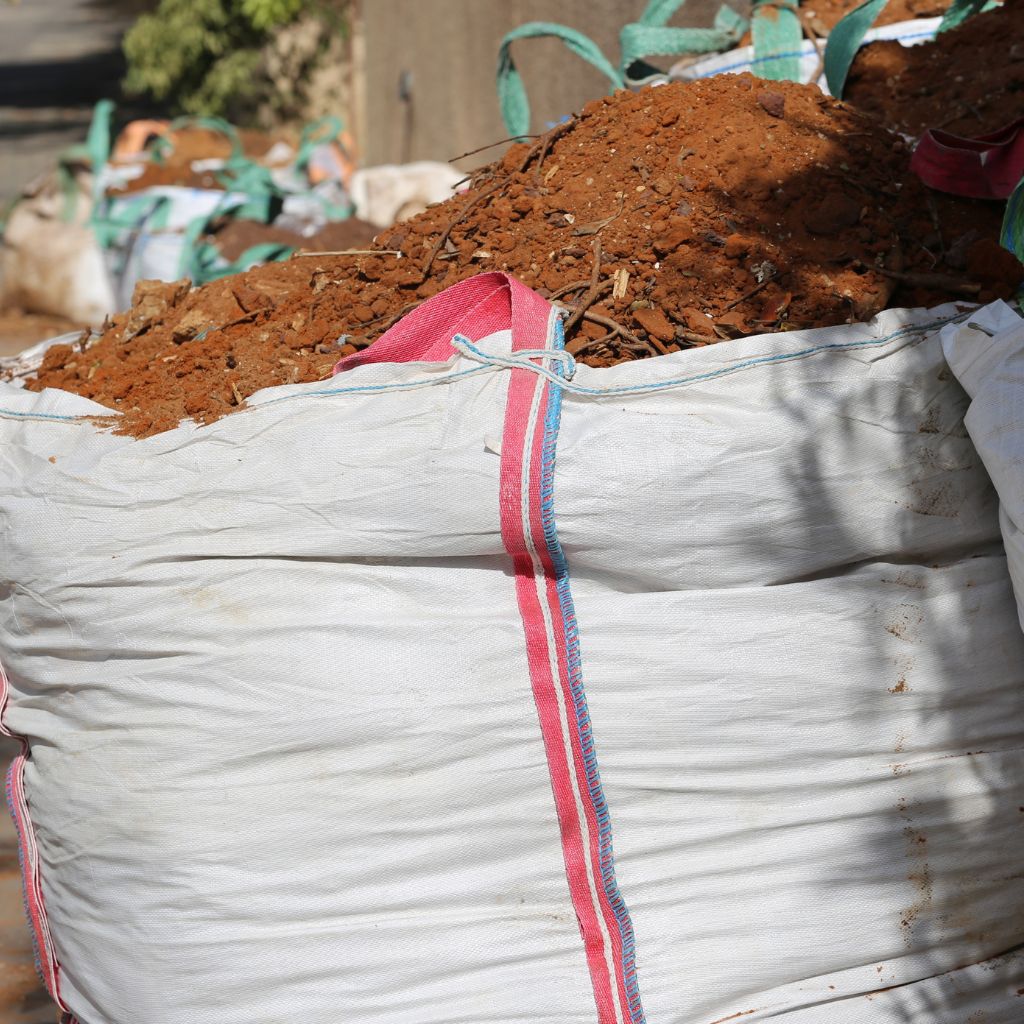
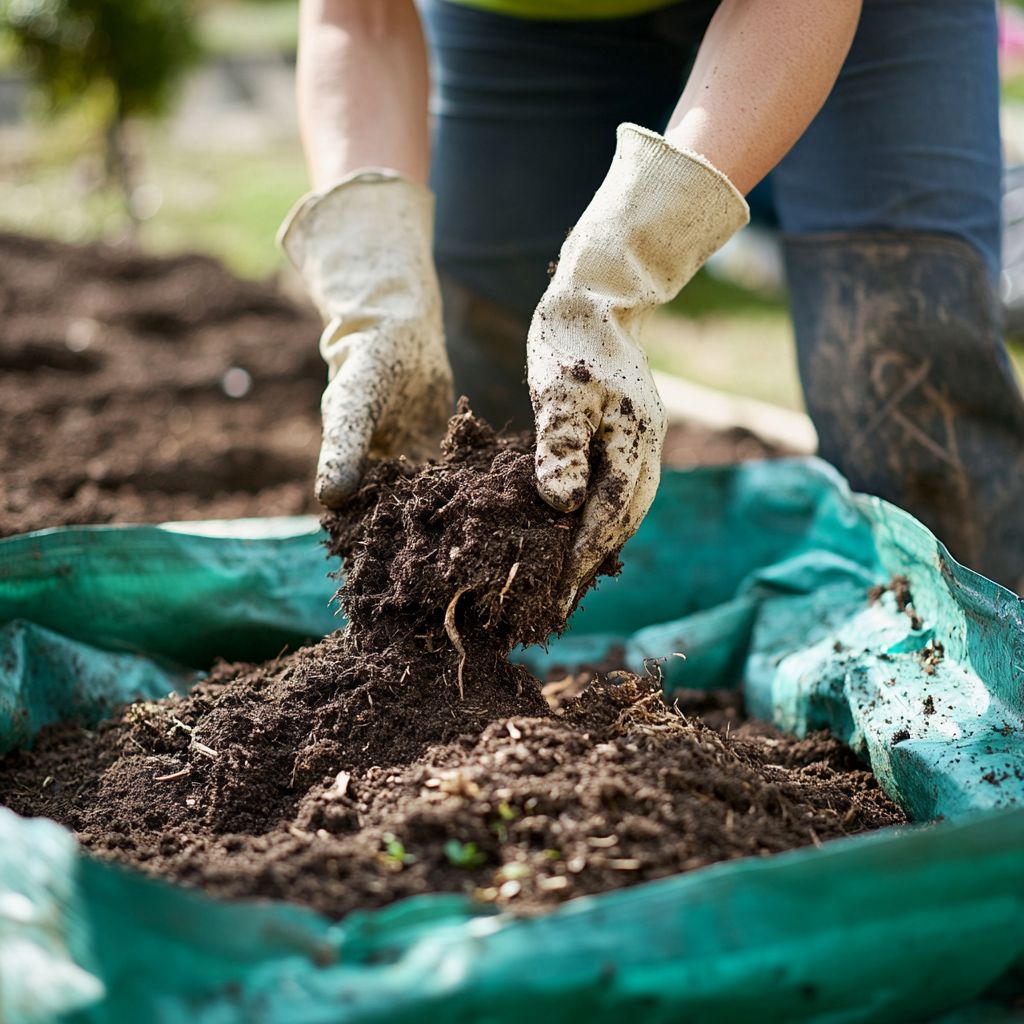
3. Preparing the Soil
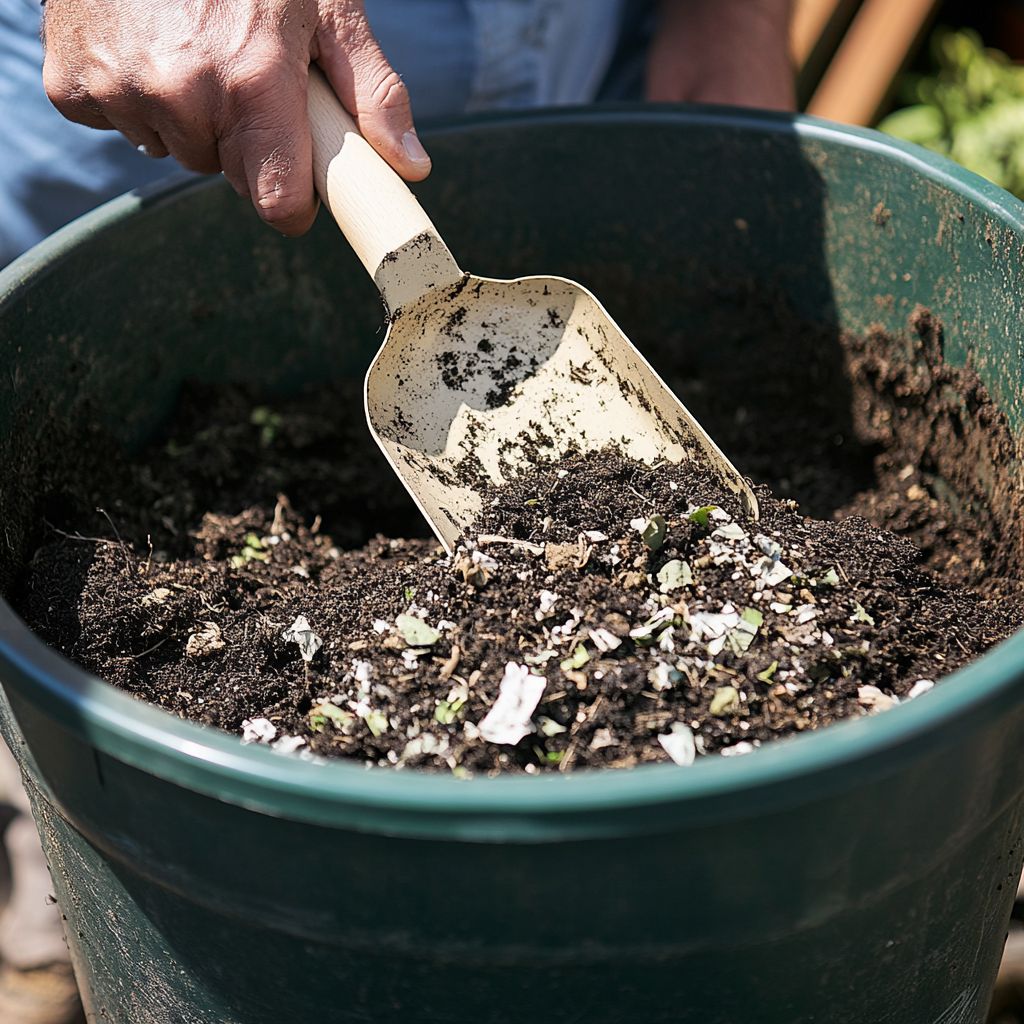
Sweet potatoes thrive in loose, well-draining soil that is rich in organic matter. To prepare the soil for your bags, mix equal parts of high-quality compost and organic potting soil.
Adding a bit of perlite or sand can further improve drainage. Sweet potatoes prefer slightly acidic to neutral soil with a pH of 5.6 to 6.5, so consider testing your soil and adjusting it if necessary.
If you’re looking for an extra boost, you can incorporate a balanced, slow-release fertilizer with a low nitrogen content, such as a 5-10-10 blend. This will help the plants focus on root development rather than excessive foliage growth.
4. Preparing the Sweet Potato Slips
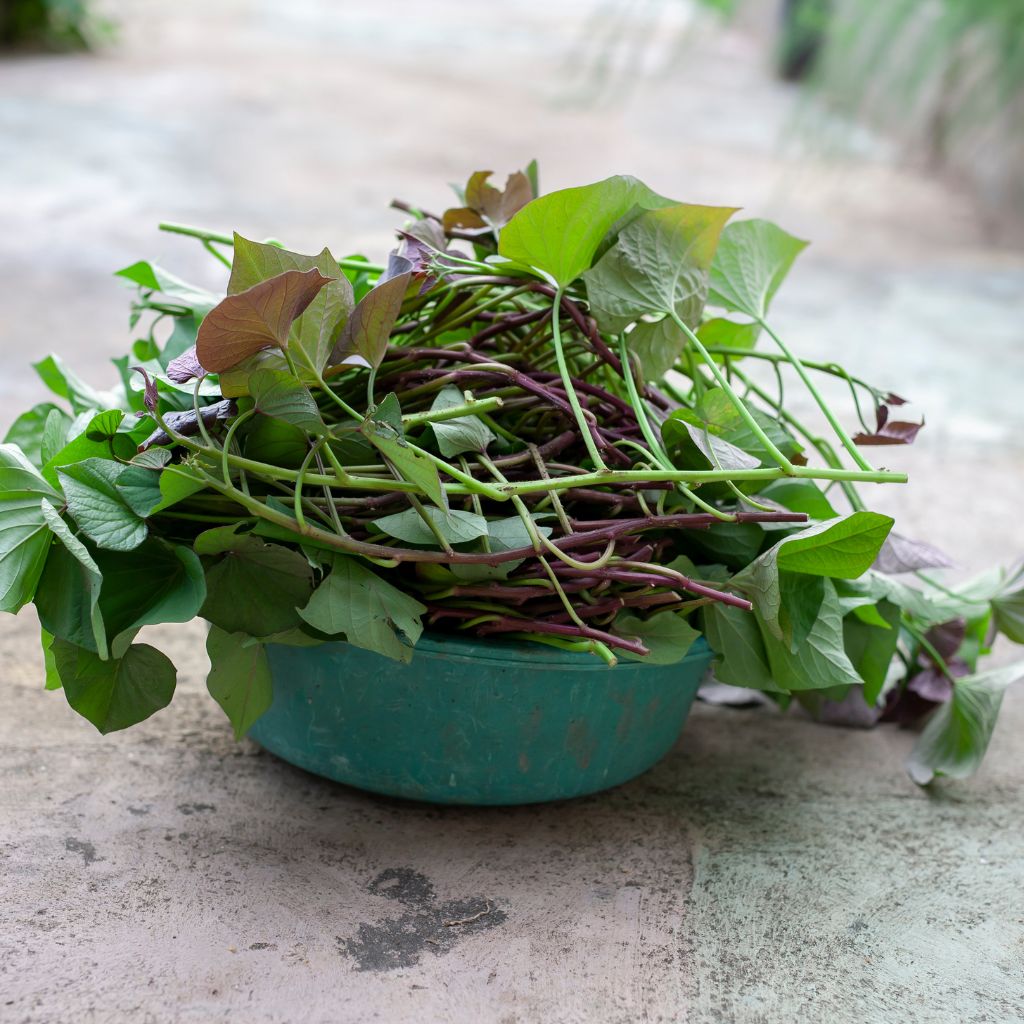
Sweet potatoes are grown from slips, which are small shoots that sprout from mature sweet potatoes. You can either purchase slips from a nursery or grow your own at home.
To grow your own, place a healthy sweet potato in a warm, sunny location, either in a jar of water with the bottom half submerged or buried partially in moist soil. Within a few weeks, shoots will start to emerge.
Once the slips reach about 6 inches in length, carefully twist them off the potato and place them in water or moist soil to develop roots. These slips are now ready to be planted in your soil bags.
5. Planting the Slips
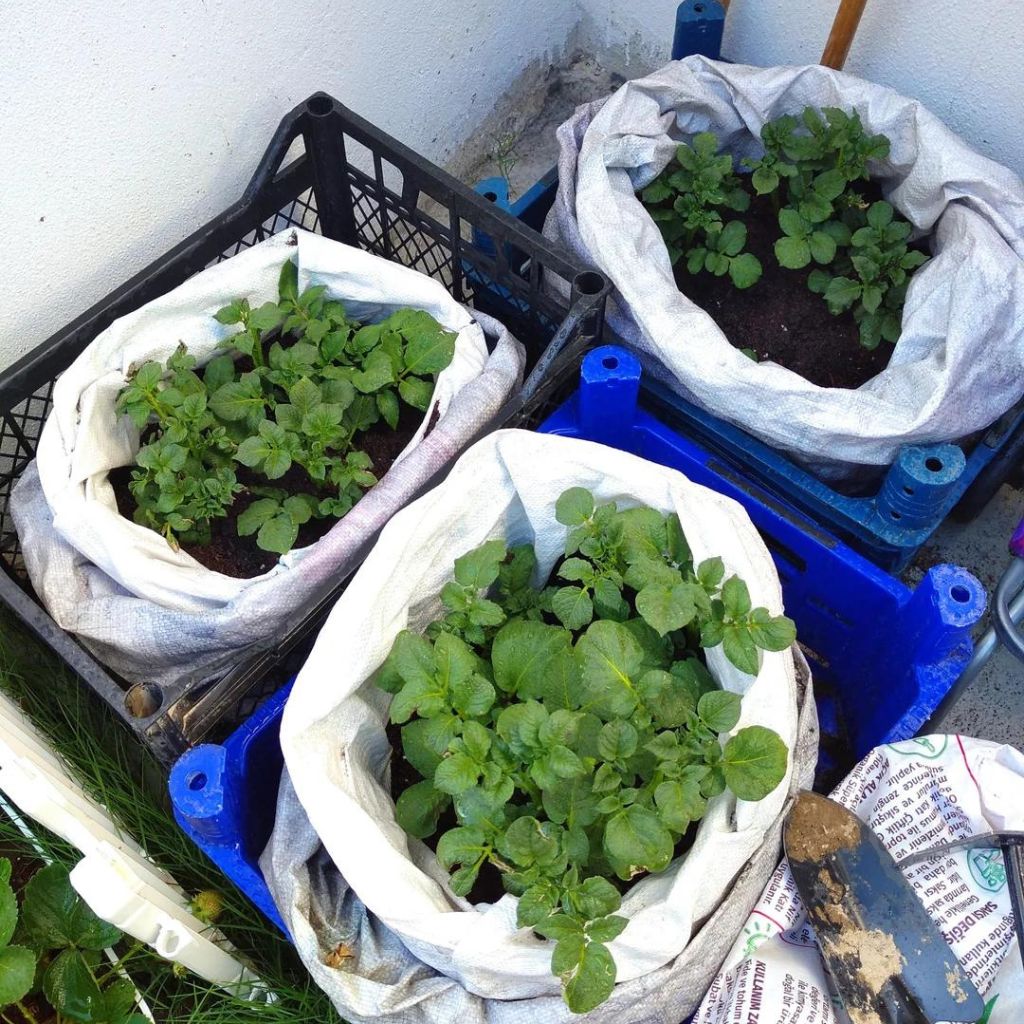
Once your slips have developed roots, it’s time to plant them in your prepared soil bags. Fill each bag about two-thirds full with your soil mixture.
Make small holes in the soil, about 3-4 inches deep, and plant each slip with at least 2-3 sets of leaves above the soil surface. Space the slips about 10-12 inches apart to give them ample room to grow.
After planting, water the soil thoroughly but avoid making it soggy. Sweet potatoes prefer moist but not waterlogged soil, so aim to keep the soil evenly damp.
6. Positioning and Sunlight
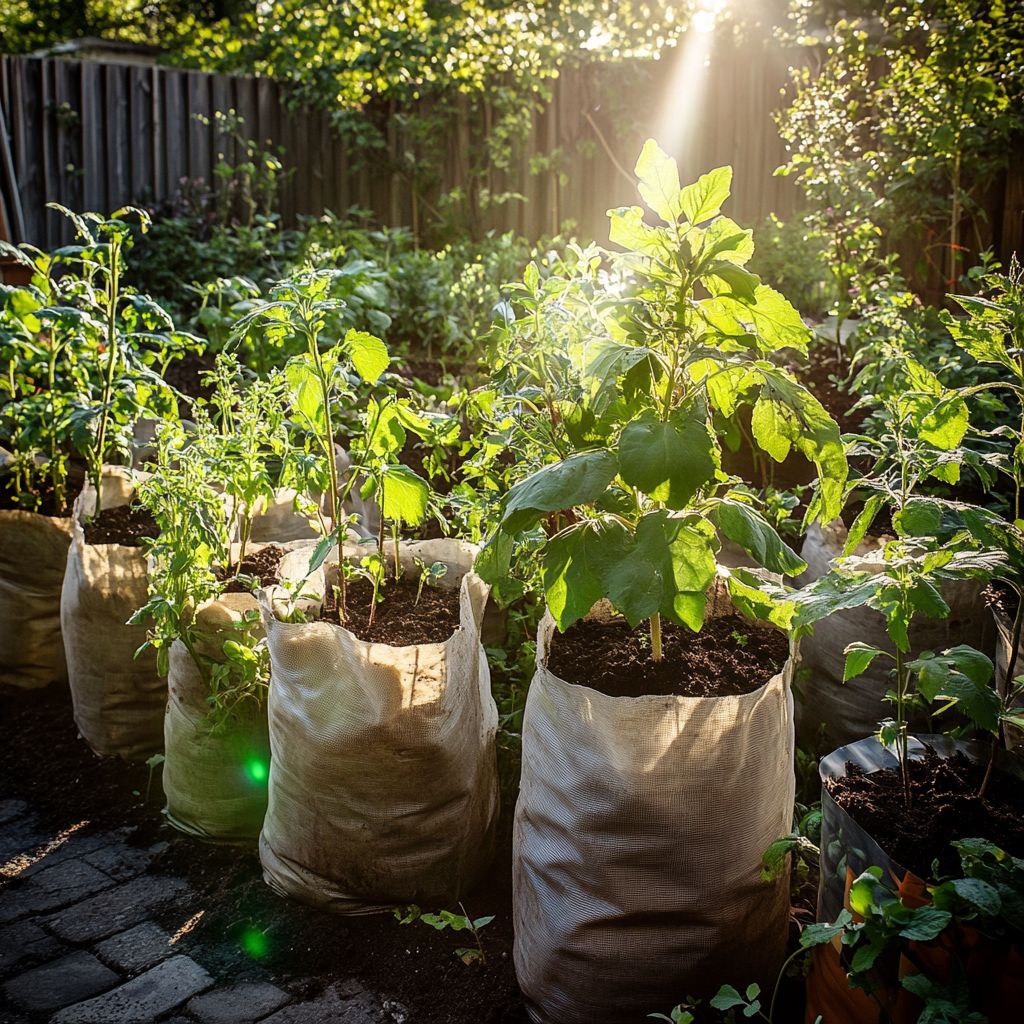
Sweet potatoes are sun-loving plants that require at least 6-8 hours of direct sunlight each day.
Place your soil bags in a sunny spot where they will receive plenty of light. If you live in a particularly hot climate, consider placing the bags where they can get some afternoon shade to prevent the soil from overheating.
The portability of soil bags allows you to adjust their position as needed throughout the growing season to ensure optimal sun exposure.
7. Watering and Care
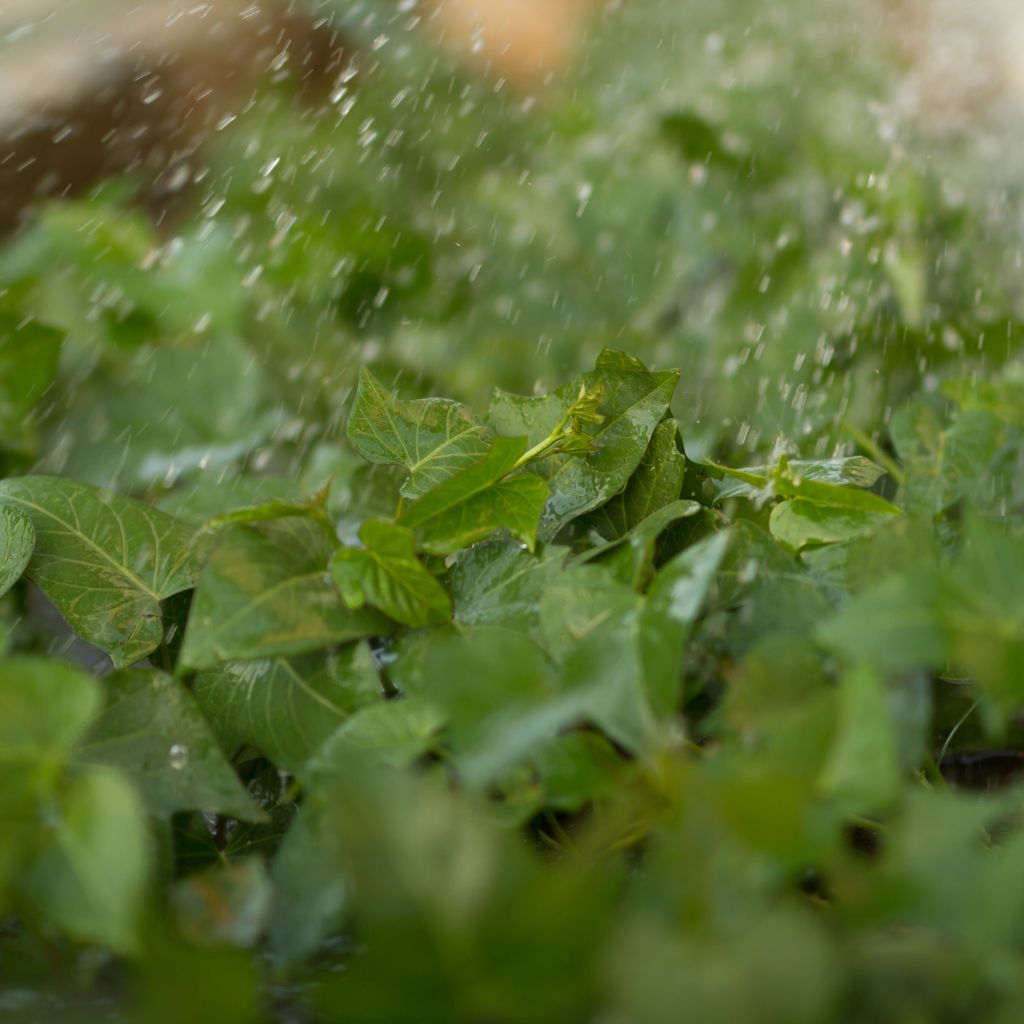
Consistent watering is key to growing healthy sweet potatoes. Soil in bags tends to dry out faster than in-ground soil, so check the moisture level regularly.
Water the plants deeply, ensuring that water reaches the roots, but allow the soil to dry out slightly between waterings to avoid root rot.
As the sweet potatoes grow, they will produce long vines. Unlike some other plants, sweet potato vines do not need to be pruned.
In fact, the vines can be left to cascade over the sides of the bag, creating a beautiful display. You can also train the vines to grow upwards on a trellis if space is limited.
8. Fertilizing
Sweet potatoes are relatively low-maintenance when it comes to fertilizing. If you used a slow-release fertilizer during planting, additional fertilization may not be necessary.
However, if you notice the plants are not thriving, you can apply a side dressing of compost or an organic fertilizer high in potassium and phosphorus about halfway through the growing season.
Avoid high-nitrogen fertilizers, as these will encourage leafy growth at the expense of the tubers.
9. Protecting Against Pests and Diseases

Growing sweet potatoes in soil bags helps reduce the risk of soil-borne diseases, but you should still monitor for common pests like sweet potato weevils, aphids, and flea beetles.
Inspect your plants regularly and consider using organic pest control methods such as neem oil or insecticidal soap if necessary.
To further protect your plants, avoid overwatering, and ensure good air circulation around the bags to prevent fungal diseases.
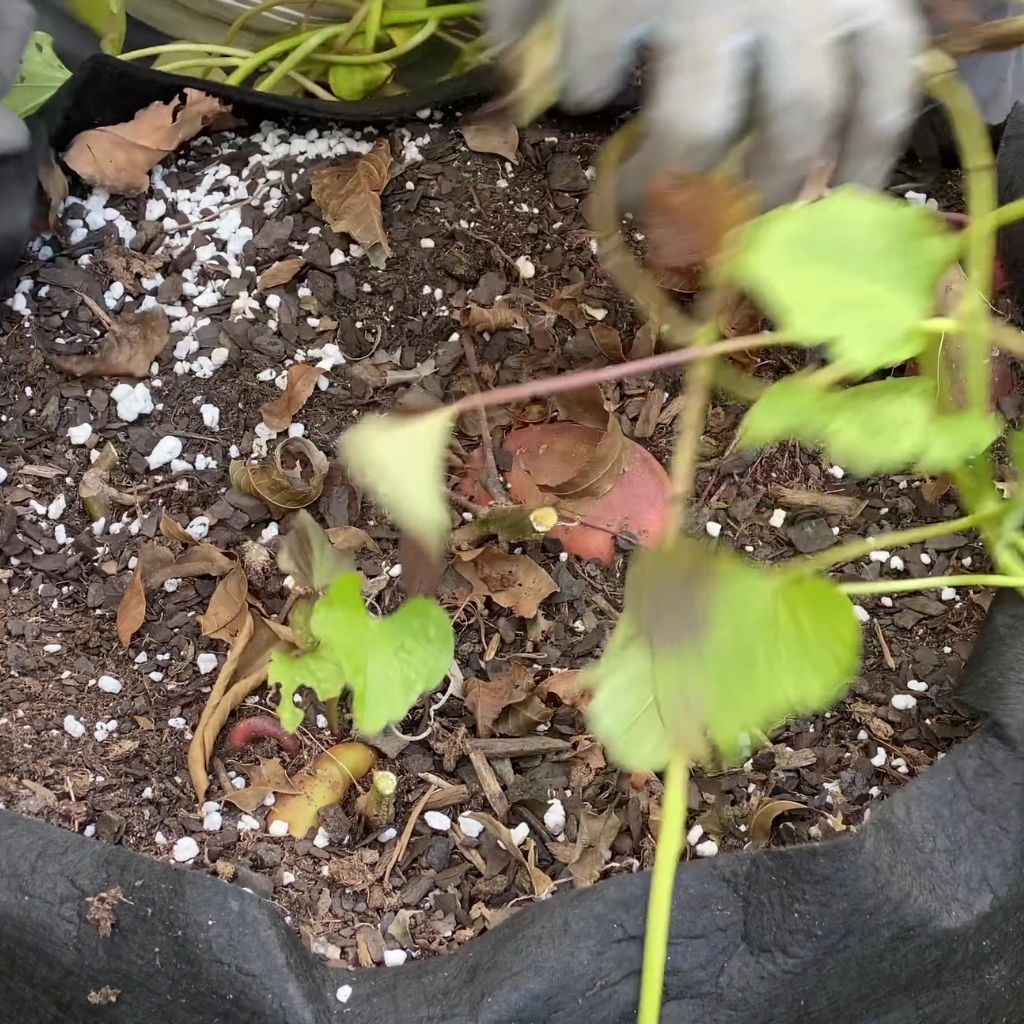
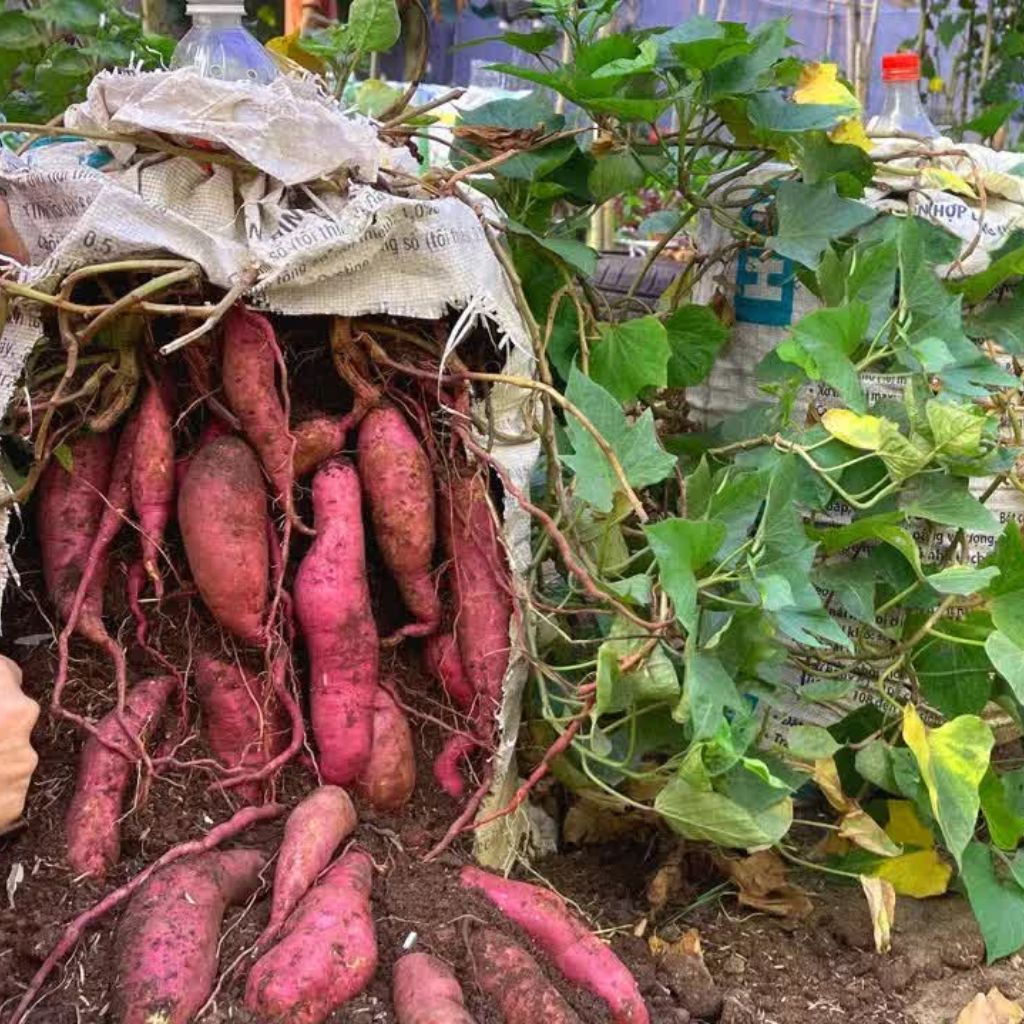
10. Harvesting Your Sweet Potatoes
Sweet potatoes are usually ready to harvest about 90-120 days after planting, depending on the variety. The best indicator of harvest time is when the leaves and vines start to yellow and die back.
Before harvesting, stop watering the plants for about a week to allow the soil to dry out, making the tubers easier to dig up.
To harvest, carefully cut back the vines and gently dig into the soil with your hands to avoid damaging the potatoes.
Alternatively, you can tip the soil bag over and sift through the soil to collect your sweet potatoes. Be gentle, as the tubers are delicate and can bruise easily.
11. Curing and Storing
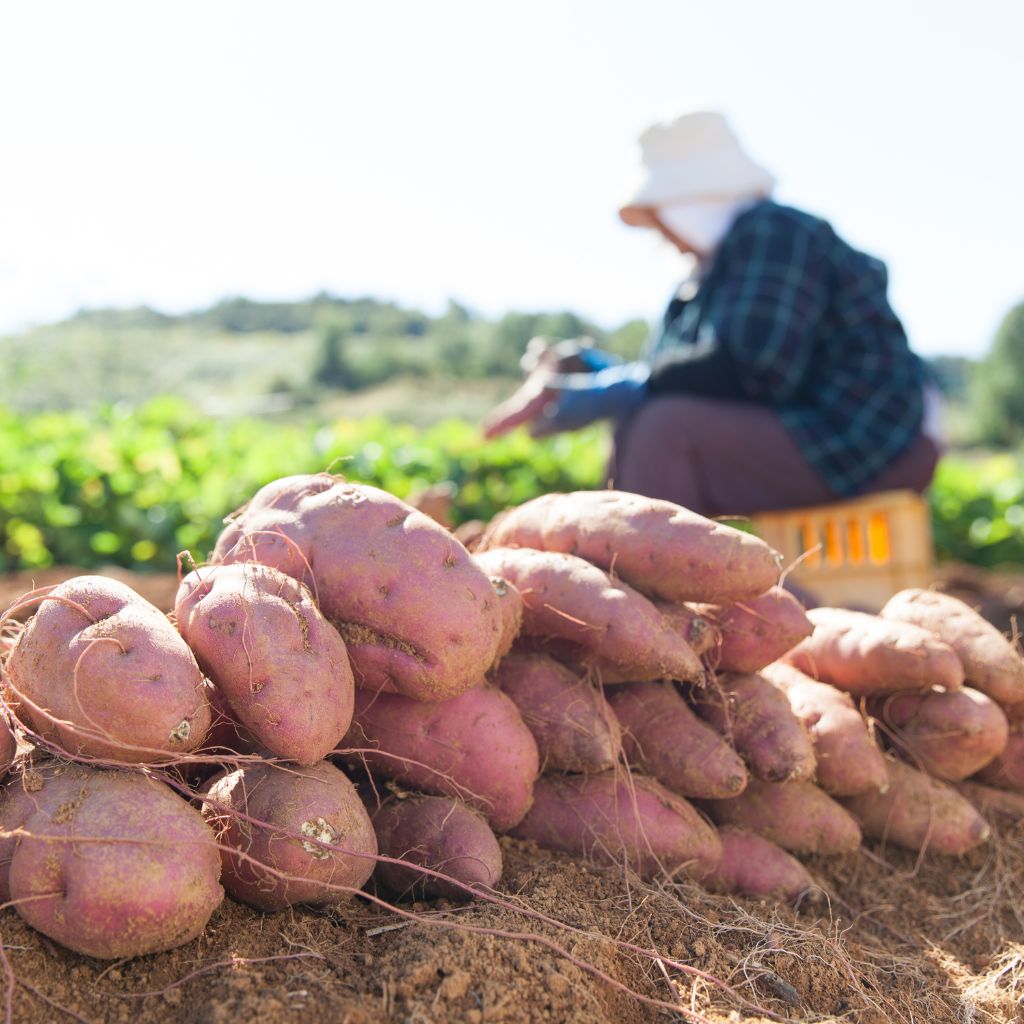
After harvesting, sweet potatoes need to be cured to develop their sweetness and improve their storage life.
Place the freshly dug tubers in a warm, humid area (about 80-85°F with 85-90% humidity) for 7-10 days. This curing process helps the potatoes form a protective skin and converts some of the starches into sugars.
Once cured, store the sweet potatoes in a cool, dry place with temperatures around 55-60°F. Avoid refrigerating them, as this can cause the tubers to become hard and lose flavor. Properly cured and stored, sweet potatoes can last for several months.
12. Reusing the Soil and Preparing for Next Season
One of the advantages of using soil bags is the ability to reuse the soil for multiple growing seasons. After harvesting, spread the soil out to dry and remove any remaining roots or debris.
If the soil still seems rich in nutrients, you can mix it with fresh compost and potting soil for your next planting. Otherwise, it’s best to start with a new soil mixture to ensure your plants get the nutrients they need.
Inspect the soil bags for any signs of wear and tear, and repair or replace them as necessary. With a little care, your soil bags can be reused season after season, making them a sustainable option for home gardening.
Growing sweet potatoes in soil bags is a rewarding and practical method for home gardeners. With the right preparation, care, and attention, you can enjoy a bountiful harvest of sweet, nutritious tubers without the need for extensive garden space.
Whether you’re growing in a small backyard or on a sunny balcony, soil bags provide a versatile solution that makes growing sweet potatoes accessible to everyone. Give it a try, and you might just find that soil bags are your new favorite gardening tool!