Watercress, a semi-aquatic plant known for its peppery flavor, thrives in cool, moist environments.
Native to Europe and Asia, it’s a nutritious addition to any garden, offering vitamins A, C, and K. Watercress can be grown in various settings, whether in water gardens or containers.
This guide will walk you through the steps to successfully plant and care for watercress, ensuring a bountiful harvest. Let’s explore the essential elements for cultivating this unique leafy green.
1. Selecting the Right Location
Choosing the ideal spot for watercress is crucial. Look for an area with partial shade to protect the plants from intense sunlight. Watercress thrives in natural springs or ponds. If these aren’t available, a container garden with rich, loamy soil will suffice. Ensure the soil remains consistently moist. An old gardener once said, “Watercress loves to keep its feet wet.” Use this principle to inform your planting location.
2. Preparing the Soil
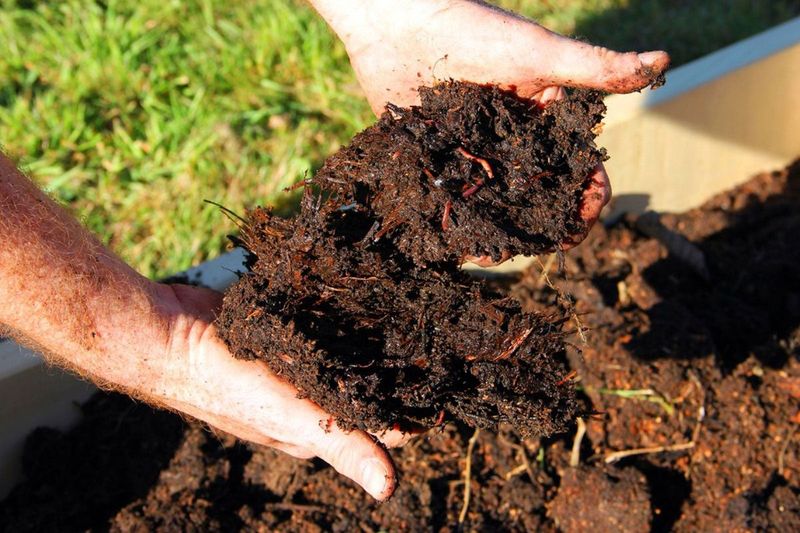
Soil preparation is the backbone of healthy watercress. Enrich the soil with plenty of organic matter, such as compost or well-rotted manure. This boosts nutrients and retains moisture. The texture should be light, allowing roots to breathe and grow freely. A wise tip: test the soil pH, ideally between 6.5 and 7.5. This ensures optimal growth conditions for your watercress.
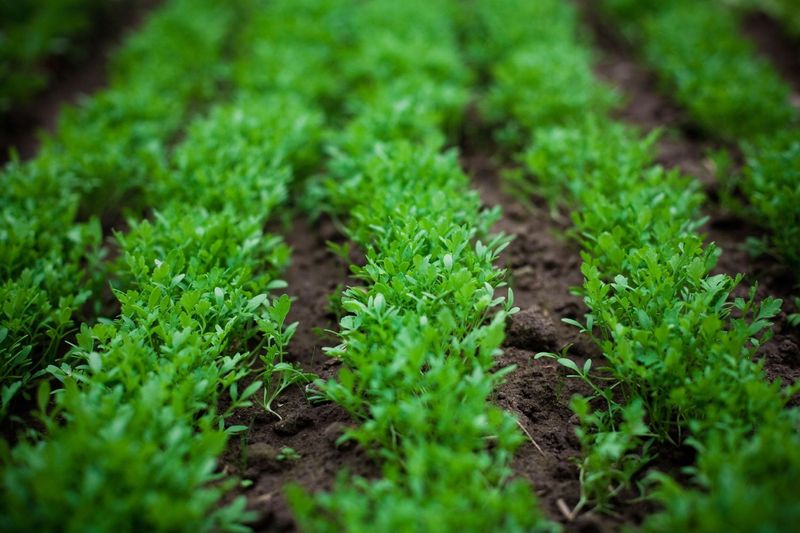
3. Planting Watercress Seeds
Tiny but mighty, watercress seeds hold the promise of lush greens. Sow seeds directly onto the surface of moist soil, pressing them gently without covering. Space them about half an inch apart. Cover with a thin layer of fine compost to protect from birds. Picture a quiet spring morning, the sun warming your back as you plant. This simple yet profound act sets the stage for growth.
4. Watering Techniques
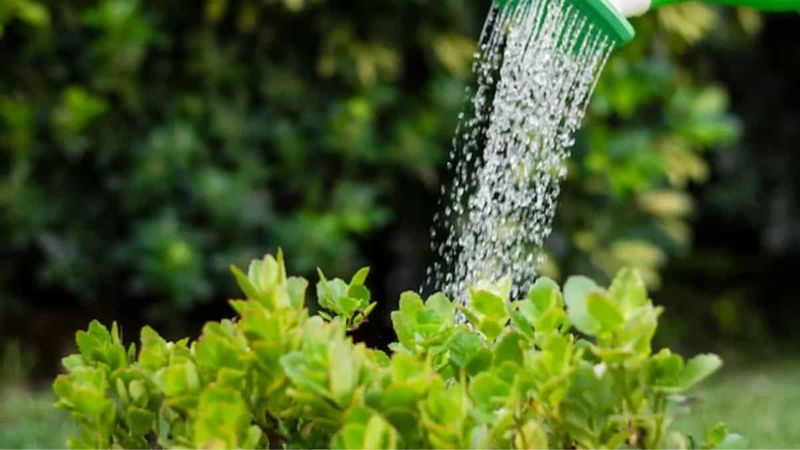
Mastering watering techniques is vital. Watercress requires constant moisture, so keep the soil perpetually damp but not waterlogged. Consider a drip irrigation system for consistent hydration. Imagine a gentle rain nurturing your plants, that’s the aim. Overwatering can be as harmful as neglect, so find balance. An old adage goes, “Watercress grows where water flows,” highlighting its aquatic needs.
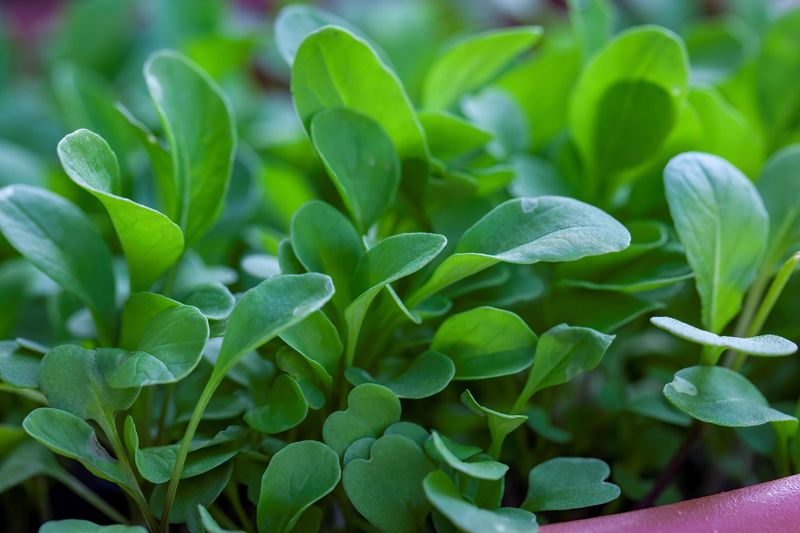
5. Caring for Watercress Plants
Nurturing watercress involves more than just watering. Regularly check for weeds, removing them to prevent competition for nutrients. Inspect leaves for pests like aphids. If found, a gentle spray of soapy water can deter them. Picture a dedicated gardener, hands dirtied with soil, ensuring each plant thrives. This personal touch makes all the difference in cultivation.
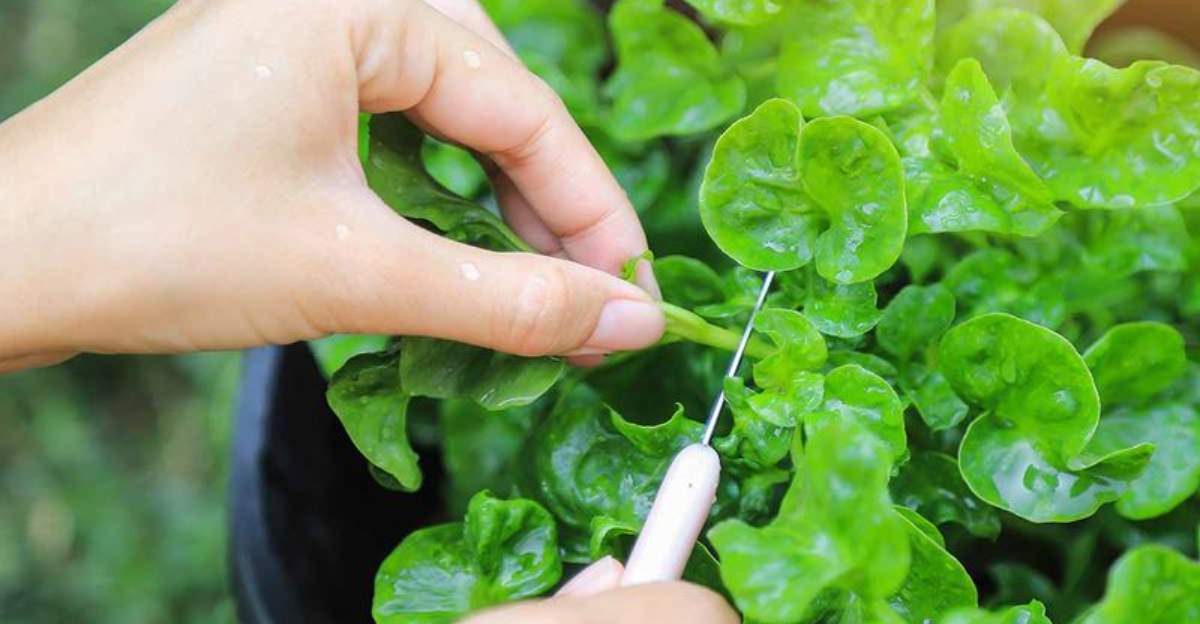
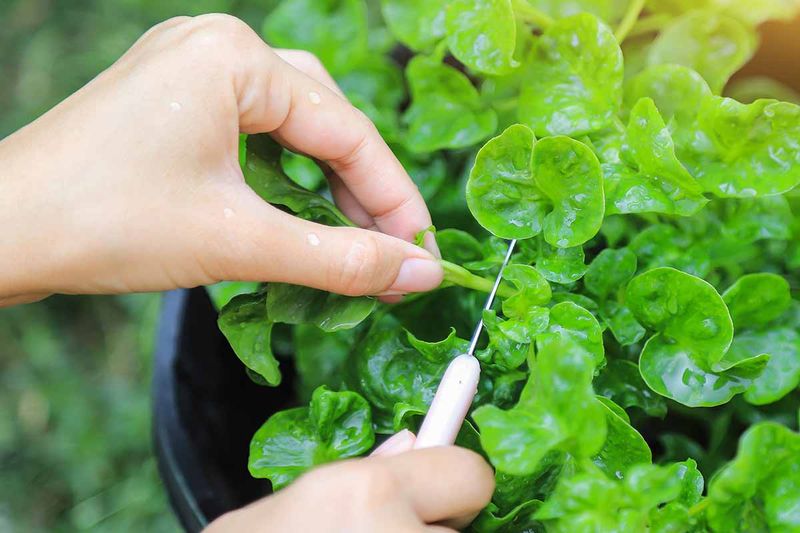
6. Harvesting Watercress

Harvesting watercress is a rewarding experience. Once plants reach 4-6 inches in height, use scissors to trim the leaves. Harvest in the morning when leaves are crisp and full of flavor. Avoid pulling roots; they’ll continue to produce. Imagine the satisfaction of gathering fresh greens, ready for your table. This simple act brings the farm-to-table experience to your kitchen.
7. Preserving and Using Watercress
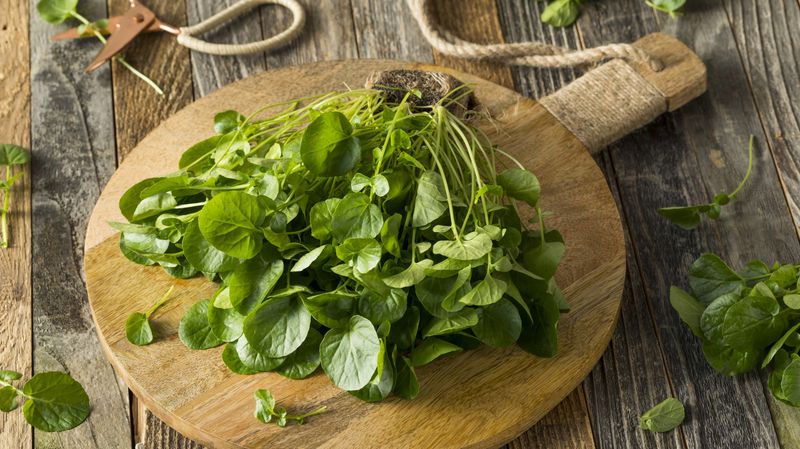
Preserve the vibrant taste by storing watercress in a damp paper towel within a sealed bag in the fridge. This maintains freshness for up to a week. Explore culinary uses, from salads to soups. A dash of creativity can transform this humble green into gourmet dishes. Imagine a rustic meal, the peppery punch of watercress lifting every bite. Its versatility is unmatched.