
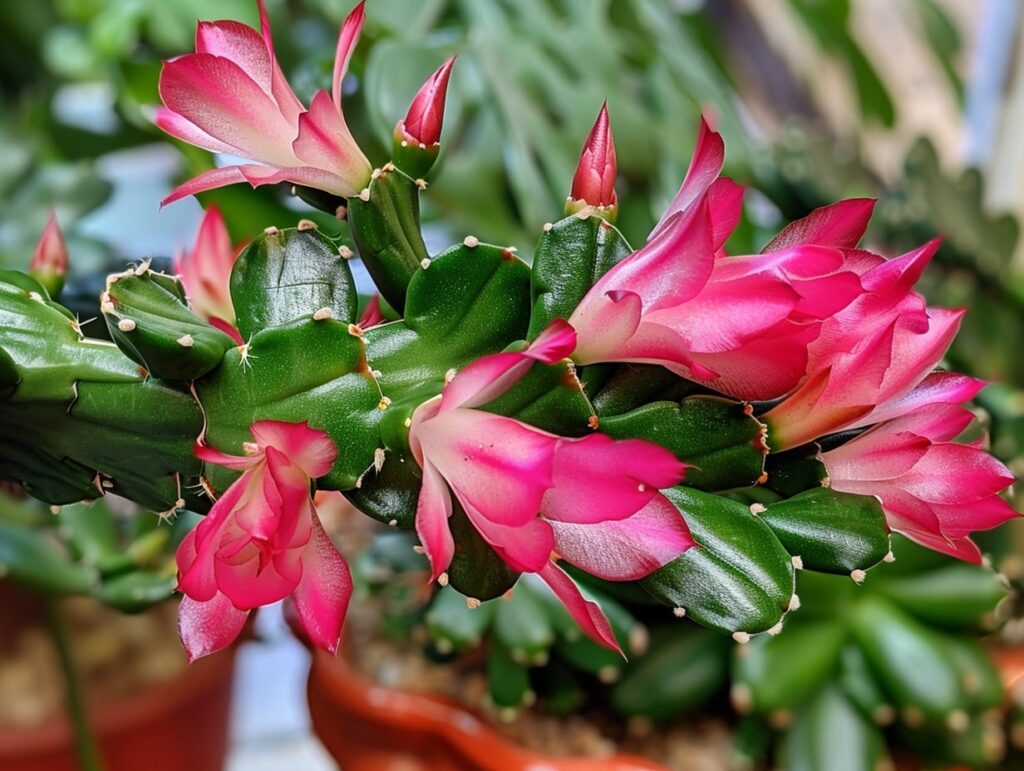
Imagine walking into a room filled with vibrant, blooming Christmas cacti, each one a testament to your green thumb. It might sound like a dream, but it’s a reality that’s easier to achieve than you might think.
Welcome to the art of propagating your Christmas cactus, a simple and rewarding way to multiply your plants and ensure a dazzling display of holiday blooms.
Even if you’re just starting your gardening journey, you’ll find these propagation steps straightforward and incredibly doable.
Not only will you be able to expand your collection, but you’ll also have the perfect, living gifts to share with loved ones, bringing joy and beauty year after year.
Dive into these easy-to-follow techniques, and soon you’ll have a flourishing array of Christmas cacti, ready to brighten any space. With these tips, you’ll master healthy growth and abundant flowering, making every moment in the garden a delight.
Let’s get started on transforming your home into a haven of holiday color and cheer!
Understanding Christmas Cactus Propagation
Propagating a Christmas cactus can help you enjoy more blooms and share plants with friends. The best time to propagate and the methods to use are crucial for success.
Best Time to Propagate
The ideal time to propagate your Christmas cactus is after it finishes blooming, usually from late spring to early summer. This period allows the plant to recover from flowering and focus its energy on new growth.
Ensure your plant is healthy before you start. Avoid propagation during its dormant phase (fall and winter) as it might struggle to develop new roots.
Types of Propagation Methods
There are two main methods to propagate a Christmas cactus: stem cuttings and division.
Stem cuttings involve taking a segment from a healthy stem, letting it dry for a day or two, and then planting it in a well-draining soil mix. Keep the soil moist and in indirect sunlight until roots form.
Division refers to separating a part of the root system along with stems and planting it in a new pot. This method is less common but can be effective if your cactus is large and needs space.
Preparing for Propagation
Start by picking a vigorous Christmas Cactus, then gather the necessary tools to ensure successful propagation.
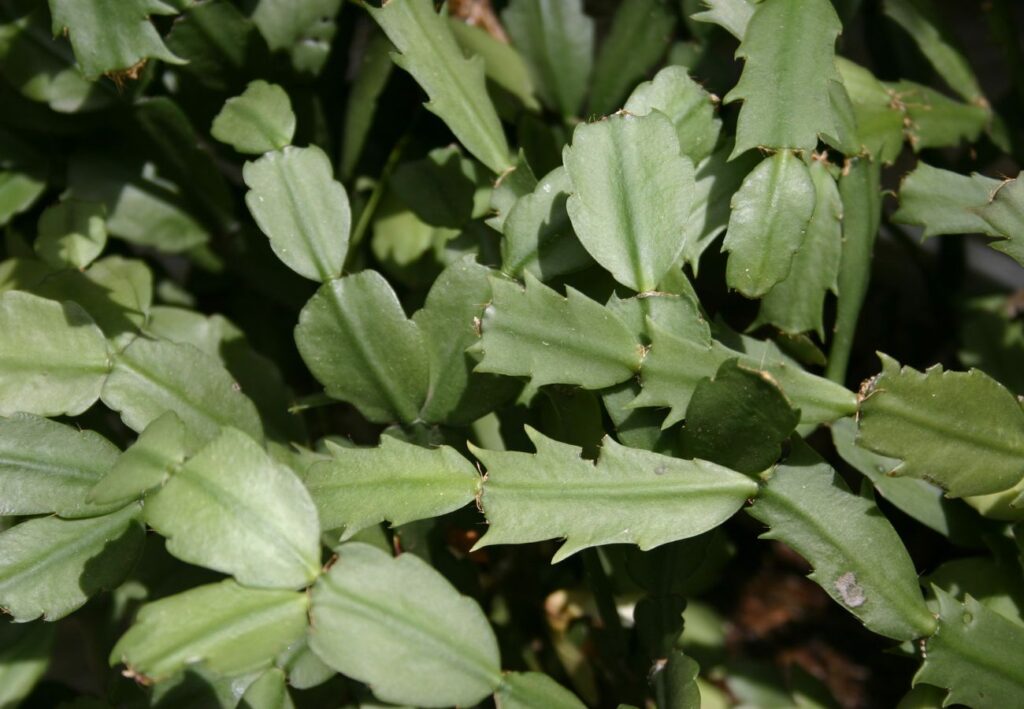
Selecting a Healthy Mother Plant
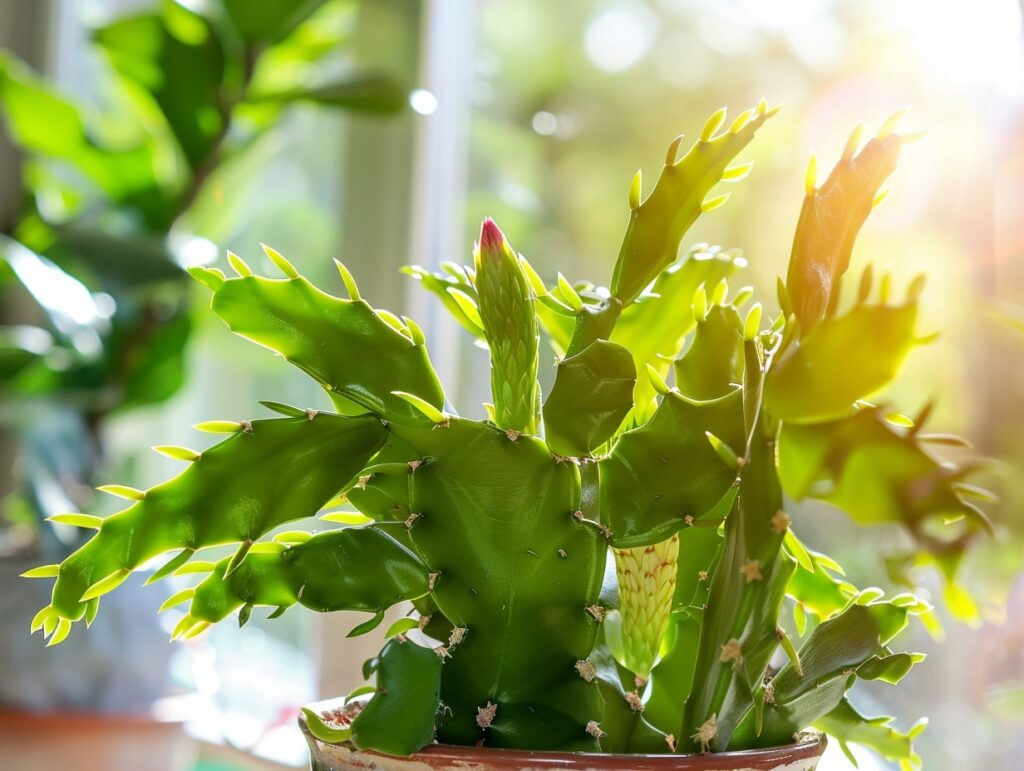
Choose a plant that appears vibrant and free from pests. Look for glossy, firm leaves that indicate good health. Avoid plants with any signs of disease, such as wilting or discolored leaves. It’s best to select segments from a plant that has shown consistent growth and has previously flowered well.
Healthy plants are more likely to produce strong clones. Making sure the mother plant is well-watered a few days before propagation can help the cuttings root more quickly.
Gathering Supplies
To propagate a Christmas Cactus, you’ll need a few basic supplies:
- Pruning shears: Ensure they are clean and sharp.
- Small pots: Preferably with drainage holes.
- Potting mix: A cactus or succulent mix works best.
- Rooting hormone: Optional but can increase success rates.
Sterilize your pruning shears to prevent any contamination. Fill the pots with the potting mix and moisten it slightly before inserting the cuttings, ensuring a hospitable environment for root development.
Step-by-Step Propagation Guide
Learn how to propagate your Christmas Cactus to enjoy more blooms. Follow these simple steps to create new plants from cuttings with ease.
Cutting Segments for Propagation
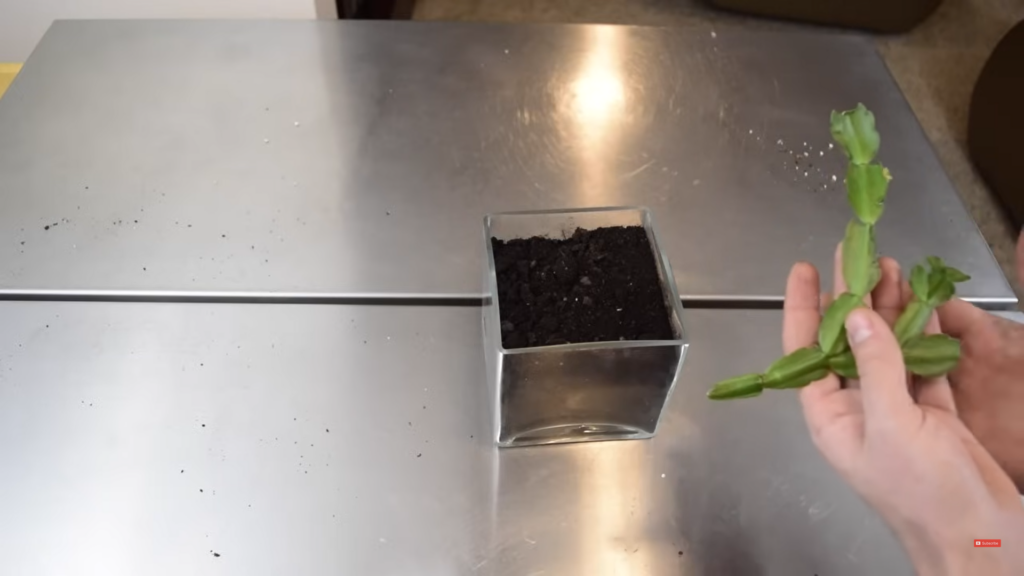
Choose healthy segments from the parent plant, ideally 3-4 segments long. Use a clean, sharp knife or scissors to minimize damage. Make the cut just above a stem node or joint.
Tip: Let the cuttings dry for 1-2 days in a cool, dry place. This helps to form a callus and reduces the risk of rot when rooting.
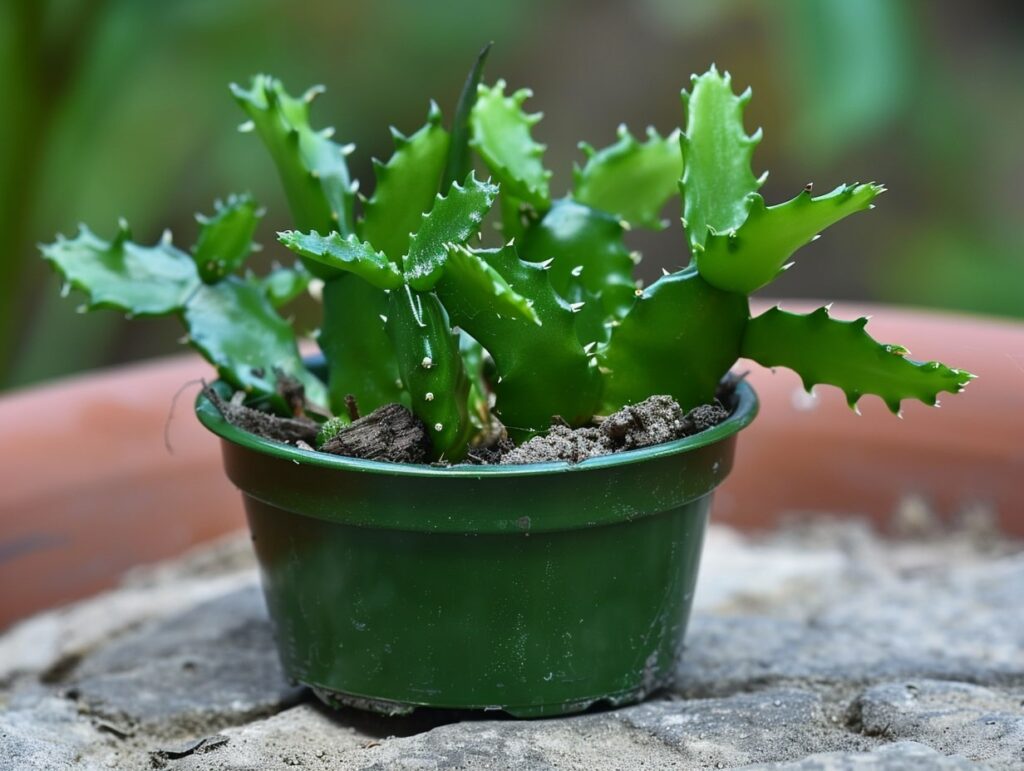
Rooting the Cuttings
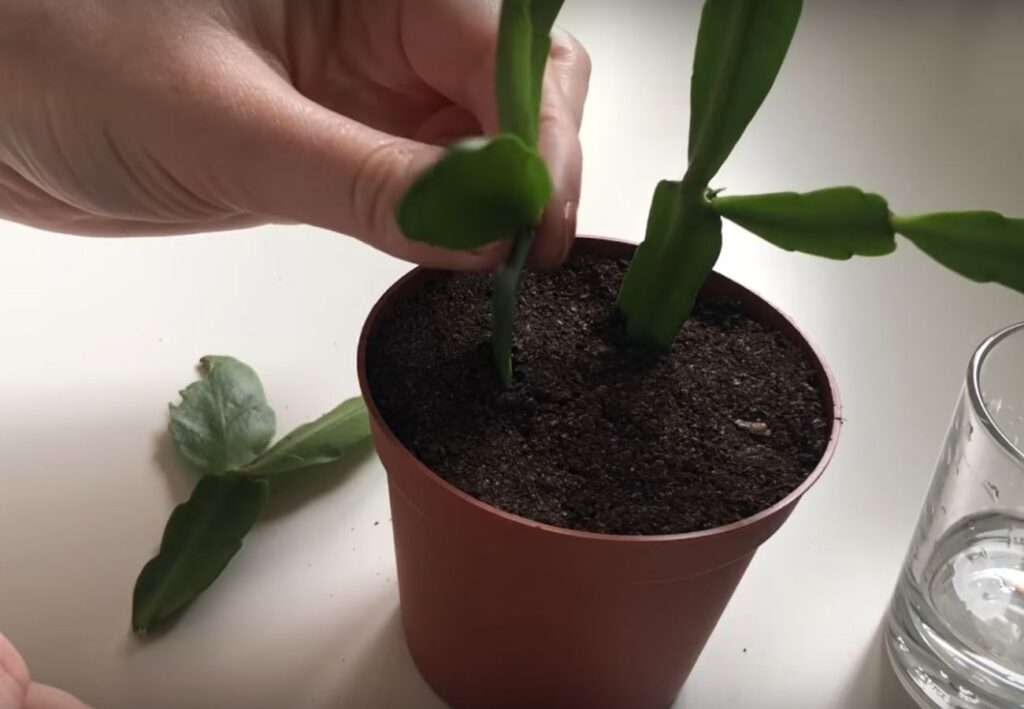
Prepare a small pot with a well-draining soil mix, such as a combination of cactus mix and perlite. Insert the cut end of the segment about an inch into the soil.
Water lightly to moisten the soil but avoid overwatering. Place the pot in a bright but indirect light. Keep an eye on the moisture level and water only when the topsoil feels dry.
Roots should develop within two to four weeks.
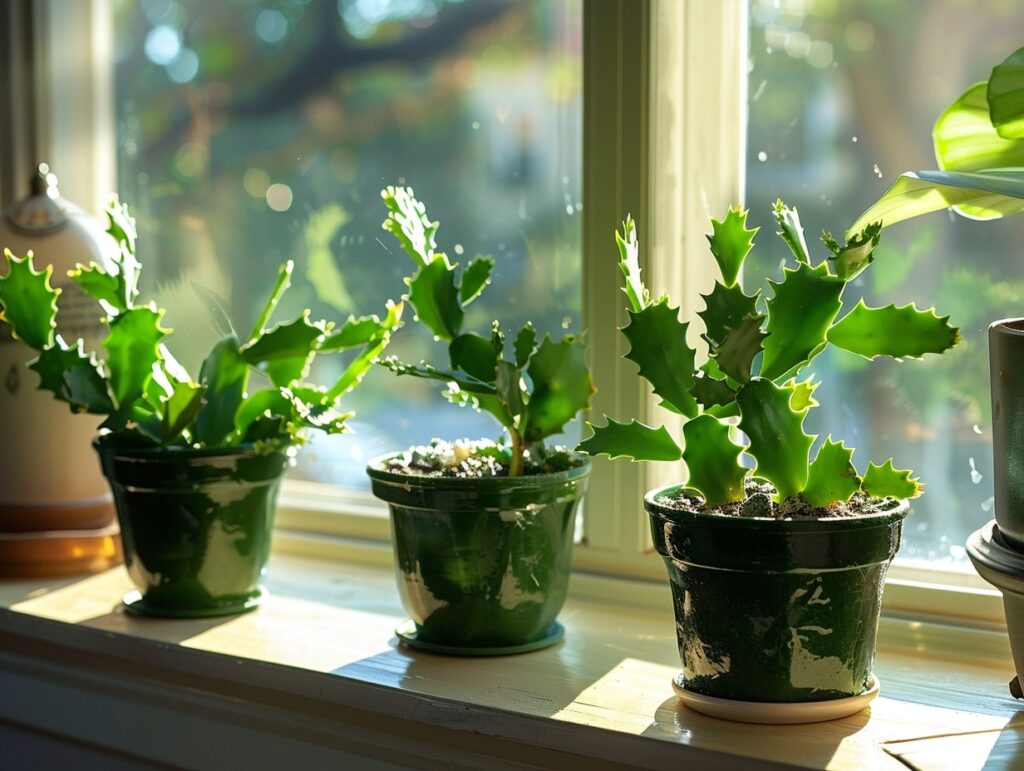
Planting Rooted Cuttings
Once roots are established, transfer the cuttings to a larger pot. Fill the pot with fresh, well-draining potting soil.
Plant the cuttings at the same depth they were rooting in. Firm the soil around them, and water it lightly to settle the soil. Position the pot in a bright spot with indirect sunlight.
Continue regular watering, allowing the soil to dry out slightly between sessions. Enjoy watching your new Christmas Cactus plants grow and eventually bloom.
Aftercare for Propagated Cuttings
Once your Christmas cactus cuttings have started to root, paying close attention to their watering, feeding, positioning, and light needs will ensure healthy growth and abundant blooms.
Watering and Feeding
Water your young cuttings sparingly. Keep the soil slightly moist but not waterlogged. A good rule of thumb is to water when the top inch of soil feels dry. Overwatering can lead to root rot and other issues.
In terms of feeding, start with a half-strength balanced liquid fertilizer once a month. It’s best to begin this regimen a few weeks after roots have formed. Using an organic fertilizer can help maintain soil health and encourage strong growth.
Positioning and Light Requirements
Place your propagated cuttings in a bright location, but avoid direct sunlight. Indirect light works best for Christmas cactus, as direct sunlight can scorch the leaves. A north or east-facing window is ideal.
Maintain a stable temperature between 60-70°F. This range promotes healthy growth and prepares the plant for future blooming. Avoid placing cuttings near drafts or heating vents, as sudden temperature changes can stress the plant.
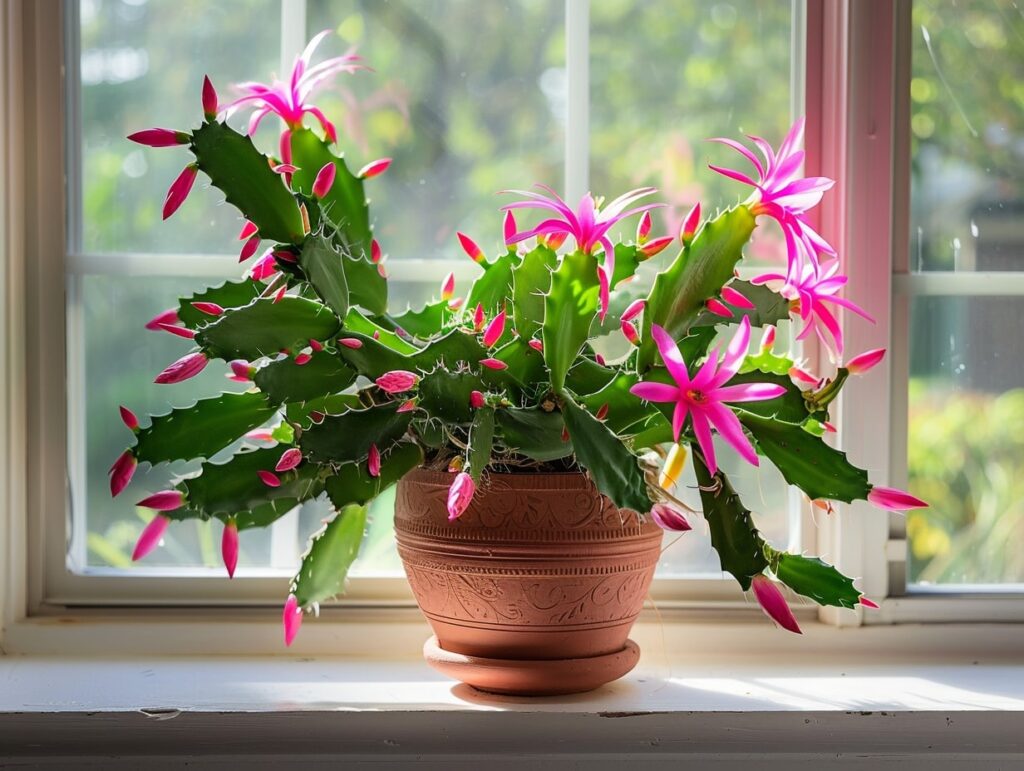
Encouraging Blooms in Young Plants
To get young Christmas Cactus plants to bloom, it’s important to control the environment and manage their growth cycles carefully. Proper temperature and humidity, along with well-timed growth phases, will foster healthy blooms.
Temperature and Humidity Control
Young Christmas Cactus plants thrive in temperatures between 60°F and 70°F. Keeping your plants in this range will support growth and budding. Cooler night temperatures, around 50°F, can help initiate bloom cycles.
Humidity is also key. Aim for humidity levels around 50-60%. If your home is dry, consider placing a humidity tray near the plants or using a room humidifier. Misting the plants lightly can also help maintain the right moisture levels.
Avoid placing the plants near drafts or heat sources. These can cause fluctuations in temperature and humidity that disrupt budding.
Managing the Growth Cycle
Understanding the growth cycle is crucial for encouraging blooms. Christmas Cactus plants require a period of dormancy, typically starting in September. Reduce watering and keep the plant in a cool place with little light for about six weeks.
After the dormancy period, increase watering and move the plant to a brighter location. Bright, indirect light is best.
Ensure the soil is well-draining. Waterlogged soil can prevent blooms. Use a balanced, low-nitrogen fertilizer monthly during the growing season (spring and summer).
Pruning helps as well. Trim the stems after blooming season to encourage new growth, which supports future flowering. Regular care routines lead to beautiful, consistent blooms.

Propagating your Christmas cactus is a straightforward and rewarding process that can bring vibrant holiday blooms to your home year after year. With these simple steps outlined above, even novice gardeners can successfully create new plants from cuttings.
Not only does this enhance your own collection, but it also provides a unique and thoughtful gift option for friends and family.
With proper care and attention to watering, feeding, and light requirements, your propagated Christmas cacti will thrive and bloom beautifully, adding festive cheer to any space.