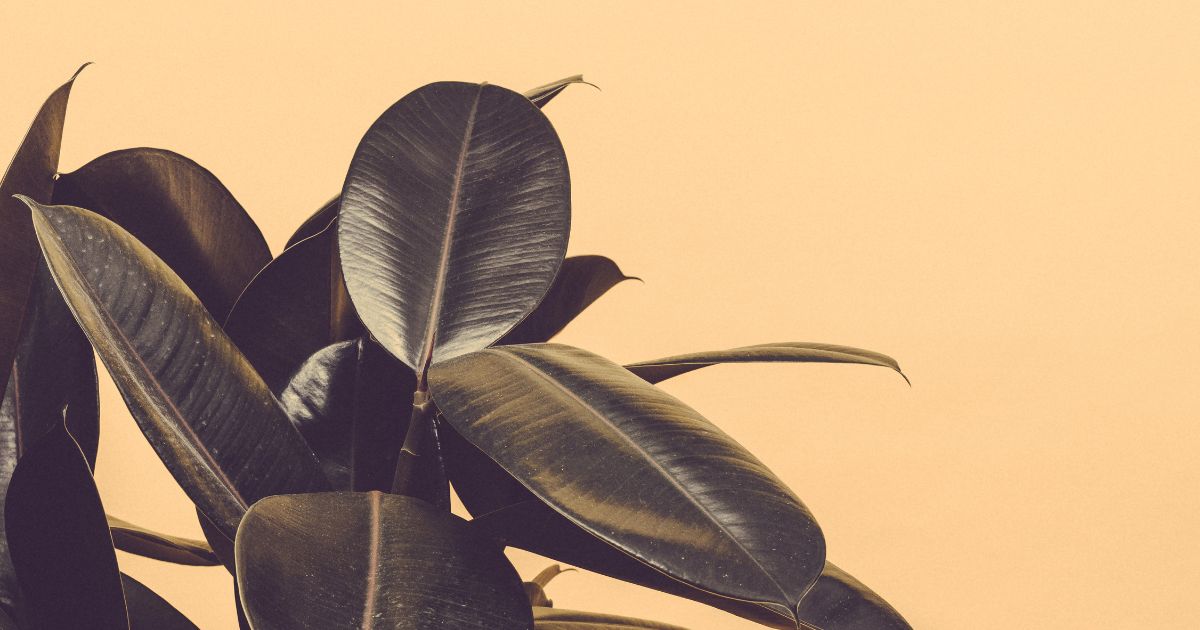
Rubber plants, with their bold, glossy leaves, are more than just a pretty face for your home décor – they’re the secret to transforming any space into a green oasis with minimal effort.
Imagine adding a touch of nature’s elegance that not only boosts your home’s aesthetics but also purifies the air you breathe. Intrigued? These versatile plants are perfect for both seasoned plant lovers and those who struggle to keep even a cactus alive!
The best part? Rubber plants are wonderfully low-maintenance. With just the right amount of bright, indirect light and watering when the top inch of soil dries out, you can watch your plant thrive with ease.
Plus, keeping an eye on its leaves will tell you everything you need to know about its care – yellow leaves, for example, signal a need for less water.
Ready to invite nature into your home with a plant that practically takes care of itself? Let’s dive into how you can nurture your rubber plant into a statement piece that will impress both you and your guests.
Understanding the Rubber Plant
Rubber plants are popular for their bold, broad leaves and easy-care nature. Explore the various species and delve into its rich history to fully appreciate this beloved houseplant.
Species and Varieties
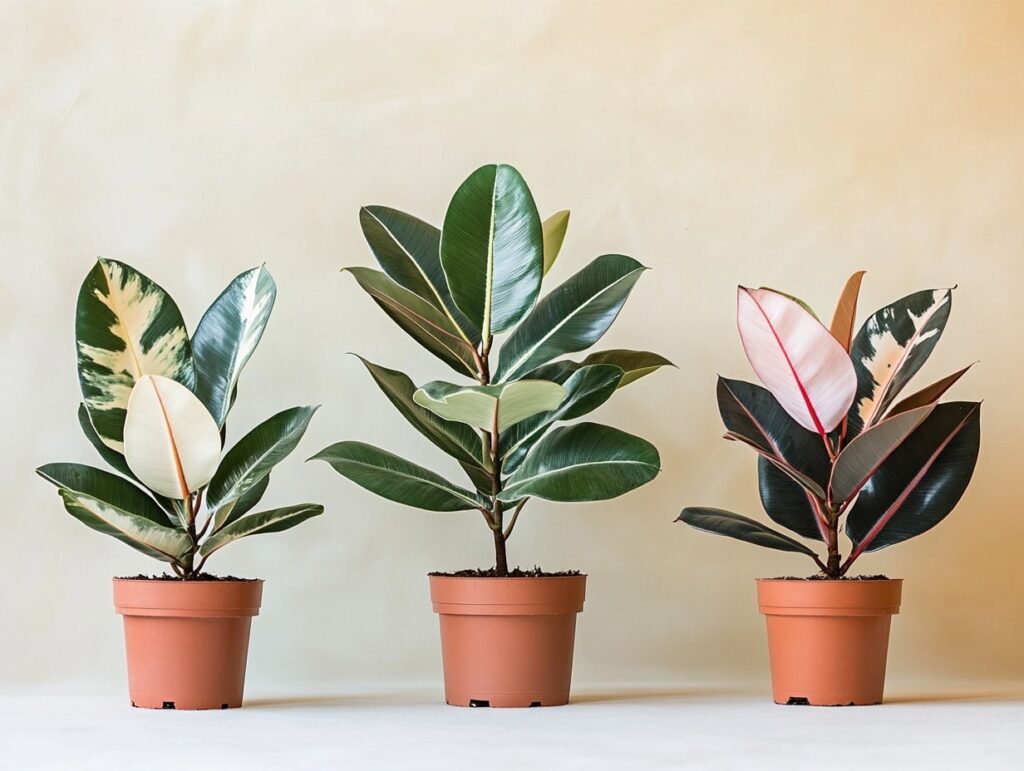
The most well-known rubber plant is the Ficus elastica. It features large, glossy leaves that can grow up to 12 inches long. There are several notable varieties:
- ‘Robusta’: Characterized by its sturdy growth and large leaves.
- ‘Tineke’: Known for its striking variegated foliage with shades of green, white, and pink.
- ‘Burgundy’: Popular for its deep, almost black leaves which add a dramatic touch.
Each variety offers unique aesthetic benefits, making the rubber plant a versatile choice.
History and Origin
The rubber plant originally hails from the rainforests of Southeast Asia, particularly in India and Malaysia. It was once a primary source of natural rubber before synthetic alternatives took over.
In the 19th century, it gained popularity as a houseplant, thanks to its adaptability to indoor environments. The plant’s robust nature made it an easy favorite among gardeners and botany enthusiasts alike.
Understanding its origins provides context to its preferred care conditions.
Getting Started with Your Plant
When you bring a rubber plant home, you’ll need to focus on selecting the right pot and preparing the best soil and fertilizer.
Selecting the Right Pot
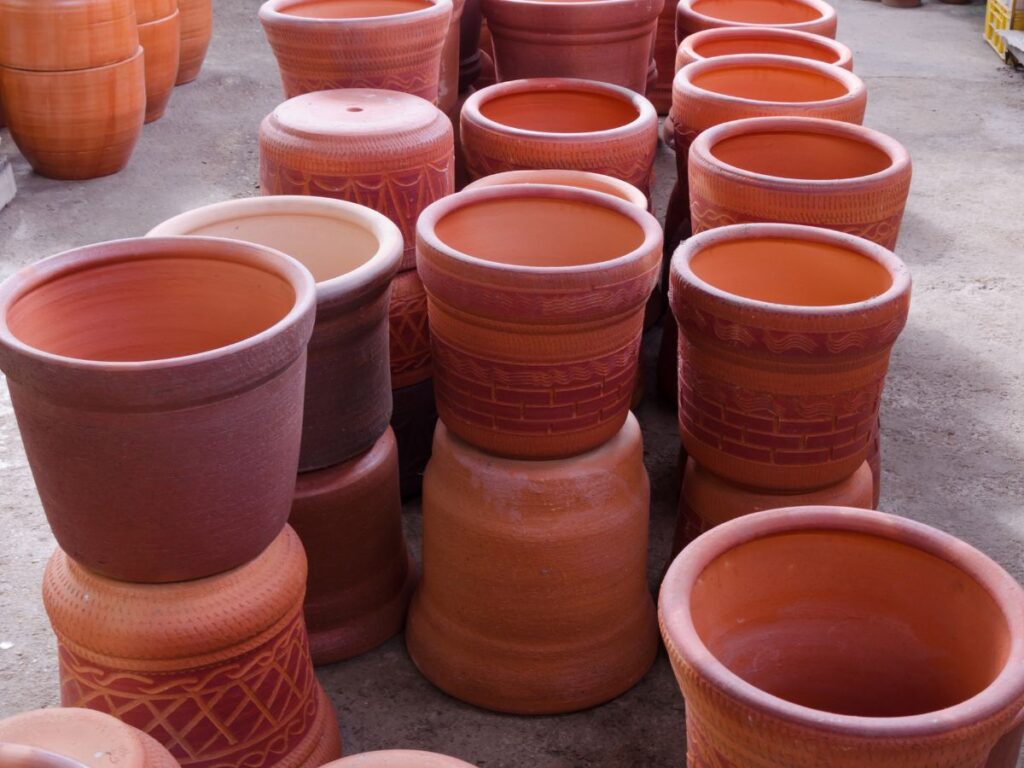
Choose a pot with good drainage to prevent waterlogging, which can harm your rubber plant’s roots. Terracotta pots are an excellent option as they are breathable and help remove excess moisture.
The pot size should be proportional to your plant’s size. For young plants, select a pot that’s 1-2 inches larger than the root ball. This allows room for growth without overwhelming it with too much soil.
If you’re repotting, ensure the new pot is only slightly larger than the current one to avoid water retention issues.
Choosing Soil and Fertilizer
Use a well-draining soil mix. A mix containing peat, perlite, and pine bark can work well. This combination retains enough moisture for the plant without causing waterlogging.
Fertilize your rubber plant every four weeks during the growing season (spring and summer) with a balanced, water-soluble fertilizer. A 10-10-10 or 20-20-20 fertilizer is suitable. Dilute it to half-strength to prevent over-fertilization. In winter, reduce fertilization as the plant’s growth slows.
Planting and Repotting Procedures
Rubber plants require proper planting and periodic repotting to thrive. Learn the essential steps for planting and repotting to ensure your rubber plant stays healthy.
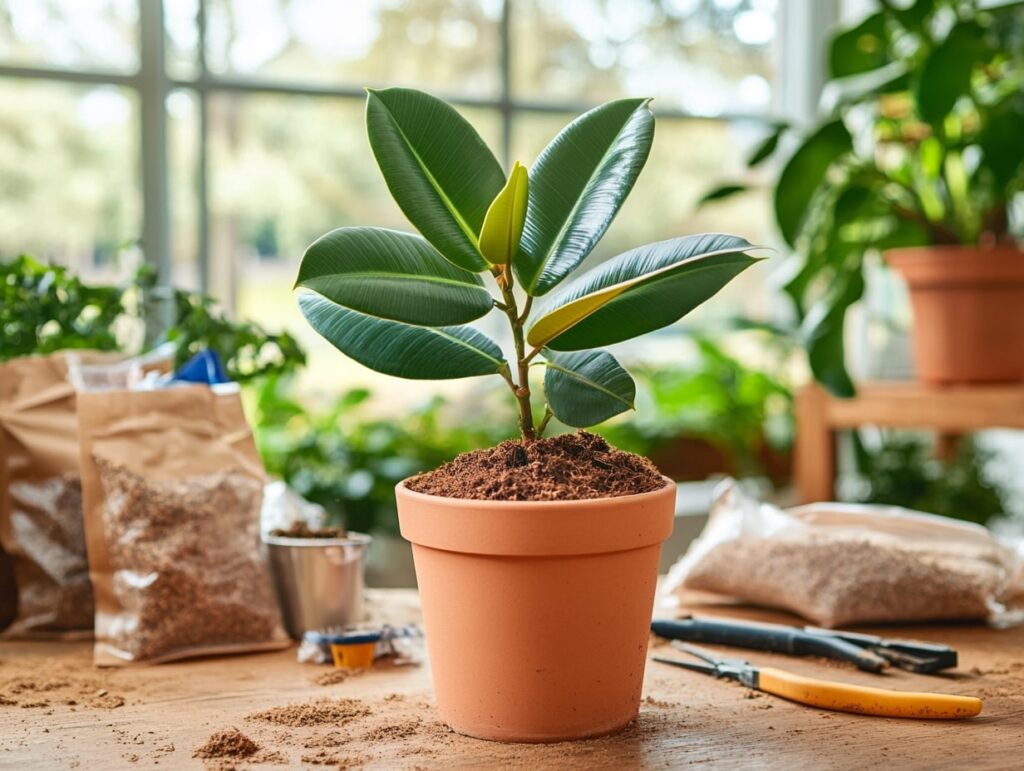
Step-by-Step Planting Guide
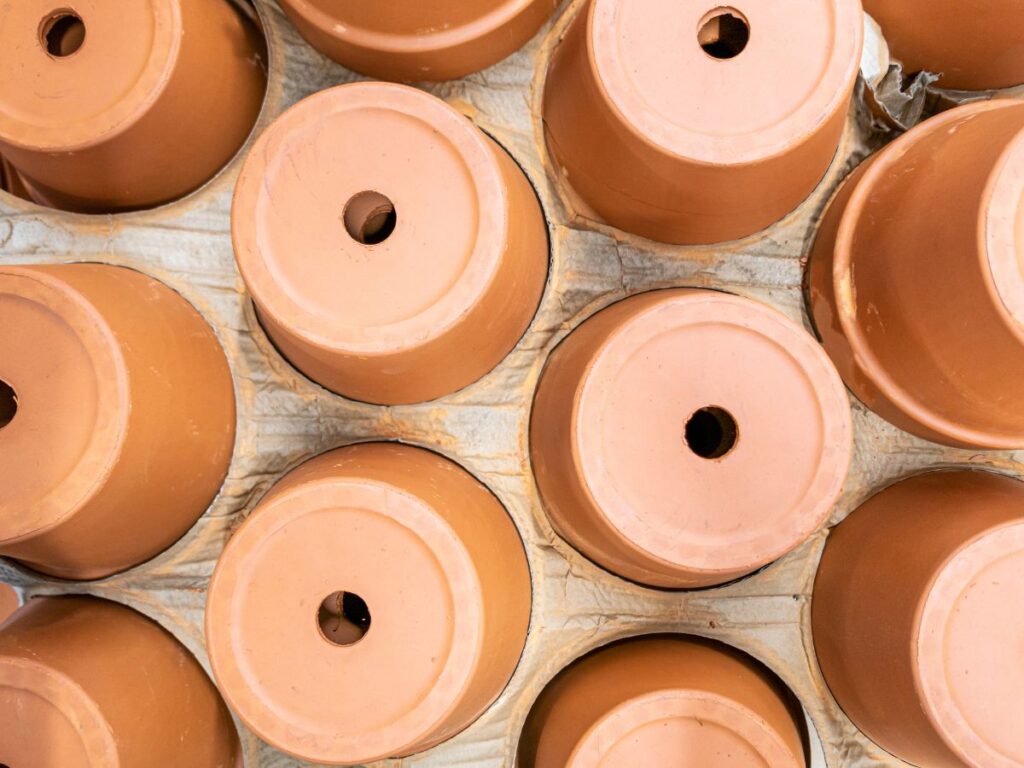
- Choose the Right Pot: Select a pot with drainage holes. It should be 1-2 inches larger in diameter than the plant’s root ball.
- Prepare the Soil: Use a well-draining potting mix. A mix of peat, pine bark, and perlite works well.
- Planting:
- Fill the pot with soil up to one-third.
- Place the rubber plant in the center.
- Fill the remaining space with soil, ensuring the root ball is covered.
- Press the soil gently to eliminate air pockets.
- Watering: Water thoroughly until water drains out of the bottom. Ensure the soil remains moist but not waterlogged.
- Placement: Place the pot in an area with bright, indirect light. Avoid direct sunlight as it can scorch the leaves.
Timing and Signs for Repotting
- When to Repot: Typically, repot every 1-2 years, ideally in spring. Younger plants may need repotting more frequently than mature ones.
- Signs Your Plant Needs Repotting:
- Roots are visible through drainage holes.
- Soil dries out quickly.
- The plant becomes top-heavy or roots are circling the root ball.
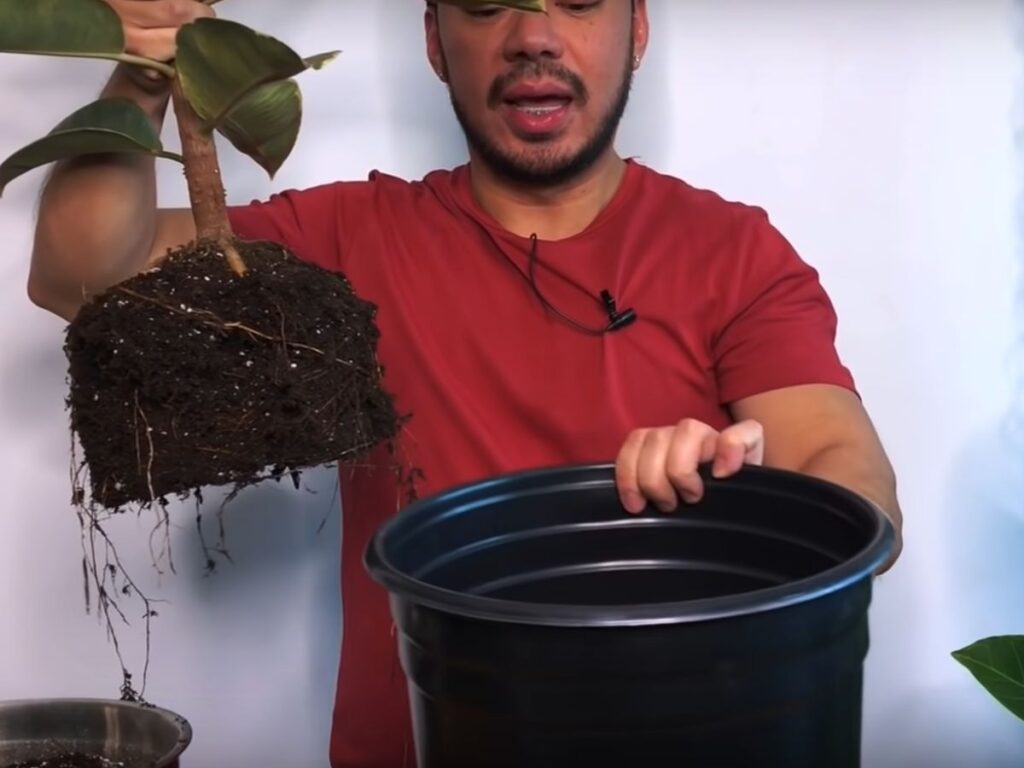
- Repotting Process:
- Water the plant a day before repotting.
- Gently remove the plant from its current pot.
- Inspect and trim any dead or overly long roots.
- Follow the same planting steps outlined earlier.
- Aftercare: Post-repotting, water the plant lightly. Place it in a shaded area for a few days to help it acclimate.
Daily Care and Maintenance
Rubber plants thrive with proper watering, pruning, and pest control. Follow these essential guidelines to ensure your rubber plant remains healthy and vibrant.
Watering Schedule and Techniques
Rubber plants prefer moist soil, but overwatering can be an issue. Water your plant when the top 1-2 inches of soil feel dry. Use room temperature water and ensure the pot has drainage holes to prevent waterlogging.
In summer, you may need to water every week. In winter, reduce watering to every two weeks. Misting the leaves can provide additional humidity, which the plant loves, especially in dry climates.
Consider placing a tray with pebbles and water beneath the plant to maintain humidity levels. Regularly check soil moisture to adjust your watering schedule as needed.
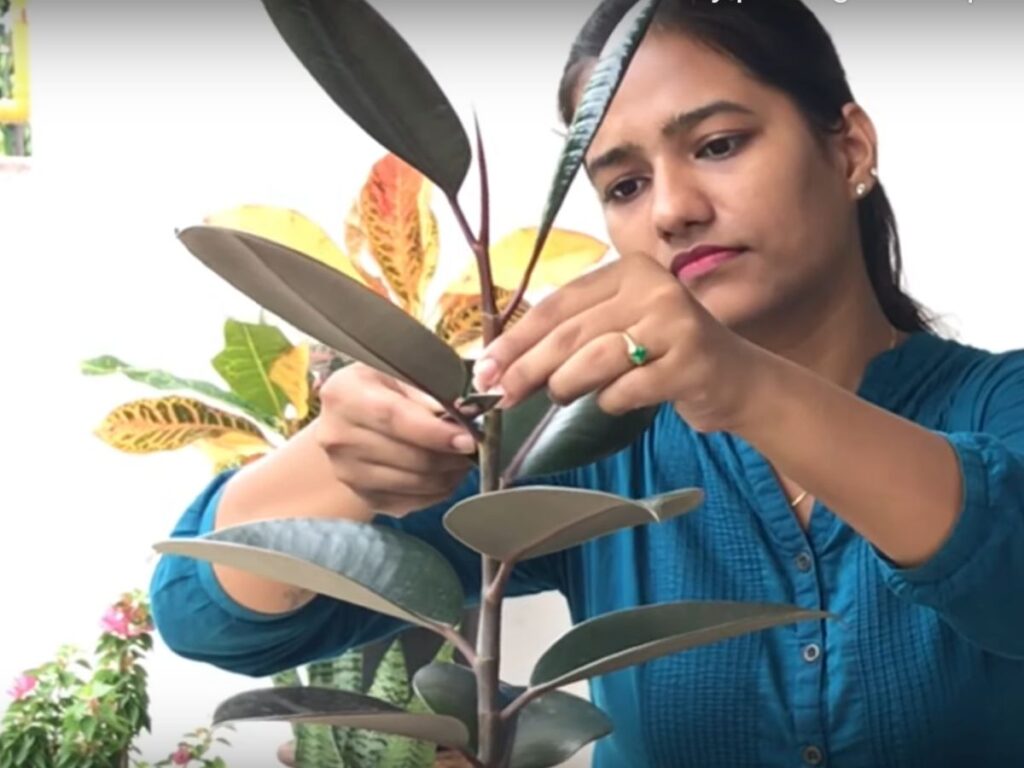
Pruning and Trimming Essentials
Pruning helps control the size and shape of your rubber plant. Regular trimming encourages bushy growth and removes dead or yellowing leaves. Use sharp, clean scissors or pruning shears to make precise cuts above a leaf node or branch junction.
Wear gloves to prevent sap from irritating your skin. Prune in spring or early summer, when the plant is growing actively. Remove any suckers that appear at the base to maintain the main stem’s strength. Trimming can also help manage leggy growth, promoting a fuller look.
Pest Prevention and Treatment
Rubber plants can attract pests like spider mites, mealybugs, and scale. Inspect your plant regularly, especially the undersides of leaves. Neem oil or insecticidal soap can effectively treat infestations.
Wipe leaves with a damp cloth to remove dust and watch for any pests. Introduce good airflow around the plant to prevent fungal issues. Quarantine new plants before placing them near your rubber plant to avoid cross-contamination.
For severe pest issues, consider using systemic insecticides, but start with natural solutions. Consistent care and cleanliness play crucial roles in keeping your rubber plant pest-free.
Environmental Conditions for Growth
To grow a healthy rubber plant, focus on providing the right light, temperature, and humidity. This ensures optimal growth and vibrant foliage.
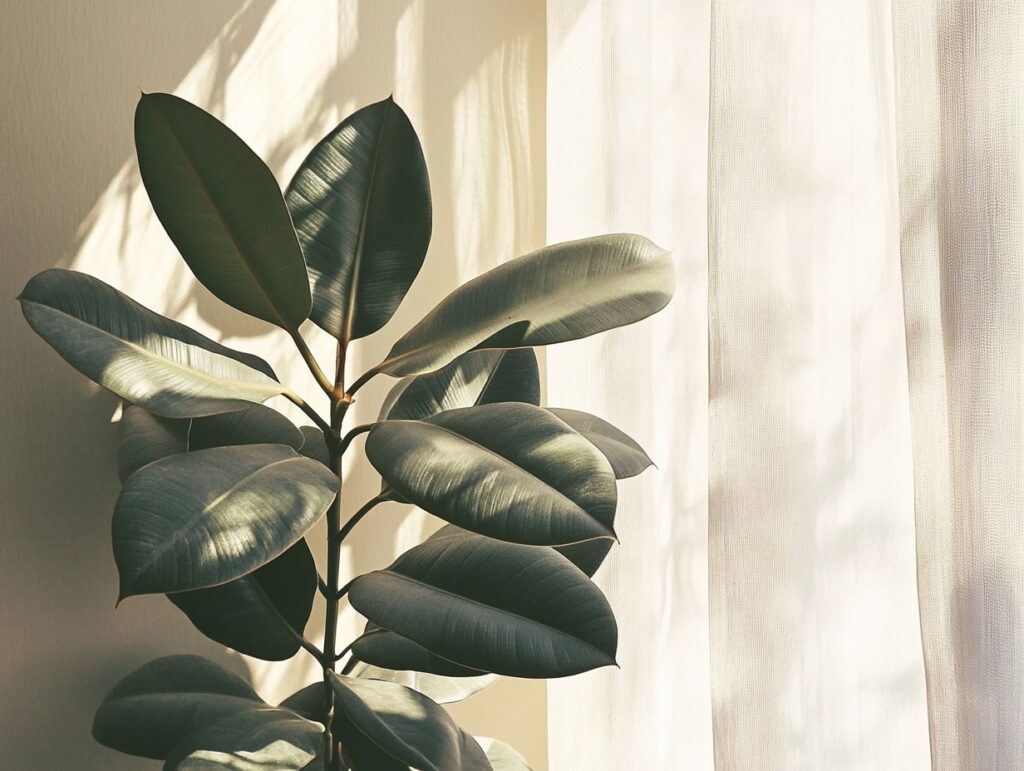
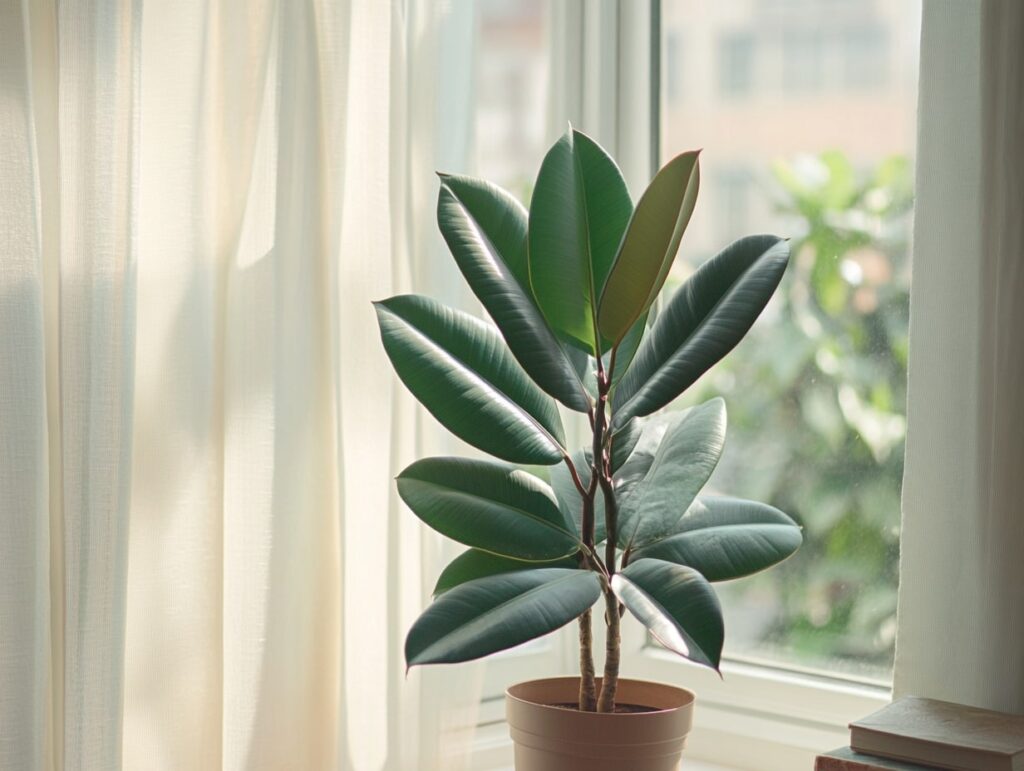
Light Requirements
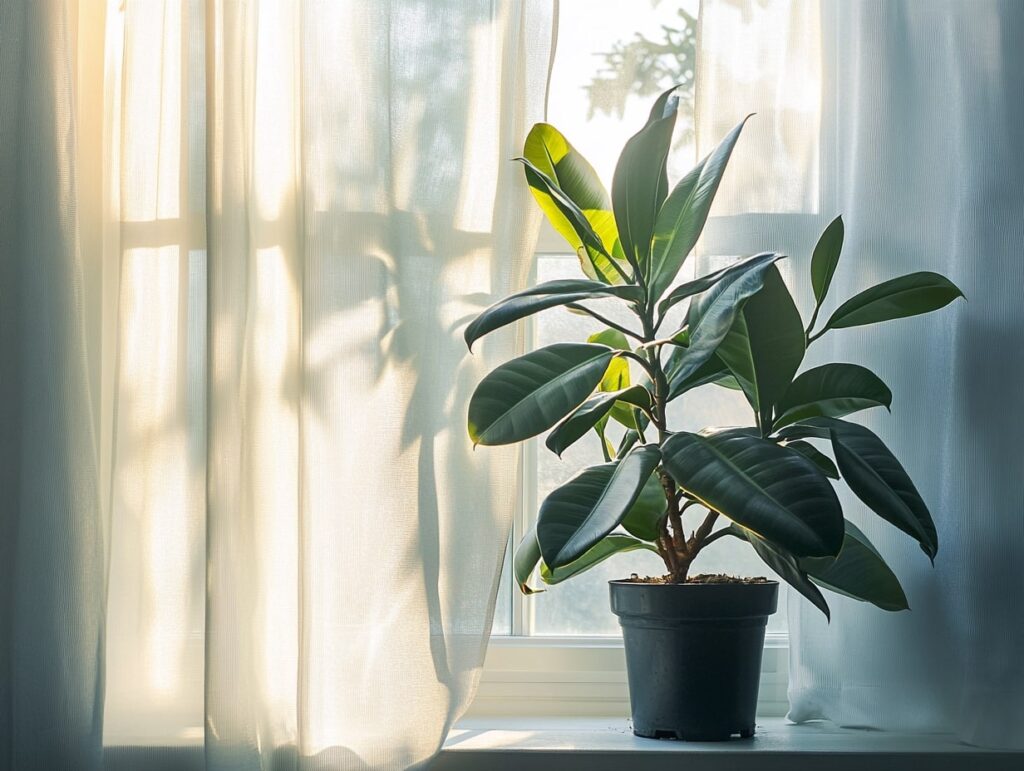
Rubber plants thrive in bright, indirect light. Too much direct sunlight may scorch the leaves, while inadequate light can cause the plant to become leggy. Place your plant near a window with filtered light or use sheer curtains to diffuse the sunlight. If indoor lighting is insufficient, consider using grow lights to supplement.
Temperature and Humidity Control
Rubber plants prefer temperatures between 60-75°F (15-24°C). Avoid exposing them to cold drafts or sudden temperature changes, which can stress the plant. Maintain humidity levels around 40-50%. In dry environments, increase humidity by misting the leaves, using a humidity tray, or placing a humidifier nearby.
Troubleshooting Common Issues
Rubber plants can face certain issues like yellowing leaves or stunted growth. Understanding the underlying causes and remedies can keep your plant thriving.
Yellowing Leaves and Drooping
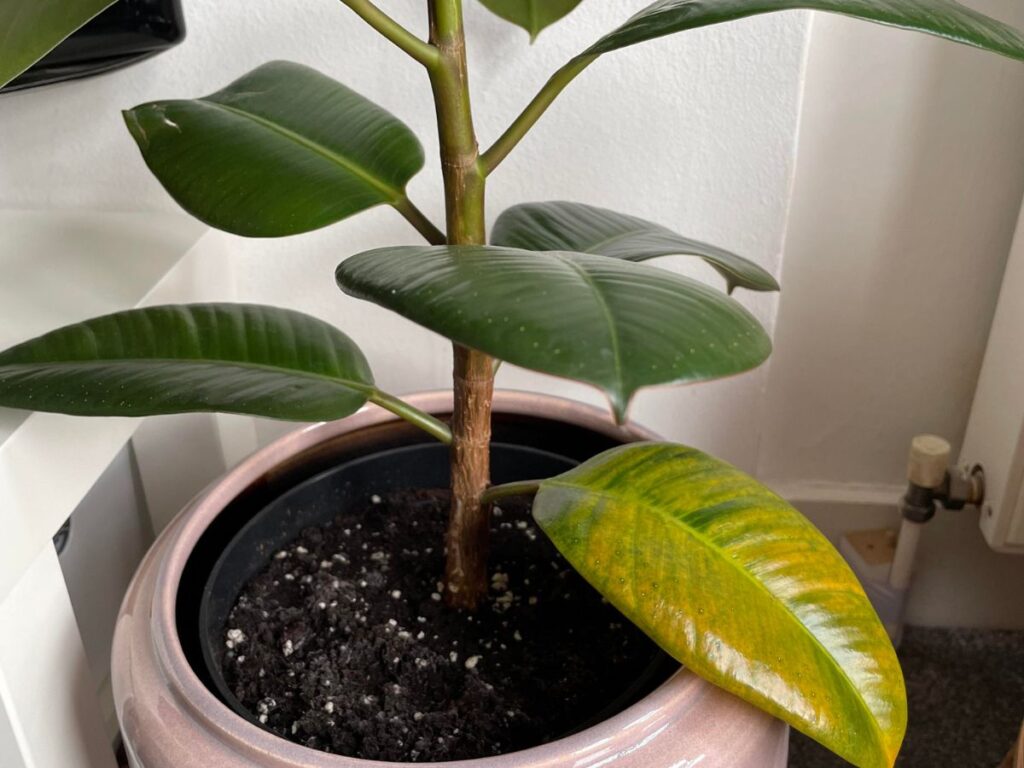
Yellow leaves and drooping can indicate issues with water or light.
Watering: Overwatering or underwatering often causes yellowing. Ensure the top inch of soil dries out before watering again.
Light: Insufficient light can also lead to yellow leaves. Place your plant in bright, indirect light.
Pests: Check for pests like spider mites. Treat with insecticidal soap if needed.
Stunted Growth
Stunted growth may be due to several factors like light, nutrients, or pot size.
Light: Rubber plants need bright, indirect light for optimal growth.
Nutrients: Feed your plant with balanced fertilizer during the growing season.
Pot Size: If roots are crowded, consider repotting into a larger pot. This allows more space for roots and promotes growth.
Taking these steps should help address these common issues and keep your rubber plant healthy.
Rubber plants are the perfect blend of beauty and simplicity, making them an ideal choice for any indoor space. Their bold, glossy leaves not only add a touch of elegance but also serve as natural air purifiers, enhancing your living environment.
With minimal effort, you can enjoy a lush, thriving plant by providing the right light, proper watering, and occasional maintenance like pruning and pest control.
Whether you’re a plant enthusiast or a beginner, the rubber plant’s easy-going nature ensures that it will flourish under your care, adding life and vibrancy to your home for years to come.