Sage isn’t just any herb – it’s a fragrant powerhouse that can elevate your culinary creations to new heights. But here’s the secret: timing is everything when it comes to harvesting sage for maximum flavor.
The best time to pick those aromatic leaves is in the morning, right after the dew dries but before the midday sun takes hold, locking in the herb’s essential oils.
Harvesting sage the right way not only boosts its flavor but also encourages the plant to thrive all season long.
Whether you’re drying it for future use or crafting with it, mastering the art of sage harvesting will ensure this versatile herb is always ready when you are.
Identifying Maturity
Harvesting sage at the right time is crucial to ensure the best flavor and potency. You should pay attention to both the maturity of the plant and the seasonal timing to maximize your yield.
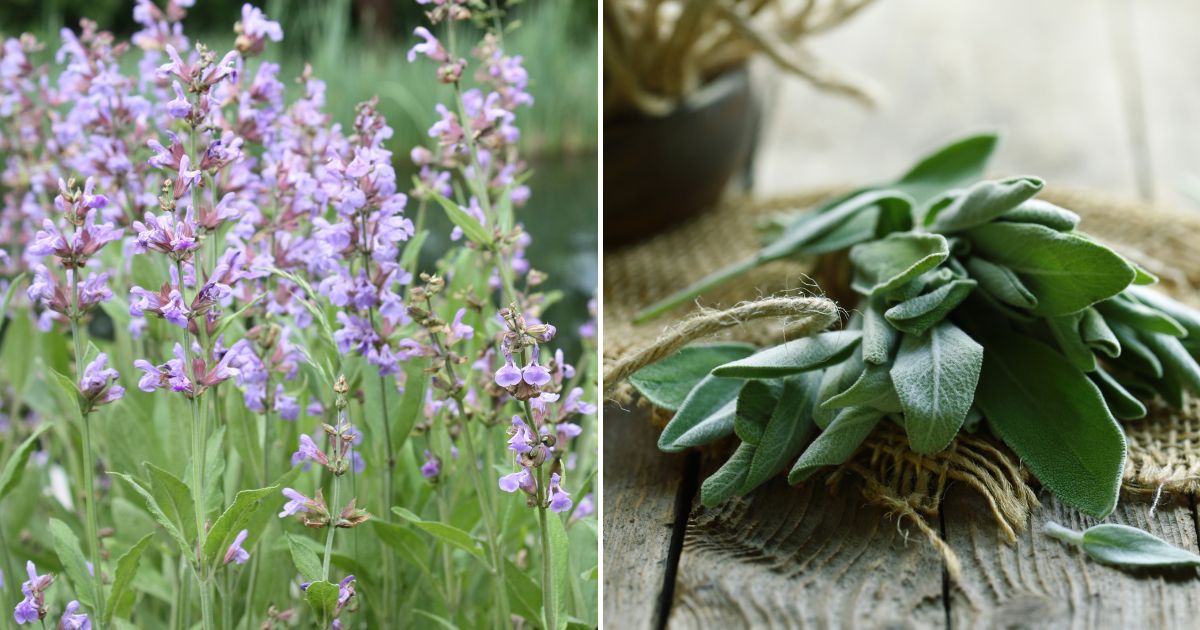
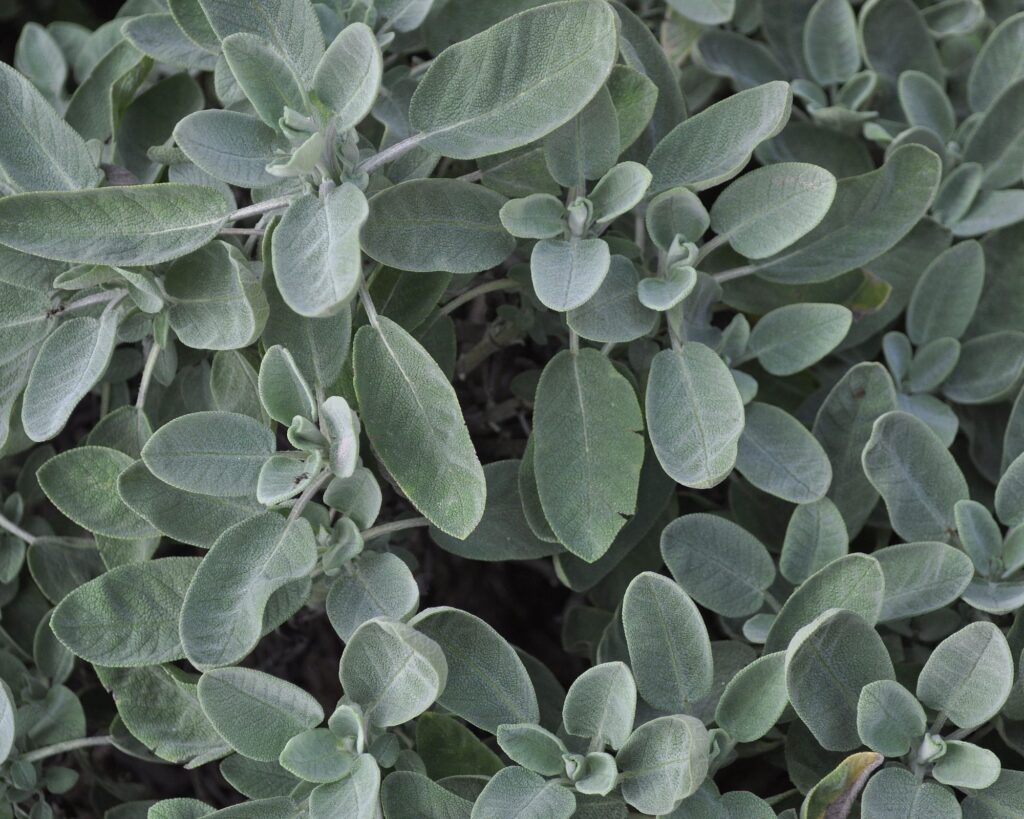
Look for sage leaves that are fully grown but not overly mature. Leaves should be green, firm, and free of yellowing or wilting.
Young leaves might be less potent, while older ones can lose flavor and become coarse. Check that the leaves are around four to five inches long, as this is often the sweet spot for flavor.
Regularly inspect your sage plants for new growth. This ensures that you only pick the leaves at their prime, leading to a better harvest overall.
Additionally, you should consider the size and aroma; mature leaves often have a stronger scent when gently crushed between your fingers.
Seasonal Timing
The best season for harvesting sage begins in late spring and extends through early fall. This period allows the leaves to mature properly in warm sunlight.
If you live in a region with mild winters, you may be able to extend the harvesting period mildly. The middle of the day, preferably after any morning dew has dried, is a good time for picking as the oils in the leaves are most concentrated.
Avoid harvesting during rainy or overly humid days. Moisture can impact the drying process later. Keep an eye on weather forecasts to plan your harvesting around dry spells.
Proper Cutting Methods
When harvesting sage, focus on using the right cutting methods and tools to ensure the herb stays healthy and continues to grow. Ensure clean cuts to prevent damage and encourage fresh growth for future harvests.
Begin harvesting sage by selecting mature leaves. These are usually fuller and have a more pronounced, silvery-green color.
Early morning, after the dew has dried but before the day gets too warm, is the perfect time for harvesting, as the oils are at their peak.
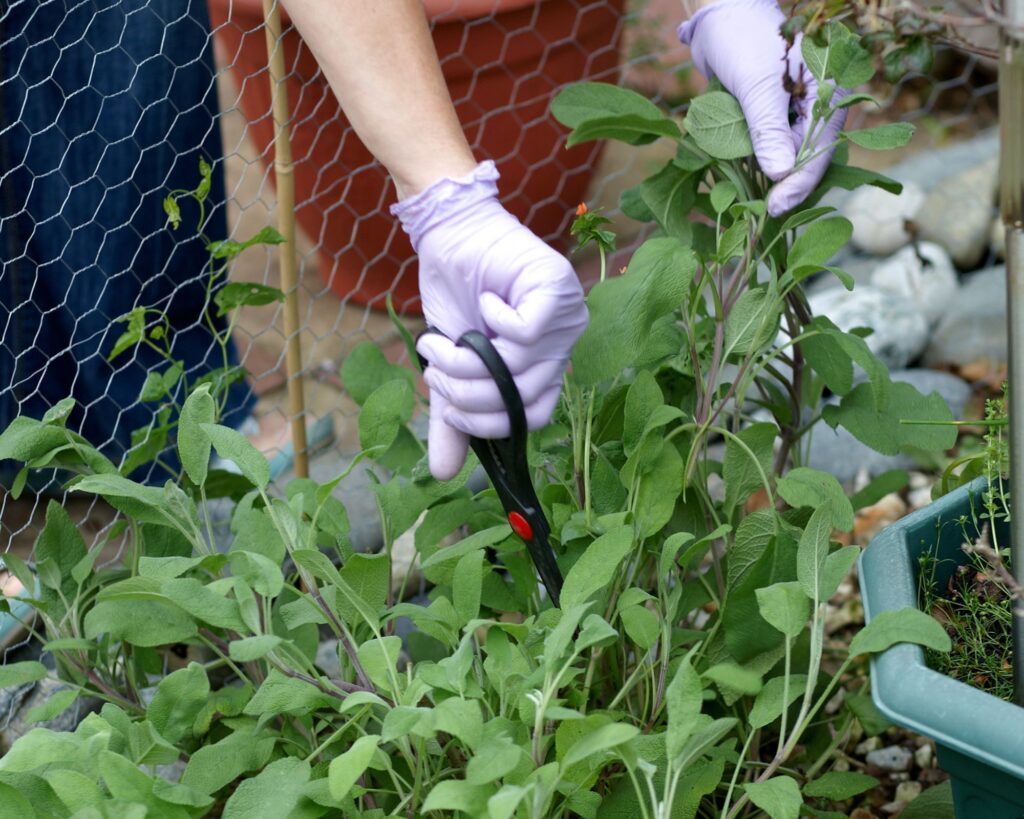
Use sharp scissors or pruning shears to make clean cuts. Cut just above a leaf node, ensuring you leave enough of the plant for it to thrive. This encourages bushier growth and a continuous supply of fresh sage.
Avoid tearing as this can damage the plant.
Regular pruning is essential to maintaining the health of your sage plant. Harvesting in this manner not only provides you with a fresh supply but also keeps the plant tidy and less prone to disease.
Tools for Harvesting
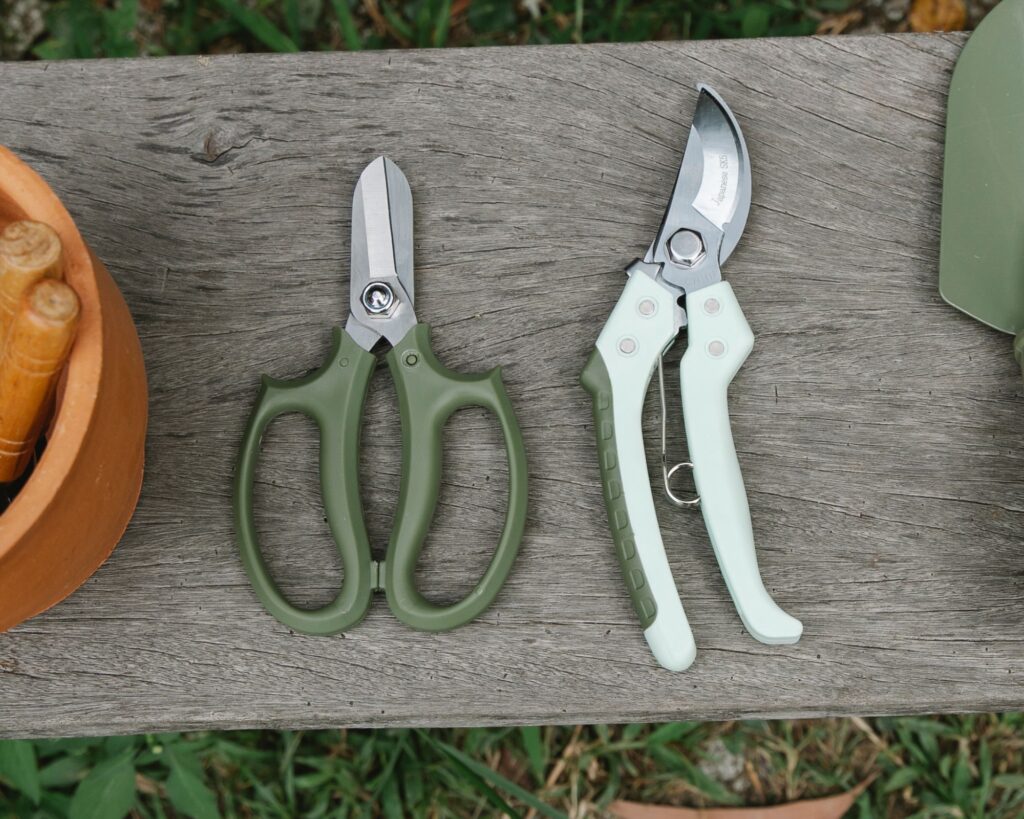
The tools you choose for harvesting sage can significantly impact your success. Select sharp, clean scissors or pruning shears to ensure precise cuts. Sharp tools minimize damage and help maintain plant health.
It’s important to sanitize your tools before each use. This prevents the spread of any potential plant diseases. A quick dip in rubbing alcohol or a solution of one part bleach to nine parts water will suffice.
Consider investing in ergonomic tools. These can prevent hand fatigue, especially if you’re working with a larger sage patch. A small basket or container nearby can be handy to collect your cuttings without damaging them.
Cleaning and Bundling
To get started, make sure your sage is clean and bundled correctly, and find an ideal drying location. These steps are crucial to maintaining the scent and essential oils in your dried sage.
Begin by gently rinsing the sage leaves in cool water. This helps remove dirt and any tiny insects. Pat them dry carefully with a clean towel, ensuring they’re not too wet, as excess moisture can lead to mold during drying.
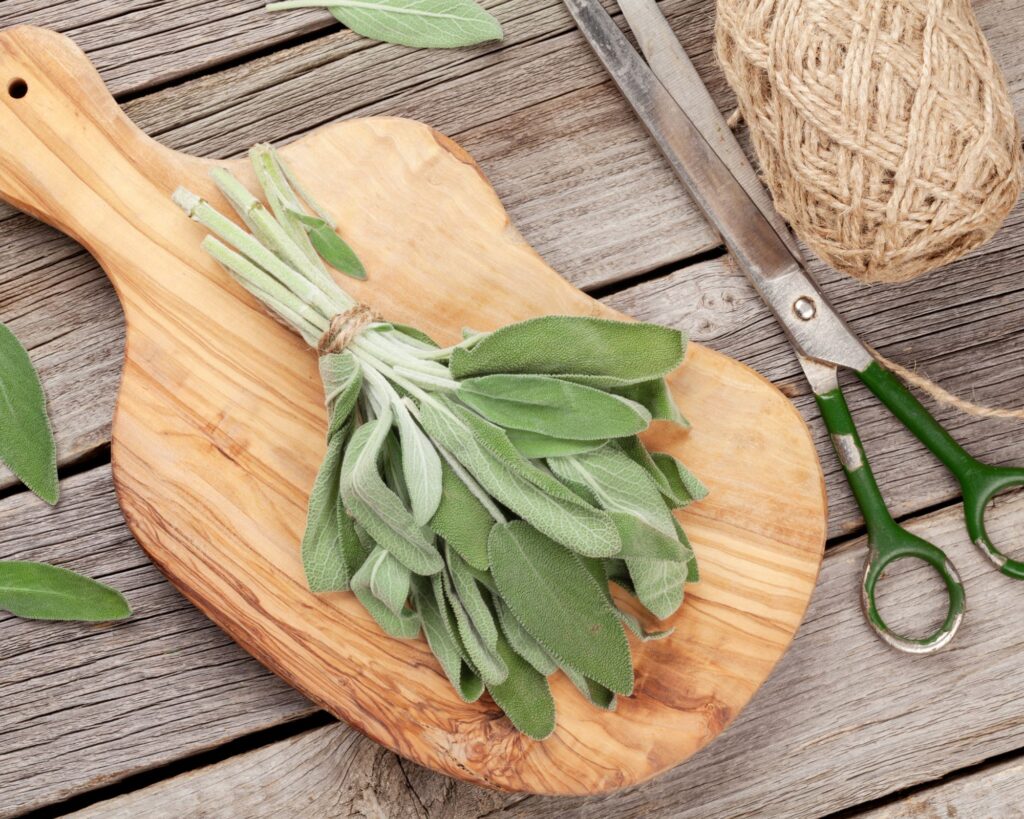
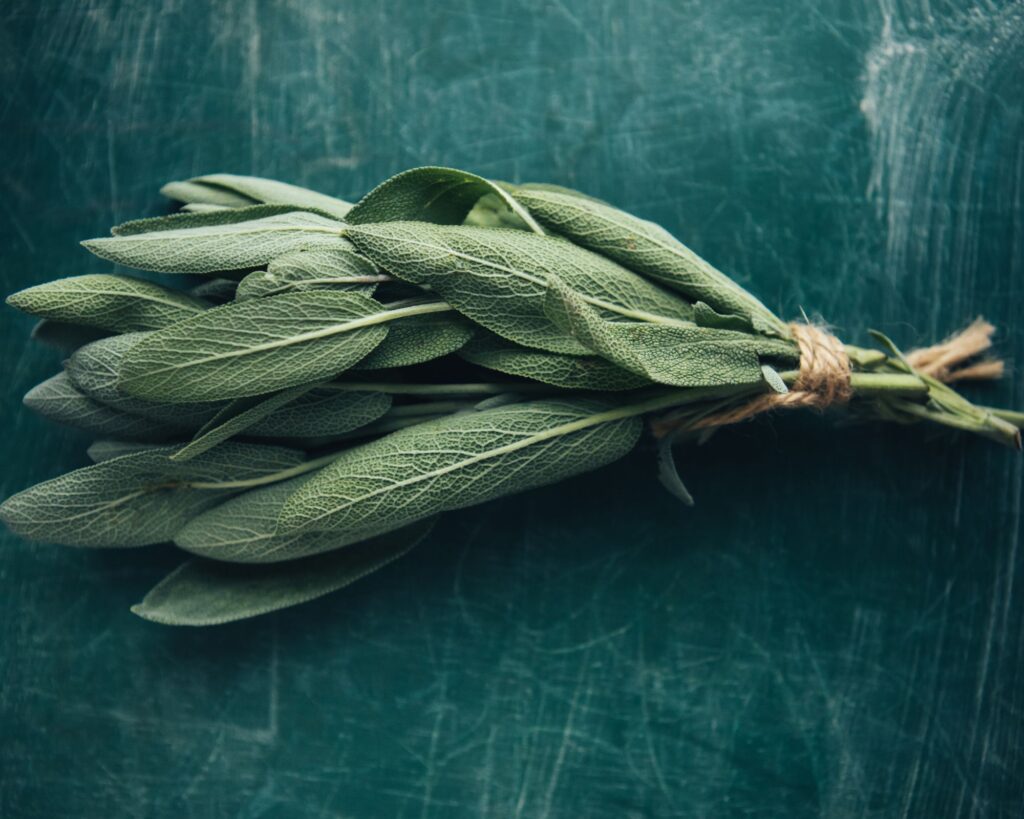
After cleaning, gather small bunches of stems, about five to ten stems per bundle. Secure the stems with rubber bands or twine. Make sure bundles aren’t too bulky so air can circulate well.
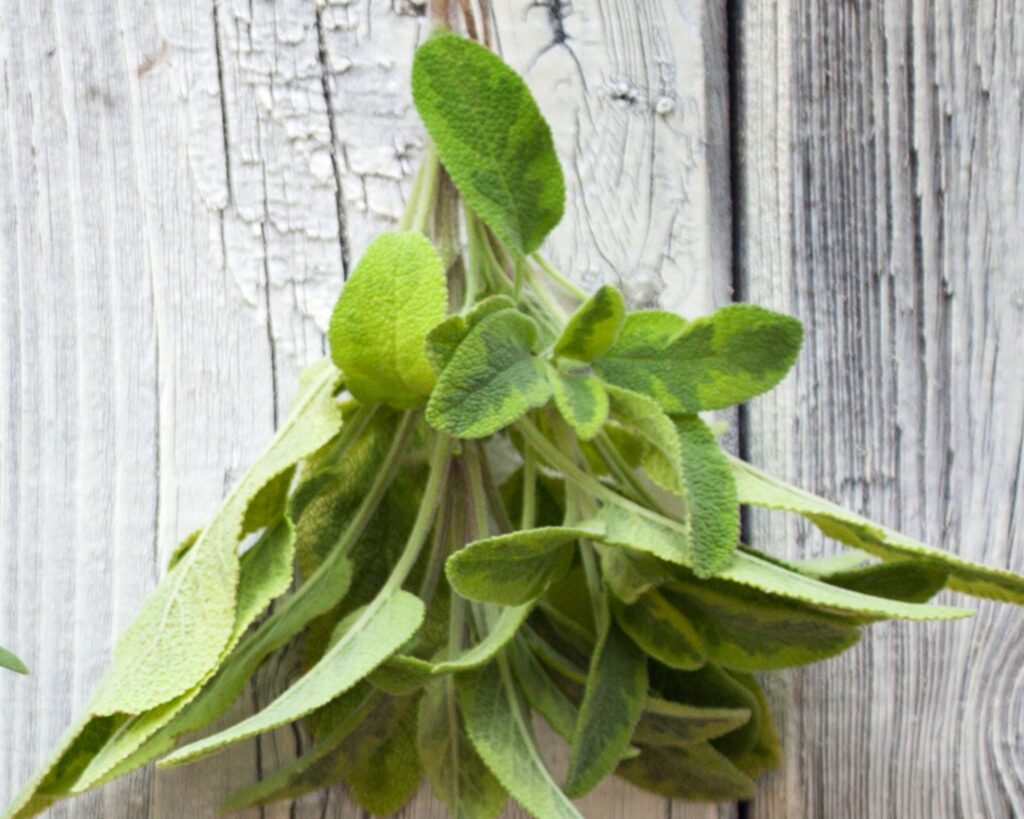
Hang the bundles upside down in a shaded area. Proper airflow and a little patience will preserve the herbs beautifully.
Choosing a Drying Location
A warm and dry place is ideal for drying sage. Consider an attic, shed, or well-ventilated corner of your home. Avoid direct sunlight as it can cause the sage to lose color and flavor.
Humidity is not your friend in this process. If your environment is humid, a dehydrator set to low temperature could work wonders.
Proper ventilation is vital, so ensure the area has good air circulation. Fans can be helpful, but it’s crucial to keep them on a low setting to avoid scattering the leaves. This helps your sage dry evenly and maintains its delightful fragrance.
Air-Drying Sage
Successfully drying sage ensures that you retain its robust flavor and aroma for culinary use. Learn effective methods to air-dry or use an oven, and how best to store your dried sage to maintain its quality.
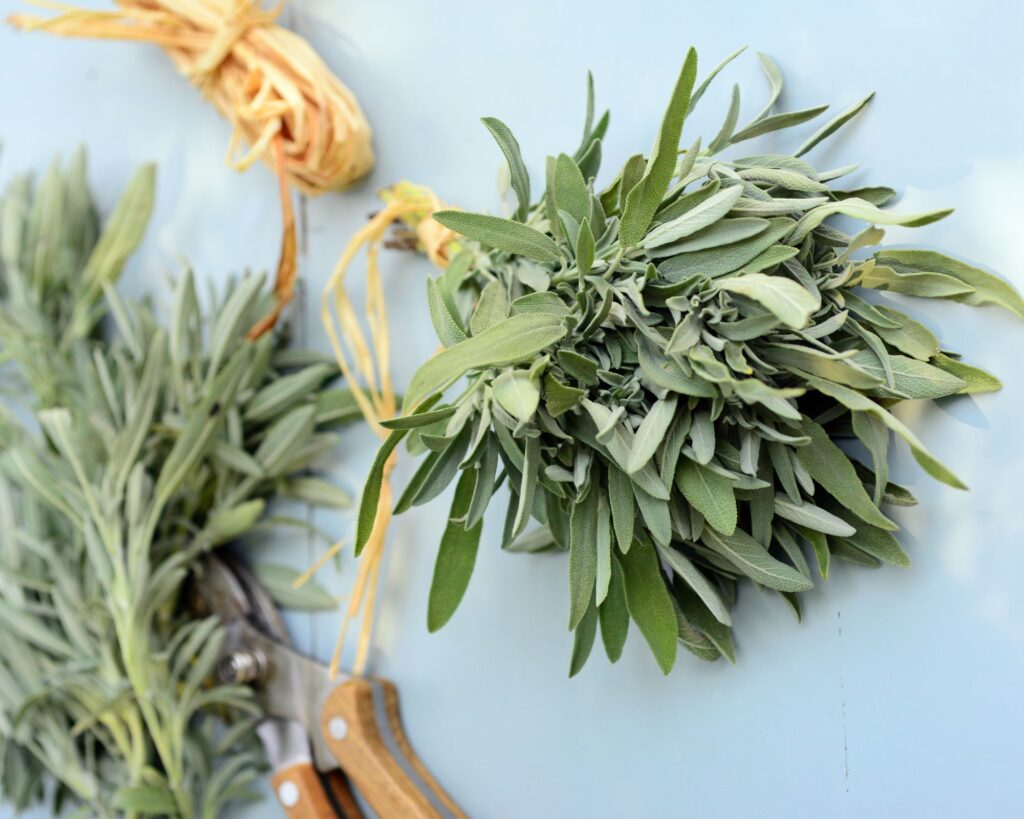
For a traditional approach, air-drying is straightforward and effective. Begin by gathering fresh sage sprigs and gently washing them to remove any dirt. Pat them dry with a towel. Bundle 5-10 sprigs together, securing them with a rubber band or string.
Hang these bundles upside down in a warm, dry, and well-ventilated space out of direct sunlight. A paper bag with holes can be placed over the bundles to protect them from dust and pests. This method can take about one to two weeks, depending on humidity levels.
Once the leaves are crisp and dry, they’re ready for storage.
Oven-Drying Technique
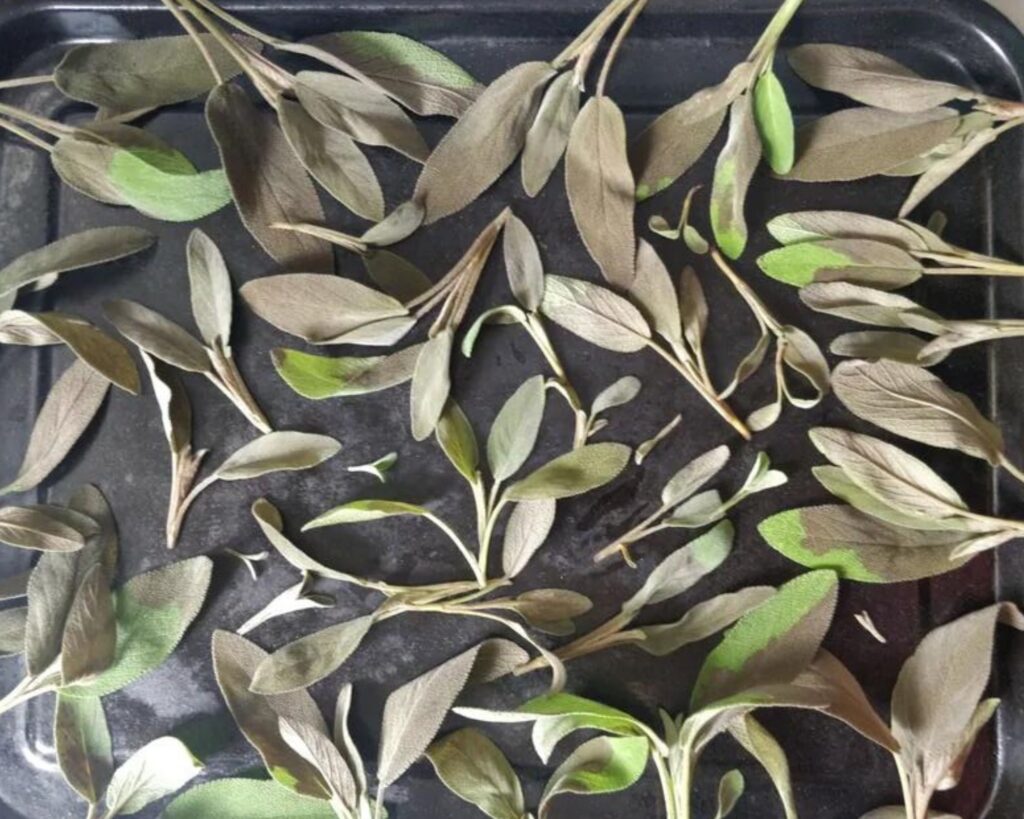
If you’re looking to dry sage quickly, the oven method is your best bet. Preheat your oven to the lowest temperature setting, often around 180°F (82°C). Arrange the sage leaves in a single layer on a baking sheet lined with parchment paper.
Place the sheet in the oven, leaving the oven door slightly ajar to allow moisture to escape. Check the sage every 30 minutes. It usually takes up to two hours. When the leaves crumble easily, they’re done. Let them cool before proceeding with storage.
To keep your dried sage fresh and aromatic, storing it properly is key. Remove the leaves from the stems and discard any large stems. Store the leaves whole or crushed in airtight containers to retain flavor.
Mason jars or resealable bags work well. Keep them in a cool, dark place to extend shelf life – ideally away from heat and light sources. Use labels with harvest dates to track freshness.
Properly stored, your dried sage can stay flavorful for up to a year. Enjoy the vibrant taste it adds to your dishes!
Culinary Uses

Sage, with its earthy aroma, elevates dishes and offers health benefits. Fresh sage brings vibrant flavors, while dried sage offers convenience and a concentrated taste.
When cooking, fresh sage adds a bright flavor to dishes like chicken, pork, or pasta. You can chop its soft leaves and sprinkle them in soups or salads for a burst of aroma.
Dried sage, with a more intense flavor, is best for roasting meats or seasoning stuffing. It holds up well under heat, making it perfect for slow-cooked recipes. Often, you’ll use less dried sage than fresh due to its stronger taste.
Use fresh sage sparingly to avoid overpowering other flavors. Consider pairing fresh sage with rosemary and thyme for a delightful blend.
Tip: When substituting, use one teaspoon of dried sage for every tablespoon of fresh sage. This simple adjustment keeps the taste balanced.
Medicinal and Aromatic Applications

Sage offers benefits beyond the kitchen. It’s known for its soothing properties when brewed as tea, aiding digestion or providing a calming effect.
Essential oils in sage can improve mood and enhance mental clarity. Many people burn sage to cleanse spaces or use its essential oil in diffusers for a relaxing environment.
For topical use, sage-infused oils can help with minor skin irritations. Just ensure a patch test to avoid sensitivity reactions. Enjoy sage in a soothing bath by adding a handful of dried leaves for a fragrant, relaxing soak.
You might find its aroma beneficial in aromatherapy practices, with claims of reduced stress. Remember to consult with a healthcare provider for medicinal use.