Achieving a flawless lawn requires attention to detail and the right techniques.
In this guide, we’ll explore 12 simple tricks that can help you level your lawn effectively, ensuring a smooth, professional finish.
Whether you’re dealing with small dips or significant mounds, these tips will guide you through the process with ease.
1. Mow Before You Level
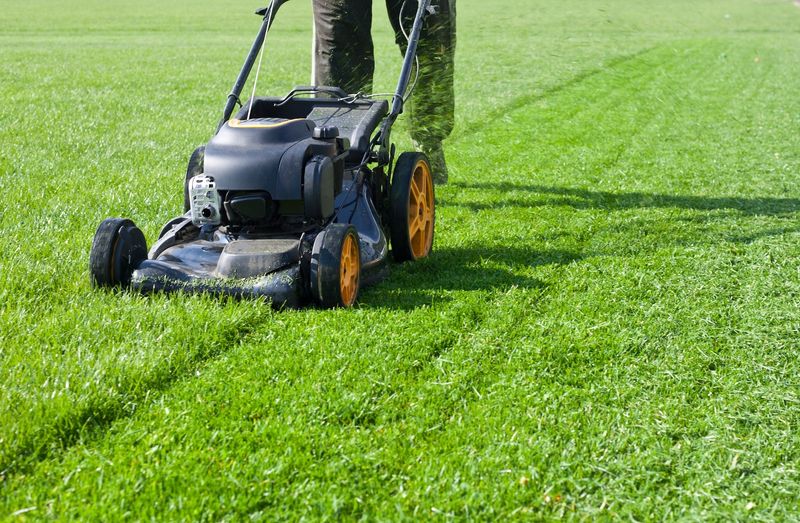
Before starting the leveling process, mowing your lawn short is key. This approach not only reveals any uneven areas but also simplifies the task ahead. However, take care not to scalp the lawn, as this can stress the grass.
Keeping it slightly longer than the shortest setting helps maintain its health. Once mowed, closely inspect the lawn to spot problem areas. Walking the lawn methodically ensures nothing is overlooked.
As the grass is shorter, the leveling process becomes more manageable, allowing you to address any inconsistencies with precision. This first step lays the groundwork for a smooth lawn.
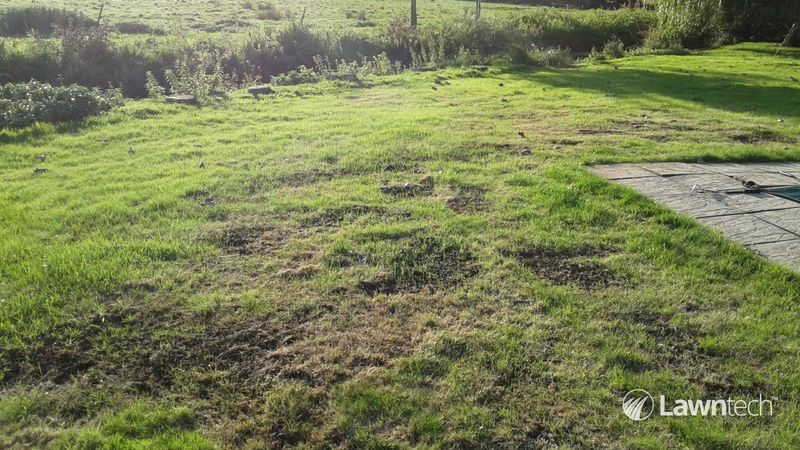
2. Identify Low and High Spots
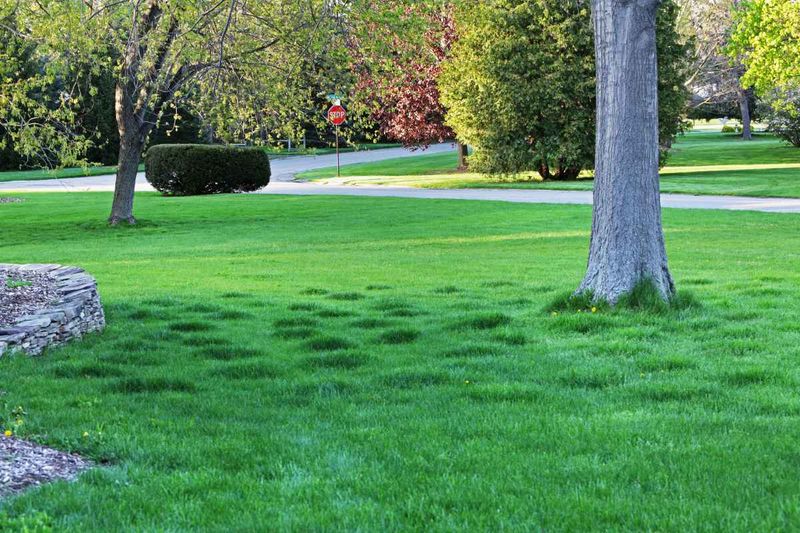
Understanding the landscape is vital for effective lawn leveling. Start by walking through your yard with a keen eye. Identify dips and mounds that disrupt the surface. A long board or level can be an invaluable tool here, helping to pinpoint uneven sections needing attention.
Mark these areas clearly using small flags or stakes. This preparatory phase ensures you address each irregularity methodically. By knowing exactly where to concentrate your efforts, you can proceed with confidence.
Addressing these spots systematically will lead to a more even and visually appealing lawn over time. Precision at this stage pays off.
3. Use the Right Soil Mix
Selecting the correct soil mix is crucial for successful lawn leveling. A 50/50 blend of topsoil and sand (or compost) strikes a perfect balance. Sand enhances drainage, preventing water accumulation which can lead to further unevenness.
Meanwhile, topsoil supports robust grass growth. This mixture allows for easy spreading and blends seamlessly with existing soil. When applying, consider the lawn’s health and existing conditions.
Adjust the mixture slightly to cater to specific needs if necessary. This balanced approach supports both current grass and new seed, promoting a lush, smooth finish. It’s all about balance and support.
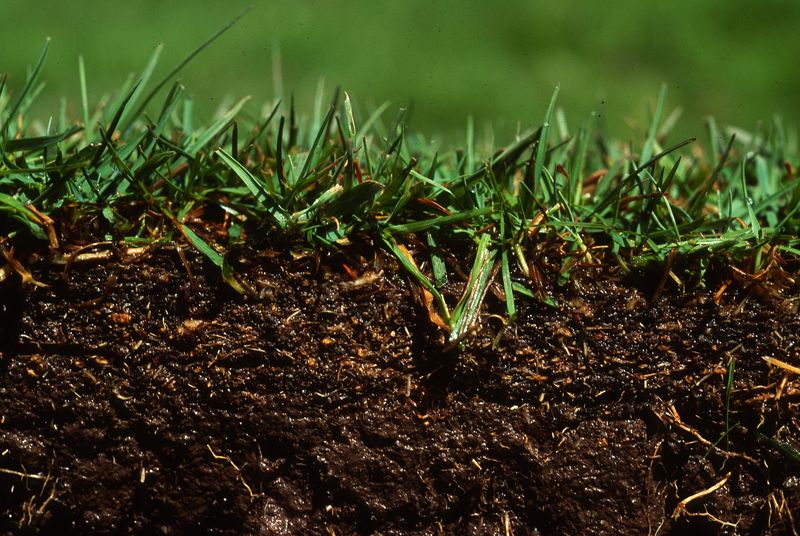
4. Remove Thatch First
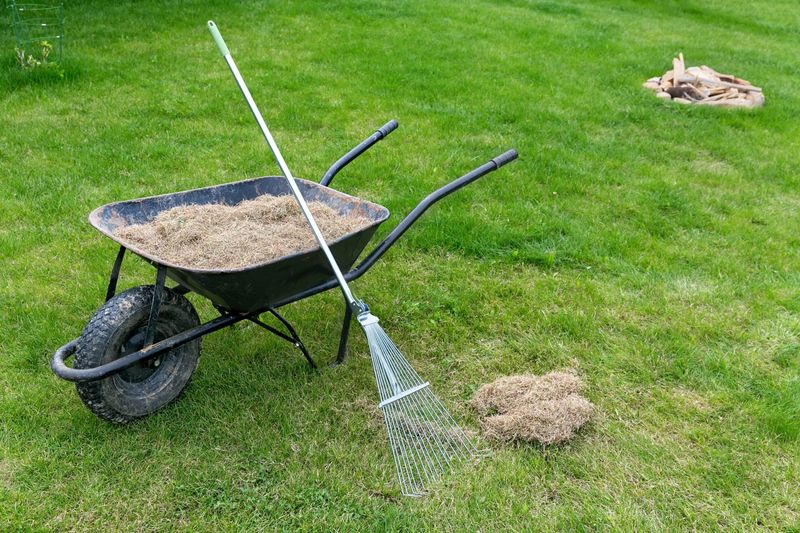
Thatch build-up can conceal underlying lawn issues. Removing it is essential for a successful leveling process. Use a dethatching rake or machine to clear out this layer, which often comprises dead grass and roots.
This process not only unveils hidden dips and mounds but also improves nutrient and water penetration. Thatch can also hinder the blending of new soil, making its removal a crucial early step.
Clearing this layer ensures a smoother application of soil mix and encourages healthier grass growth. Once removed, the lawn is ready for more effective leveling and rejuvenation.
5. Water Lightly Before Leveling
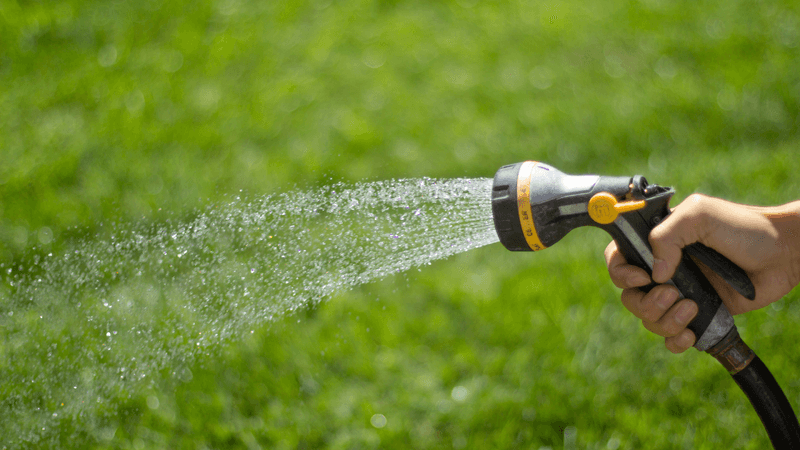
Moisture plays a role in effective soil distribution. Lightly watering your lawn before adding soil helps achieve an even spread. Avoid overly wet conditions, which can cause compaction and further unevenness.
The goal is a slightly moist surface that allows soil particles to adhere properly. This condition aids in filling low spots more evenly, promoting better settling of the soil. Additionally, moist soil supports quicker grass recovery post-leveling.
It’s a delicate balance; too much water can be detrimental, while too little may lead to patchy results. A gentle sprinkling strikes the right chord.
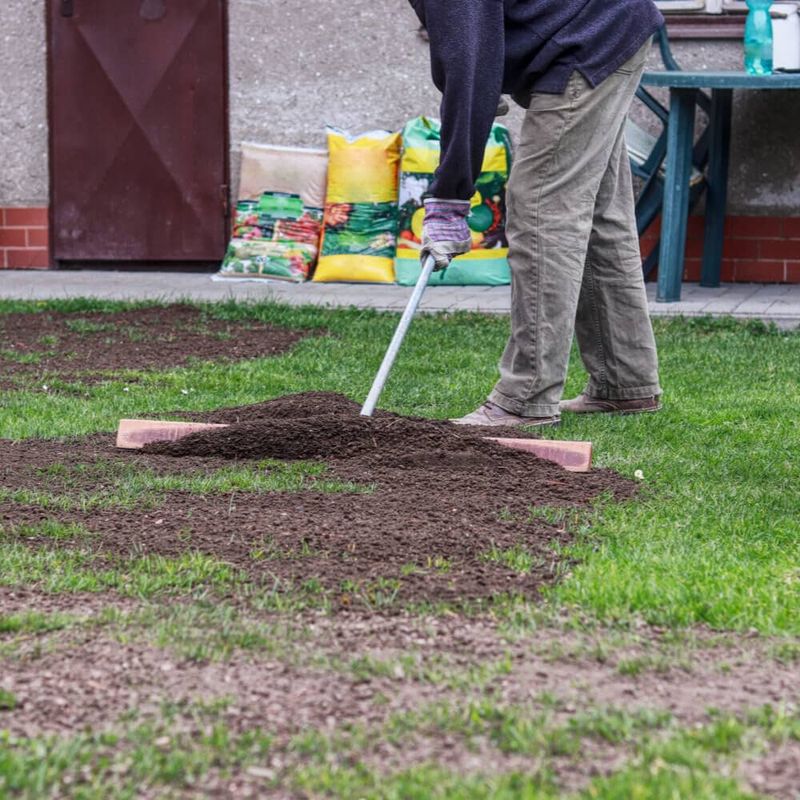
6. Fill Low Spots by Hand
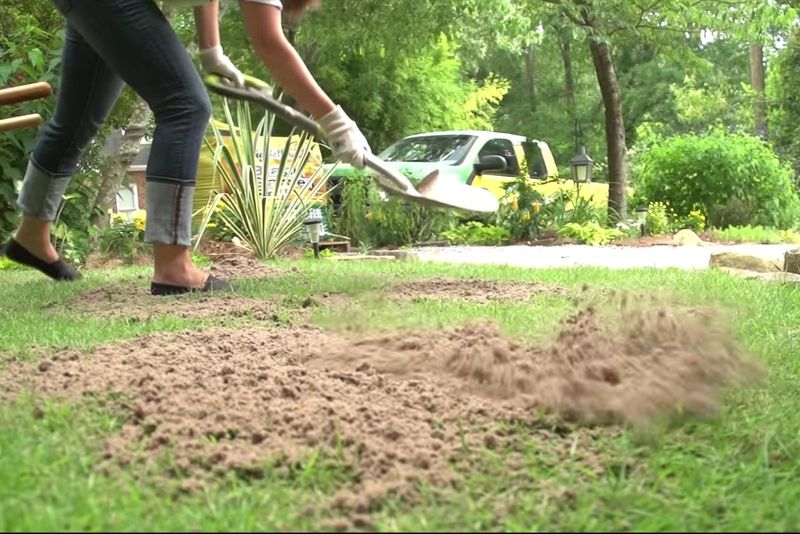
When dealing with low spots, manual intervention can be very effective. Use a shovel or landscaping rake to fill these areas with your prepared soil mix. Gently tamp down the soil to ensure it settles properly and evenly.
This hands-on approach allows for precise control over the distribution, ensuring each spot is adequately filled. Follow this by watering the area lightly to assist in settling.
This technique requires patience and a keen eye, but the results—a smoother surface and healthier lawn—are worth the effort. Careful attention to detail at this stage makes a significant difference.
7. Scrape Down High Spots
High spots need careful adjustment for a truly level lawn. Start by removing excess soil or sod with a garden spade. This process involves cutting away the upper layer to reduce the mound.
Blend the area smoothly with surrounding turf to ensure consistency. This part of the process requires precision and a gentle touch. By integrating high spots with the rest of the lawn, you create a seamless appearance.
After adjustment, water the area lightly to help soil settle. Regular observation and minor tweaks as necessary maintain this balance. Attention to detail is crucial for success here.
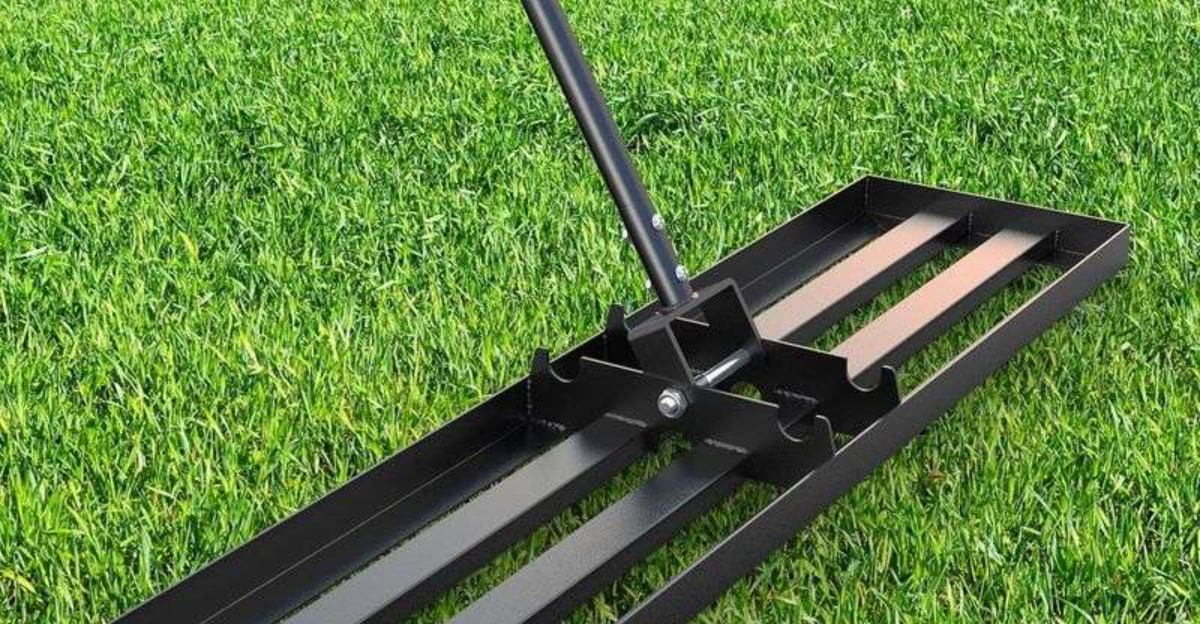
8. Use a Lawn Leveling Rake or Drag
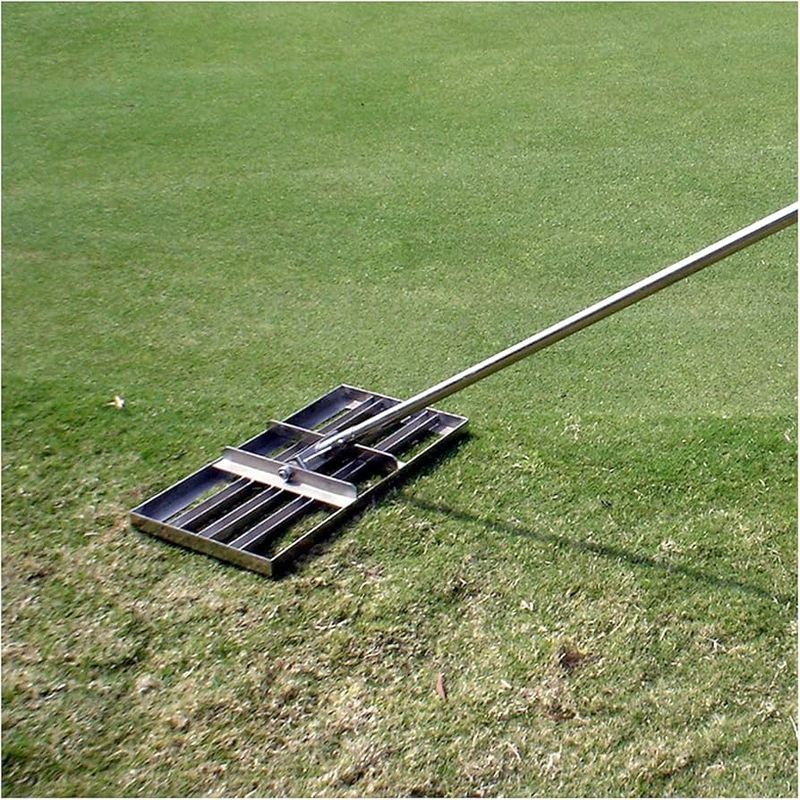
A lawn leveling rake or drag is an invaluable tool for larger areas. These implements help evenly spread soil, ensuring a smooth and consistent finish. After identifying uneven spots, apply your soil mix, then use the rake to distribute it uniformly.
This method reduces manual labor and enhances efficiency. The tool’s design allows for easy maneuvering, covering large swathes of lawn quickly. Ensure even pressure and systematic movement for best results.
This step adds a professional touch to your lawn leveling efforts, giving your grass the best foundation for growth. Consistency and patience are your allies here.
9. Don’t Overdo It All at Once
Gradual application is key in lawn leveling to avoid suffocating the grass. Apply no more than half an inch of soil mixture at a time. This conservative approach ensures the grass can still access sunlight and air, vital for its survival.
If significant leveling is needed, plan to do it gradually over several weeks. This patience helps maintain lawn health while achieving desired evenness. Each thin layer should be followed by light watering to aid settling.
Rushing the process can lead to problems, so allow time for proper integration. Slow and steady wins the race in lawn care.
10. Seed or Sod Bare Areas
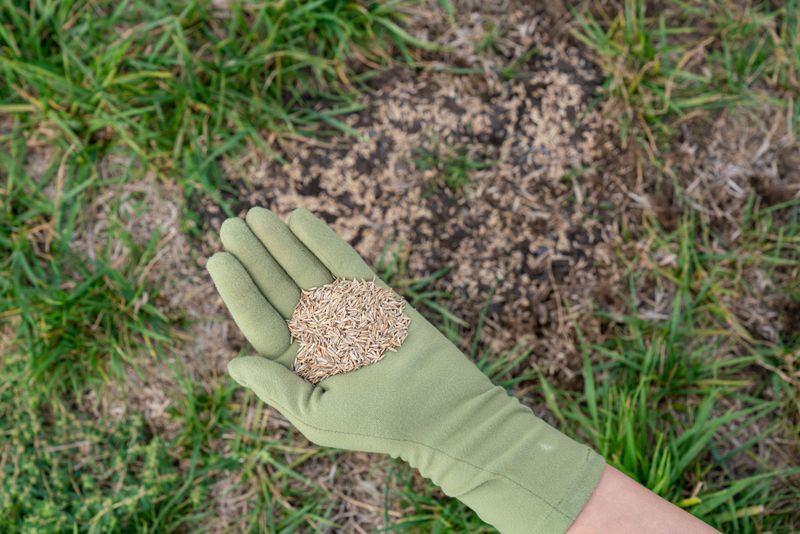
After leveling, attention to bare areas is crucial for a uniform lawn. Re-seed or lay sod in these spots to encourage even regrowth. Ensure the surface is smooth and soil-to-seed contact is optimal for germination.
If using sod, press down firmly to eliminate air pockets and secure roots. Water the area thoroughly to support new growth. This step revitalizes areas disturbed during leveling, promoting uniformity.
Choose grass varieties that match existing lawn for seamless integration. Consistent maintenance, including watering and mowing, helps these areas thrive, ensuring a cohesive and lush lawn surface. Restoration is a key part of leveling.
11. Water Thoroughly After Leveling
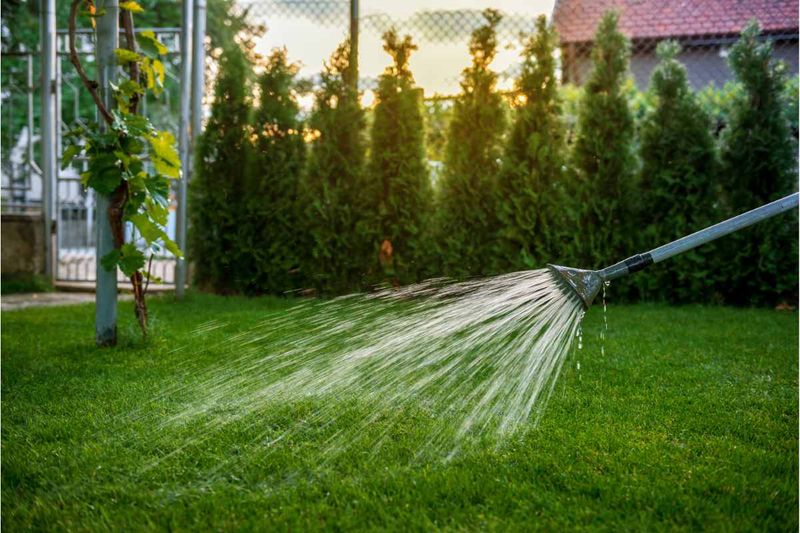
Thorough watering is essential after leveling to help soil settle and support grass recovery. A deep soak ensures the soil mix integrates well with the existing ground, reducing air pockets and encouraging root development.
This attention to hydration also supports seed germination if reseeding was part of the process. The goal is to provide an environment conducive to healthy growth, minimizing stress on the grass.
Consistent watering helps maintain moisture levels optimal for grass health. It’s about nurturing the lawn back to vitality after the disturbance of leveling. Regularly monitoring moisture levels is beneficial during recovery.
12. Be Patient and Repeat as Needed

Patience is a virtue when it comes to achieving a perfectly level lawn. Natural settling occurs over time, requiring occasional re-leveling. Observe your lawn regularly, especially after heavy rain or seasonal changes, to identify any new dips or mounds.
Light adjustments can be made as needed to maintain evenness. This ongoing attention ensures your lawn remains visually appealing and healthy. Embrace the process as a regular part of lawn maintenance.
Each adjustment contributes to the overall perfection of your lawn, offering satisfaction in the gradual achievement of your landscaping goals. Persistence and regular care yield the best results.