When most people think of peanuts, they envision a simple snack, often roasted, salted, and packed into small bags.
But for those with a green thumb and a taste for experimentation, the idea of growing peanuts from store-bought nuts might spark curiosity.
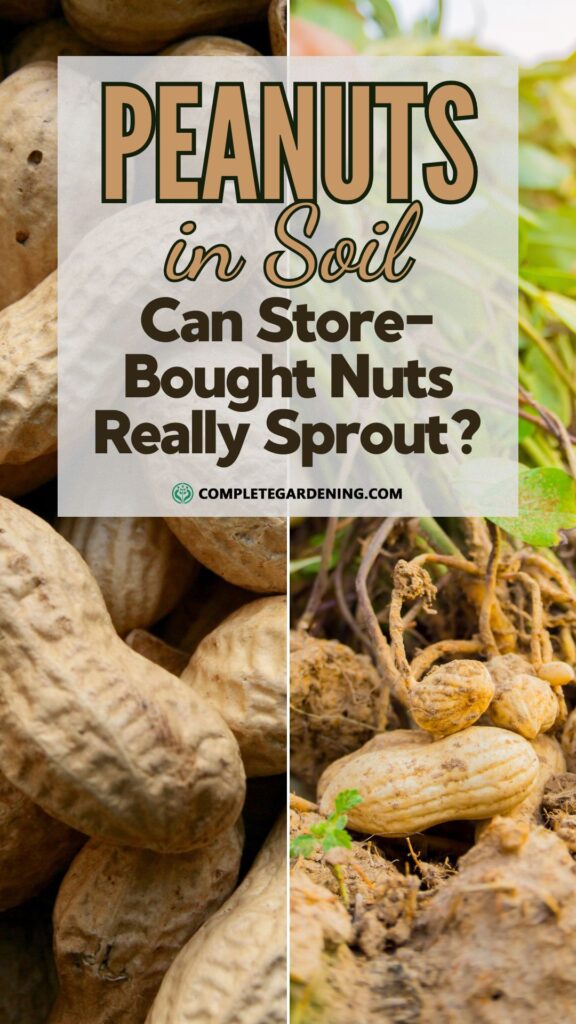
The big question is: Can you really take those peanuts from the store, plant them in soil, and watch them sprout into a flourishing peanut plant? The answer is a resounding yes, but with some important considerations to ensure success.
What Are Peanuts?
Before diving into the process, it’s essential to understand what peanuts are. Despite their name, peanuts aren’t actually nuts; they’re legumes, belonging to the same family as beans and lentils.
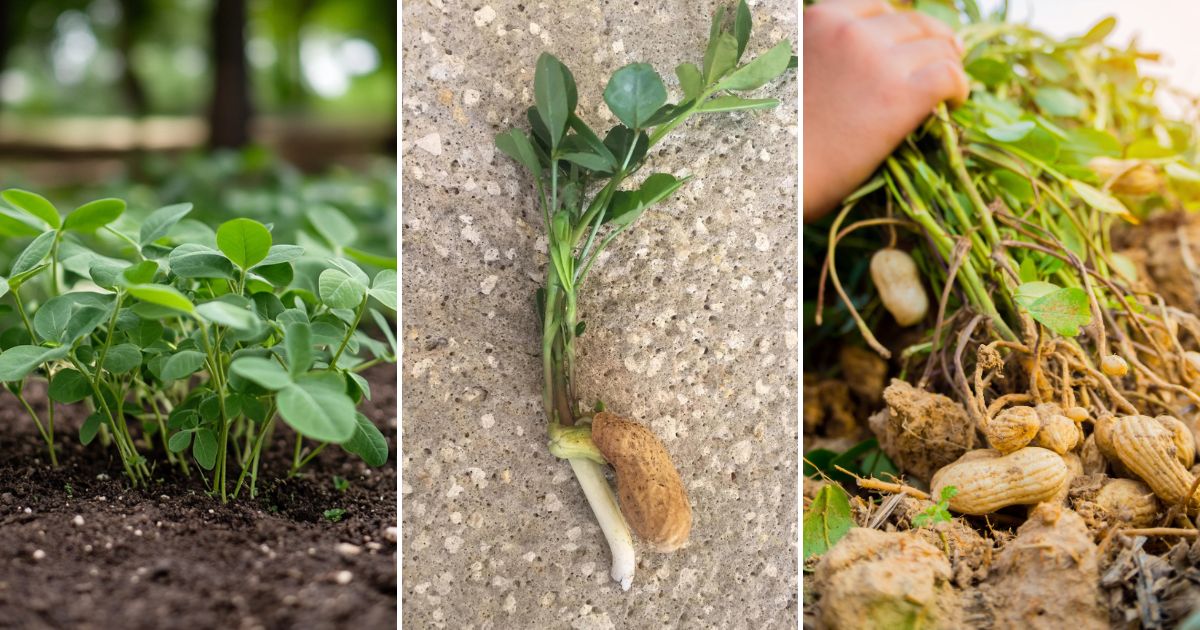
Native to South America, the peanut plant (Arachis hypogaea) is a fascinating species that flowers above ground but develops its pods underground. This unique growing habit, known as “pegging,” is one of the many reasons peanuts are intriguing to grow.
Choosing the Right Peanuts
The first step in growing peanuts from store-bought nuts is selecting the right type. Not all peanuts are created equal when it comes to germination potential.
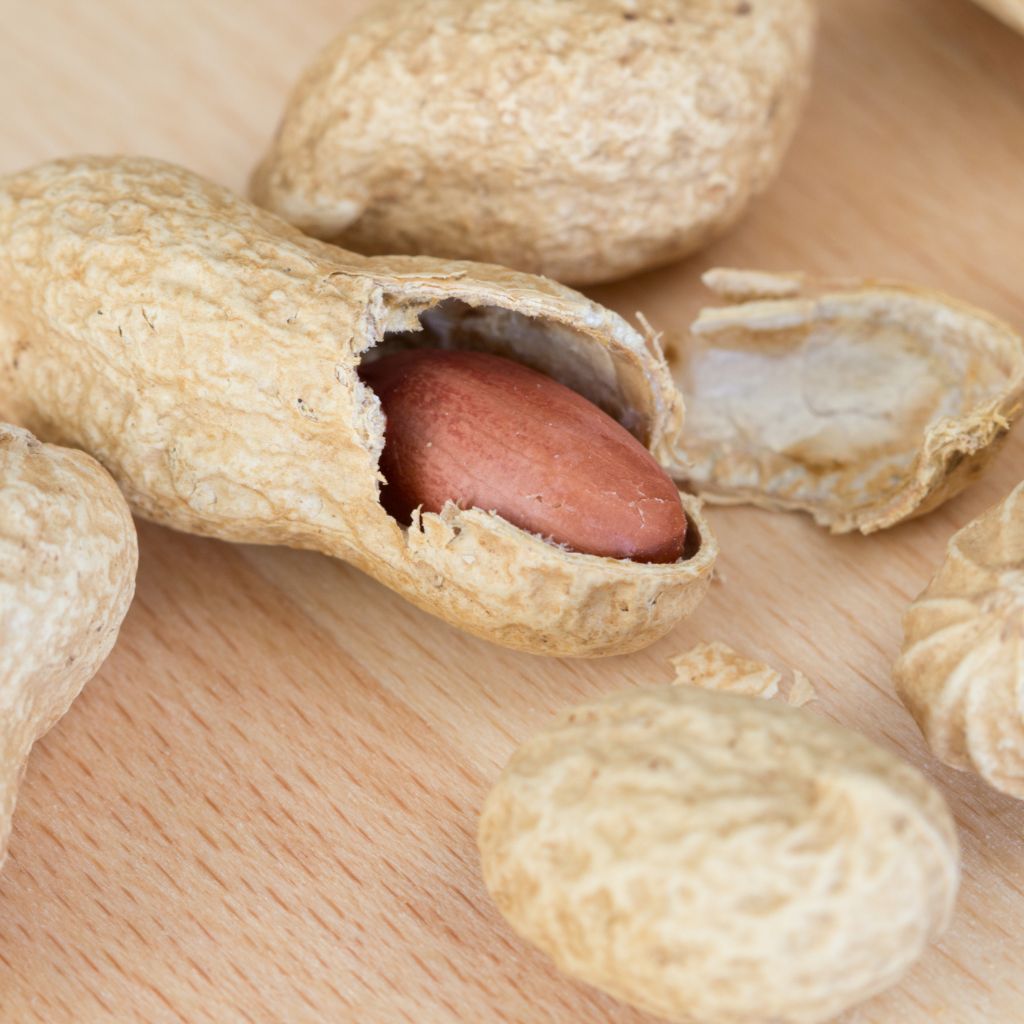
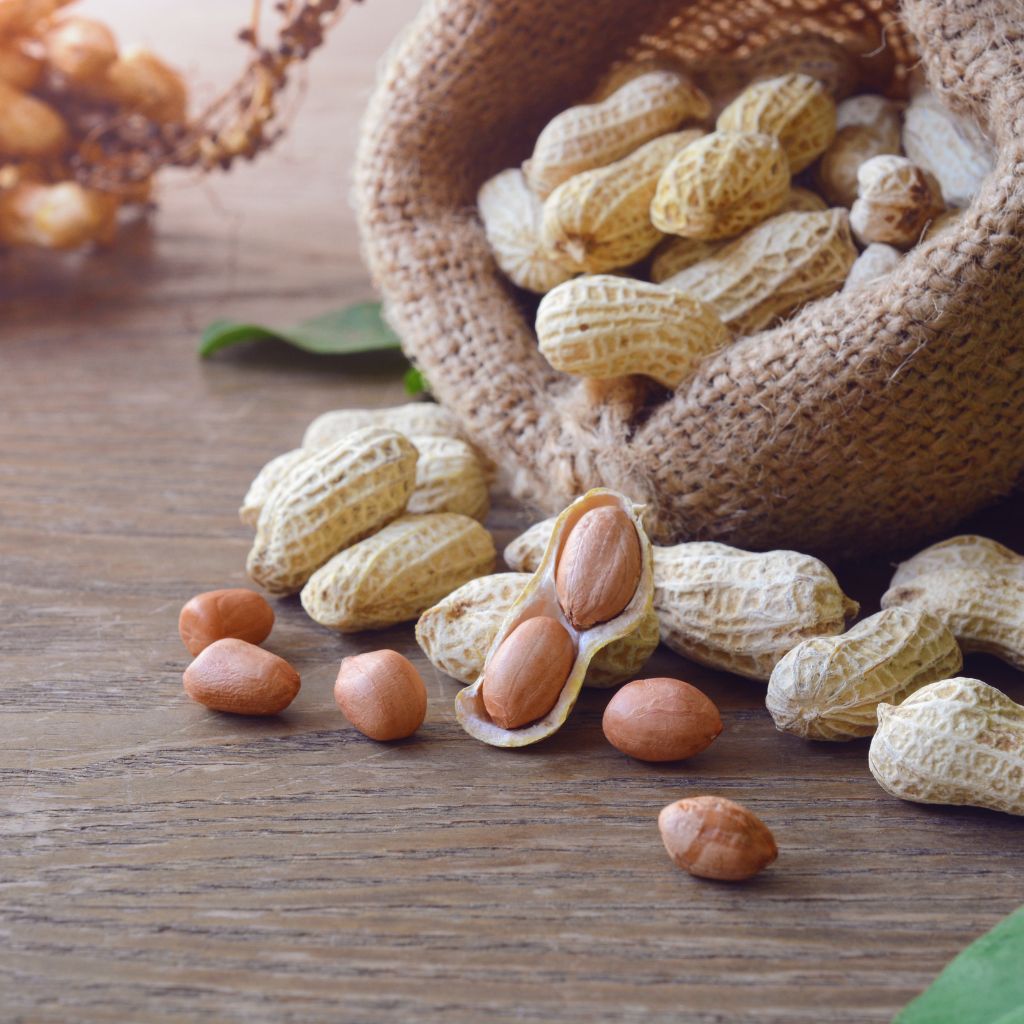
To give your plants the best chance at success, you must choose fresh, raw, and uncooked peanuts that are still in their shells.
Roasted or salted peanuts won’t germinate, as the cooking process kills the seed inside. Therefore, when shopping for peanuts to plant, look for those labeled as raw or green peanuts.
These are typically available in health food stores or specialty markets. Ensure that the peanuts are in their shells, as the shell provides protection and moisture retention during the germination process.
Preparing for Planting
Once you’ve got your hands on the right peanuts, the next step is preparation. Peanuts require a long growing season, typically between 100 to 130 frost-free days. This makes them a bit challenging to grow in cooler climates, but not impossible.
1. Start Indoors: In regions with shorter growing seasons, it’s advisable to start your peanut seeds indoors.
Plant them in small pots about 5-8 weeks before the last expected frost. This gives them a head start and ensures that they’ll have plenty of time to mature when transplanted outside.
2. Soil Preparation: Peanuts thrive in well-draining, loose soil. Sandy loam is ideal, but you can amend heavier soils by adding sand and aged compost to improve drainage. The soil should be slightly acidic, with a pH between 5.5 and 7.0.
3. Planting Depth and Spacing: When planting, sow the peanuts about 1-2 inches deep and 24-36 inches apart. If you’re planting in rows, space the rows at least 72 inches apart to give the plants ample room to spread.
Peanuts are known for their sprawling growth habit, so adequate spacing is crucial.
The Germination Process
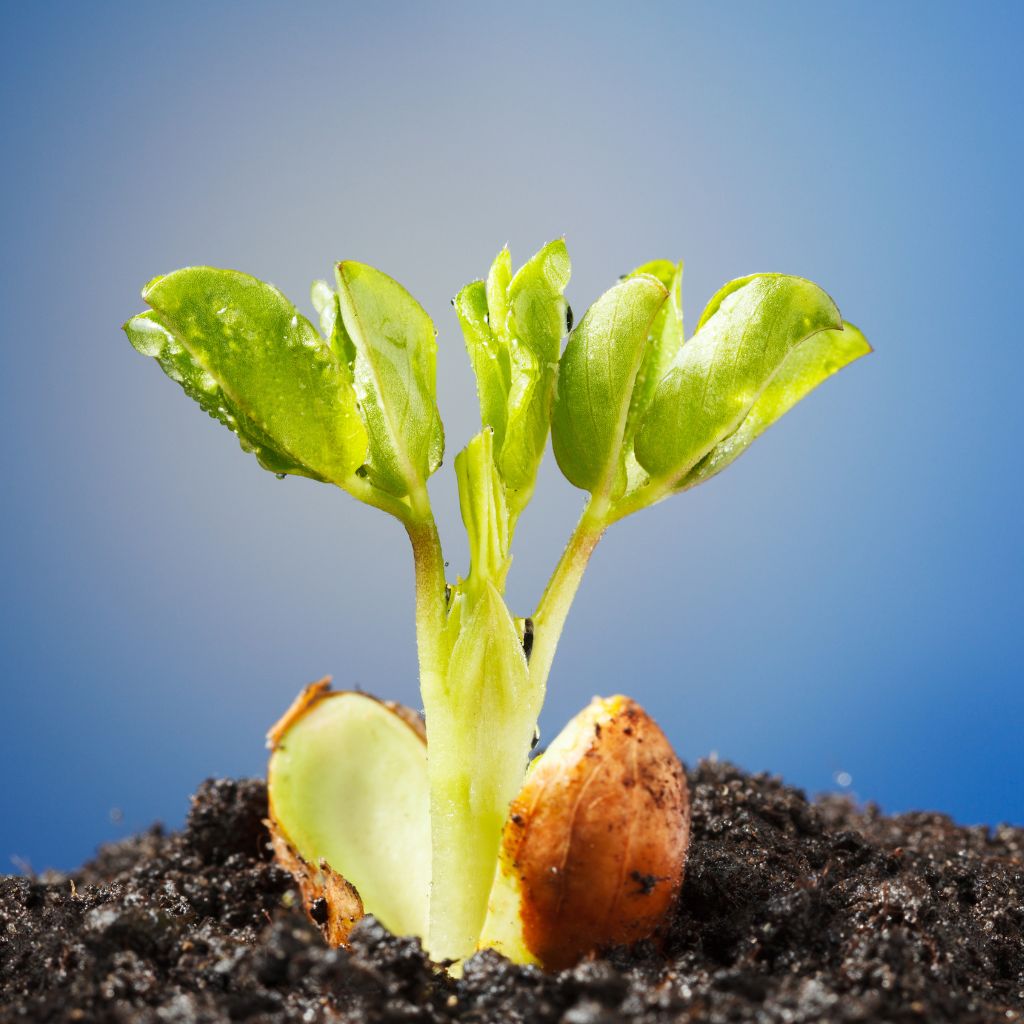
Germinating peanuts can be a test of patience. After planting, you’ll need to provide consistent care to encourage sprouting.
1. Temperature and Light: Peanuts need warm soil to germinate, with temperatures consistently above 60°F. They also require full sunlight, so choose a sunny location or provide sufficient light if starting indoors.
2. Watering: Keep the soil evenly moist but not waterlogged. Overwatering can lead to rot, while underwatering can cause the seeds to dry out and fail to germinate.
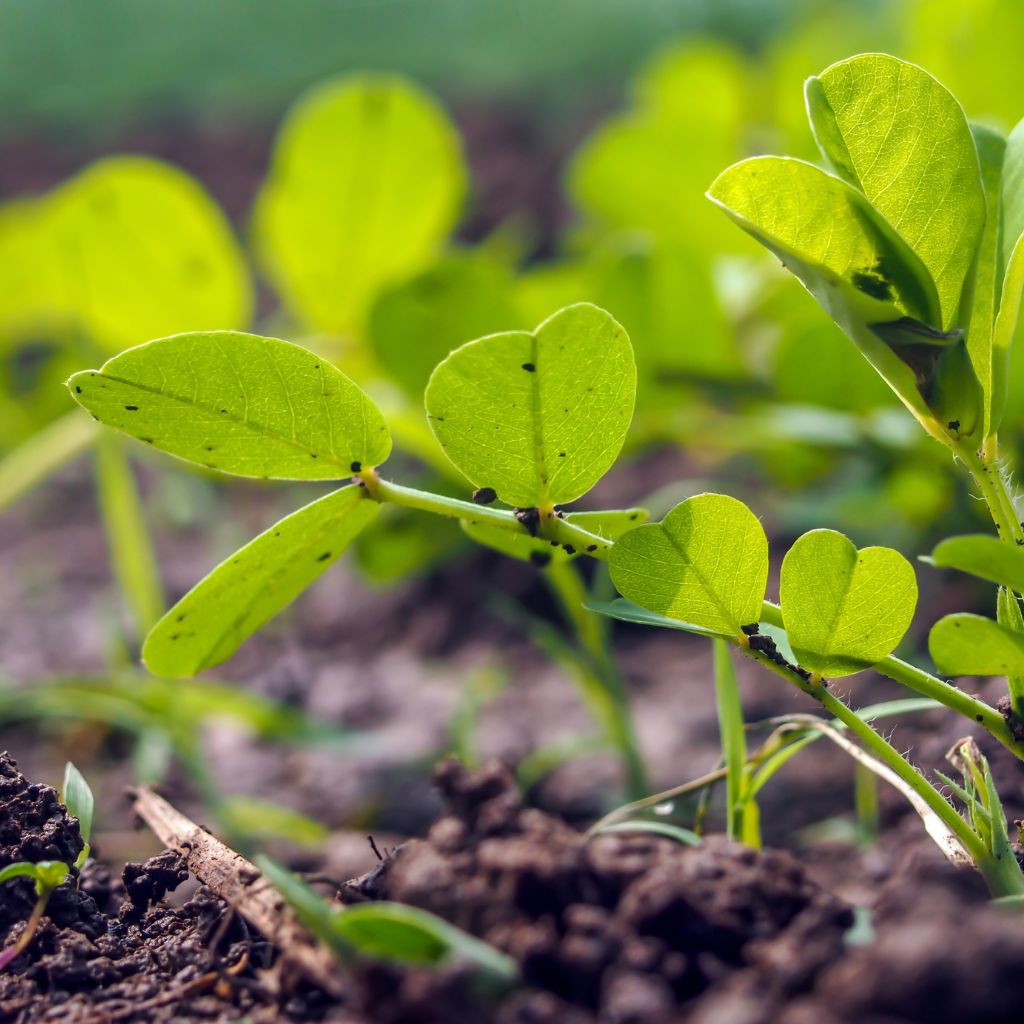
With the right conditions, you should see sprouts emerging from the soil within 7 to 10 days. Once the seedlings are established and the risk of frost has passed, you can transplant them outdoors if you started them indoors.
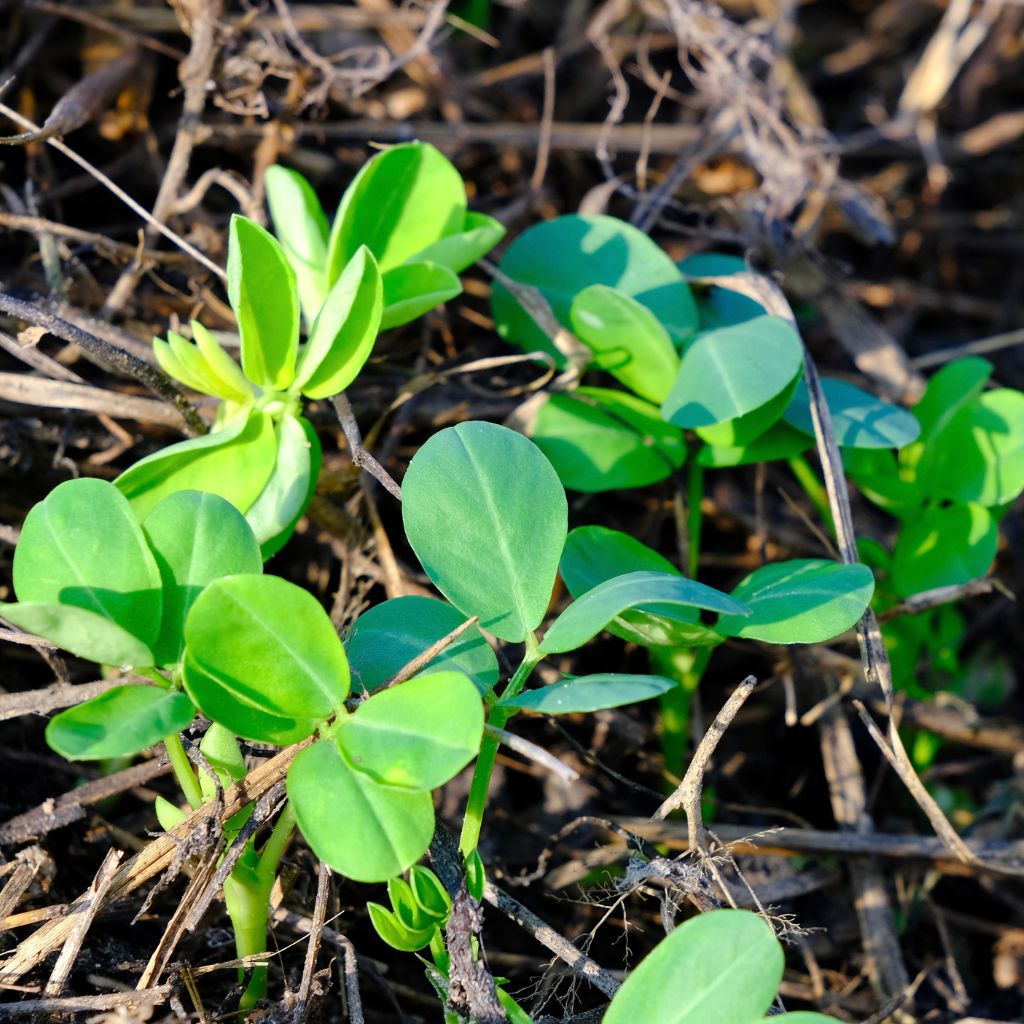
Growing and Caring for Peanut Plants
Once your peanuts are in the ground and sprouting, the care routine becomes relatively straightforward, though attention to detail is still important.
1. Watering: Peanuts require about 1 inch of water per week. Ensure the soil stays moist, particularly during flowering and pod development, but be careful to avoid overwatering, which can cause the pods to rot.
2. Mulching: As the plants grow, mulching around the base can help retain moisture and suppress weeds. When the plants reach about 6 inches in height, add a layer of mulch. This also helps to keep the soil temperature consistent, which is beneficial for peanut development.
3. Fertilization: Unlike many other crops, peanuts are nitrogen-fixers, meaning they draw nitrogen from the air and store it in their roots.
This means they don’t require much nitrogen fertilizer. Instead, focus on providing calcium, which is vital for pod development. A low-nitrogen or balanced fertilizer applied before planting is usually sufficient.
4. Pest and Disease Control: Peanuts are relatively hardy, but they can be susceptible to certain pests and diseases. Regularly inspect your plants for signs of aphids, leaf spots, or fungal issues.
Using organic pesticides or practicing crop rotation can help manage these problems.
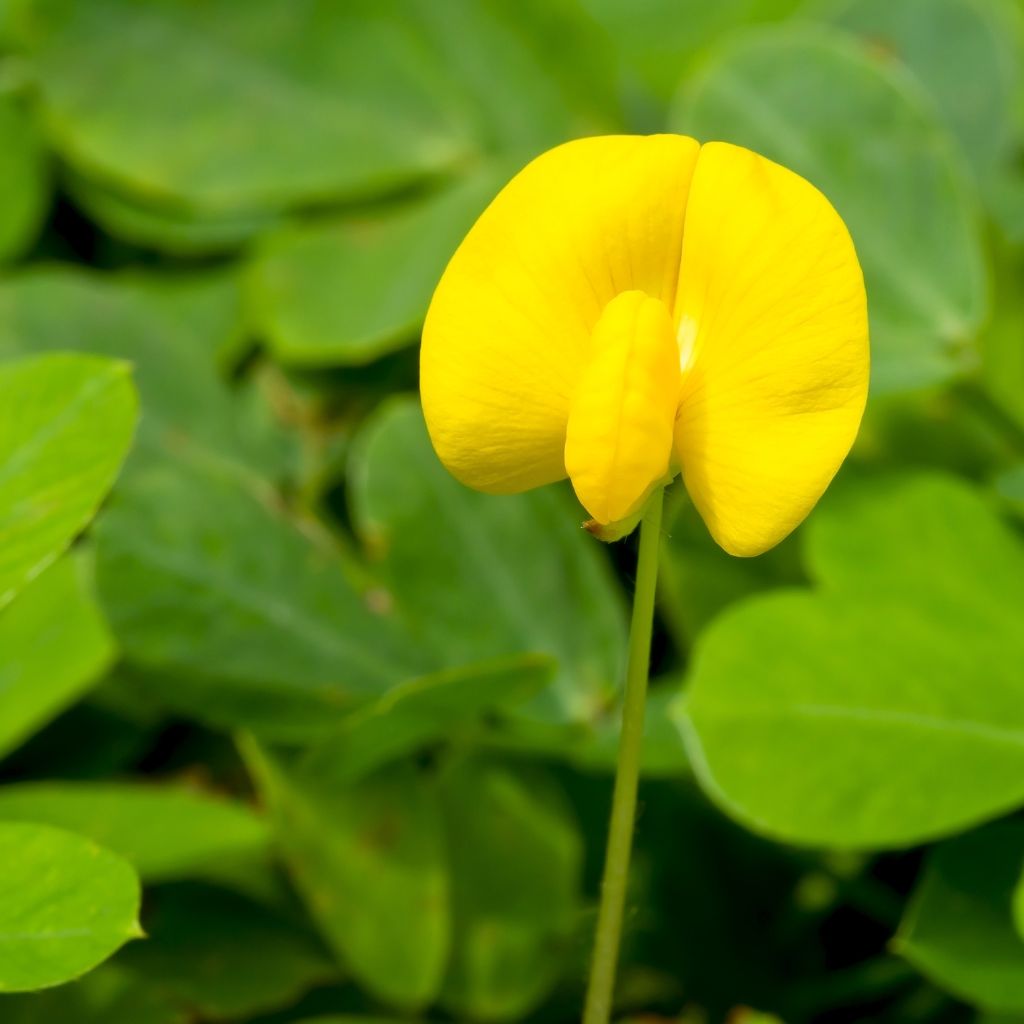
The Unique “Pegging” Process
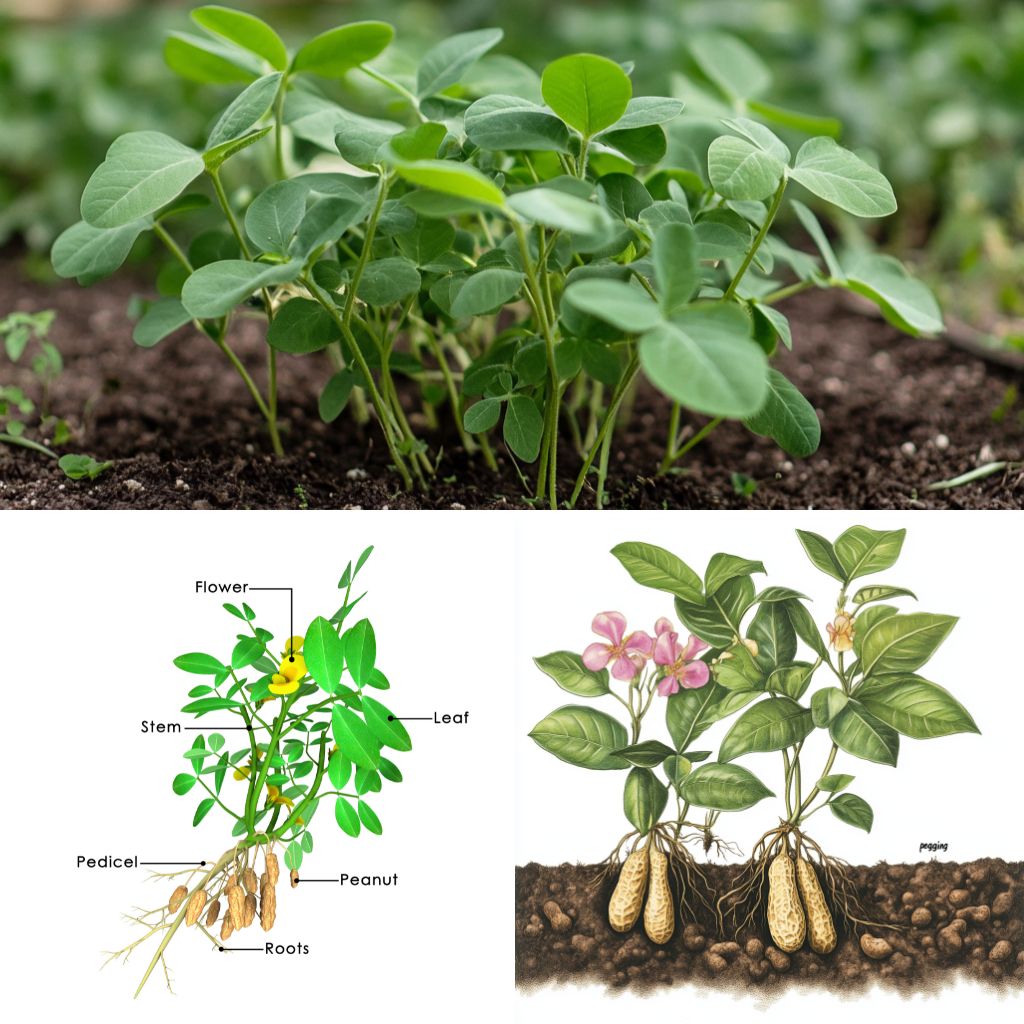
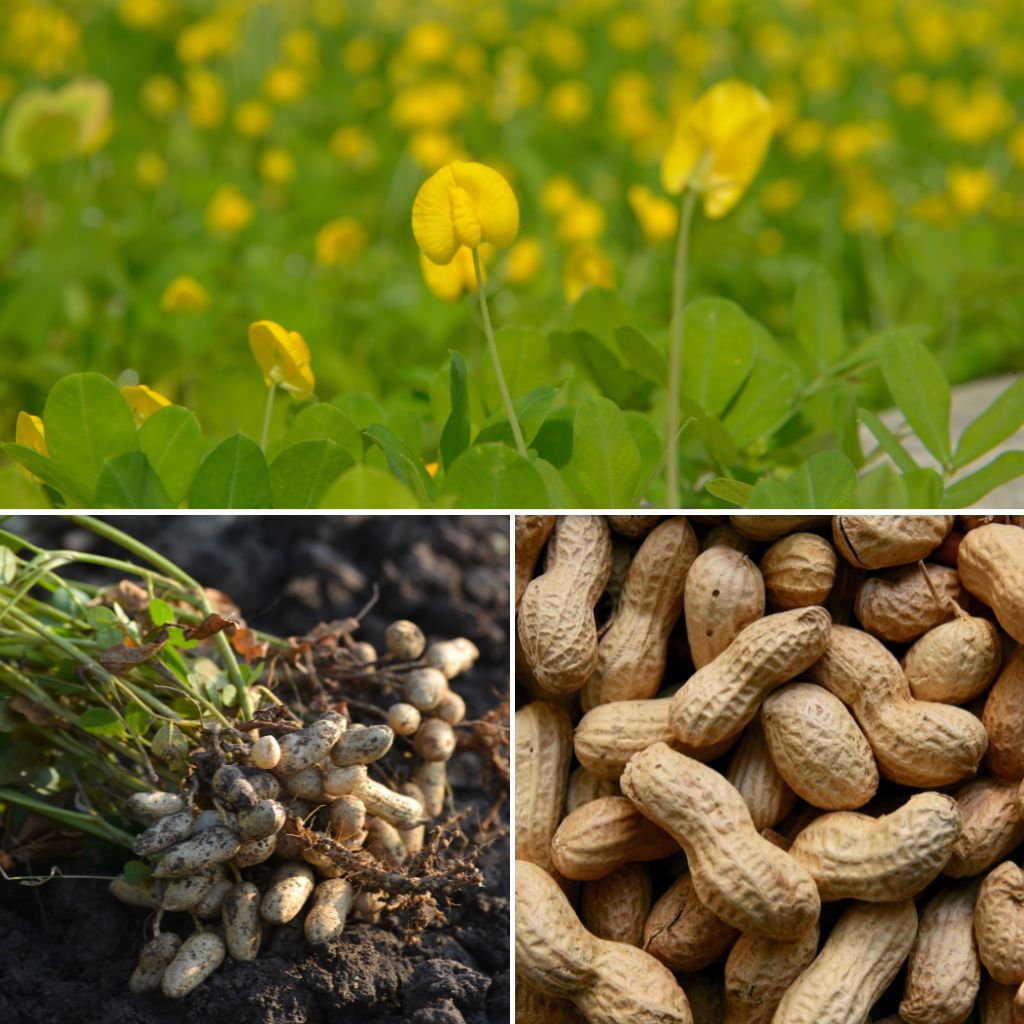
One of the most interesting aspects of growing peanuts is the “pegging” process. After the peanut plant flowers, the flower stems, known as “pegs,” elongate and bend downward, eventually pushing into the soil. This is where the peanuts will develop.
To support this process, gently mound soil around the base of the plants as the pegs begin to form.
This gives the pegs an easier path into the soil, where they can establish and grow the peanut pods. This phase is crucial for a good harvest, so be mindful of providing the right conditions for the pegs to thrive.
Harvesting Your Peanuts
Harvesting peanuts is both an exciting and delicate process. Depending on the variety, peanuts will be ready for harvest about 100 to 150 days after planting.
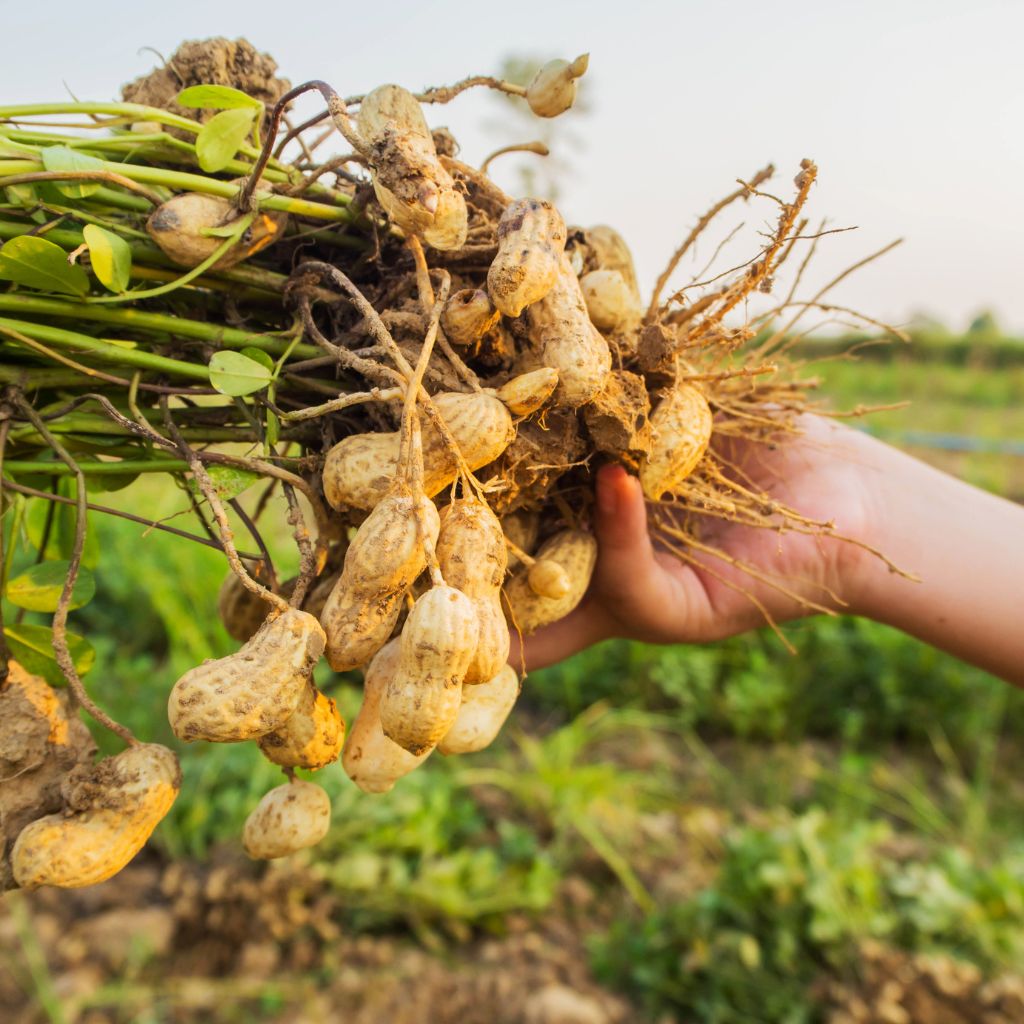
1. Signs of Maturity: The best indicator that your peanuts are ready to be harvested is the yellowing and wilting of the plant’s foliage. At this point, the peanut pods will have matured underground.
2. Harvesting Technique: To harvest, carefully dig around the base of the plant with a spade or garden fork, being cautious not to damage the peanuts. Lift the entire plant out of the ground and shake off any excess soil.
3. Curing: After harvesting, the peanuts need to be cured, which involves drying them to reduce moisture content. Hang the plants upside down in a warm, dry, and well-ventilated area for about two weeks. This curing process is crucial for preventing mold and ensuring that the peanuts are safe for storage.
4. Storing Your Peanuts: Once cured, you can remove the peanuts from the plants and store them. If kept in a cool, dry place, peanuts can last several months. For longer storage, consider keeping them in airtight containers or even freezing them.
So, with proper preparation, the right growing conditions, and a bit of patience, you can transform a simple grocery store purchase into a thriving peanut crop.
This gardening experiment is not only rewarding but also educational. It offers a unique opportunity to understand the life cycle of a peanut plant, from seed to harvest.
So, why not give it a try and see if you can turn those humble nuts into a homegrown harvest?