Planting can be effortless and fun when using a drill auger bit. Whether you’re planting bulbs or setting up small shrubs, the right approach makes all the difference.
These tips will guide you through the process, ensuring you work efficiently and effectively to achieve a beautiful garden. Let’s explore how you can plant like a pro.
1. Choose the Right Auger Bit Size
Selecting the correct auger bit size is crucial for successful planting. Smaller augers work best for bulbs, allowing for precise planting without disturbing surrounding soil. Larger augers are ideal for seedlings or small shrubs, providing ample space for root growth.
When choosing, consider the plant’s root ball size and the depth needed for planting. This ensures that each plant has the space it needs to thrive. Overall, selecting the right size auger helps maximize efficiency and promotes healthy plant growth.
Always match the auger size to your specific planting needs for optimal results.
2. Use a Cordless or Electric Drill
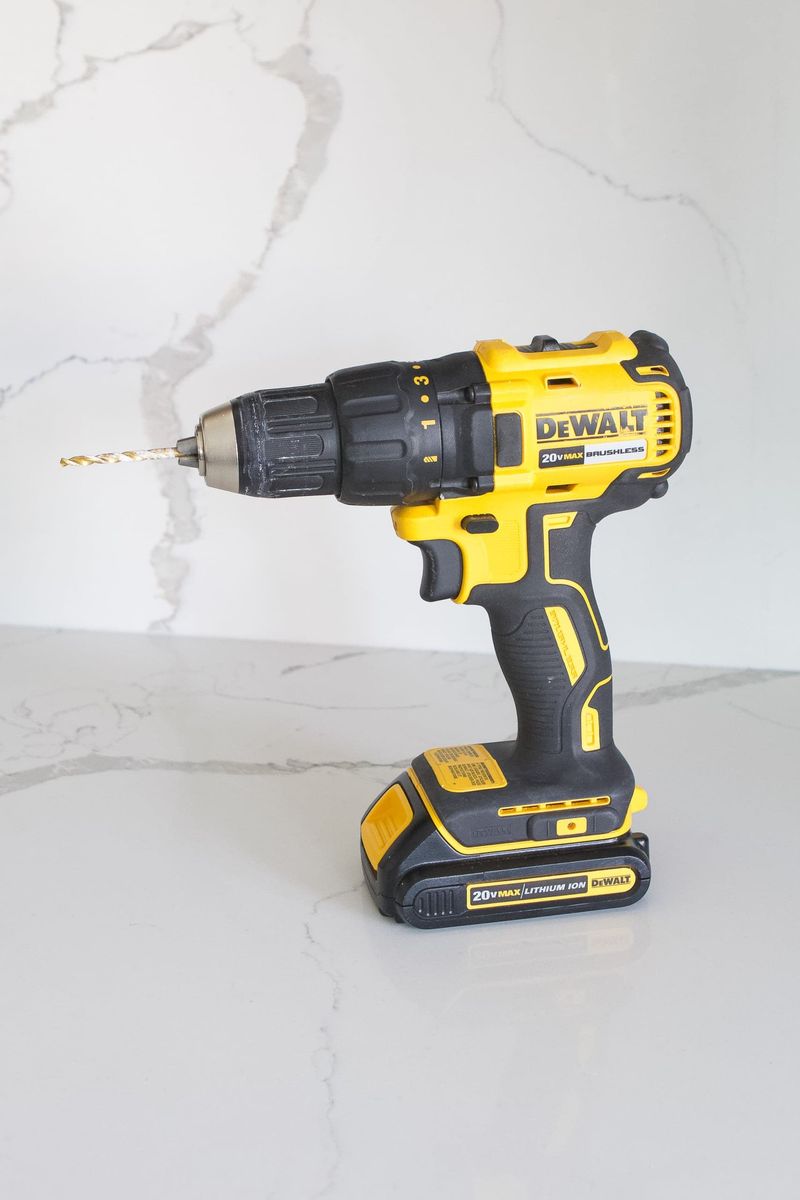
Utilizing a cordless or electric drill can make planting a breeze. Ensure that your drill is at least 18V to provide sufficient power without stalling. This power ensures smooth operation across varied soil types.
Cordless drills offer the advantage of mobility, making them perfect for larger gardens. However, electric drills provide consistent power, ideal for prolonged use. Always check the torque settings to handle the resistance when digging into soil.
This combination of power and flexibility facilitates efficient planting, saving time and effort, especially in extensive gardening projects.
3. Mark Your Planting Spots
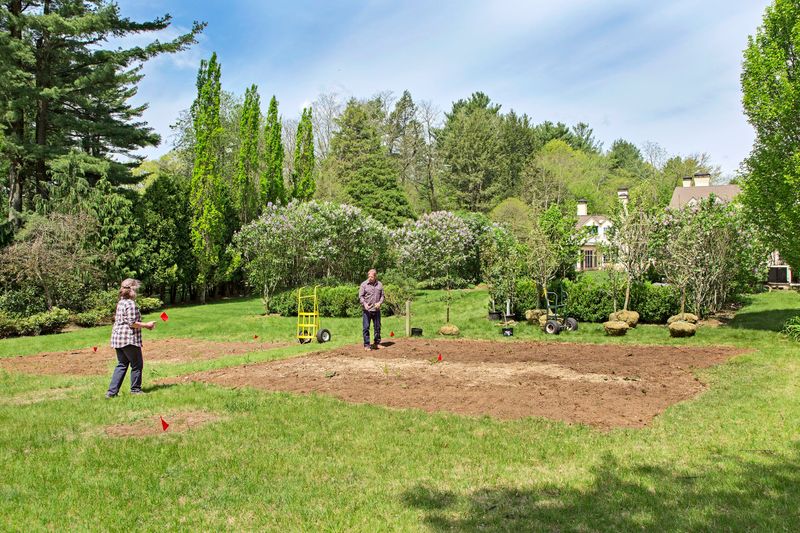
Before drilling, it’s essential to plan and mark your planting spots. Define the layout by placing markers such as stakes or stones to ensure uniform spacing. This preparation step helps in visualizing the final arrangement and prevents overcrowding.
Using a garden planner or a notebook can further enhance this process, allowing you to sketch out the design and make adjustments as necessary. Proper planning ensures that each plant receives adequate sunlight and space, promoting healthier growth.
This structured approach leads to a more aesthetically pleasing and organized garden.
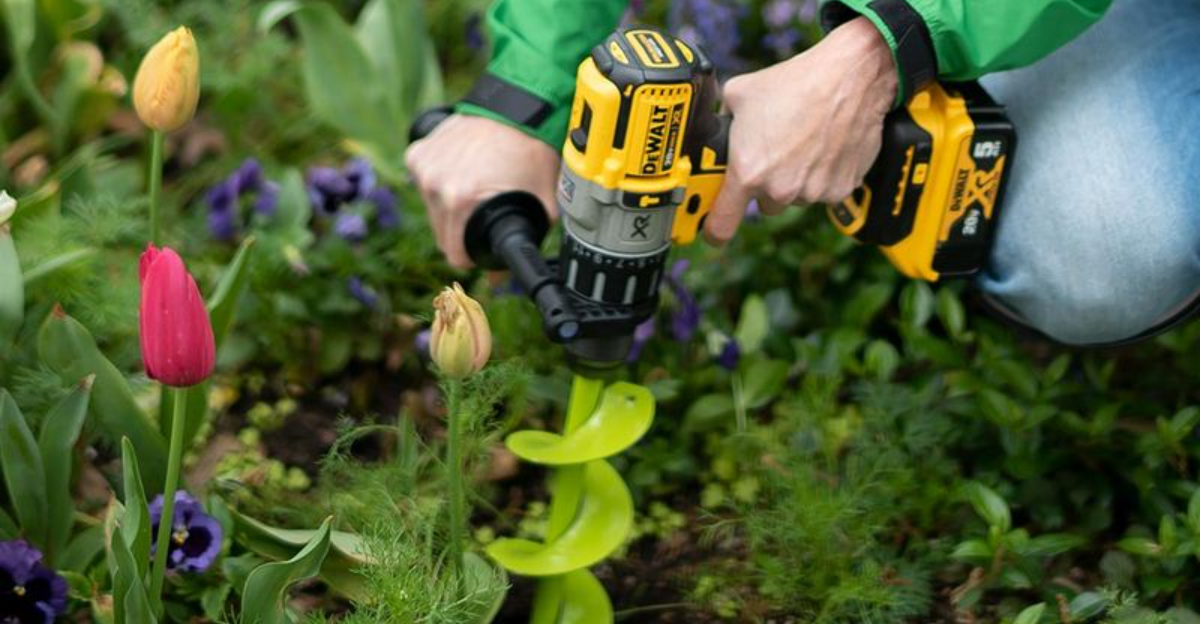
4. Hold the Drill Vertically
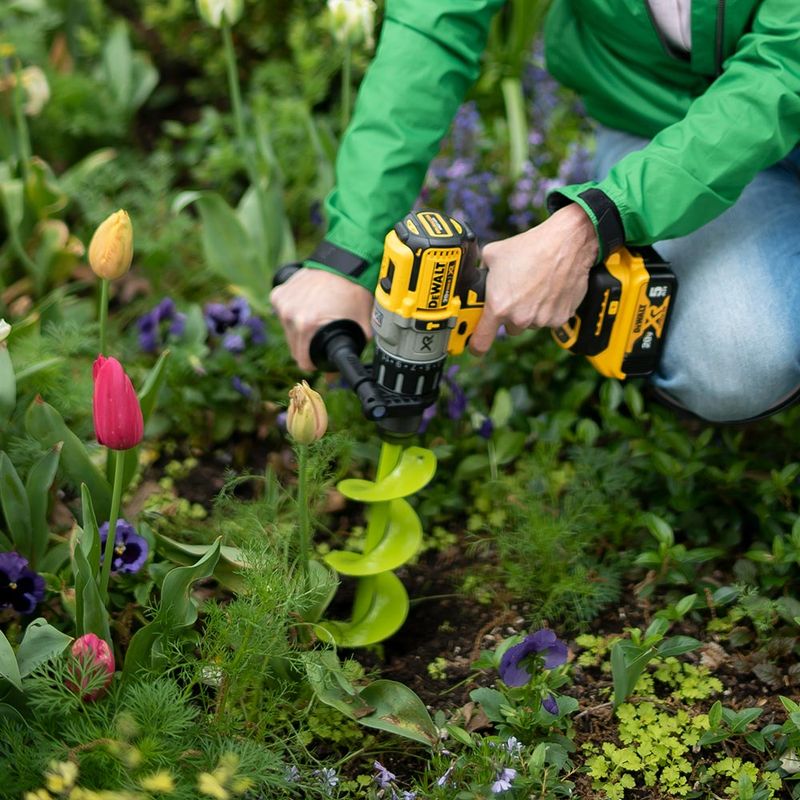
Maintaining a vertical drill position is key for achieving straight, clean holes. This technique prevents uneven planting depths, which can affect plant stability and growth. Holding the drill upright minimizes the risk of damaging adjacent plants or roots.
It’s beneficial to practice this technique on a less critical area if you’re new to using a drill for planting. Keeping the drill steady and aligned ensures uniformity across your planting area.
This simple yet effective tip can significantly impact the quality of your gardening results, making your setup process smoother.
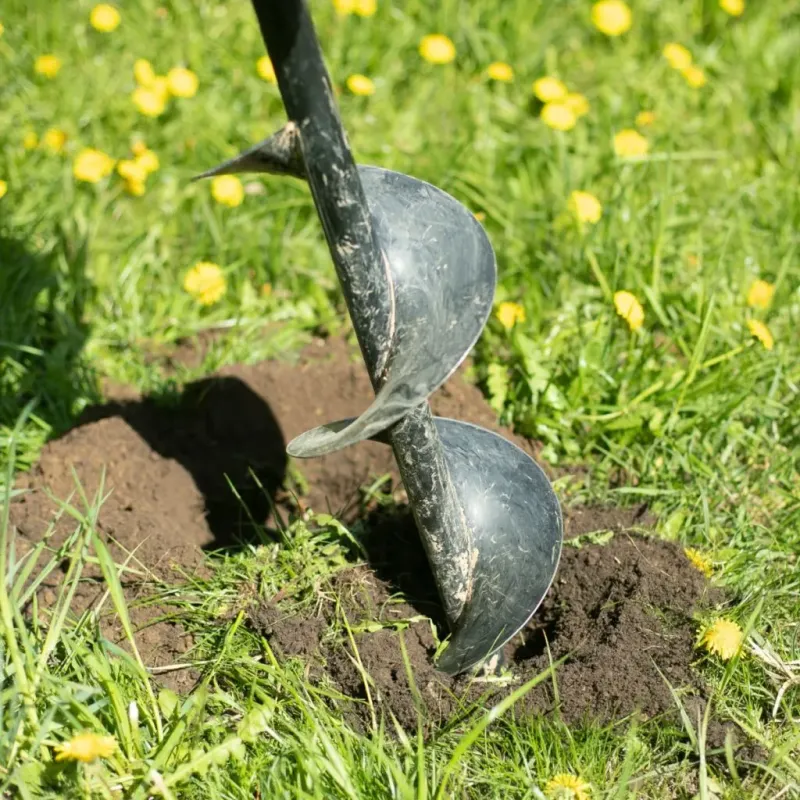
5. Drill Slowly and Steadily

When drilling, aim for a steady pace to let the auger bit do its work. Starting at a moderate speed helps manage control and prevents the bit from binding or drifting. Apply light pressure to avoid forcing the drill, which could lead to damage or uneven holes.
A slow approach ensures cleaner cuts and reduces soil disruption, preserving the natural layout. This technique is particularly useful in rocky or compact soils where resistance is higher.
Patience during this step will reward you with precision and well-defined planting spots, enhancing your overall gardening experience.
6. Clear the Hole
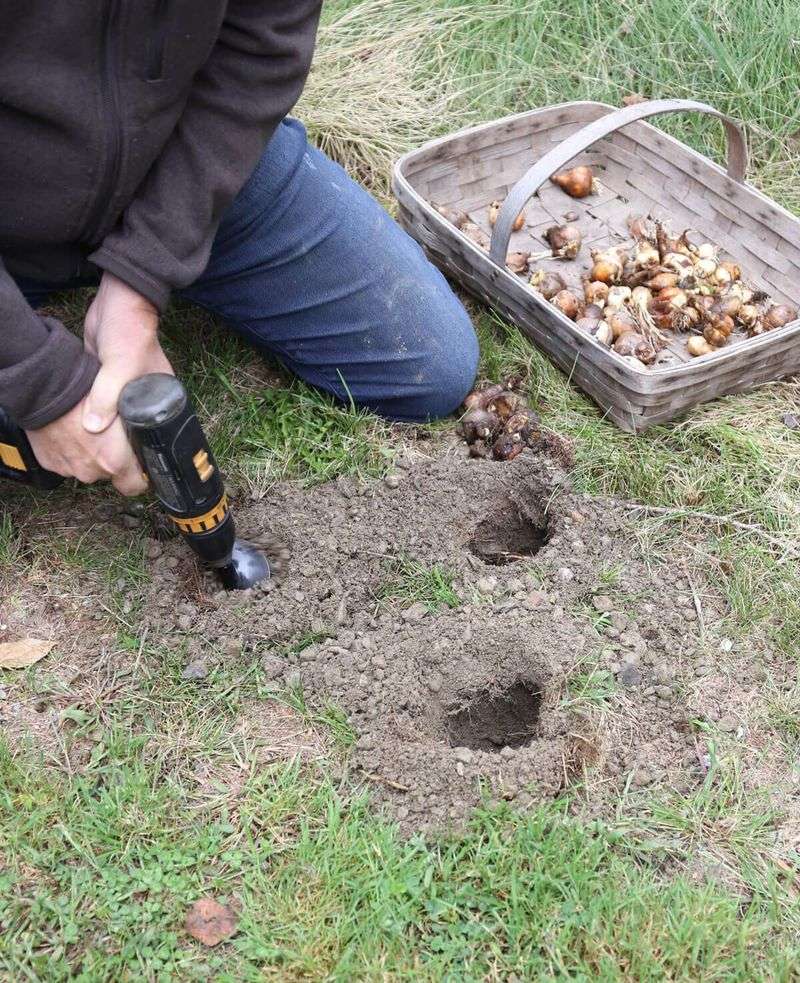
After drilling, it’s important to clear the hole of loose soil and debris. Removing obstructions ensures a clean environment for the plant’s roots, promoting healthy establishment.
This step can be overlooked, yet it’s crucial for optimal plant growth. Use a small trowel or your hands to scoop out any excess materials. Ensuring the hole is tidy allows for easier planting and reduces stress on the plant.
This thorough preparation sets the stage for successful growth and minimizes future maintenance challenges, making it a vital part of the planting process.
7. Plant and Water
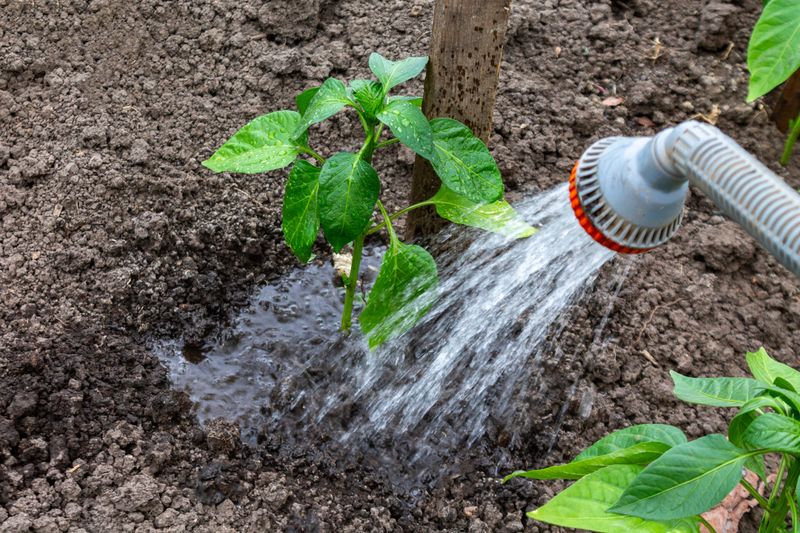
Once the hole is prepped, carefully place your plant or bulb inside. Gently backfill with soil, ensuring it surrounds the root ball evenly. This support is crucial for initial stability and growth. After planting, water thoroughly to settle the soil and eliminate air pockets.
This step hydrates the plant and helps roots establish quickly. Regular watering thereafter supports ongoing health and development. Proper planting and watering are foundational steps that, when done right, lead to a thriving garden.
This nurturing process ensures that your plants receive the best start possible.