Starting seeds can feel overwhelming when packets scatter across your kitchen table and planting dates blur together. Smart organization transforms this chaos into an enjoyable, successful gardening experience.
Simple preparation steps help you avoid costly mistakes, maximize germination rates, and keep your sanity intact throughout the growing season.
1. Take Inventory Before You Buy

Before heading to the garden center, raid your existing seed collection like a treasure hunter. Check expiration dates carefully since old seeds often have lower germination rates.
Make notes about quantities remaining and which varieties performed well last season. A simple spreadsheet prevents duplicate purchases and saves money.
This inventory process reveals forgotten gems hiding in your collection.
2. Sort Seeds by Type and Timing
Group your seeds like organizing a library – cool-season crops together, warm-season varieties in another pile. This visual separation prevents confusion during busy planting times.
Break down each category by sowing windows: indoor starts, direct sow, succession plantings. Color-coded folders or containers make identification quick and foolproof.
Your future self will thank you for this thoughtful organization system.
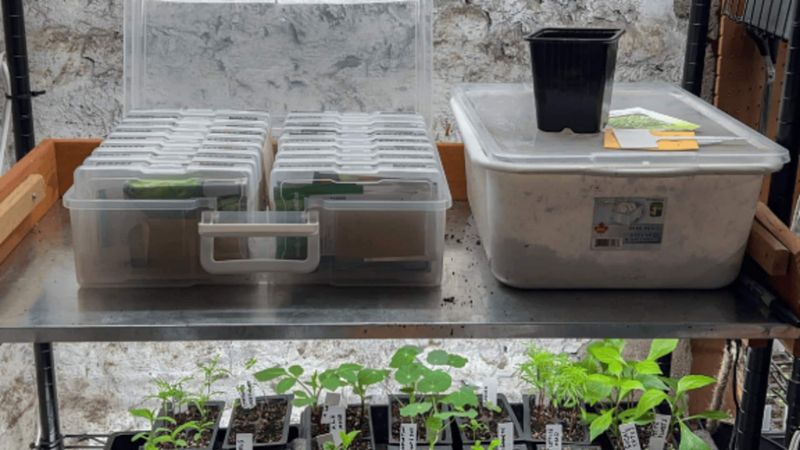
3. Use a Seed Storage System That Works for You
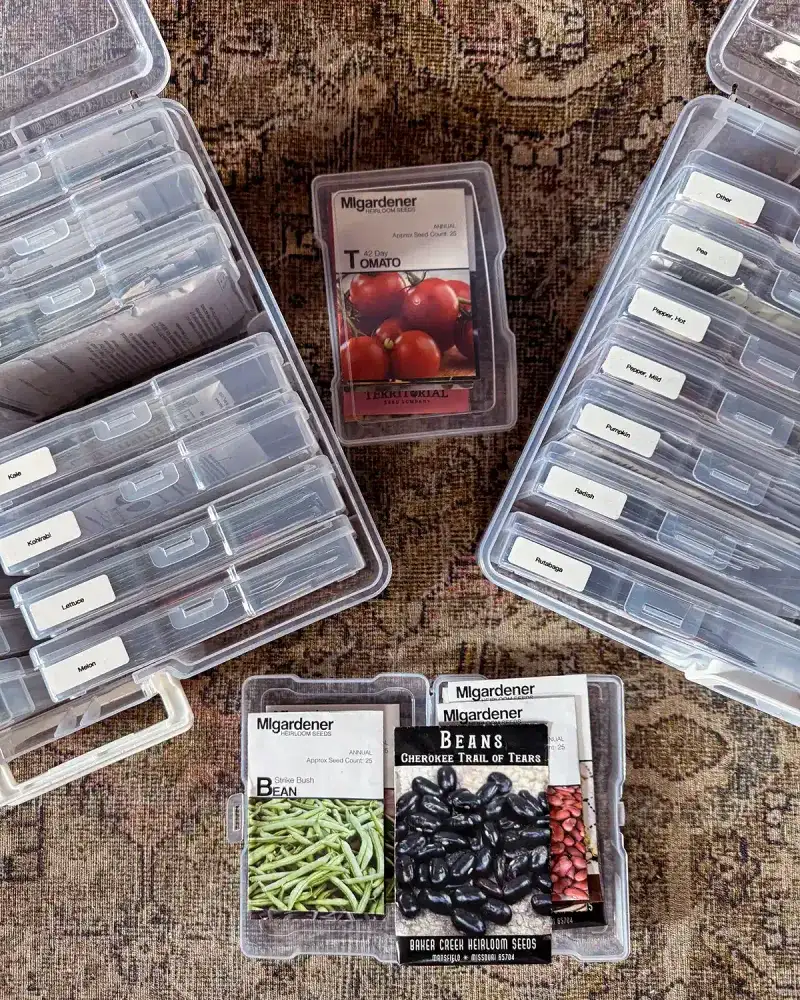
Photo boxes become perfect seed libraries when fitted with dividers. Trading card sleeves in binders protect packets while keeping them visible and accessible.
Recipe organizers work brilliantly for frequent gardeners who need quick access. Whatever system you choose, ensure it fits your space and gardening style.
Store everything in cool, dark, dry conditions to maintain seed viability for years.
4. Create a Seed Starting Calendar
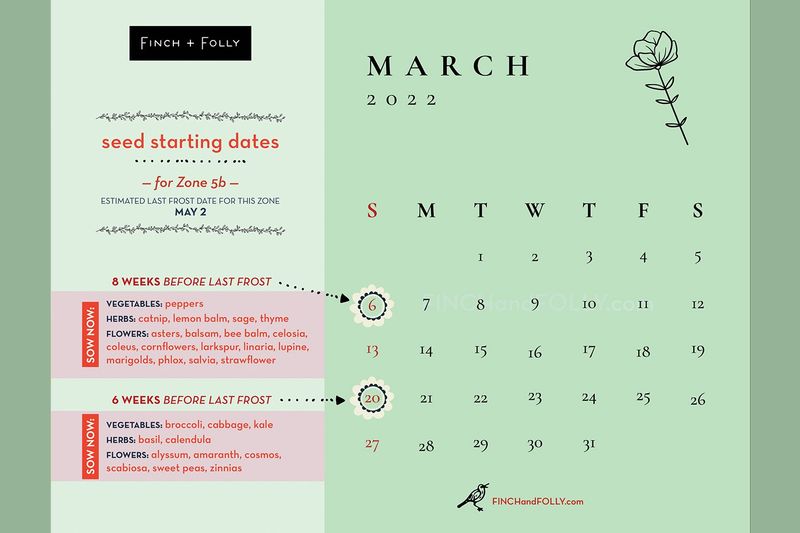
Your last frost date becomes the anchor point for calculating all indoor sowing dates. Count backward from this date using each seed packet’s recommended timing.
Digital calendars send helpful reminders, while printable charts provide visual timelines you can post near your growing area. Mark succession planting dates for continuous harvests.
This calendar prevents the panic of realizing you missed optimal planting windows.
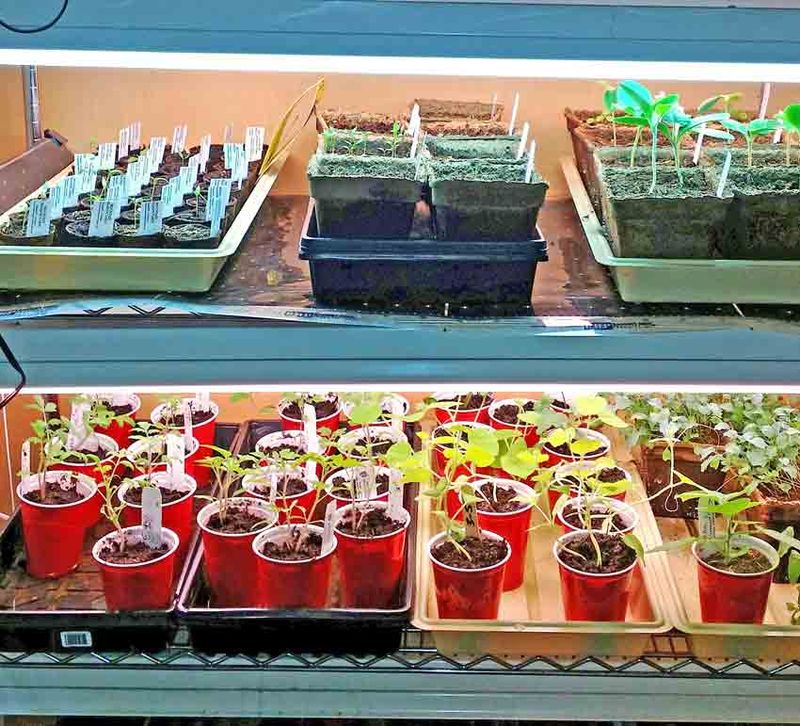
5. Prep Your Seed Starting Station Early
January cleaning sessions save precious time when seed starting season arrives. Scrub last year’s salt buildup from trays and sterilize pots with diluted bleach solution.
Test all equipment before you need it – heating mats, grow lights, and timers. Replace burned-out bulbs and check electrical connections for safety.
Having everything ready eliminates stress during those crucial first planting days.
6. Use Quality Seed-Starting Mix
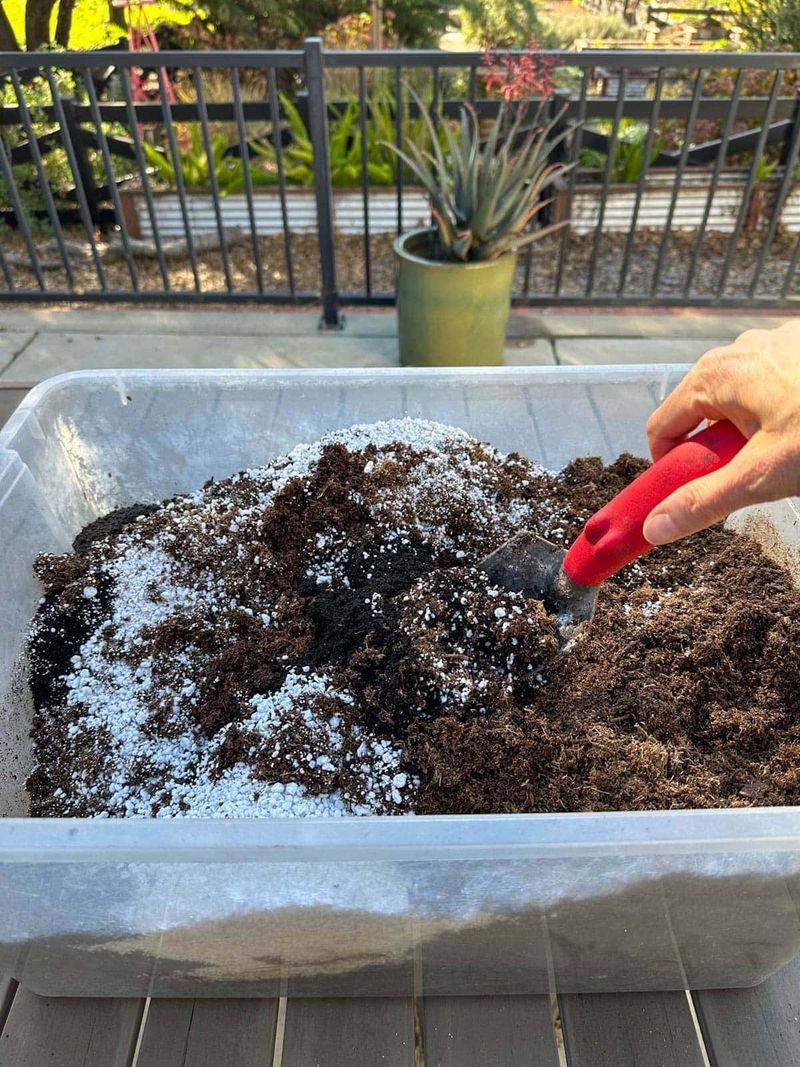
Garden soil seems economical but often contains fungi and pests that destroy tender seedlings. Professional seed-starting mixes drain better while retaining adequate moisture for germination.
Pre-moistening the mix prevents seeds from washing away during initial watering. The texture should feel like a wrung-out sponge – moist but not soggy.
Quality mix costs more upfront but dramatically improves your success rate.
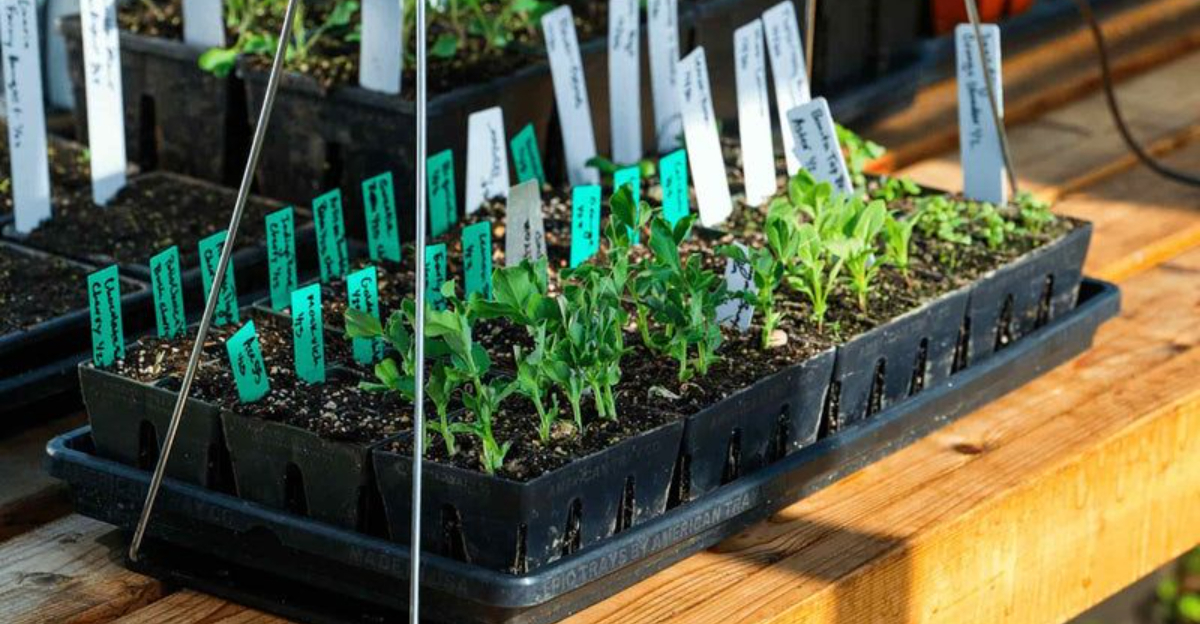
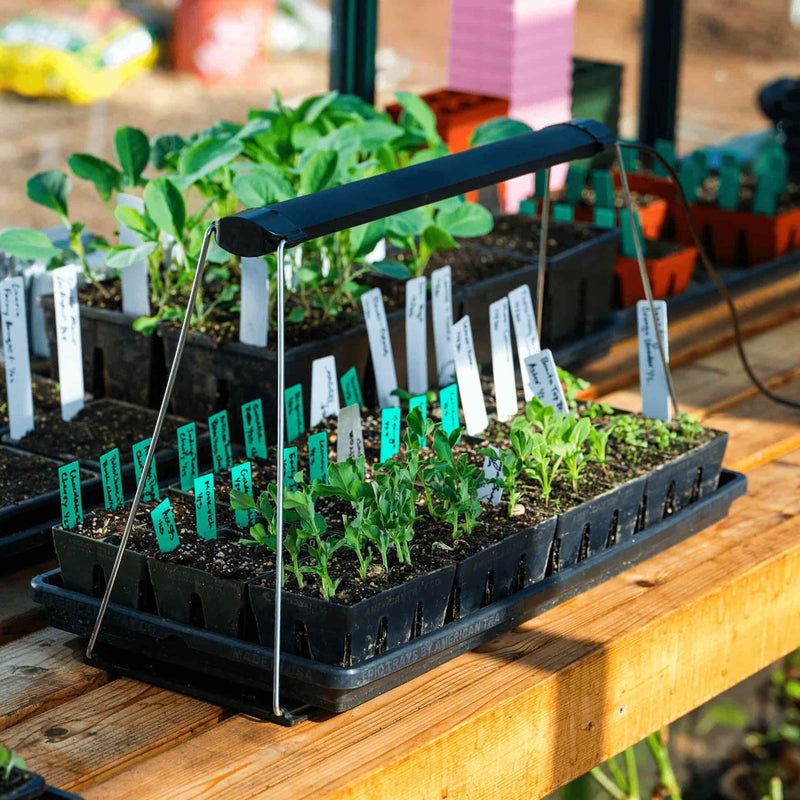
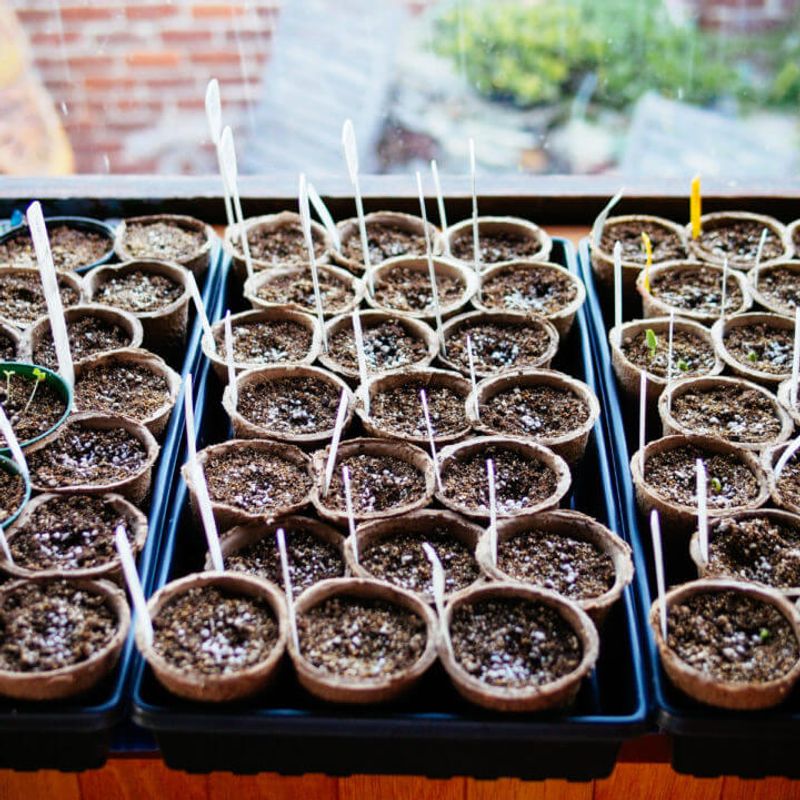
7. Label Everything From the Start
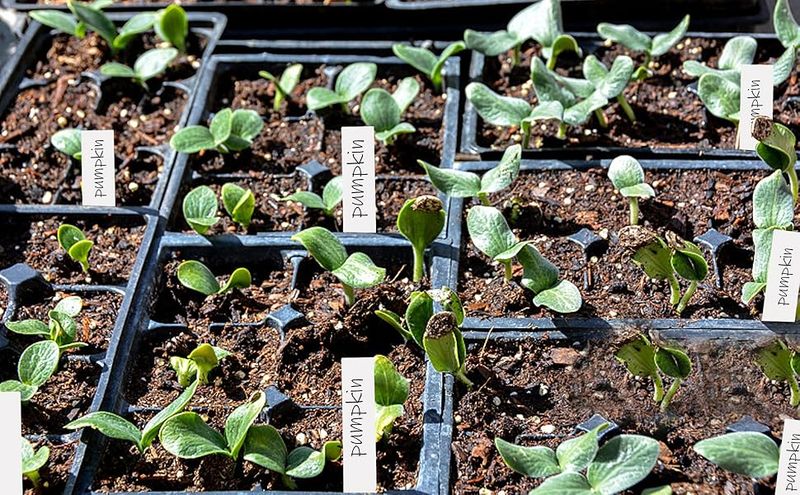
Memory fails when dozens of green seedlings look identical in their trays. Waterproof labels and permanent markers become your best friends during seed starting season.
Write variety names, sowing dates, and expected germination times on each label. Color-coding different plant families helps with quick identification during busy transplanting periods.
Proper labeling prevents the disappointment of mystery plants in your garden.
8. Make a Seedling Care Checklist
Daily routines prevent forgotten watering and overlooked problems that kill seedlings overnight. Create a simple checklist covering watering, light rotation, and ventilation checks.
Weekly tasks include thinning overcrowded seedlings and inspecting for fungal issues. Consistent care schedules reduce plant stress and boost survival rates significantly.
Checking off completed tasks provides satisfying proof of your dedication to these tiny plants.
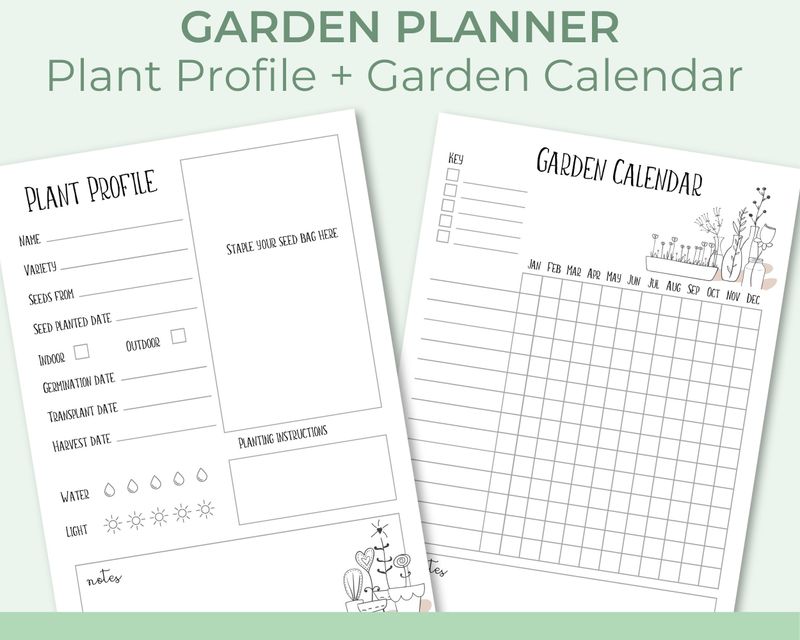
9. Keep Track of Germination Results
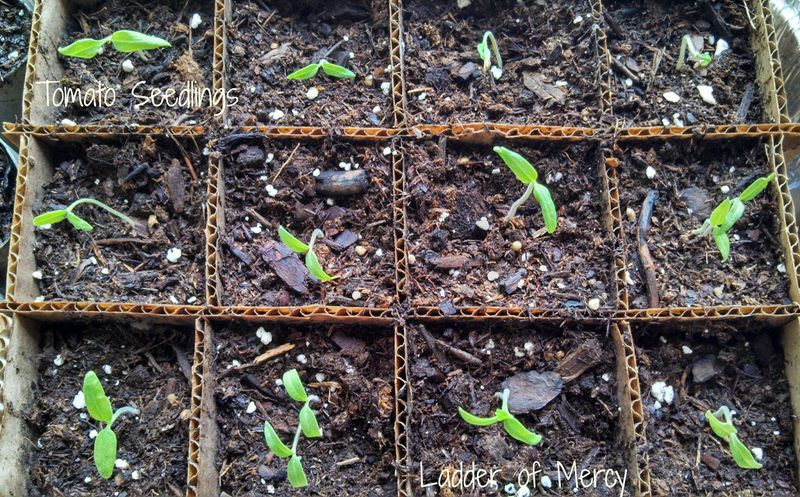
Recording germination times and success rates creates valuable data for improving future seasons. Note which varieties sprouted quickly and which struggled in your conditions.
Document environmental factors like temperature and humidity that affected germination. These records help you adjust techniques and choose better-performing varieties next year.
Your notes become a personalized gardening guide tailored to your specific growing conditions.
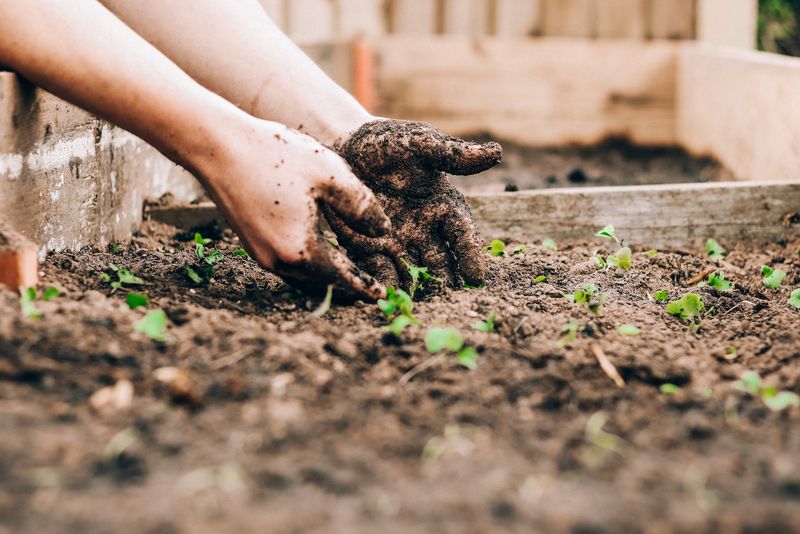
10. Start Small If You’re New
Beginner enthusiasm often leads to overwhelming seed orders that exceed available space and time. Choose five reliable varieties like tomatoes, lettuce, or zinnias for your first season.
Mastering basic techniques with fewer plants builds confidence and skills. Success with simple crops encourages expansion in future seasons rather than discouraging failure.
Small-scale success feels more rewarding than large-scale chaos and disappointment.
11. Have a Backup Plan for Late Germinators
Some seeds march to their own drumbeat, taking weeks longer than expected to emerge. Designate a separate area for these slow starters to prevent accidental disposal.
Patience pays off when those expensive pepper seeds finally sprout after three weeks. Keep soil moist and maintain consistent temperatures for stubborn varieties.
Backup plans prevent the heartbreak of throwing away viable seeds that just needed more time.
12. Celebrate Your Progress
Photography captures the magic of transformation from seed to seedling to mature plant. Share your successes online to inspire others and build gardening community connections.
Track milestones like first true leaves and transplant dates in a garden journal. Celebrating small victories maintains motivation during challenging growing periods.
Recognition of your efforts makes the entire gardening journey more meaningful and enjoyable.