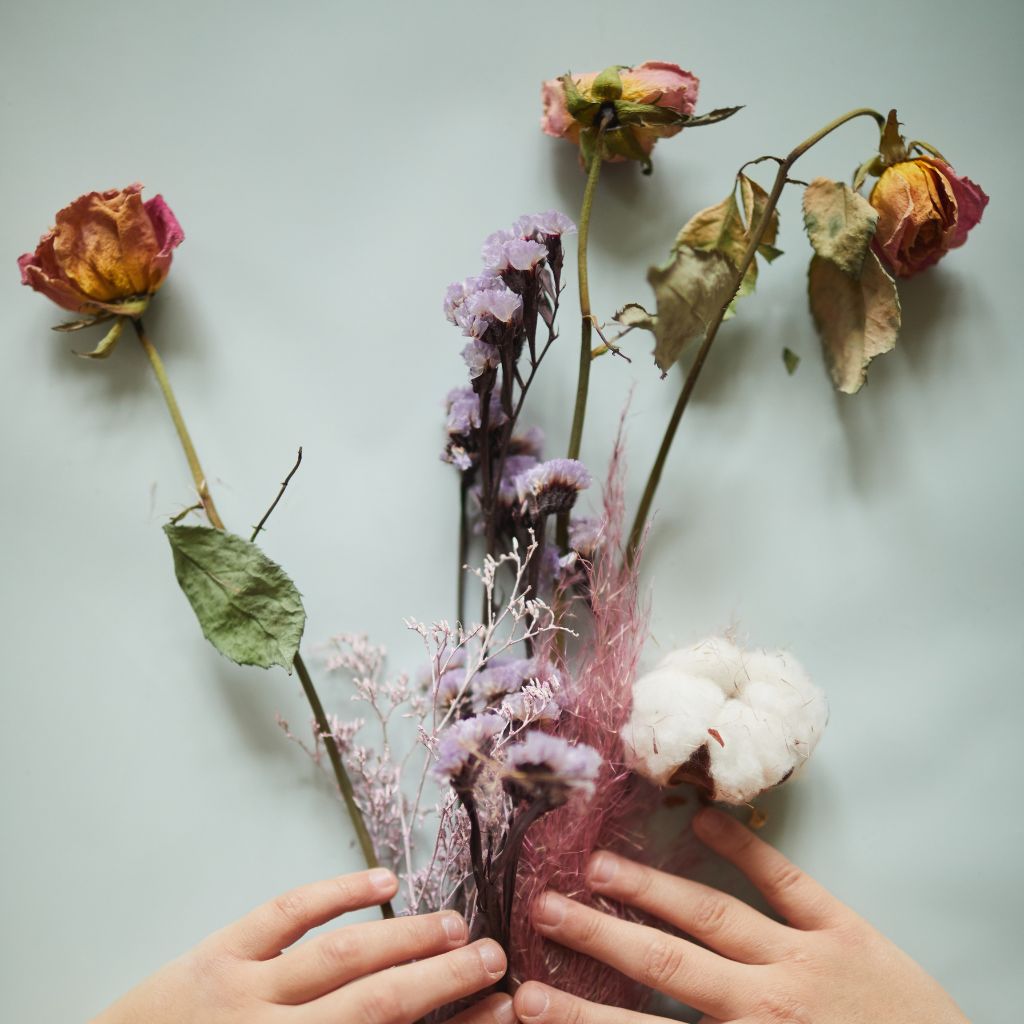
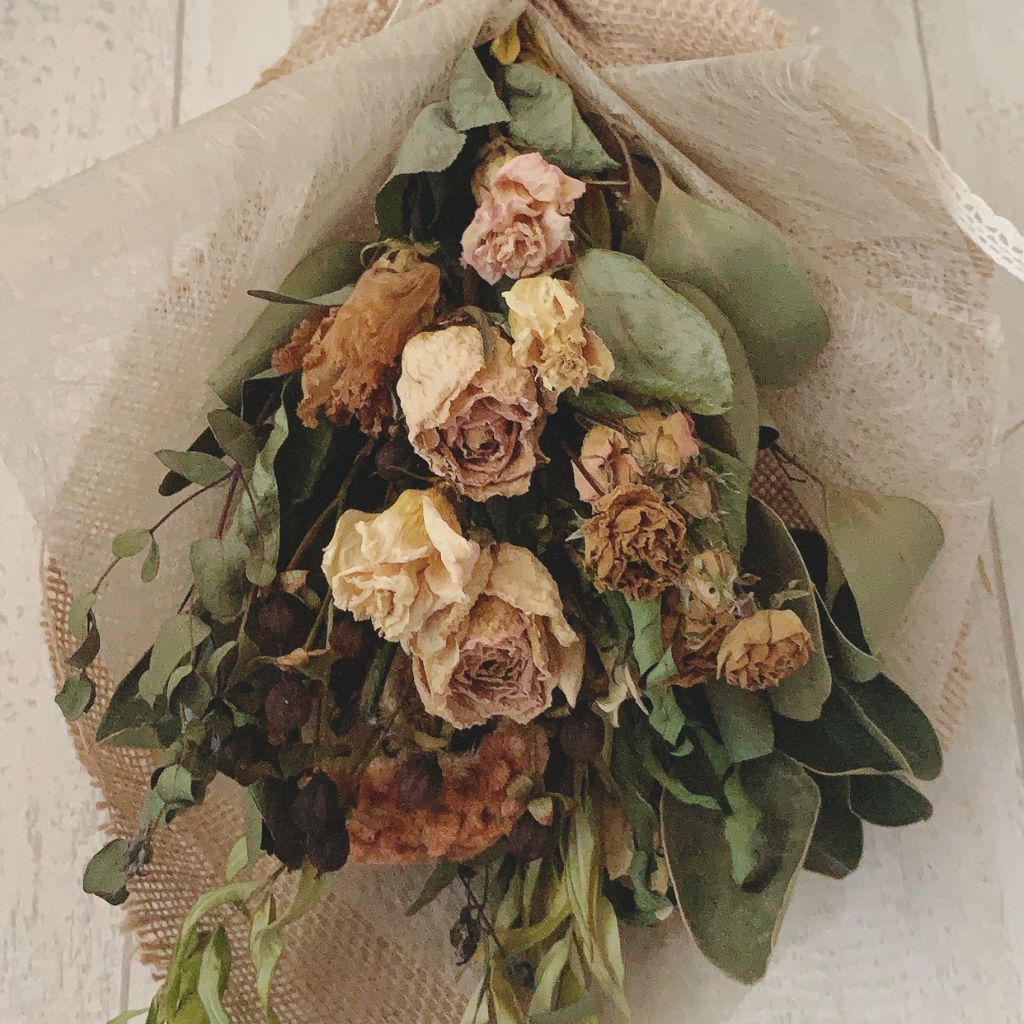
There’s something truly magical about preserving flowers. Whether it’s a bouquet from a special event or a bundle of blooms from your own garden, dried flowers allow you to capture and cherish a moment forever.
But the trick to creating long-lasting, vibrant dried flowers is preserving their color — and doing it fast.
Flowers are, after all, delicate. They can lose their color and shape quickly if not handled properly. That’s why learning how to dry flowers efficiently while preserving their beautiful hues is an essential skill for any DIY enthusiast.
In this guide, I’ll walk you through several tried-and-true methods to dry flowers quickly while keeping their color as vibrant as possible.
From traditional methods to modern techniques, you’ll find everything you need to create stunning dried floral arrangements that last.
Why Dry Flowers?
Before we get into the methods, let’s take a moment to appreciate why we might want to dry flowers in the first place. Dried flowers add a touch of rustic charm and elegance to home décor.
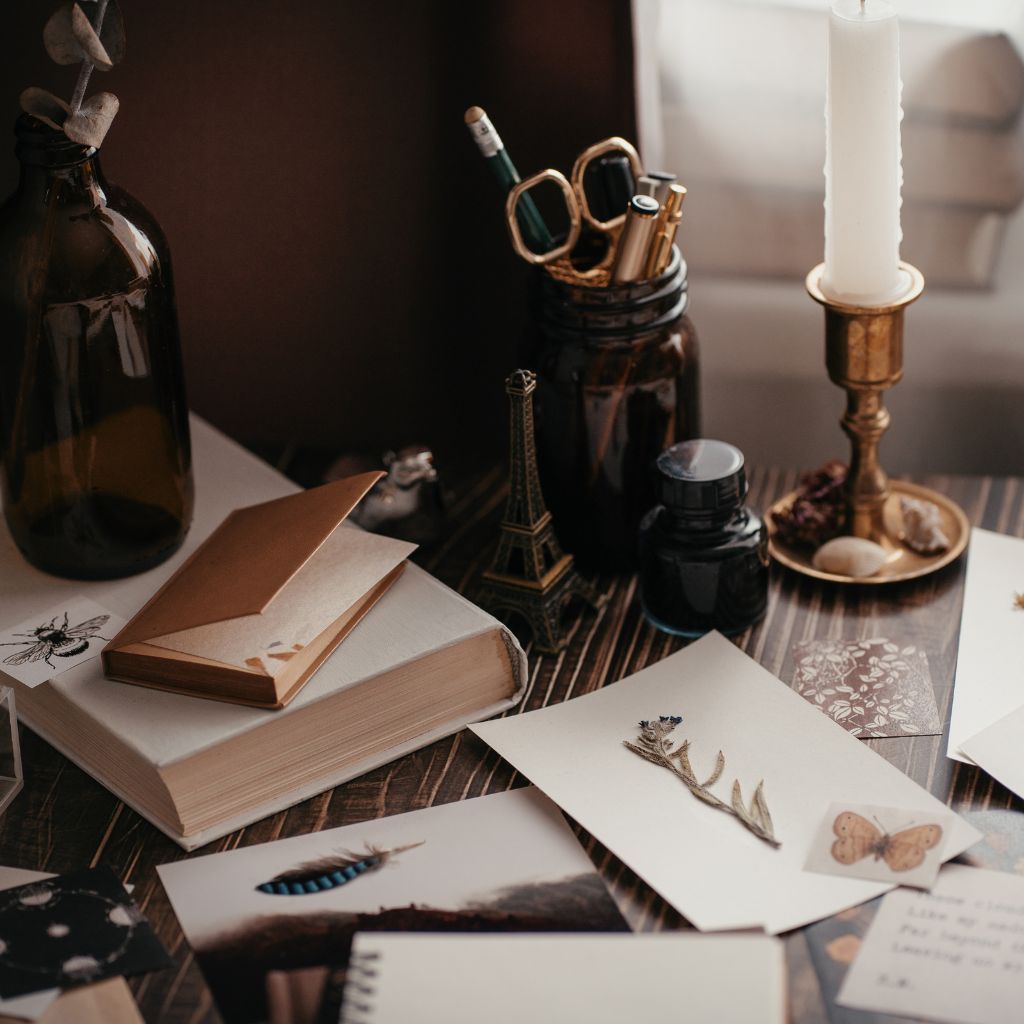
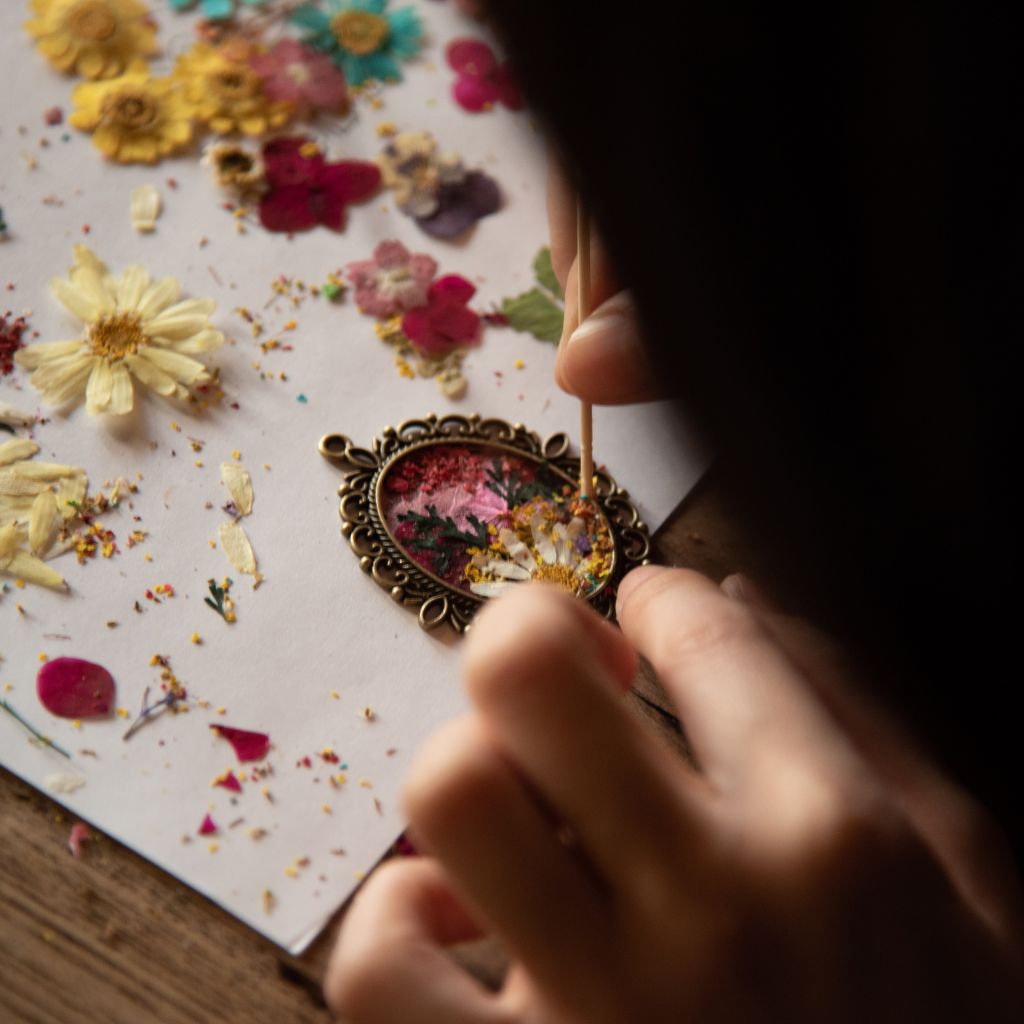
They’re also perfect for various craft projects such as wreaths, garlands, and pressed flower art. Plus, there’s the sentimental aspect.
Perhaps you want to keep a bridal bouquet, flowers from a birthday, or the first blooms from your garden — drying flowers allows you to preserve these memories.
How to Choose Flowers for Drying
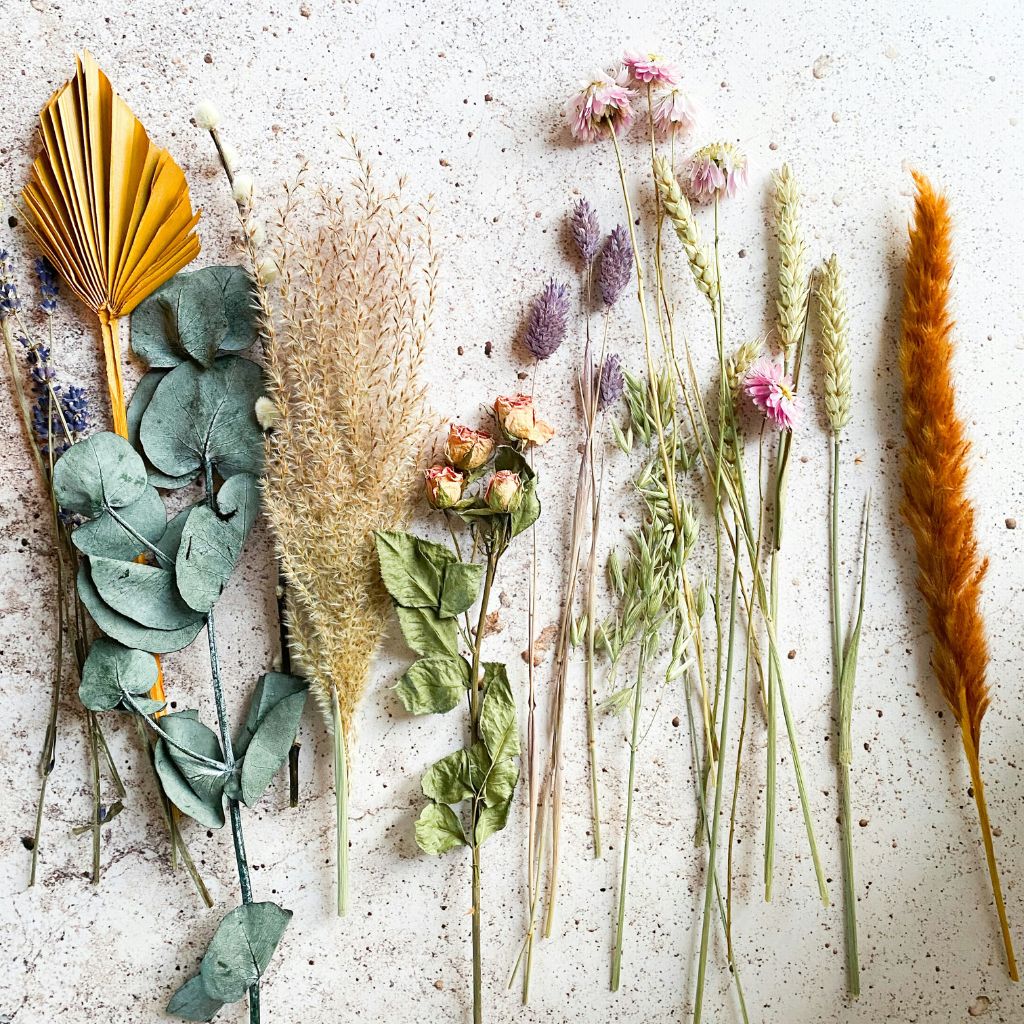
Not all flowers dry equally well, so it’s important to pick the right ones. Flowers with naturally vibrant colors and strong stems are your best bet. Some flowers that dry particularly well include:
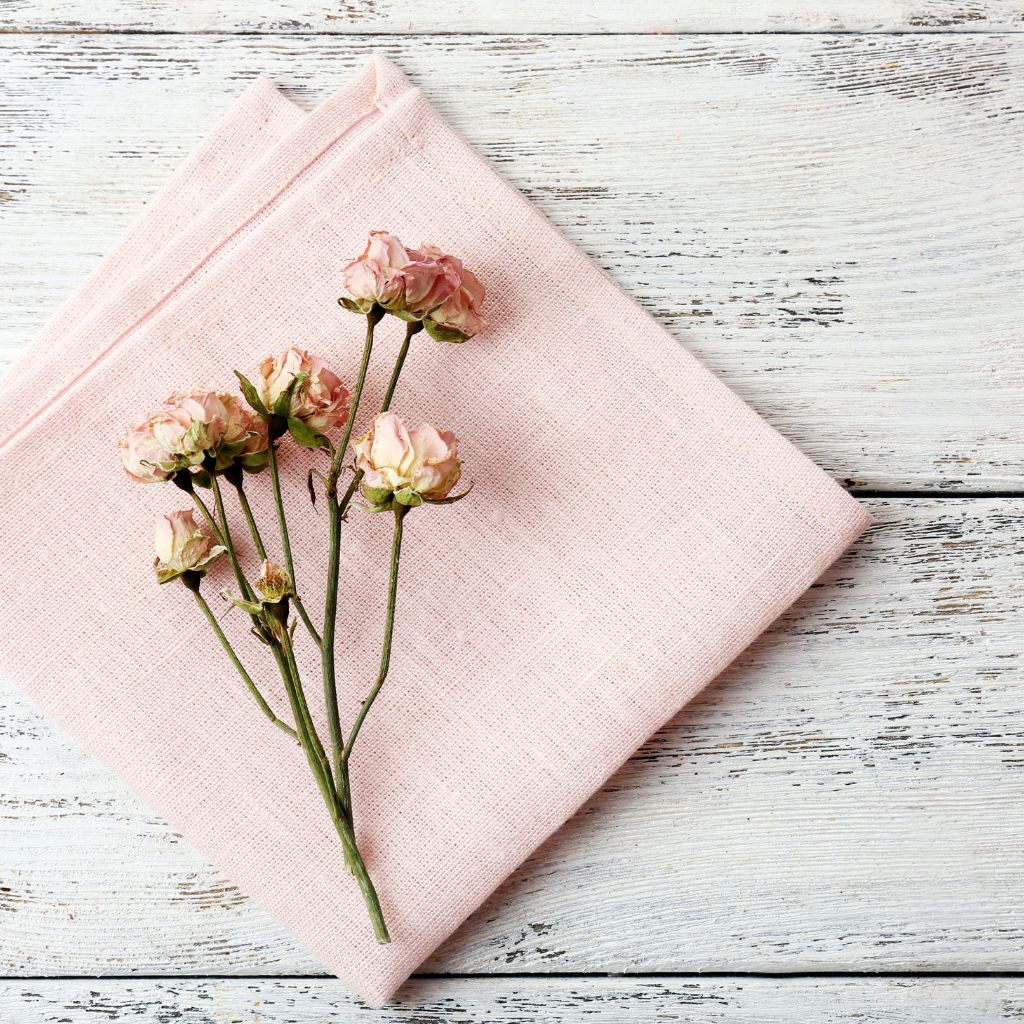
- Roses
- Lavender
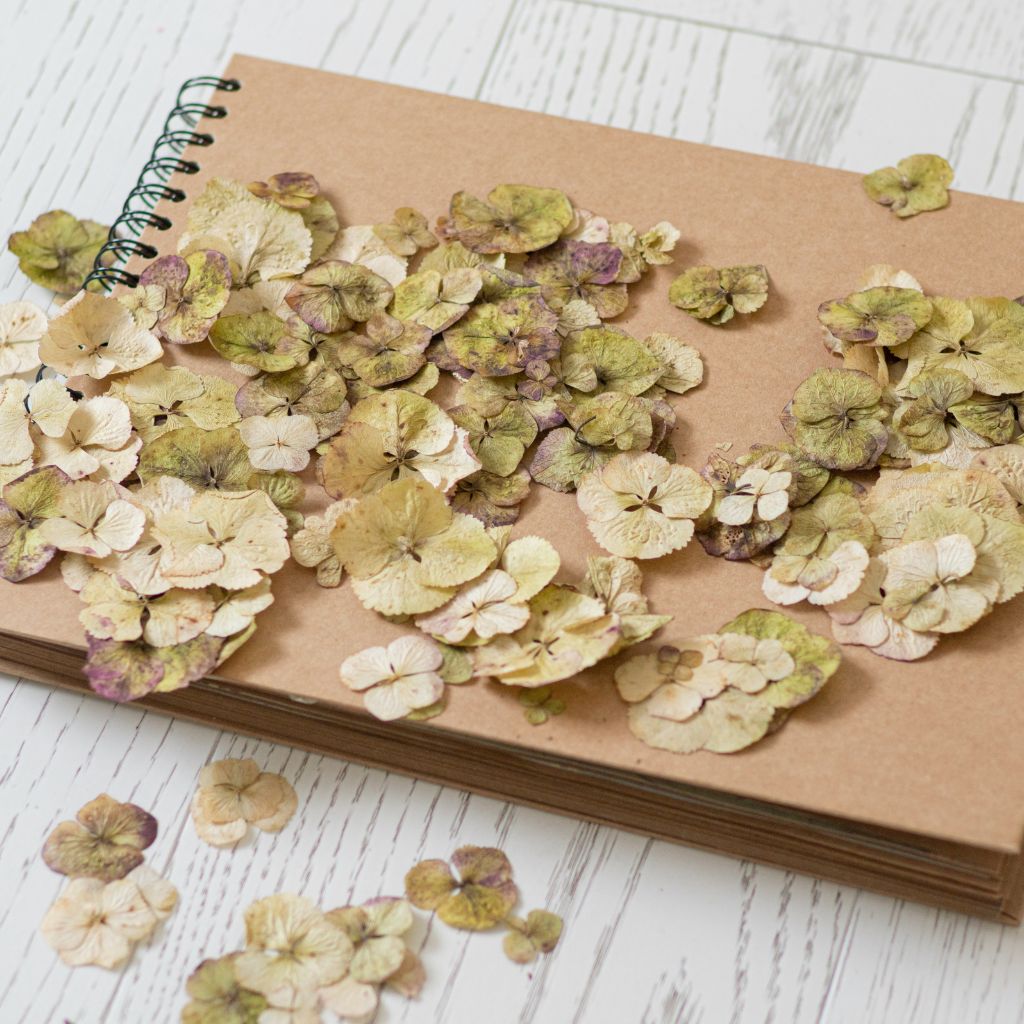
- Hydrangeas
- Baby’s Breath
- Statice
- Eucalyptus
It’s best to pick flowers at their peak — when they’re just about to fully open but not yet wilting. If you wait too long, the petals may fall or become too fragile during the drying process.
Method 1: Air Drying
Air drying is one of the oldest and most traditional methods for drying flowers. It’s simple, doesn’t require any special tools, and if done properly, it can help preserve both the shape and color of your flowers.
Steps for Air Drying Flowers:
1. Pick Your Flowers
Choose flowers that are fresh and in full bloom. Make sure to cut them early in the morning, after any dew has dried.
2. Prepare the Flowers
Remove excess leaves from the stems. This will allow the flowers to dry faster and prevent moisture from getting trapped, which can cause mold.
3. Bundle the Flowers
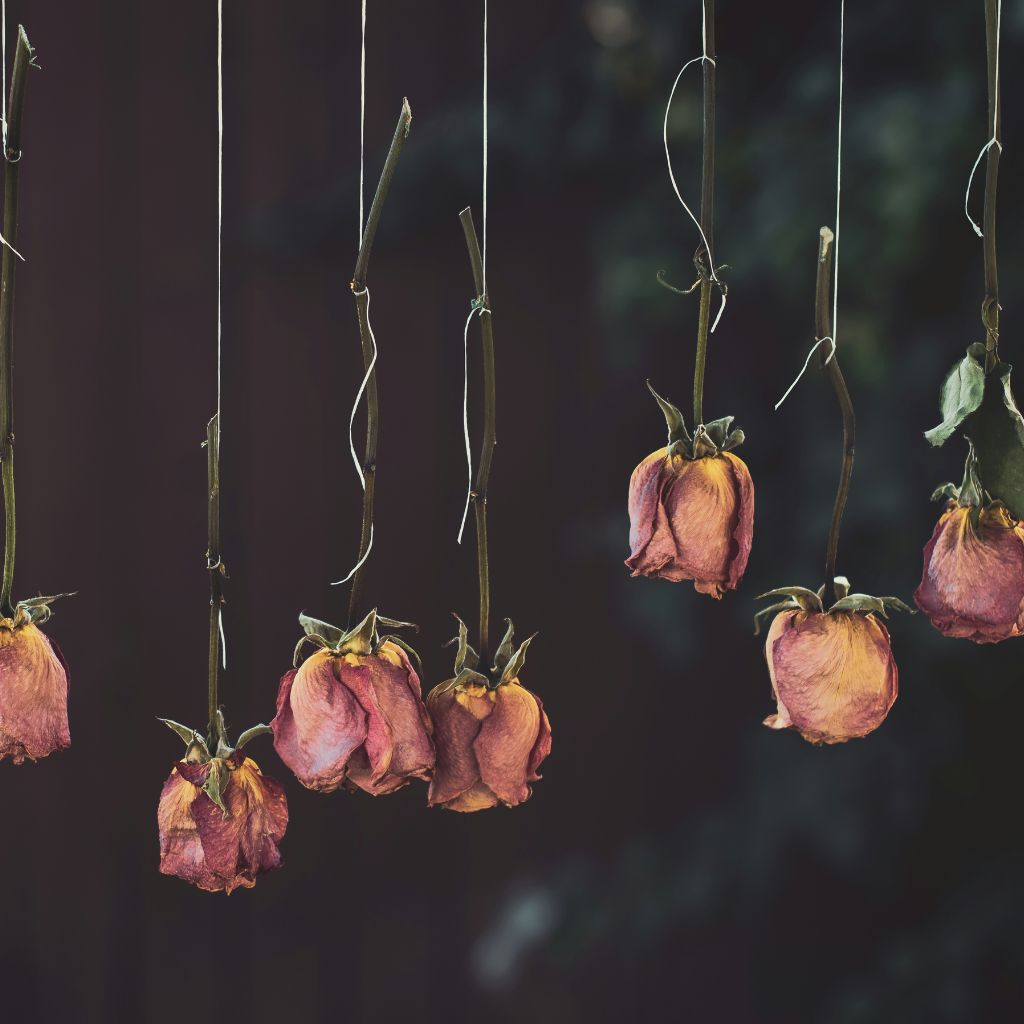
Tie the flowers together in small bundles using twine or string. Make sure the stems are secure but not too tight to avoid crushing them.
4. Hang Upside Down
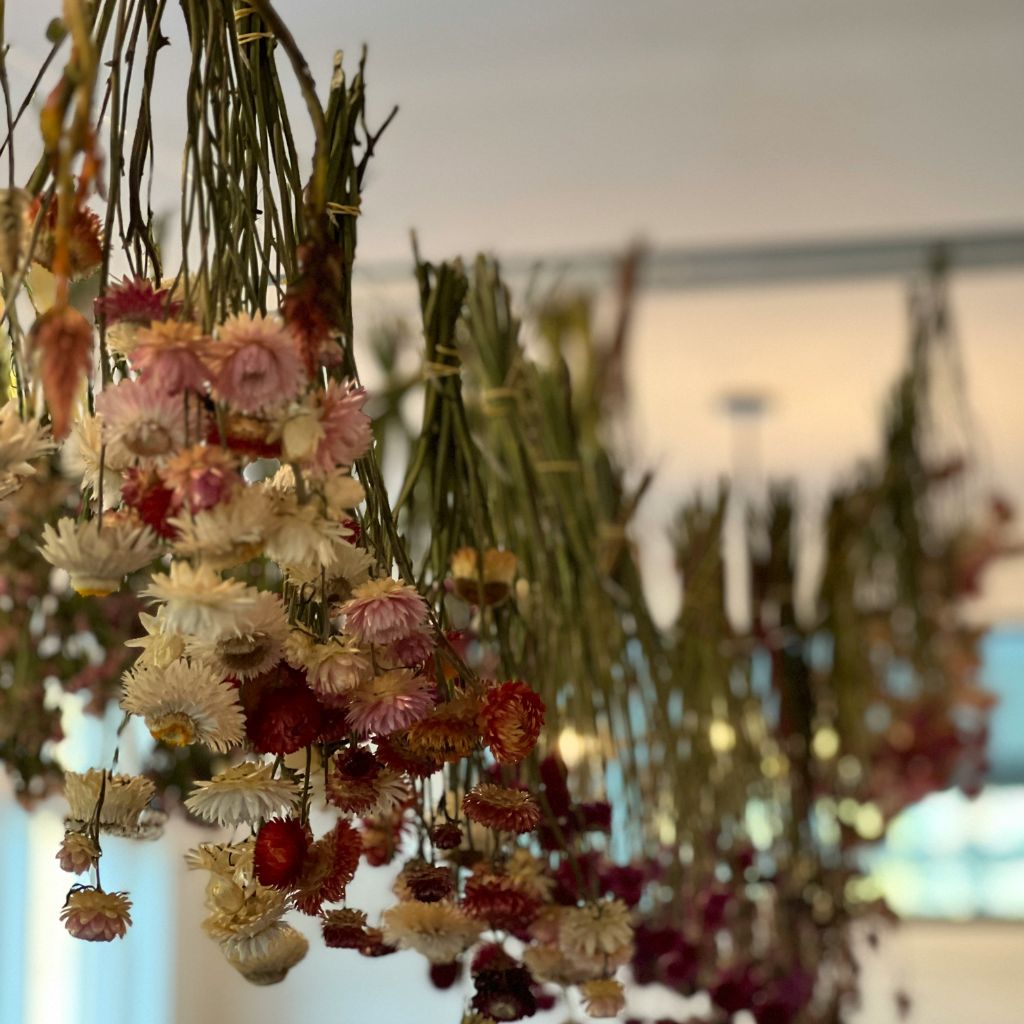
Hang the flower bundles upside down in a dry, dark, and well-ventilated area. Darkness helps to preserve the color, and good air circulation ensures that the flowers dry evenly.
5. Wait
Allow the flowers to dry for about two to three weeks. You’ll know they’re ready when the petals feel crisp to the touch and the stems are stiff.
Tips for Preserving Color:
To help the flowers retain their color, hang them in a dark room with minimal exposure to sunlight. Sunlight causes flowers to fade quickly.
Consider using a fan to improve air circulation and speed up the drying process without compromising the quality of the flowers.
Method 2: Microwave Drying
If you’re looking for a fast method to dry flowers while preserving their color, the microwave technique is a fantastic option. Using a microwave helps to lock in vibrant hues and works especially well for more delicate flowers.
Materials Needed:
- A microwave-safe container
- Silica gel (available at most craft stores)
- Microwave
Steps for Microwave Drying Flowers:
1. Pick and Prepare Your Flowers
Choose fresh flowers, and remove any unwanted leaves or extra stems.
2. Fill a Microwave-Safe Container
Fill a shallow, microwave-safe container with a layer of silica gel. This helps to preserve the flower’s color and shape during the drying process.
3. Place the Flowers in the Silica Gel
Gently place the flowers face-up in the container and cover them completely with more silica gel. Be careful not to crush the petals as you fill the container.
4. Microwave
Place the container in the microwave and set it to medium heat. Start by microwaving the flowers for about 1 to 2 minutes. The time will depend on the type of flower and its size, so check them periodically to ensure they’re drying properly without burning.
5. Cool and Finish
After microwaving, carefully remove the container and let the flowers sit in the silica gel for another 24 hours to finish the drying process. Once dry, gently brush off the silica gel from the petals.
Tips for Preserving Color:
Silica gel works wonders for keeping flowers vibrant, as it absorbs moisture while maintaining the structure and color of the petals.
Be cautious not to overheat the flowers, as they can lose their color and shape if microwaved for too long.
Method 3: Pressing Flowers
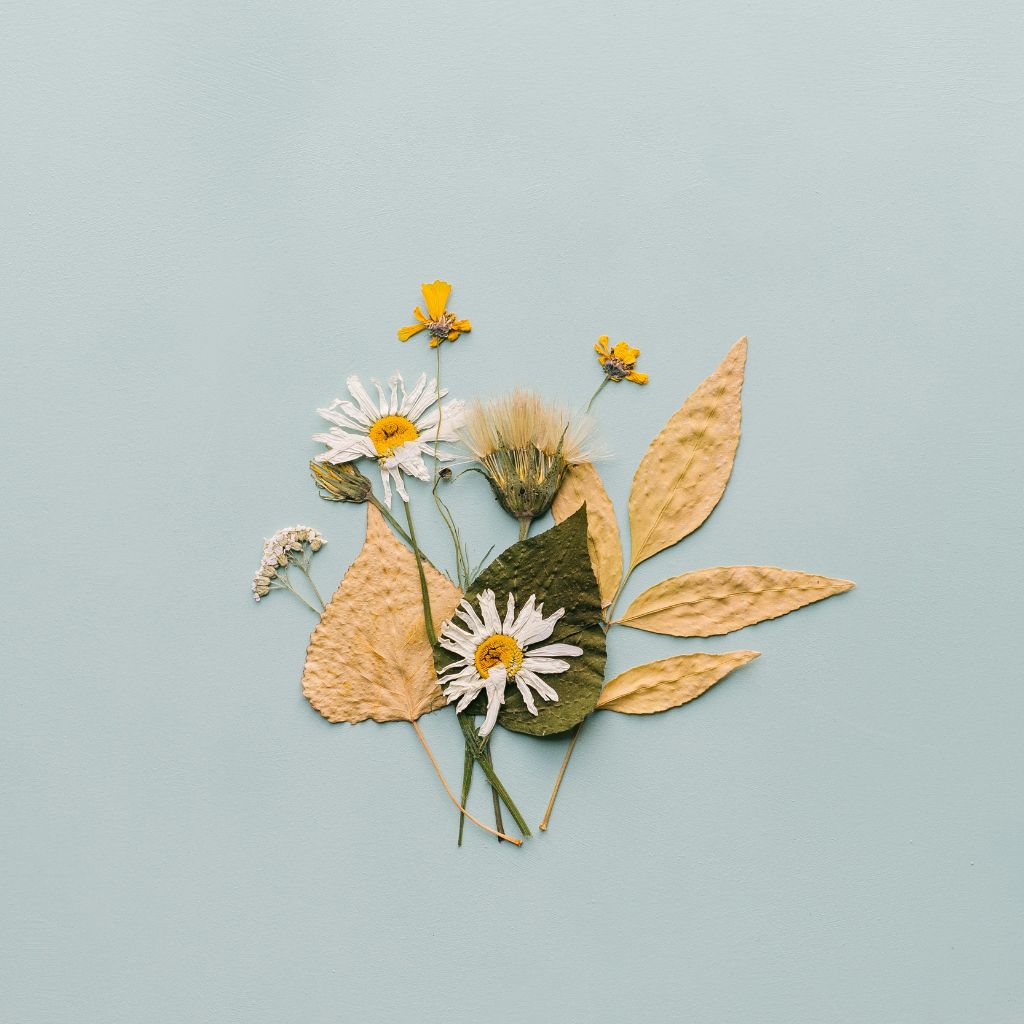
Pressing flowers is a simple method that’s perfect for preserving color, especially with flat flowers like pansies, daisies, and violets. Pressed flowers are great for art projects, bookmarks, or even framed as keepsakes.
Materials Needed:
- Heavy books or a flower press
- Parchment paper or blotting paper
Steps for Pressing Flowers:
1. Pick Fresh Flowers
Choose flowers that aren’t too thick, as flatter blooms press better. If you’re pressing thicker flowers, you might want to remove some petals or leaves.
2. Place in Between Paper
Lay the flowers between two sheets of parchment or blotting paper. This helps absorb moisture and prevents the flowers from sticking to the books.
3. Press
Place the flowers and paper in between the pages of a heavy book. Stack additional books or weights on top to apply pressure.
4. Wait
Leave the flowers to press for 1 to 2 weeks. Check on them periodically to ensure they’re drying properly.
5. Finish
Once fully dried and flat, carefully remove the flowers and use them in craft projects, framed art, or as a decorative accent in your home.
Tips for Preserving Color:
To enhance the color preservation, you can place the flowers in a cool, dark space while pressing. Light exposure can dull the colors over time.
Be sure to use absorbent paper to help the flowers dry faster and maintain their vibrancy.
Method 4: Oven Drying
For a quick and effective drying method, look no further than your kitchen oven. This method works well for sturdier flowers, such as roses or hydrangeas, and the low heat helps preserve the color.
Steps for Oven Drying Flowers:
1. Preheat Your Oven
Set your oven to its lowest temperature, ideally around 100-150°F (38-65°C).
2. Prepare the Flowers
Place the flowers on a wire rack or a baking tray lined with parchment paper. Make sure the flowers are evenly spaced to allow good air circulation.
3. Dry in the Oven
Place the tray in the oven, leaving the door slightly open to allow moisture to escape. Let the flowers dry for about 2 to 3 hours, checking on them periodically to ensure they don’t over-dry or lose their color.
4. Cool and Finish
Once dried, remove the flowers from the oven and allow them to cool. They should feel crisp to the touch and maintain their shape.
Tips for Preserving Color:
The key to preserving color in the oven is to keep the temperature low and avoid direct sunlight. This minimizes the risk of fading.
Sturdier flowers work best for this method, as delicate flowers may become too brittle in the oven.
Method 5: Using a Dehydrator
A food dehydrator isn’t just for preserving fruits and vegetables — it can be a fantastic tool for drying flowers as well. This method is fast and efficient, locking in color while removing moisture.
Steps for Dehydrating Flowers:
1. Pick and Prepare Flowers
Select fresh blooms and remove any extra foliage. Place the flowers evenly on the dehydrator trays.
2. Set the Temperature
Set the dehydrator to its lowest setting, usually around 100-110°F (37-43°C), and let the flowers dry for several hours.
3. Check Periodically
Keep an eye on the flowers as they dry, ensuring they don’t become too brittle or lose their color.
4. Finish
Once the flowers are crisp and dry, remove them from the dehydrator and store or display them as desired.
Tips for Preserving Color:
Using a dehydrator allows for a slow and steady drying process, which helps maintain the flower’s natural colors.
Like the oven method, it’s important to avoid over-drying the flowers, as this can dull their vibrancy.
Drying flowers is an enjoyable and rewarding process that lets you savor the beauty of your blooms long after they’ve been picked.
Whether you’re creating a keepsake bouquet, making pressed flower art, or simply preserving your garden’s treasures, these drying methods will help you do so quickly and effectively while maintaining the beautiful colors of your flowers.
Choose the method that works best for you, and before you know it, you’ll have stunning dried flowers that are ready to display in your home.

