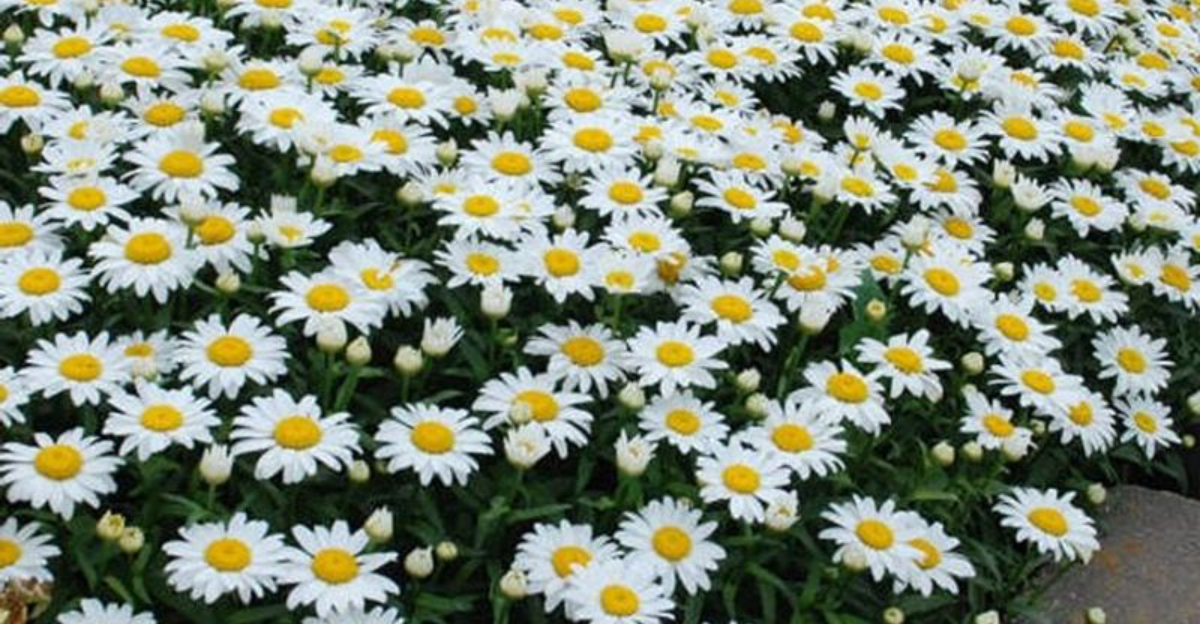
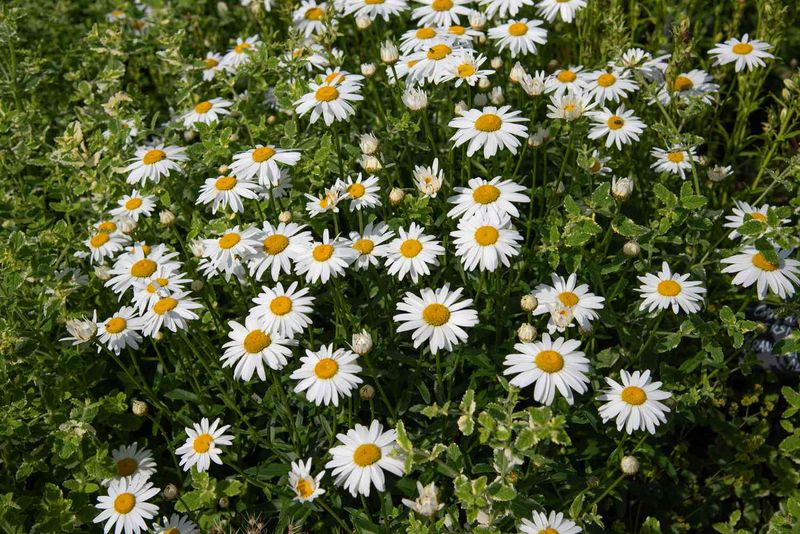
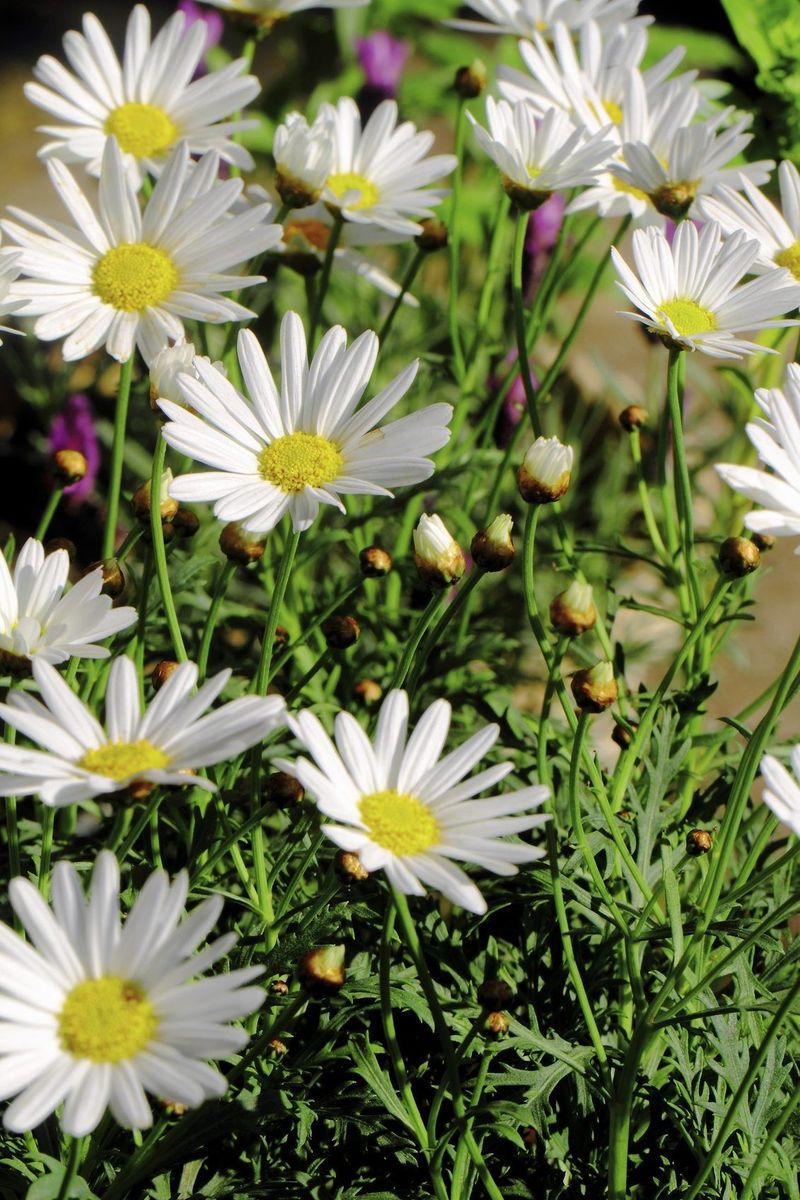
Discover the enchanting world of Shasta daisies with our guide to 20 secrets that gardeners swear by for achieving stunning blooms.
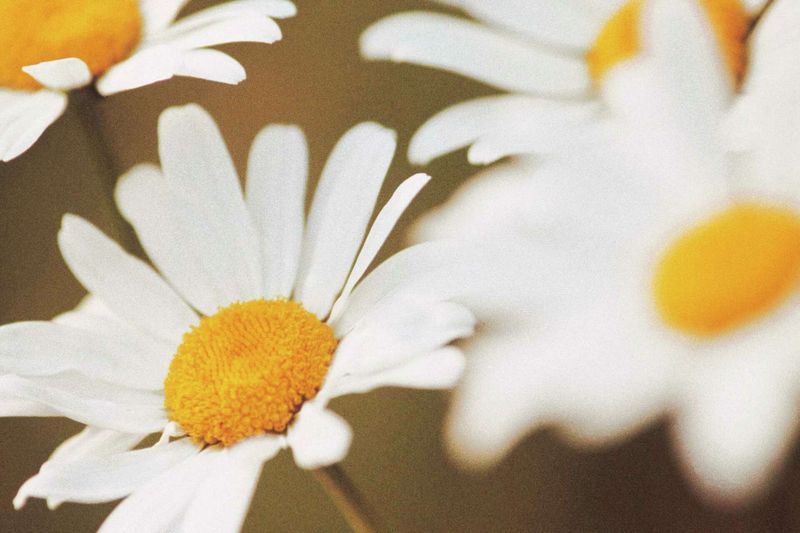
These timeless beauties, known for their cheerful white petals and sunny yellow centers, bring charm to any garden.
Whether you’re a seasoned gardener or just starting, these tips will help you cultivate robust, vibrant Shasta daisies that will make your garden the talk of the neighborhood.
1. Choose the Right Variety
Selecting the right Shasta daisy variety is crucial for your garden’s success. Consider ‘Becky’ for its tall, sturdy stems or ‘Snowcap’ for a compact, neat appearance. Each variety offers unique characteristics that can complement your garden design.
Whether you have ample space or a cozy garden bed, picking the right cultivar ensures that your Shasta daisies thrive and bloom beautifully. Be mindful of your garden’s needs and space constraints to make an informed choice.
The right variety not only enhances your garden’s aesthetic but also ensures healthy growth and abundant flowering.
2. Plant in Full Sun
Sunshine is the lifeblood of Shasta daisies. These plants thrive with at least six hours of direct sunlight each day. Position them in a sunny spot to encourage vigorous growth and abundant blooms.
Without enough sunlight, daisies may become leggy and produce fewer flowers. Full sun not only boosts their beauty but also their resilience, helping them fend off pests and diseases.
Remember, adequate sunlight is essential for the photosynthesis process, which fuels their growth and blooming cycle, making your garden a radiant display of nature’s charm.
3. Well-Drained Soil is a Must
Shasta daisies despise soggy roots. Ensuring well-drained soil is a non-negotiable step for gardeners. Incorporate sand or compost to improve drainage if your garden has heavy or clay soil.
This encourages healthy root systems by preventing waterlogging, which can lead to root rot. The ideal soil is loose, allowing air and moisture to circulate freely around the roots.
A proactive approach to soil preparation ensures your daisies flourish, producing vibrant blooms that stand tall and strong. Remember, happy roots lead to happy plants that brighten your garden with their beauty.
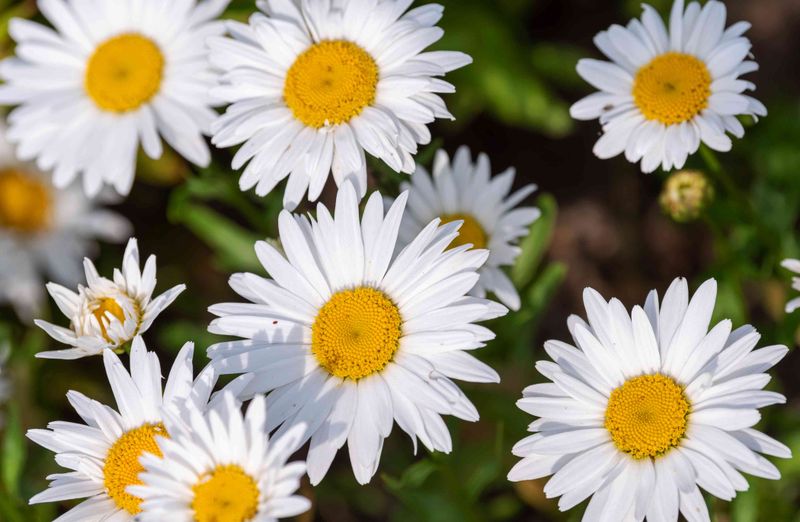
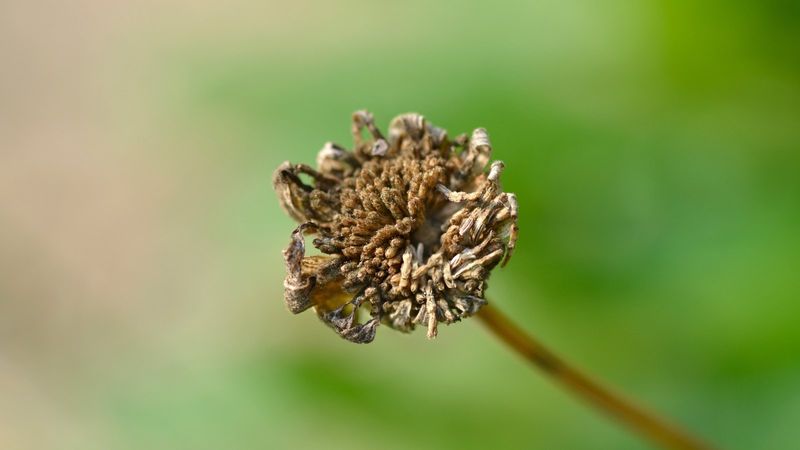
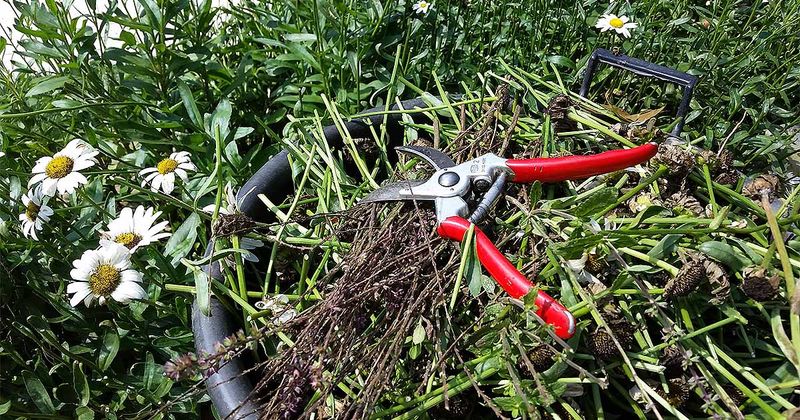
4. Deadhead Regularly for More Blooms
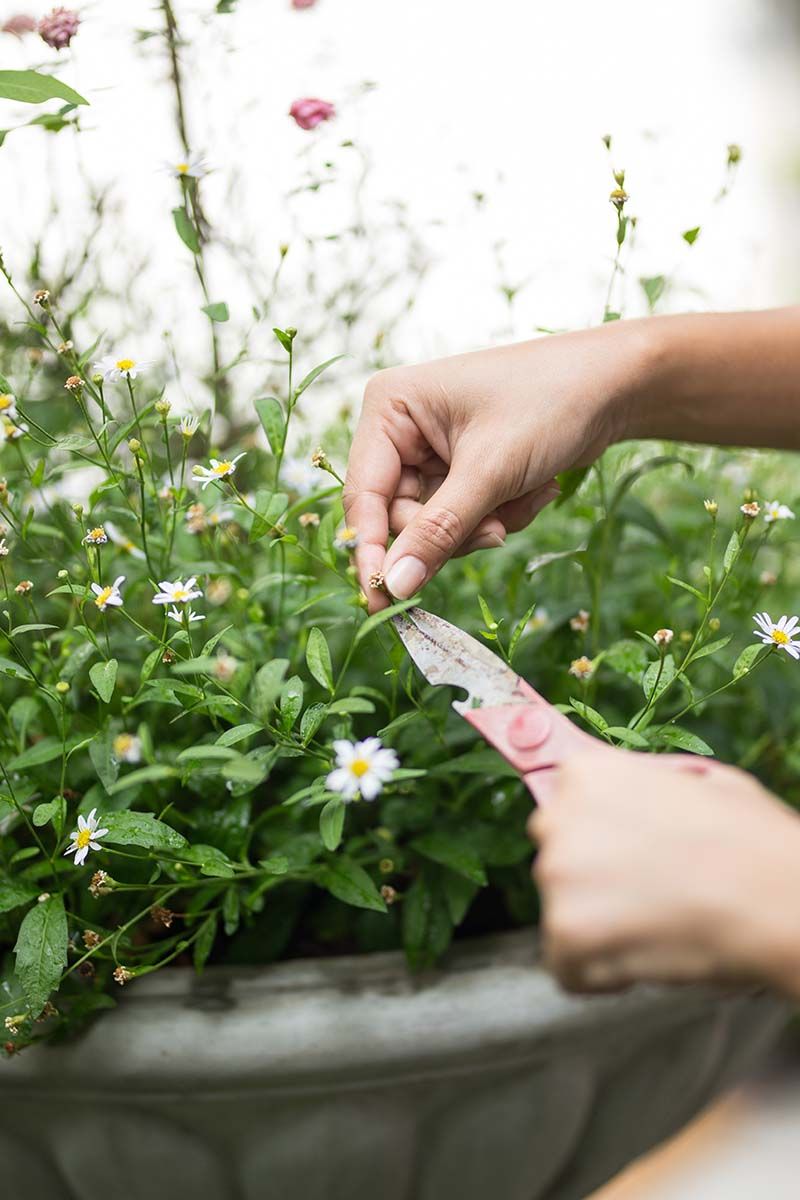
Regular deadheading keeps Shasta daisies blooming all season long. Removing spent flowers encourages the plant to produce new blooms rather than expend energy on seed production.
This simple task significantly extends the flowering period, ensuring a continuous display of vibrant, fresh blooms. Use clean, sharp pruning shears for precise cuts that minimize plant damage.
Deadheading also improves the plant’s overall appearance, keeping it neat and tidy. Embrace this routine as part of your gardening practice to maximize the beauty and longevity of your daisies’ delightful blossoms.
5. Don’t Over-Fertilize
It’s easy to think that more fertilizer means more blooms, but not with Shasta daisies. Over-fertilizing, especially with high nitrogen fertilizers, can encourage leafy growth at the expense of flowers.
Aim for a balanced or low-nitrogen fertilizer applied sparingly, once in spring. This provides essential nutrients without overwhelming the plants. A light hand with fertilizer helps maintain the right balance, promoting vibrant blooms while ensuring lush, green foliage.
Remember, moderation is key to maintaining a healthy, thriving garden that showcases the natural splendor of Shasta daisies.
6. Water Smartly
Mastering the art of watering is vital for Shasta daisies. These plants prefer deep, infrequent watering, allowing their roots to grow strong and deep. Once established, they are remarkably drought-tolerant, managing well with less frequent watering.
Overwatering can lead to soggy roots and plant stress, so it’s important to let the soil dry out slightly between waterings.
Monitoring weather conditions and adjusting your watering routine accordingly ensures your daisies remain healthy and resilient, ready to grace your garden with their stunning floral display. Water wisely for a garden full of life and color.
7. Divide Every 2-3 Years
Dividing Shasta daisies every two to three years rejuvenates the plants, preventing overcrowding and promoting vigorous growth. Early spring or fall is the perfect time for this task. Use a sharp spade to dig up the clumps, ensuring you retain plenty of roots.
Split the clumps into smaller sections and replant them at the same depth they were growing. This process not only encourages healthier plants but also allows you to expand your garden with new blooms.
Dividing is a rewarding practice that keeps your garden vibrant and full of life year after year.
8. Mulch for Moisture and Weed Control
Mulching is a gardener’s best friend when it comes to Shasta daisies. A light layer of mulch helps retain soil moisture, reducing the need for frequent watering. It also acts as a natural barrier against weeds, minimizing competition for nutrients.
Choose organic mulch like bark chips or straw for a natural look that complements your garden. Spread it evenly, leaving space around the base of the plants to prevent rot.
Mulching not only conserves water and reduces weeds but also adds an attractive finish to your garden beds, enhancing the overall aesthetic.
9. Pinch Early Growth for Bushier Plants

Want bushier Shasta daisies? Pinch back early growth in spring. This technique encourages the plants to branch out, resulting in stronger, more compact growth. The increased branching not only enhances the plant’s structure but also leads to more blooms.
It’s a simple yet effective way to improve the appearance and performance of your daisies. Use your fingers or small scissors to remove the tips of young shoots.
This small act of care results in a fuller, more robust plant that will stand out in your garden with its lush foliage and abundant flowers.
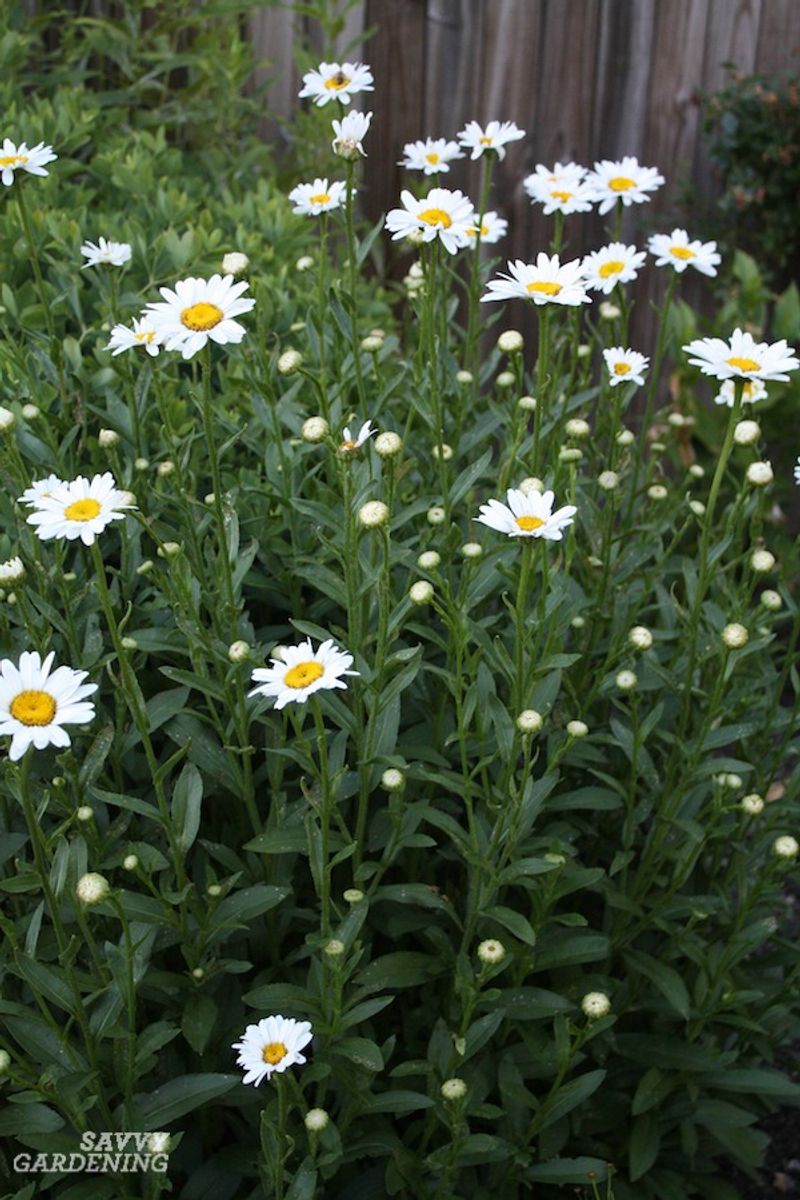
10. Stake Tall Varieties
Tall Shasta daisy varieties can be prone to flopping, especially in wind or rain. Staking provides essential support, keeping your plants upright and their blooms pristine. Choose stakes that blend with the garden or enhance its aesthetic.
Insert them early in the growing season to guide the plants as they grow. Secure the stems loosely to avoid damage. Proper staking ensures that your daisies maintain their shape and continue to be a focal point in your garden.
This preventive measure adds to the garden’s charm, showcasing your blooms at their best.
11. Watch for Fungal Issues
Fungal issues like powdery mildew and root rot can plague Shasta daisies. Ensuring good air circulation around the plants is crucial to prevent these problems. Space your daisies adequately and avoid overhead watering to minimize moisture on the leaves.
Regularly inspect and remove any diseased or dead foliage to maintain plant health. These proactive steps help create an environment where fungi struggle to thrive, keeping your daisies healthy and vibrant.
A little vigilance goes a long way in preserving the beauty and longevity of your garden’s floral treasures.
12. Don’t Cut Back Too Early
Resist the urge to cut back Shasta daisies too early in the fall. Leaving the stems intact over winter provides cold protection and aids biodiversity by offering food for pollinators with their seed heads.
This natural approach not only benefits the ecosystem but also adds winter interest to your garden. Come spring, once the risk of frost has passed, you can trim back the old growth to make way for new shoots.
By delaying your cutback, you’re fostering a healthier, more resilient garden that’s ready to bloom beautifully when the warmer months return.
13. Plant with Companions
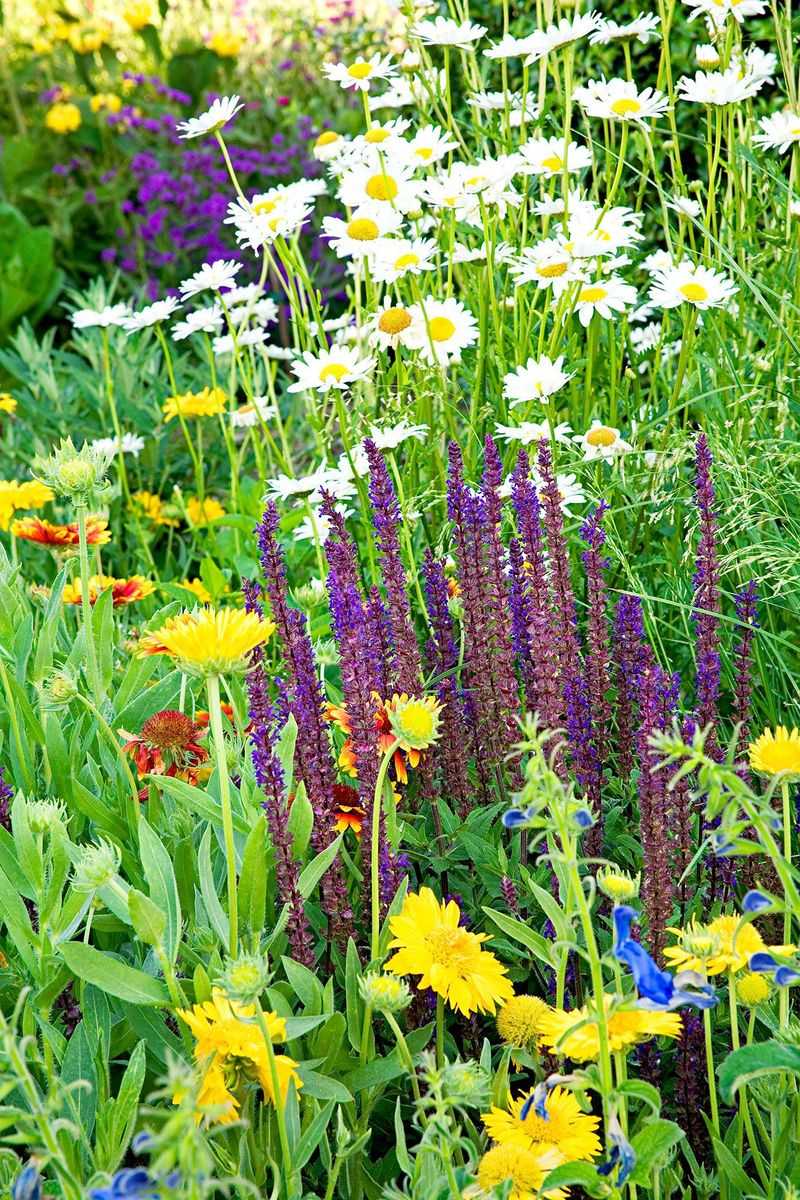
Pairing Shasta daisies with companion plants like coneflowers, black-eyed Susans, salvia, and coreopsis extends the bloom time and offers pest protection. These combinations create a dynamic, visually appealing garden that thrives from spring through fall.
Each plant complements the others, enhancing the overall garden design. Companion planting not only boosts beauty but also promotes a healthy garden ecosystem by attracting beneficial insects and deterring pests.
Embrace this symbiotic relationship to create a lively and balanced garden that captivates with its color and diversity throughout the growing season.
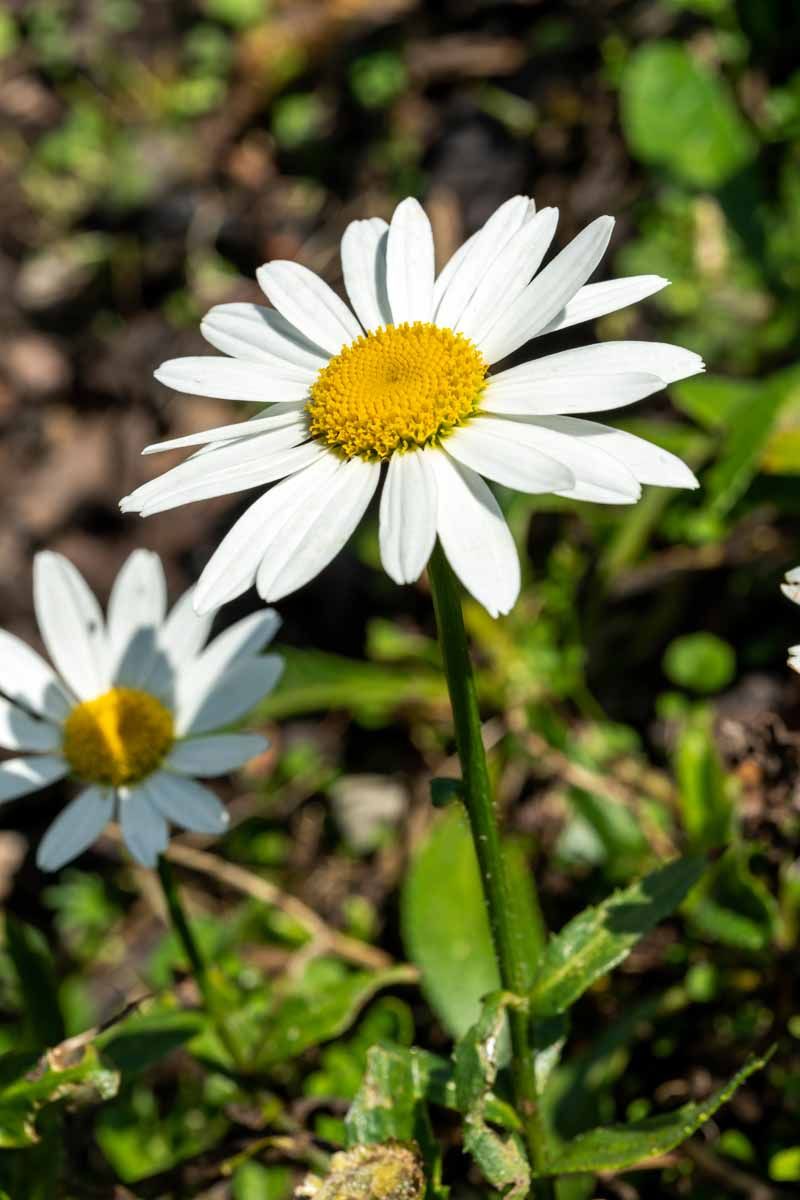
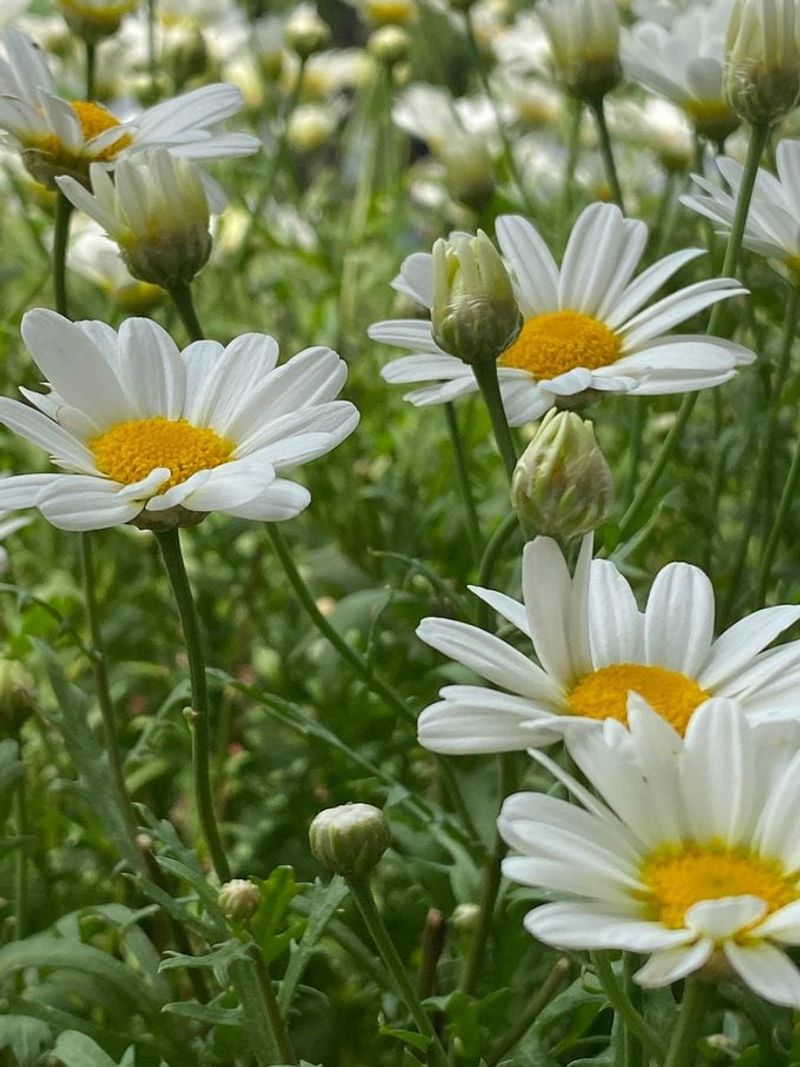
14. Use for Pollinators and Cut Flowers

Shasta daisies are a delight for pollinators, attracting bees and butterflies with their bright blooms. They make excellent cut flowers, lasting up to 10 days in a vase, bringing a touch of garden beauty indoors.
Their sturdy stems and large, cheerful flowers brighten any room. By providing a nectar source, you support local pollinator populations while enjoying their graceful presence.
Whether left to bloom in the garden or arranged in a stylish bouquet, Shasta daisies offer versatility and charm. Celebrate these dual benefits by incorporating them into your floral repertoire.
15. Start from Seed or Transplant?
Starting Shasta daisies from seed is cost-effective but requires patience, as they take time to bloom. Transplants offer a quicker path to flowers, ideal for gardeners eager for immediate results.
Both methods have their merits, so choose based on your timeline and gardening goals. Seeds provide the satisfaction of nurturing plants from the beginning, while transplants offer convenience and speed.
Consider your skill level and available resources to make the best choice for your garden. Whether you sow seeds or plant transplants, the journey to vibrant blooms is rewarding.
16. Prune in Fall or Early Spring
Pruning Shasta daisies can be done in fall or early spring, depending on your garden’s needs. Trim back foliage to just above ground level once it browns and dies back. This encourages new growth and tidies up your garden beds.
Fall pruning can help prepare your garden for winter, while spring pruning removes old growth to welcome fresh shoots. Both approaches ensure that your daisies remain healthy and vigorous, ready to produce abundant blooms.
Tailor your pruning routine to suit your gardening style and climate for the best results.
17. Grow in Containers
Compact Shasta daisy varieties, like ‘Snow Lady’, are perfect for container gardening. This method brings the beauty of daisies to patios and balconies, offering flexibility in garden design.
Ensure your container has drainage holes to prevent waterlogging. Container-grown daisies require regular watering and feeding due to limited soil volume. The portability of containers allows you to move your daisies to optimal sunlight locations or protect them from harsh weather.
Embrace container gardening to enjoy Shasta daisies in small spaces, creating a vibrant, living display wherever you choose.
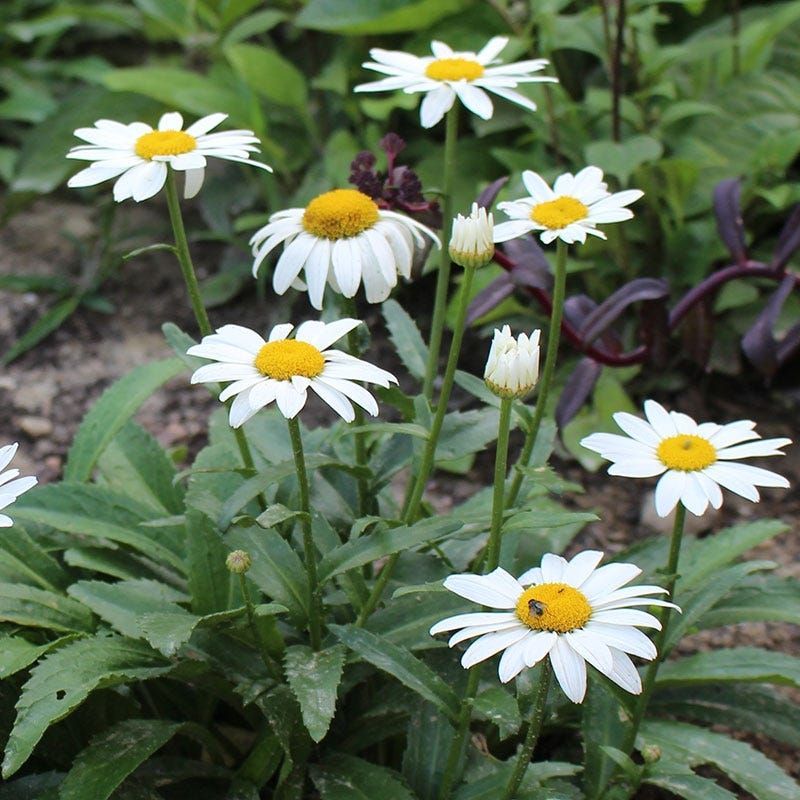
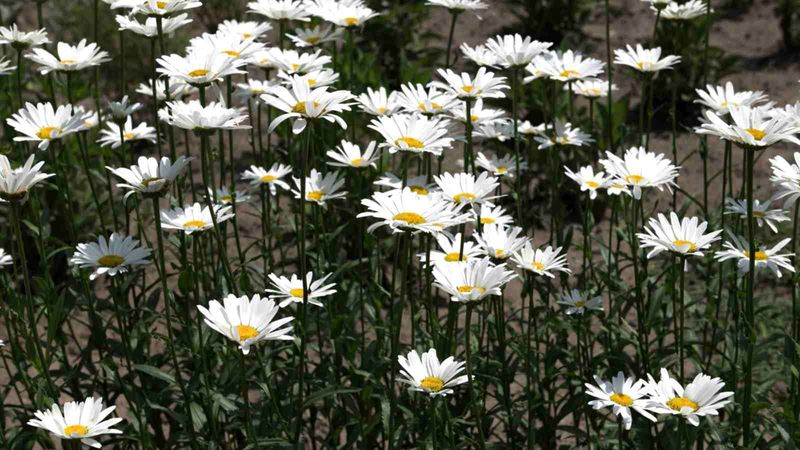
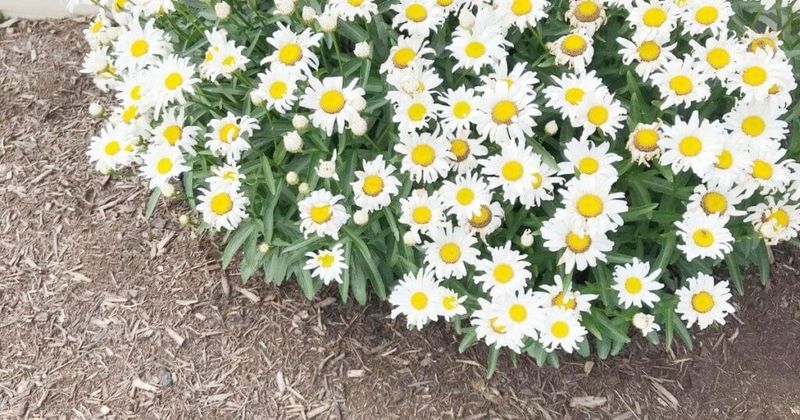
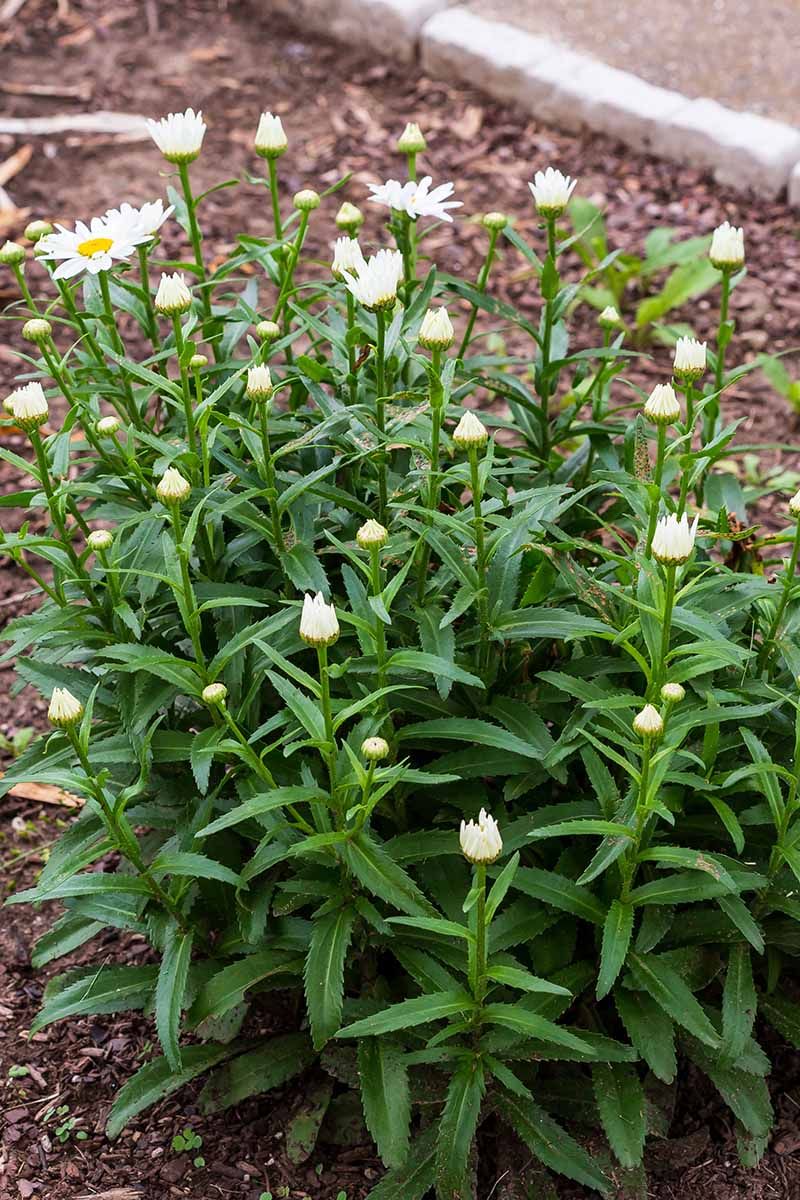
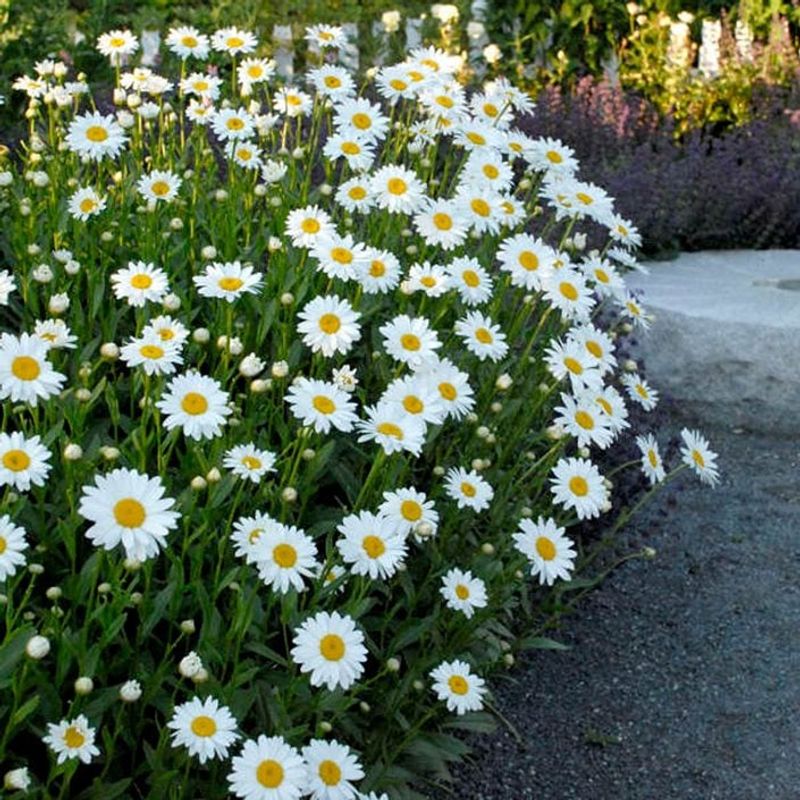
18. Avoid Overcrowding
Proper spacing is essential for healthy Shasta daisies. Plant them 12 to 24 inches apart to ensure good air circulation, which reduces the risk of disease. Overcrowding can lead to competition for nutrients, stunting growth and bloom potential.
Adequate spacing allows each plant to access sunlight and resources, promoting robust growth and a full display of blooms. By giving your daisies room to breathe, you encourage a thriving garden environment.
This thoughtful planning leads to healthier plants that provide a lush, floral spectacle throughout the growing season.
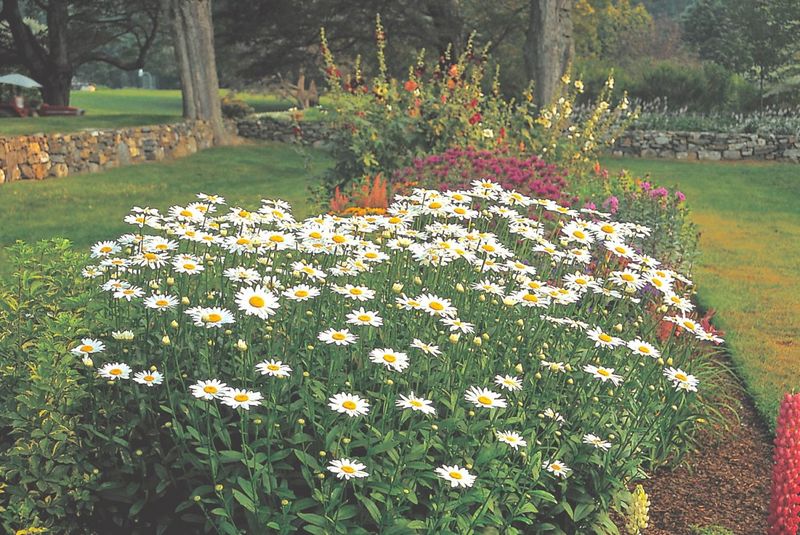
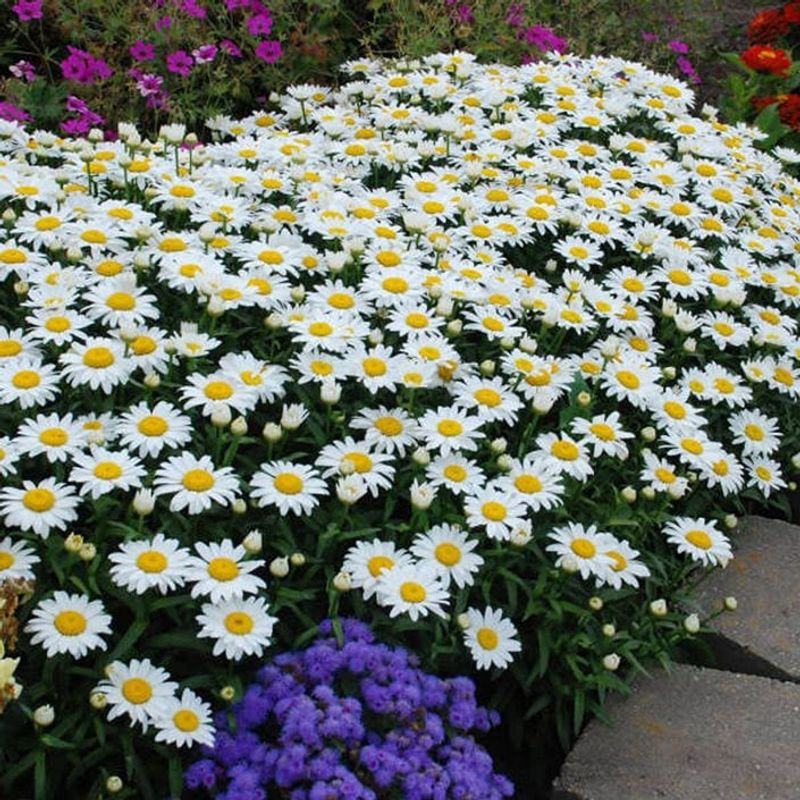
19. Use in Borders and Cottage Gardens
Shasta daisies are a classic choice for borders and cottage gardens. Their tidy, upright growth habit and long-lasting blooms make them ideal for structured or whimsical garden styles.
As border plants, they define pathways and edges, creating a neat, cohesive look. In cottage gardens, their carefree spirit complements other perennial favorites, adding layers of texture and color.
Whether you prefer a formal or informal garden aesthetic, Shasta daisies bring timeless charm and elegance. Embrace their versatility to enhance your garden’s visual appeal and create a welcoming outdoor space.
20. Be Patient the First Year
The first year with Shasta daisies requires patience as they establish their roots. Initial growth may be slow, and blooms sparse, but focus on building a strong foundation. Healthy roots are vital for future growth and abundant flowering in subsequent years.
Provide consistent care and resist the urge to overmanage. By the second year, your patience will be rewarded with more robust plants and a profusion of blooms.
Remember, gardening is a journey, and nurturing these daisies today sets the stage for a flourishing garden in the seasons to come.