Basil is a must-have herb for every home garden, with its irresistible aroma and countless uses in everything from fresh pesto to summer salads. But why spend money on new plants when you can effortlessly grow an endless supply right from your own basil cuttings?
Propagating basil is not only surprisingly easy, but it also means you can keep your herb garden thriving – for free!
Whether you’re rooting cuttings in water or planting them directly in soil, this guide will reveal simple, effective techniques to turn a single basil plant into a garden full of fresh, vibrant herbs.
Ready to multiply your basil harvest and boost your gardening game? Let’s get started!
Why Propagate Basil?
Propagation is the process of creating new plants from existing ones. By propagating basil, you can:
- Save Money: Instead of buying new plants or seeds each season, you can continuously grow more basil from a single mother plant.
- Preserve Your Favorite Varieties: If you have a basil variety you love, propagation ensures you have an endless supply.
- Boost Your Garden: Propagating basil results in more plants that can be shared, planted in different garden spots, or brought indoors for fresh herbs year-round.
Supplies Needed for Basil Propagation
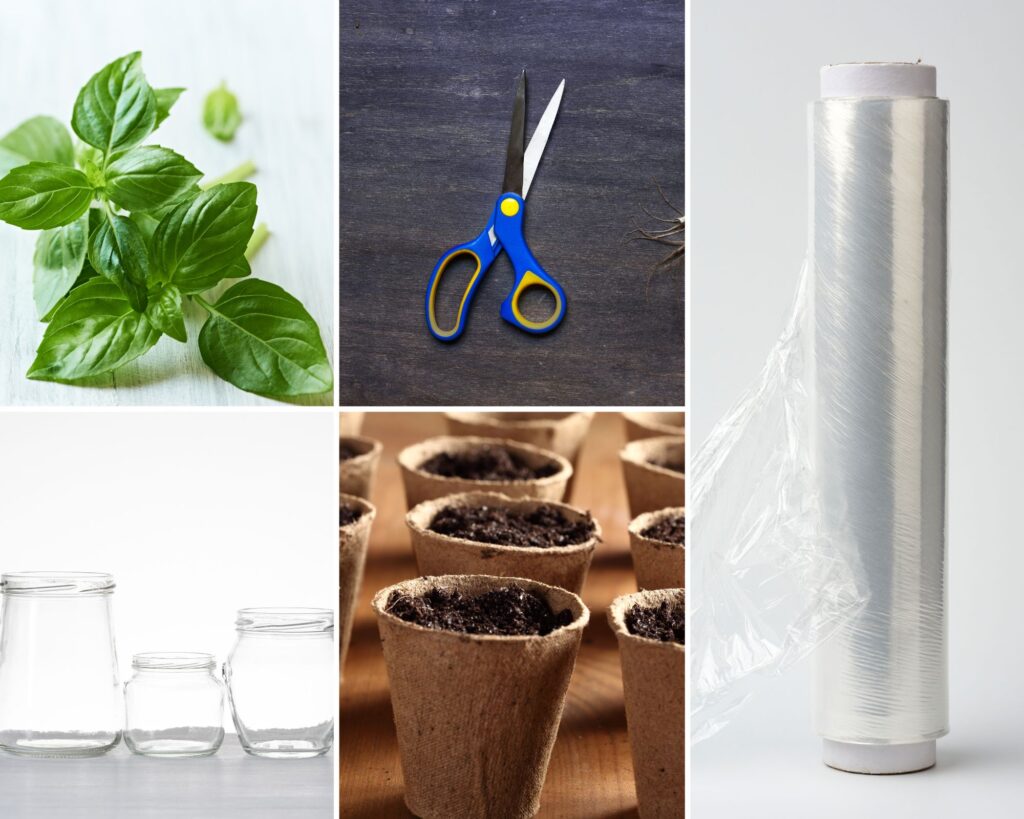
Whether propagating basil in water or soil, you’ll need some basic supplies:
- A healthy basil plant (for cuttings)
- Clean scissors or pruning shears
- Small jars or glasses (for water propagation)
- Small pots filled with potting soil (for soil propagation)
- Plastic bags or plastic wrap (for creating a mini greenhouse effect)
Method 1: Propagating Basil in Water
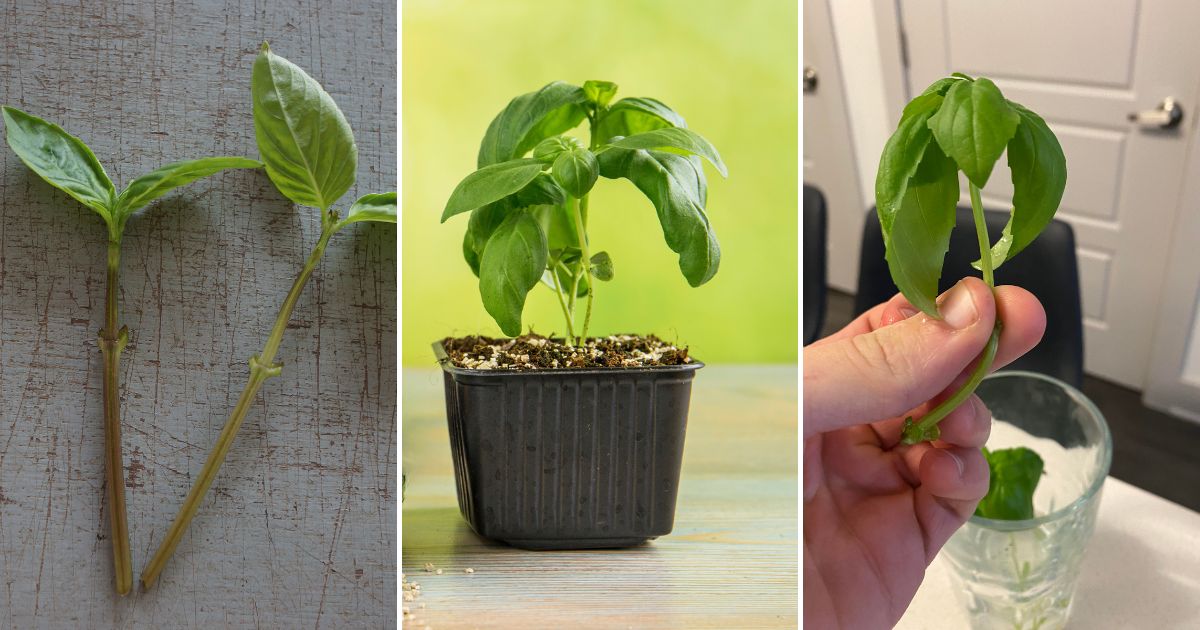
Water propagation is the most popular method because it’s simple and allows you to watch the root development. Here’s how to do it:
Step 1: Choose the Right Stem
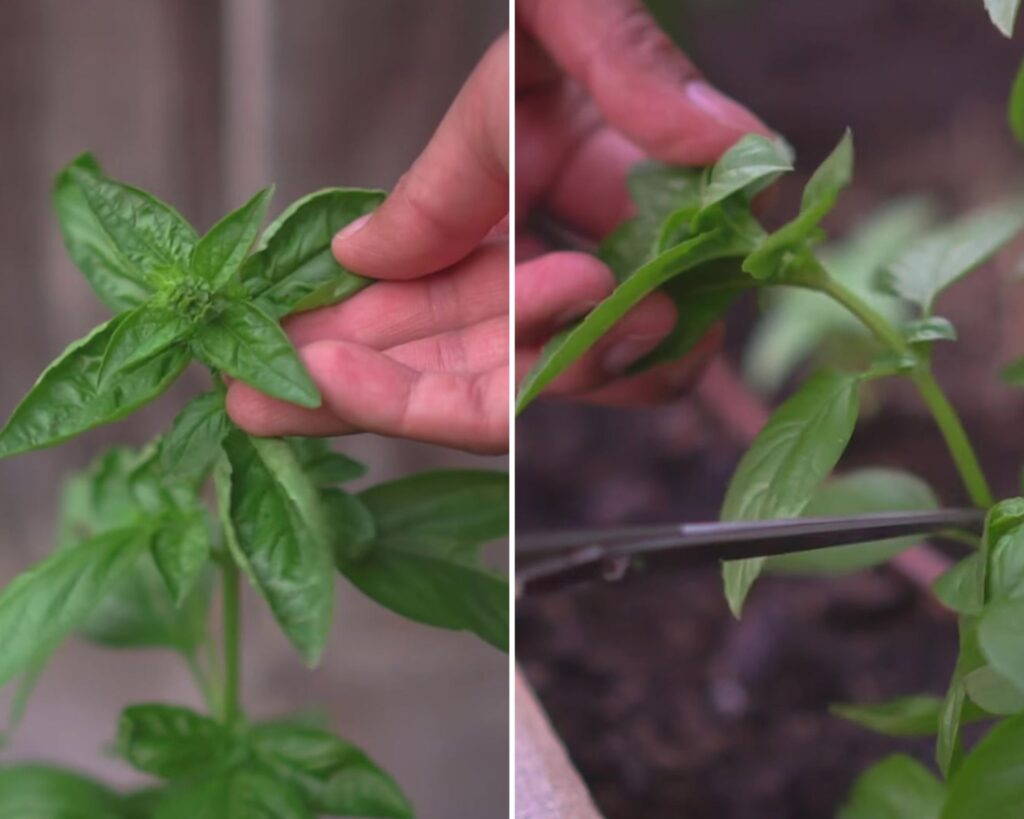
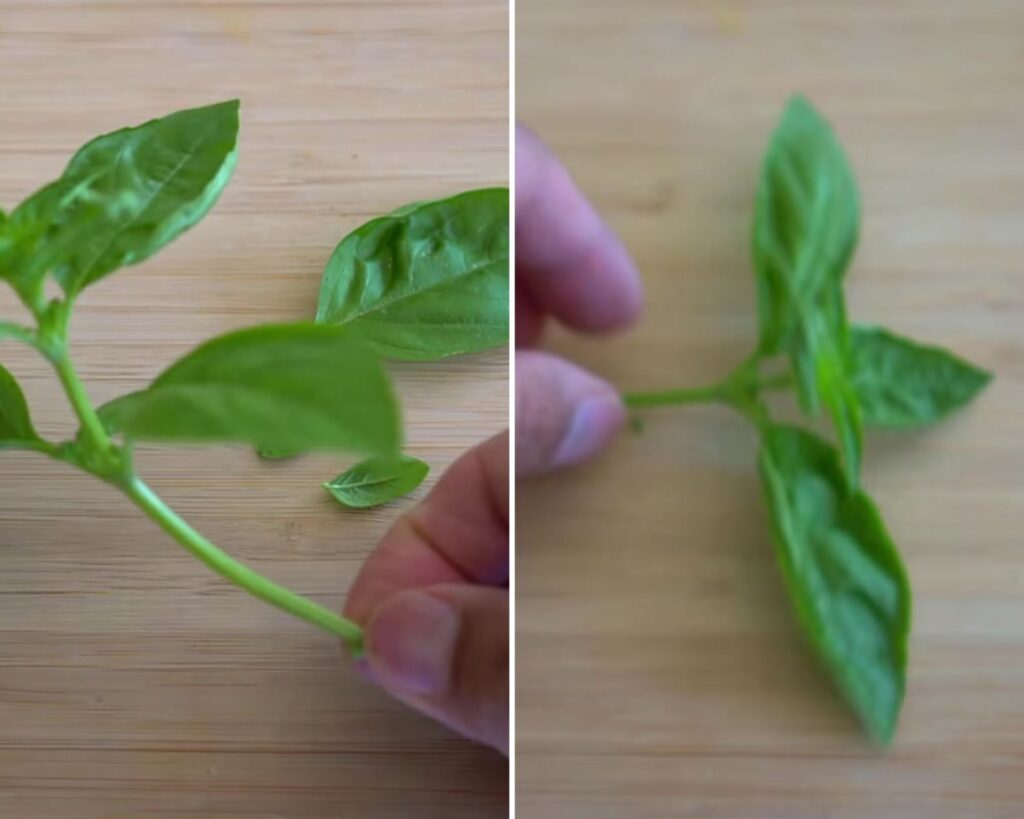
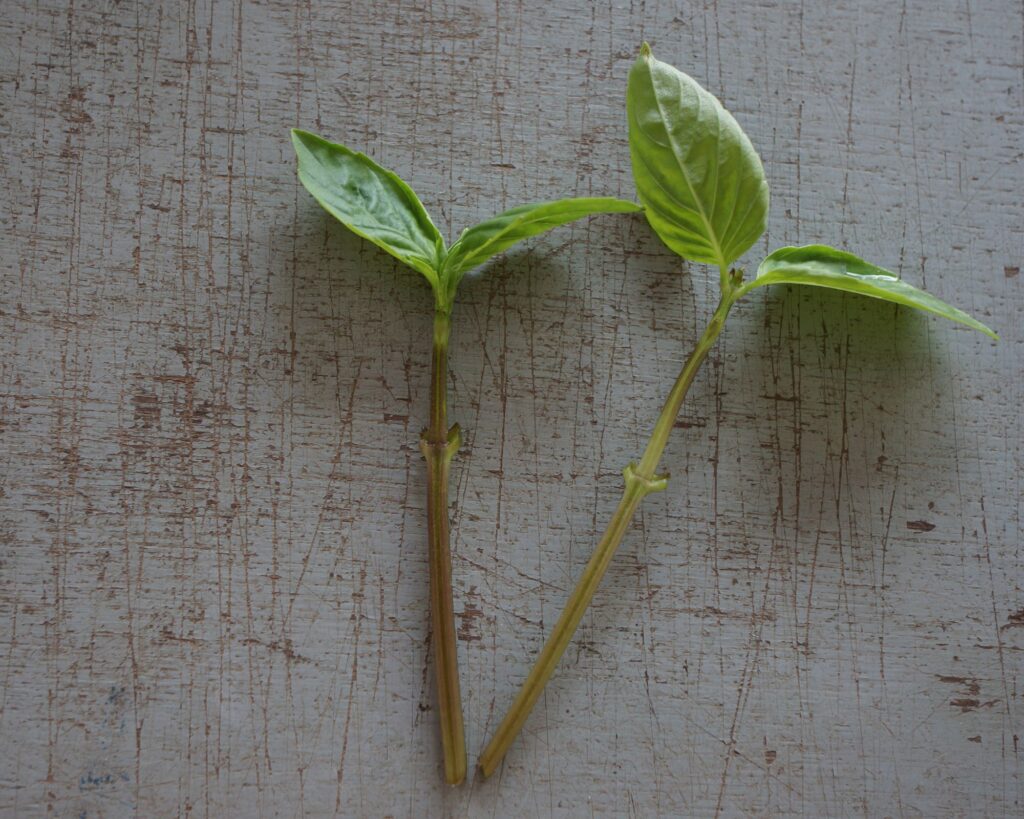
1. Select a Healthy Stem: Choose a basil stem that is free of flowers and disease. The stem should be about 4-6 inches long and have several sets of leaves.
2. Cut Just Below a Node: Using clean scissors or pruning shears, cut the stem just below a leaf node. A node is the point on the stem where leaves emerge, and it’s the area that will develop roots.
Step 2: Prepare the Cutting
1. Remove Lower Leaves: Gently strip the leaves from the bottom half of the cutting. This prevents leaves from rotting in water and allows the plant to focus on root growth.
2. Leave a Few Top Leaves: Retain a few sets of leaves at the top of the cutting to enable photosynthesis, which will aid in root development.
Step 3: Root the Cutting in Water
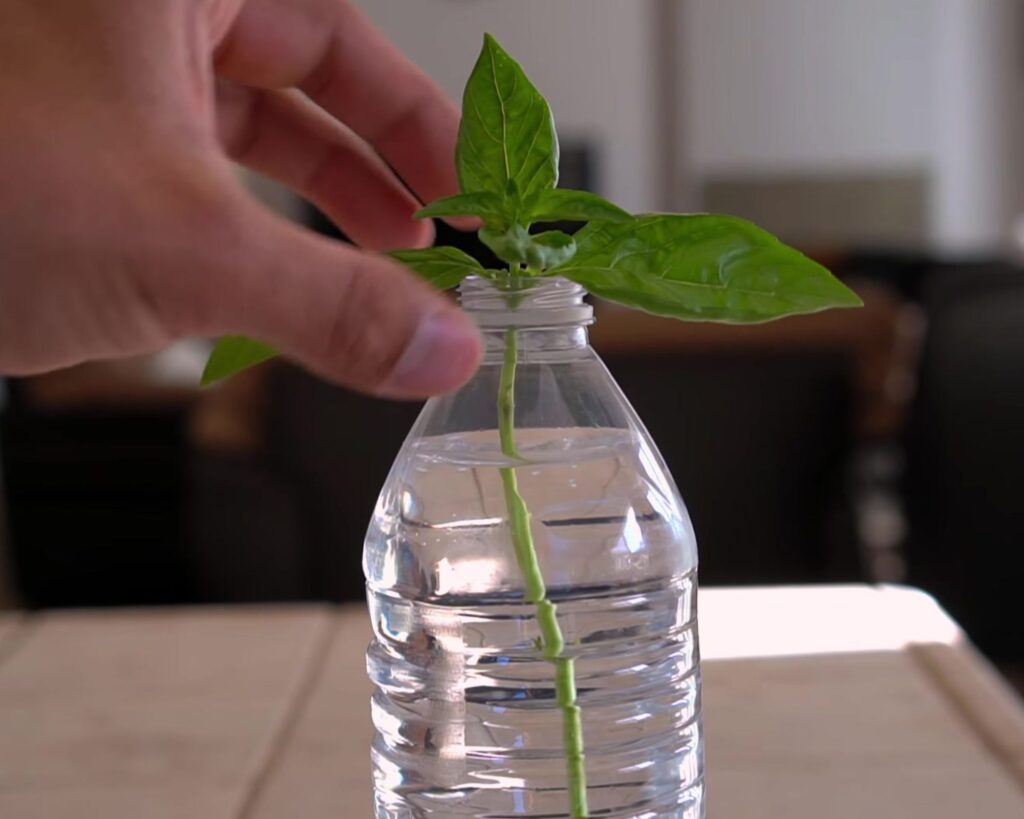
1. Place in Water: Fill a small jar or glass with water and place the basil cutting in it. Make sure the bottom nodes are submerged but the leaves are not in contact with the water to prevent rotting.
2. Choose a Bright Spot: Put the jar in a spot that receives bright, indirect sunlight, like a windowsill. Avoid direct sunlight as it can overheat the water and damage the cutting.
3. Change the Water Regularly: Change the water every 2-3 days to keep it fresh and oxygenated, which helps prevent bacterial growth.
Step 4: Wait for Roots to Develop
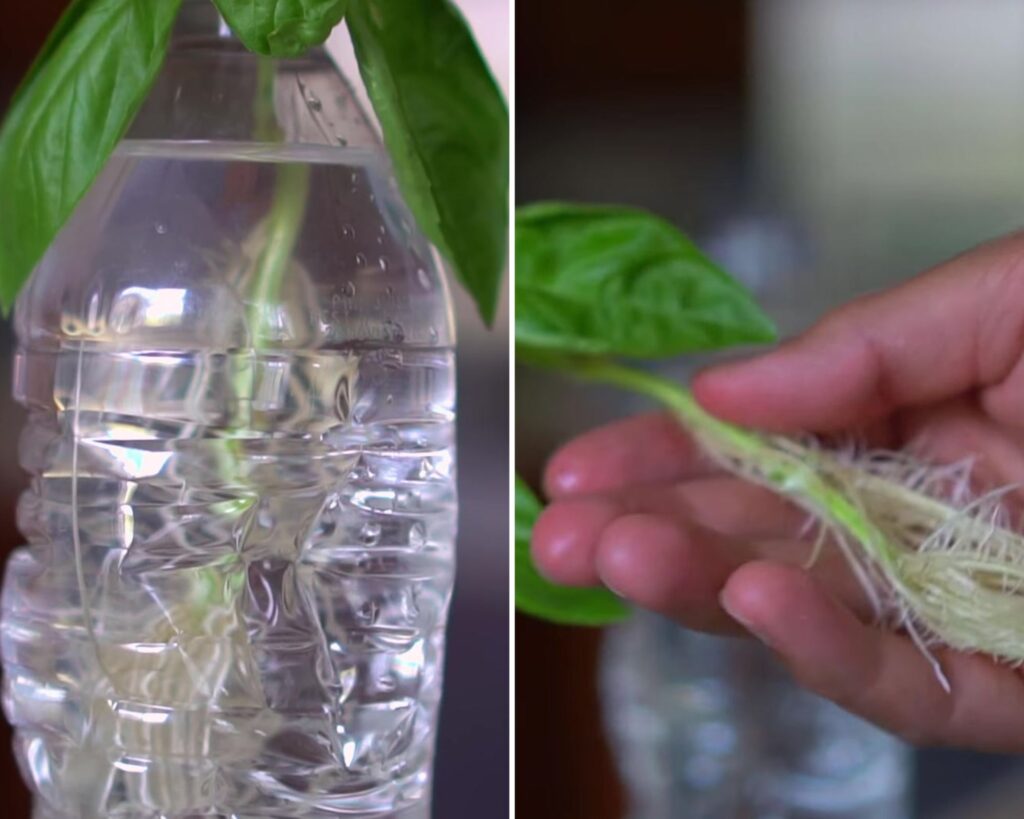
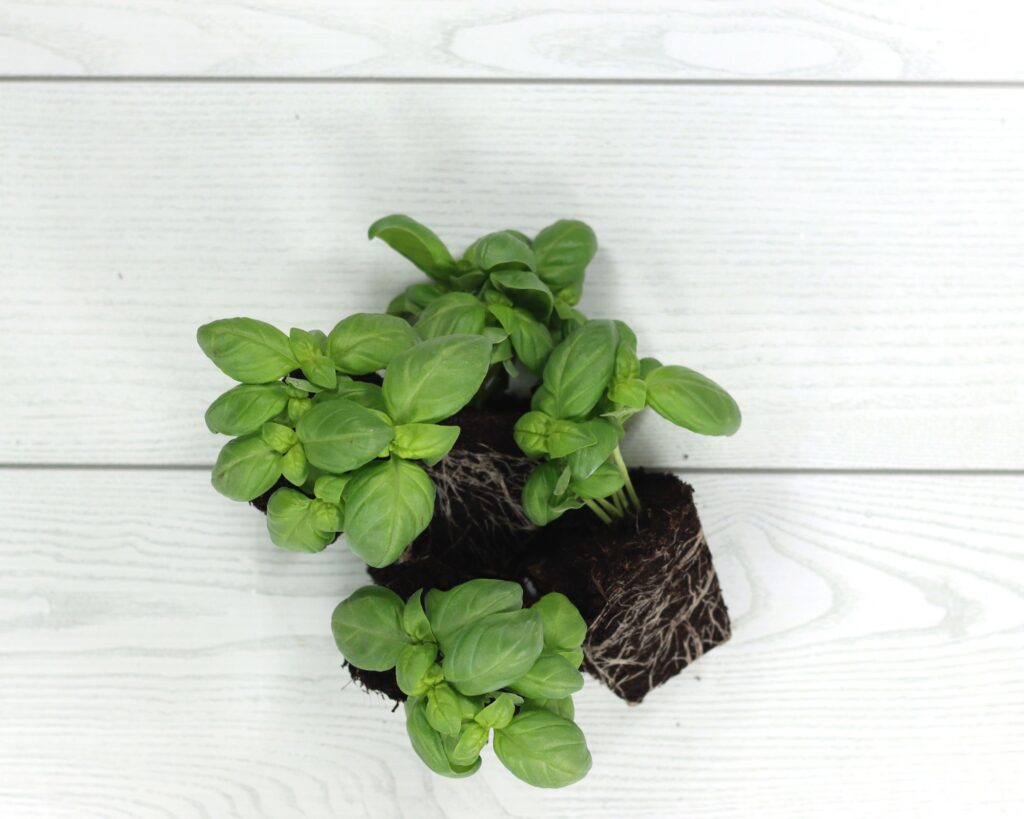
1. Monitor Growth: After 1-2 weeks, you should see roots beginning to sprout from the submerged nodes. Allow the roots to grow until they are at least 2 inches long before transplanting.
2. Transplant: Once the roots have reached an adequate length, it’s time to transfer the cutting into soil.
Step 5: Transplanting into Soil
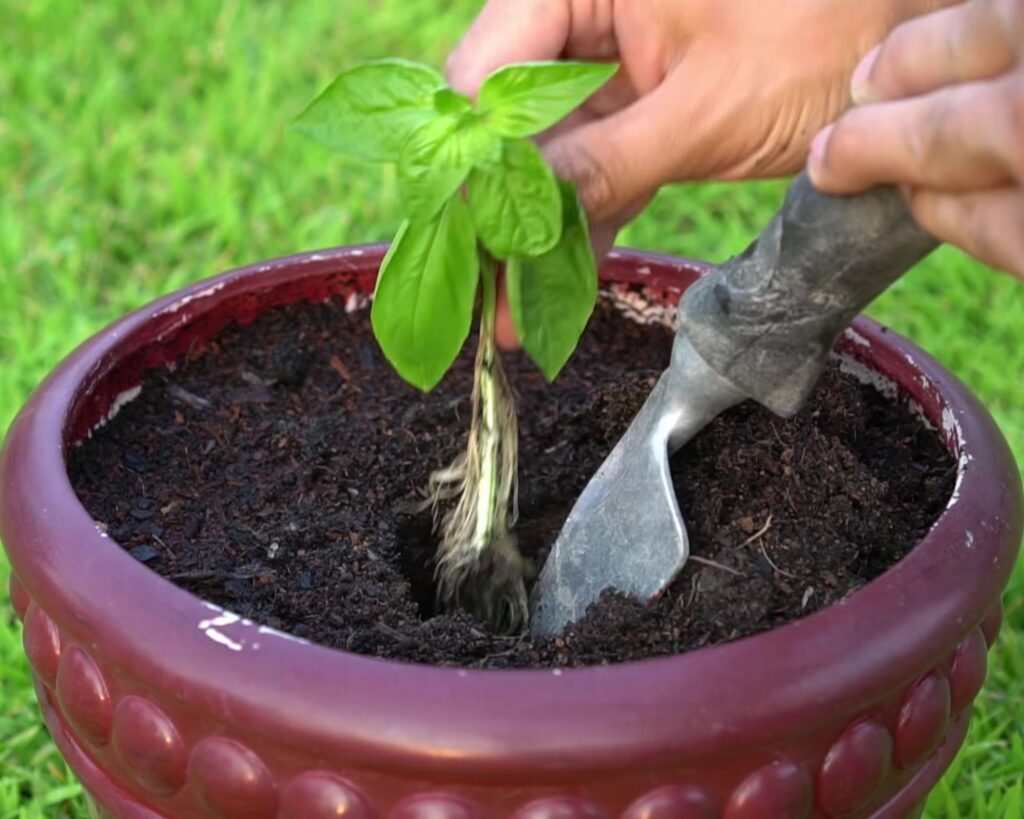
1. Choose a Pot: Select a small pot with drainage holes and fill it with a light, well-draining potting mix.
2. Plant the Cutting: Make a hole in the soil, place the rooted cutting into the hole, and gently cover the roots with soil. Firmly press down to secure the cutting.
3. Water: Water the plant thoroughly to help it settle into its new home.
Method 2: Propagating Basil in Soil
If you prefer to propagate basil directly in soil, this method works just as well, though it requires a bit more care. Here’s how to do it:
Step 1: Prepare the Cutting
1. Select a Healthy Stem: Just like in water propagation, choose a healthy, 4-6 inch stem from your basil plant.
2. Cut Below a Node: Use clean scissors or pruning shears to cut the stem just below a leaf node.
3. Remove Lower Leaves: Strip the lower half of the cutting of its leaves to focus the plant’s energy on root growth.
Step 2: Plant the Cutting
1. Prepare the Pot: Fill a small pot with well-draining potting soil. Lightly moisten the soil before planting.
2. Insert the Cutting: Create a small hole in the soil with your finger or a pencil. Insert the cutting into the hole, ensuring the nodes are buried and the leaves remain above the soil surface. Gently press the soil around the cutting to hold it in place.
Step 3: Create a Greenhouse Effect
1. Cover with Plastic: To maintain humidity, cover the pot with a plastic bag or plastic wrap, making sure it does not touch the cutting. This creates a mini greenhouse effect, which helps the cutting retain moisture and encourages root development.
2. Place in Indirect Light: Place the pot in a bright, indirect light spot, such as a windowsill. Direct sunlight can overheat the soil and dry out the cutting.
Step 4: Care for the Cutting
1. Keep the Soil Moist: Check the soil regularly and keep it moist but not waterlogged. Overwatering can lead to rot, while dry soil can hinder root growth.
2. Monitor Growth: After 2-4 weeks, gently tug on the cutting to check for resistance, which indicates root development. Once roots have established, you can remove the plastic covering.
Transplanting to a Larger Pot or Garden
Once your basil cutting has established roots, whether in water or soil, it’s ready to be transplanted to a larger pot or directly into your garden. Here’s how to do it:
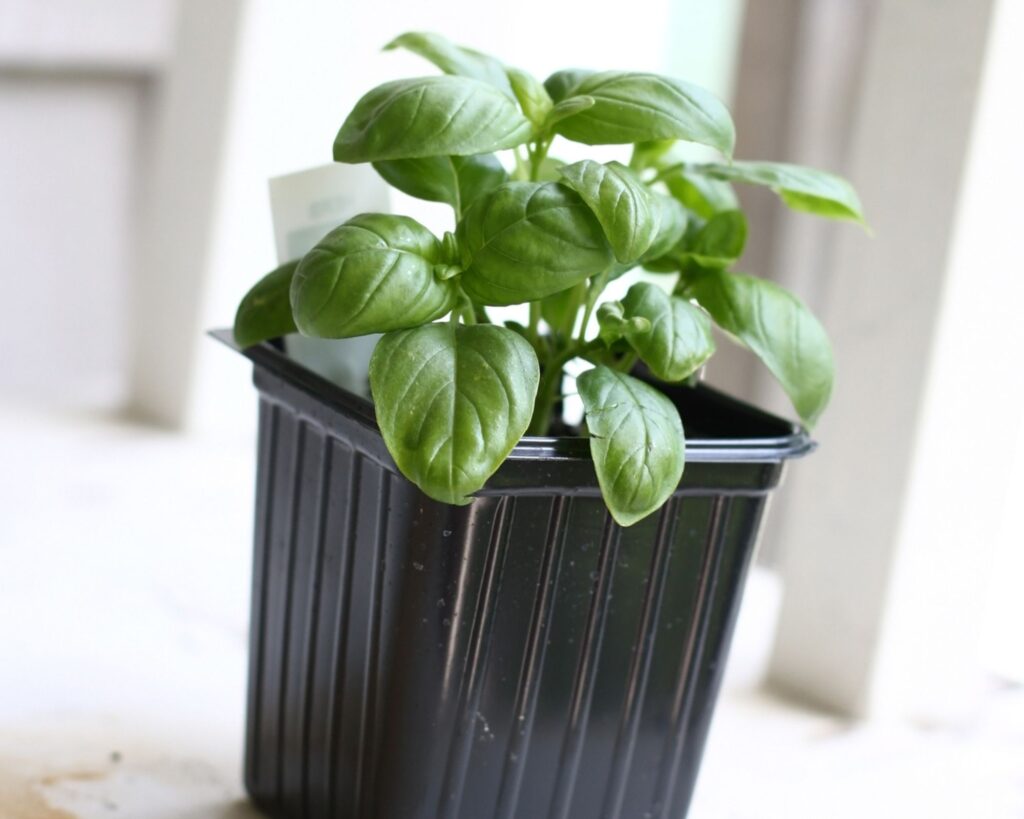
1. Choose a Suitable Pot: For container gardening, select a pot with a diameter of at least 8-10 inches to allow the basil to grow to its full size.
2. Plant in Garden Soil: If you’re planting directly in the garden, choose a sunny spot with well-draining soil. Dig a hole and gently place the rooted cutting into it, covering the roots with soil.
3. Water and Care: Water the plant thoroughly after transplanting and continue to care for it with regular watering and pruning to promote bushier growth.
Tips for Successful Basil Propagation
- Avoid Flowering: If your basil plant starts to flower, pinch off the buds to encourage leafy growth. Flowering signals the plant to produce seeds, which can stunt further leaf production.
- Use Healthy Cuttings: The healthier the parent plant, the more likely your cutting will successfully root and grow.
- Regular Pruning: Once your propagated basil plant is established, regular pruning will encourage a bushier, more productive plant.
Benefits of Propagating Basil
By propagating basil, you’ll have an endless supply of this aromatic herb to flavor your dishes all year round. Plus, it’s a sustainable and budget-friendly way to expand your herb garden.
Whether you propagate basil in water or directly in soil, the process is simple and rewarding. With just a few cuttings, you can transform your kitchen garden into a lush basil haven in no time!
The joy of growing basil at home goes beyond just having fresh herbs. It fosters a sense of connection with nature and the food you prepare. Watching a small cutting transform into a thriving plant instills a feeling of accomplishment and pride.
The process is simple enough for beginners but can be refined and experimented with by seasoned gardeners, making it an activity that grows alongside your gardening experience.
Now, it’s time to get those cuttings growing and enjoy the endless flavors of your own propagated basil!
