Straw bale gardening offers a revolutionary way to grow vegetables anywhere, transforming barren spaces into lush, productive gardens. Whether you’re dealing with poor soil conditions or limited space, this method provides an accessible and efficient solution.
By utilizing straw bales as both the planting medium and container, gardeners can enjoy a bountiful harvest with minimal effort. This approach not only makes gardening more accessible to novices but also adds an element of creativity and sustainability to traditional gardening.
Let’s explore seven exciting aspects of growing vegetables in straw bales, each bringing its own unique charm and advantages.
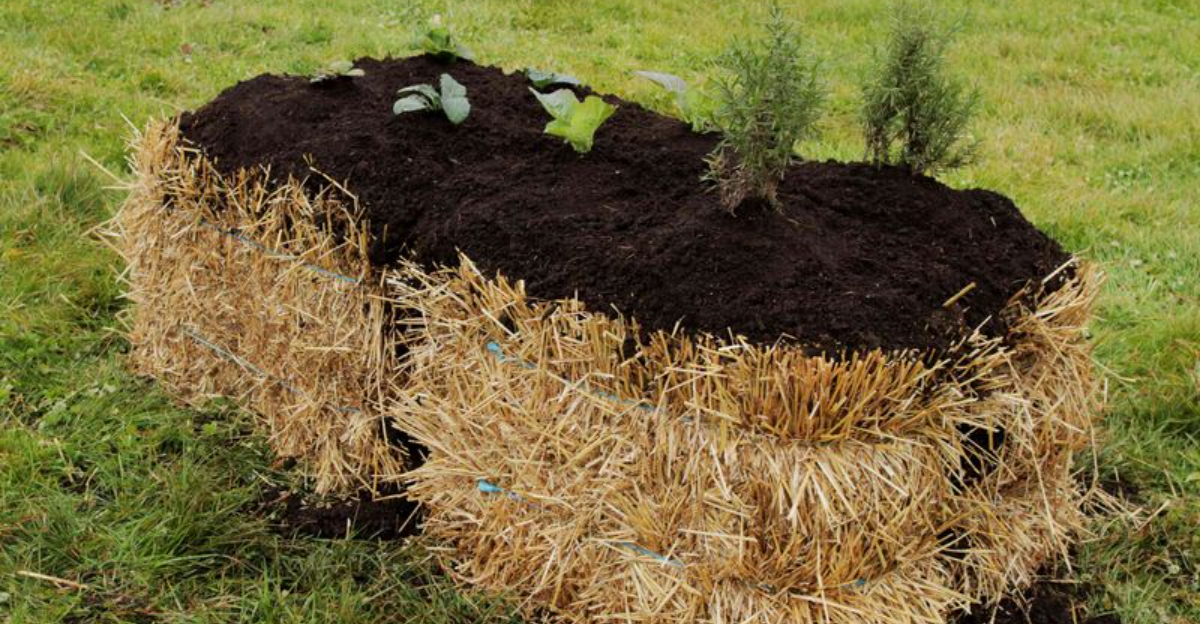
1. Selecting the Right Straw Bales
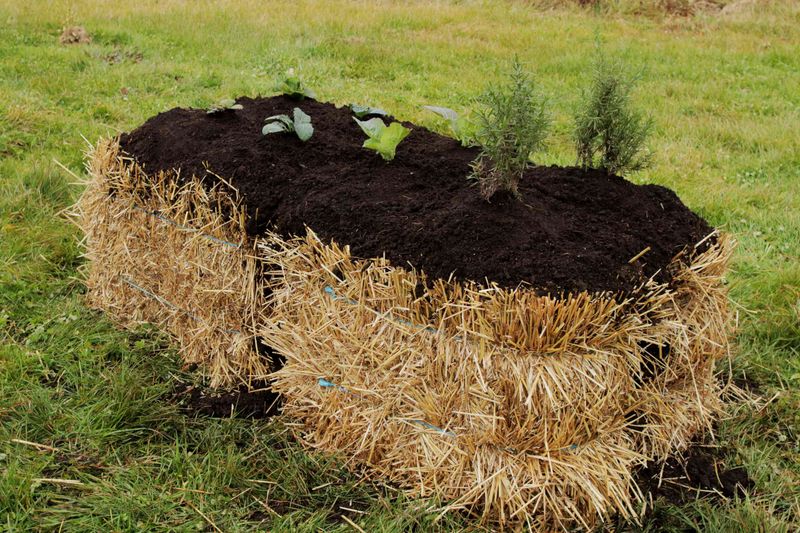
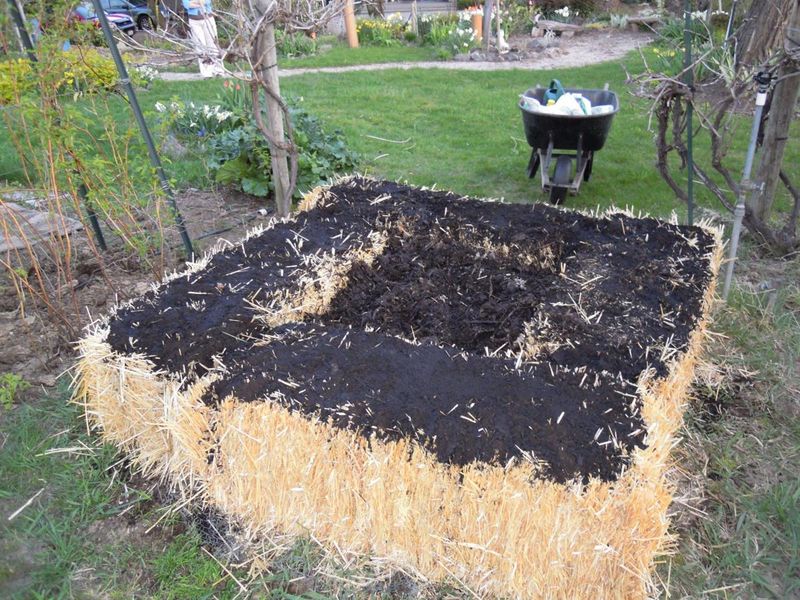
Choosing the perfect straw bales is the first step in your gardening adventure. Opt for bales made from wheat, oats, or barley as they break down beautifully, enriching the soil. Place them in a sunny spot, ensuring proper drainage to avoid waterlogged conditions. With the right bales, your garden will thrive, providing a supportive environment for your plants. The material’s natural decomposition not only supplies nutrients but also creates warmth, fostering quicker seed germination. By selecting high-quality straw bales, you’re setting the stage for a flourishing garden that’s both productive and sustainable.
2. Conditioning the Bales
Conditioning your straw bales is a vital step to success, transforming them into ideal planting vessels. Begin with a thorough soaking, gradually introducing a nitrogen source like fertilizer or compost tea. Over a span of 10-14 days, this process kickstarts decomposition, generating internal heat. As the bales warm up, they become primed for planting, teeming with beneficial microbes. This conditioning phase ensures your bales are nutrient-rich, promoting vigorous plant growth. With patience and care, you’ll create a thriving environment where vegetables can flourish, proving that great gardens start with well-prepared foundations.
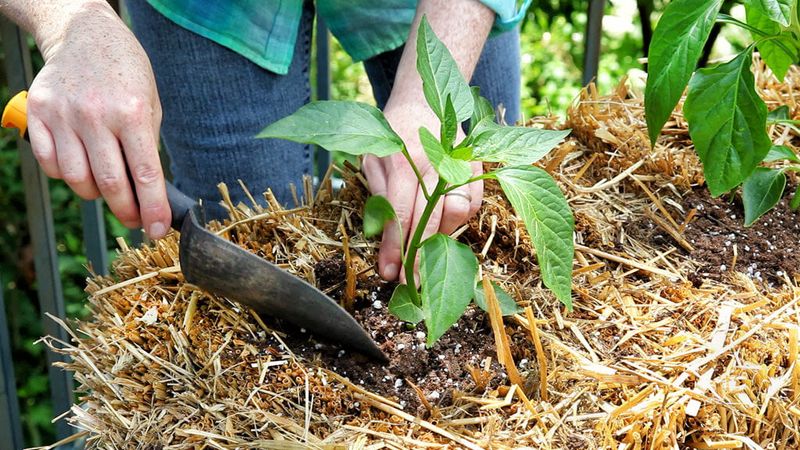
3. Planting Your Vegetables
Once your bales are conditioned, it’s time to introduce your vegetable seedlings. Create small pockets in the straw, placing the young plants securely within. Choose varieties that thrive in this unique setting, such as tomatoes, peppers, and cucumbers. As they grow, the straw supports their roots while retaining moisture. Water regularly to maintain consistent hydration, crucial for healthy development. The straw’s structure allows for excellent air circulation, minimizing disease risks. By planting thoughtfully, you’ll cultivate a diverse, bountiful garden that utilizes space efficiently, transforming straw into a vibrant vegetable haven.
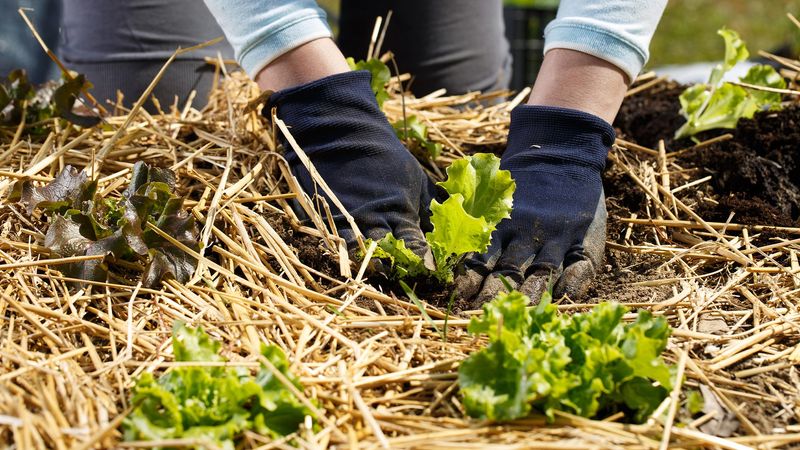
4. Maintaining the Bales
Keeping your straw bale garden in top shape involves regular maintenance. Ensure consistent watering, especially during dry spells, to keep plants hydrated. Monitor for pests and diseases, using organic methods for control. As the bales decompose, they’ll settle, so gently top up with fresh straw or compost to maintain structure. Mulching around the base aids in moisture retention and weed suppression. Regularly check for nutrient levels, supplementing with organic fertilizers as needed. With attentive care, your straw bales will support robust vegetable growth, turning your garden into a thriving oasis of productivity.
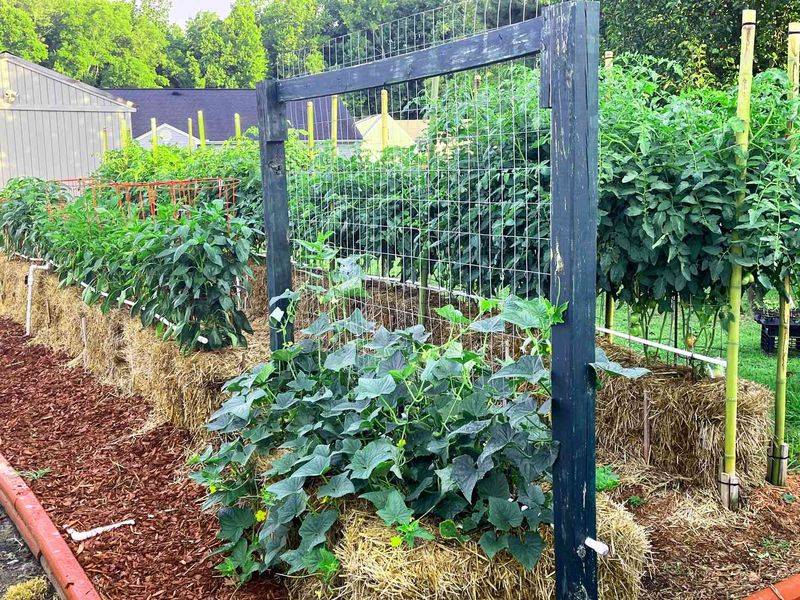
5. Harvesting Your Crops
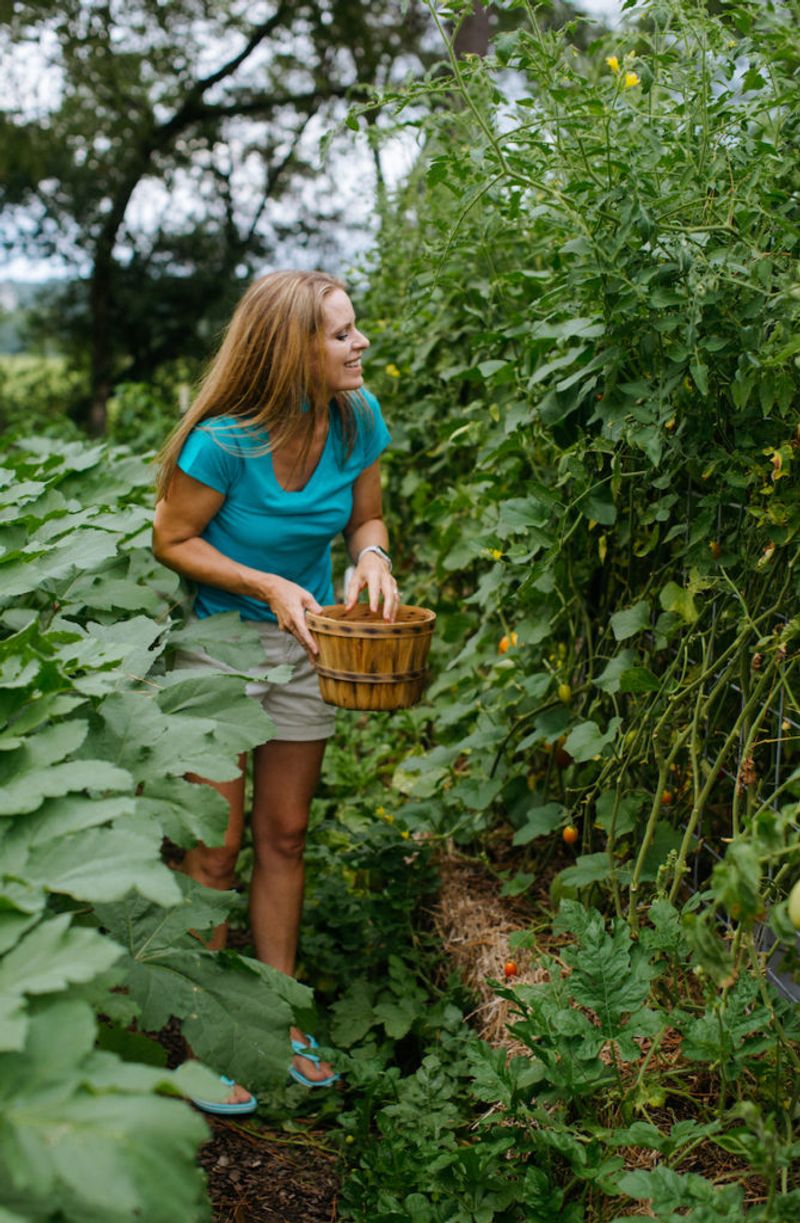
As your vegetables reach maturity, the rewarding task of harvesting begins. Gently pluck ripe produce, savoring the taste of home-grown success. Straw bale gardens often yield plentiful crops, thanks to the nutrient-rich environment. By harvesting regularly, you encourage continued production, ensuring a steady supply. Enjoy the diverse array of vegetables, from juicy tomatoes to crisp cucumbers. The ease of access in straw bale gardens makes picking a breeze, turning daily harvests into a delightful routine. Celebrate your hard work with fresh, flavorful produce, directly from your innovative garden.
6. Dealing with Common Challenges

Every garden faces challenges, and straw bale gardening is no exception. Pests may pose a problem, but organic solutions like neem oil or companion planting can help. Nutrient deficiencies might arise; address these with balanced fertilizers. Over time, bales may compact, so fluff them to maintain air circulation. Weather can also impact growth, requiring strategies like shading or windbreaks. By staying vigilant, you’ll learn to navigate these hurdles, turning potential setbacks into learning opportunities. With perseverance, straw bale gardening becomes a rewarding experience, proving that even challenges can lead to growth and success.
7. Recycling and Composting the Bales
Once the growing season ends, recycling your straw bales is both eco-friendly and beneficial. As they decompose, these bales transform into rich compost, perfect for enriching garden soil. Gather the spent straw and add it to your compost heap, mixing with other organic waste. Over time, this blend breaks down, creating nutrient-dense compost ready for future planting. This recycling process not only reduces waste but enhances soil fertility, completing the gardening cycle. By composting your bales, you contribute to a sustainable gardening practice, ensuring your garden’s prosperity for seasons to come.