
You can make your own luffa shower sponge easily at home, saving money and reducing waste. Growing and crafting luffa sponges is not only eco-friendly but also a fun hobby that results in a natural skincare tool. Imagine the satisfaction of using a sponge that you cultivated yourself, knowing exactly what went into its creation.
Luffa sponges come from a plant in the cucumber family and can be grown in many climates. By harvesting and preparing the luffa, you’ll have a biodegradable, chemical-free option for your showers. Plus, the process is simple enough for beginners and can be a rewarding addition to your gardening activities.
Once grown, the luffa gourds can be peeled, cleaned, and dried to become sponges. They offer gentle exfoliation that’s beneficial for your skin, promoting circulation and removing dead cells. Making your own luffa sponges could be the perfect project to enhance your self-care routine and support sustainable living.
Understanding Luffa
Luffa is a versatile plant known for its fibrous interior, which transforms into a natural sponge when dried. It has unique growth requirements and offers significant environmental benefits.
Origins and Natural Habitat
Luffa plants originate from tropical and subtropical regions, particularly in Asia and Africa. They thrive in warm, frost-free climates with plenty of sunlight. In these ideal environments, they can grow vigorously, sometimes reaching lengths of up to 30 feet.
The plant is part of the cucumber family, showcasing similar climbing and vining growth habits. It’s typically cultivated in regions with long growing seasons. In areas prone to frost, it’s often grown in greenhouses or started indoors before transplanting outside.
Understanding where luffa comes from helps you replicate its natural growing conditions for successful cultivation.
Luffa Plant Characteristics
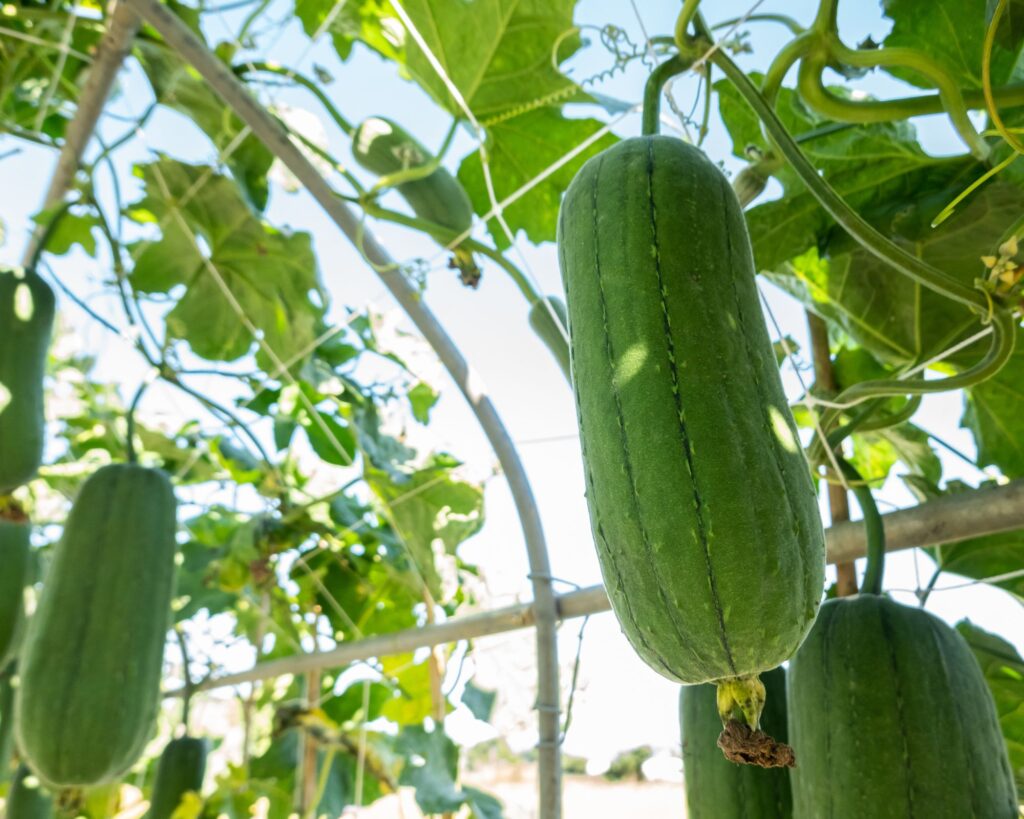
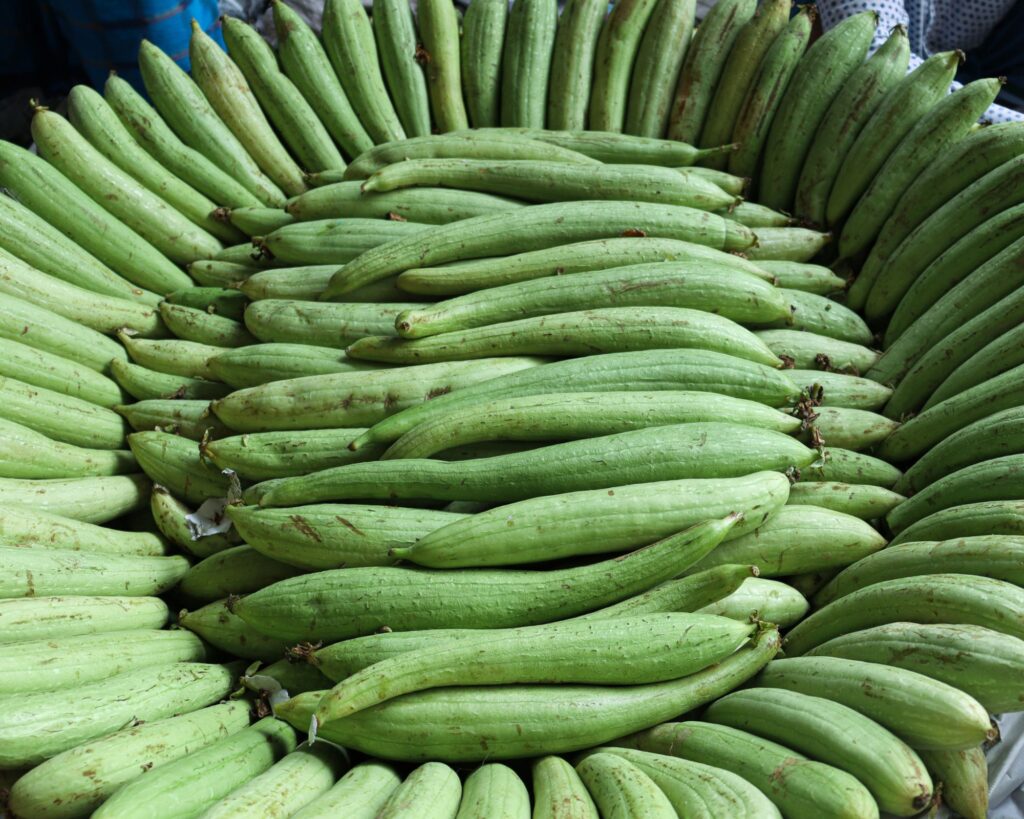
The luffa plant is remarkable for its fast-growing vines and large, lobed leaves. The flowers are yellow, acting as pollinators that give way to elongated fruits. These fruits resemble cucumbers or zucchinis during early stages but develop a tough exterior as they mature.
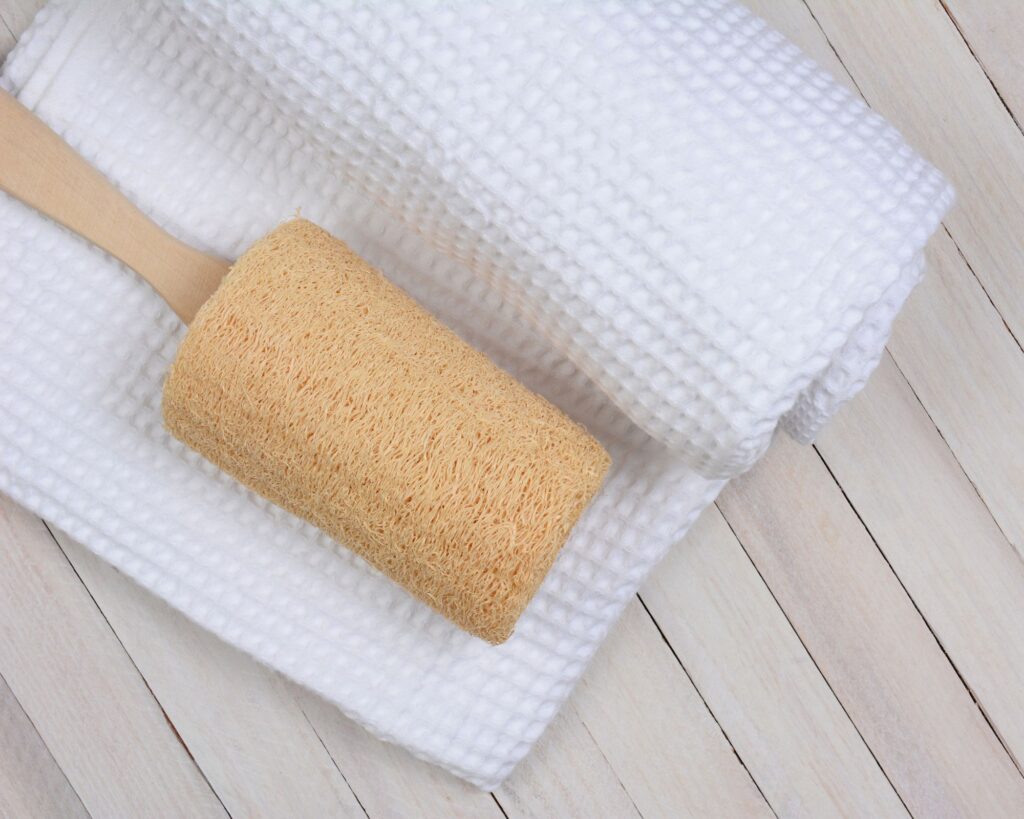
Inside each mature fruit is a dense network of fibrous tissue. When the fruits are dried and peeled, this network becomes the luffa sponge. It’s lightweight yet durable, making it excellent for exfoliating and cleaning.
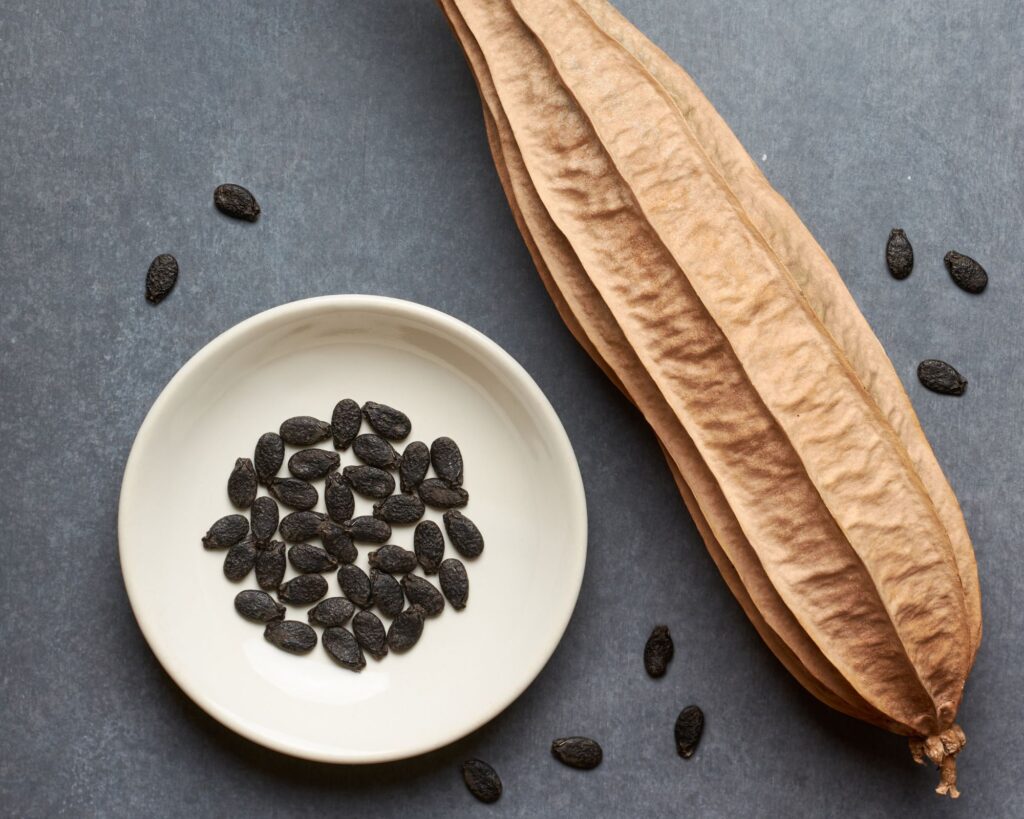
Luffa plants also produce numerous seeds, which are crucial for propagation. Harvesting these seeds allows you to grow more plants in subsequent seasons.
Environmental Benefits
Using luffa sponges presents various environmental advantages. They are biodegradable and compostable, breaking down naturally without leaving harmful residues. This makes them a sustainable alternative to synthetic sponges, which often contribute to plastic pollution.

Cultivating luffa also benefits the environment. The plants can improve soil health through crop rotation and reduce dependency on chemical-based cleaning products. They have a neutral carbon footprint since they’re grown organically with minimal industrial processing.
By choosing luffa, you support eco-friendly farming practices and reduce waste, contributing positively to environmental conservation efforts.
Cultivation Steps
Growing your own luffa sponges starts with the right seeds and some attentive care. The process involves selecting quality seeds, nurturing the plants as they grow, and knowing exactly when to harvest the mature gourds for the best results.
Selecting Seeds and Planting
Choose high-quality luffa seeds for the best yield. You can purchase these from a reputable supplier or collect seeds from a mature luffa.
Plant in a sunny location, as luffa plants need plenty of sunlight. Sow the seeds in rich, well-draining soil after the last frost. Plant them about ½ inch deep and space them 6 to 8 feet apart to give the vines room to spread.
Water the seeds thoroughly, keeping the soil moist until they germinate. Germination can take a few weeks, so be patient. You might consider starting seeds indoors a few weeks before the last frost to give them a head start.
Care and Maintenance
Once your seeds have sprouted, you’ll need to provide regular care to ensure healthy growth. Water the plants regularly, especially during dry periods, but avoid waterlogging the soil.
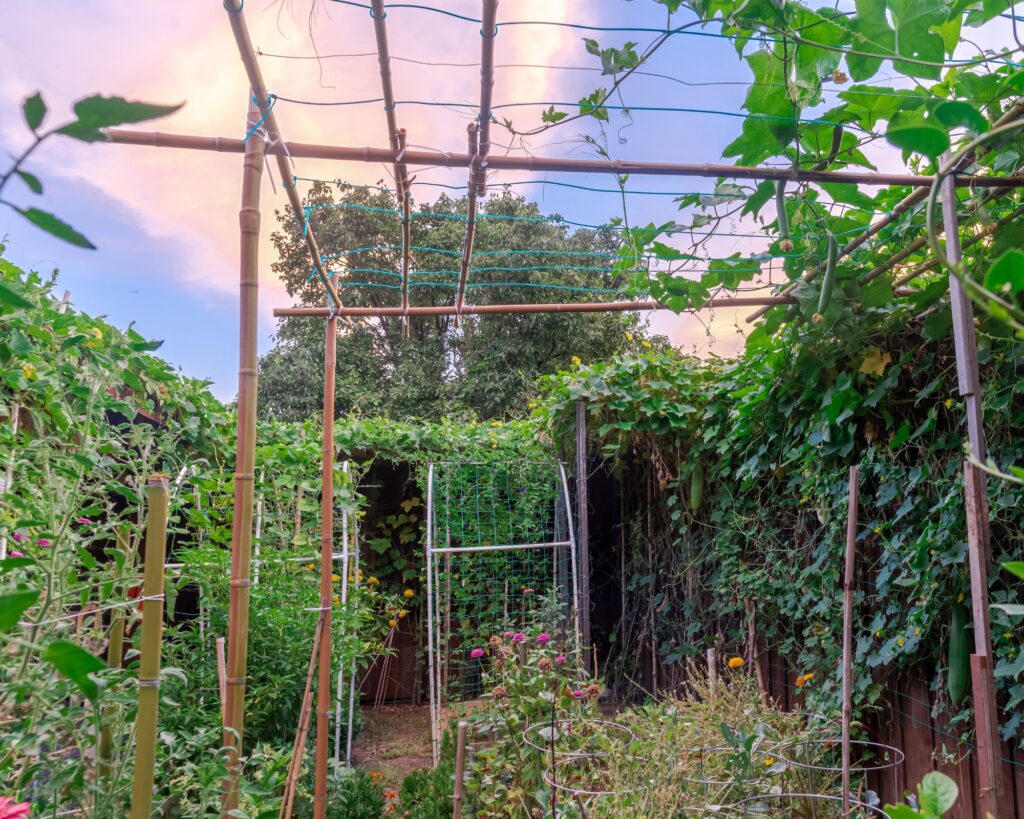
Install a trellis or support, as luffa vines can grow quite long and need support to thrive. Train the vines to climb the support structure to prevent them from sprawling on the ground.
Inspect your plants regularly for pests. Common pests include aphids and spider mites. Use natural remedies or insecticidal soap to manage infestations. Additionally, ensure your plants have enough nutrients by providing a balanced fertilizer every few weeks.
Harvesting Matured Luffa Gourds
Luffa gourds are ready to harvest once they turn brown and feel light. This usually occurs in late summer or early fall.
Cut the gourds from the vine using a sharp knife or pruning shears. Peel off the skin and soak the sponge in water to remove the seeds and any remaining pulp.
Rinse and dry the sponge thoroughly before use. Drying can be done by hanging them in a sunny, airy location. Once dry, your luffa sponges are ready for use in your shower or for other cleaning tasks.
Processing the Luffa Gourds
Once you’ve harvested your luffa gourds, the next steps involve cleaning and preparing them for use as shower sponges. These tasks ensure your luffas are hygienic and ready for your bath time routine.
Peeling and Cleaning
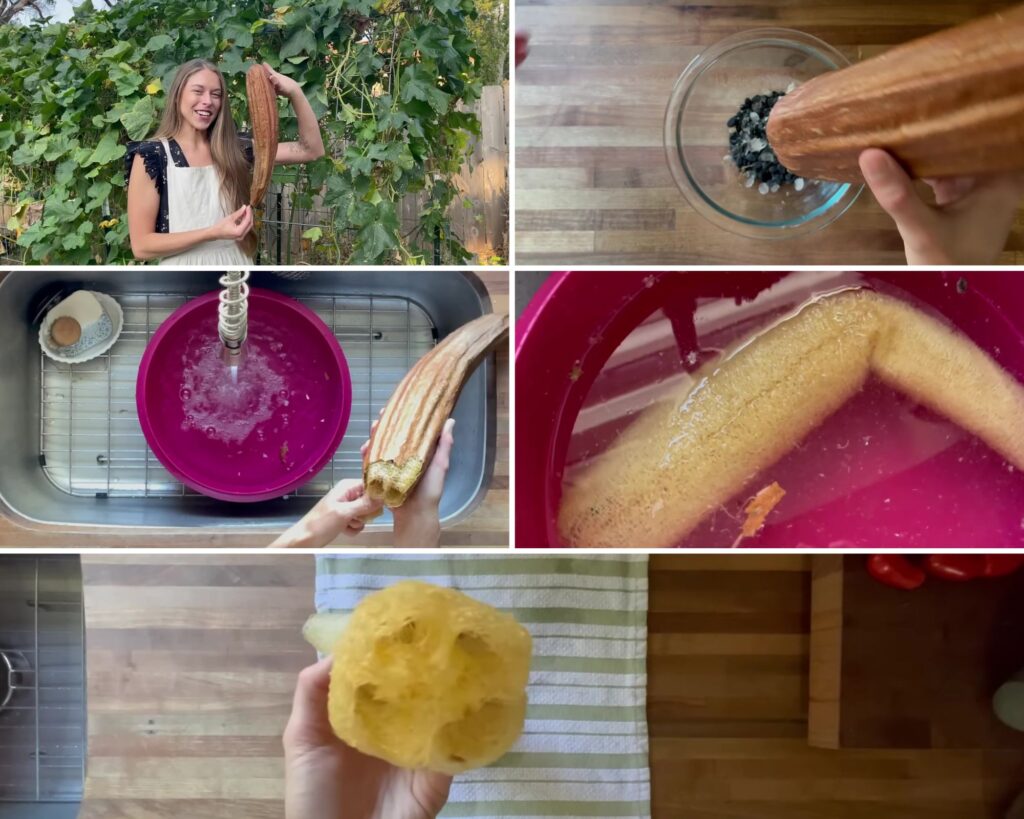
First, leave the luffa gourds to mature on the vine until their skin turns brown and brittle. Cut the ends off each gourd and shake out the seeds.
Soak the gourds in water for a few hours to soften the skin. After soaking, peel the outer skin by hand or with a vegetable peeler.
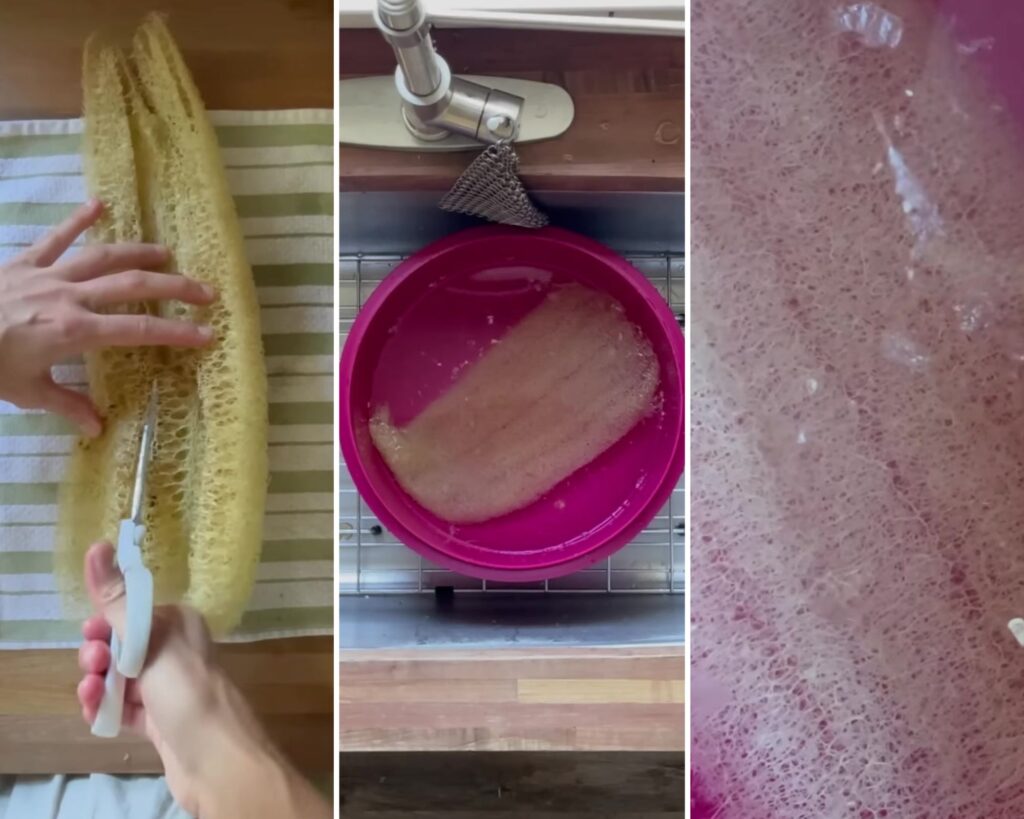
Rinse the inner fibrous core thoroughly, scrubbing away any remaining pulp. You can use a small brush to remove stubborn pieces. Ensure every trace of skin and seeds is gone for a clean product.
Drying and Preparing for Use
Once cleaned, the next step is to dry the luffa sponges. Lay them out in a single layer on a clean, dry surface, preferably in a sunny, well-ventilated spot.
Make sure to turn them occasionally, so they dry evenly on all sides. This process can take several days, depending on your climate.
When the luffas are completely dry, sterilize them by boiling for 10-15 minutes or soaking in a bleach solution (1 part bleach to 9 parts water) for a couple of hours. Rinse well and allow them to dry again completely before use.
Crafting Your Luffa Shower Sponge
Creating your own luffa shower sponge involves two key steps: cutting the luffa to the right size and sewing handles onto it to make it easier to use.
Cutting to Size
First, you’ll need to cut your dried luffa gourd to the desired size.
- Wash the luffa gourd: Rinse it thoroughly to remove any dirt or debris.
- Soak in warm water: Let it soak for about 15 minutes to soften the outer skin.
- Peel off the skin: Use your fingers to gently peel away the softened outer layer.
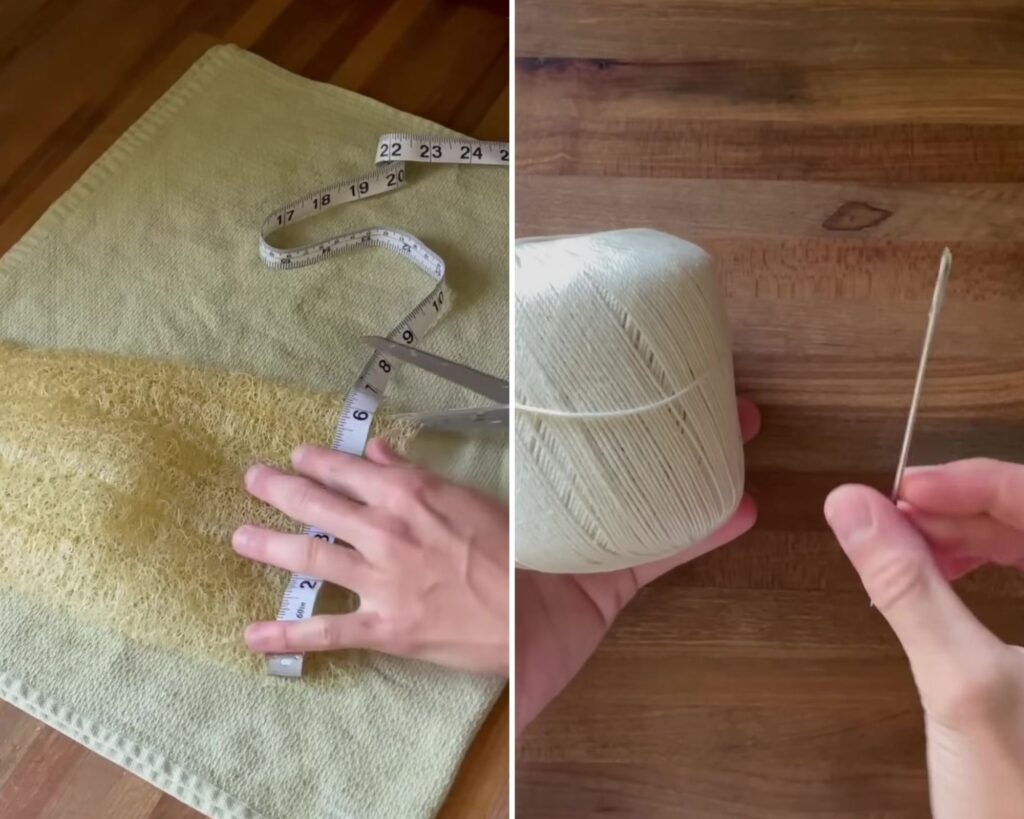
- Cut the luffa: With a sharp knife, slice the luffa into pieces that are about 4-6 inches long. Make sure each piece is even for a consistent look and feel.
Sewing and Adding Handles
Adding a handle can make your luffa sponge more convenient to use.
- Choose your handle material: Cotton or nylon straps work well.
- Cut the handles: Cut two lengths of strap, each about 6-8 inches long.
- Sewing the handles: Using a strong needle and thread, sew each end of the strap to one side of your luffa. Ensure the stitching is tight and secure.
For a stronger hold, you might consider using a sewing machine. Now, your luffa shower sponge is ready to use, offering a natural and effective way to exfoliate your skin.
Care and Maintenance of Your Sponge
Proper care ensures your luffa sponge remains effective and hygienic. Regular cleaning and good maintenance practices extend its lifespan.
Cleaning and Sterilization
Clean your luffa sponge after each use. Rinse thoroughly with warm water to remove soap and debris. Squeeze out excess water but avoid wringing it.
Every week, sterilize your sponge. Soak it in a solution of one part vinegar to three parts water for 5 minutes. Alternatively, microwave the damp sponge on high for 1-2 minutes. Make sure it’s fully wet before microwaving to avoid any fire hazard.
If you prefer, you can also boil the sponge for about 5 minutes. Let it dry completely between uses to prevent mold or bacteria growth.
Tips for Longevity
Dry the sponge in a well-ventilated area after each use. Avoid keeping it in the shower if it stays damp. Consider rotating between two sponges to let each one dry thoroughly.
Inspect your sponge regularly. If you notice any discoloration or odor, it’s time to replace it. Generally, a luffa sponge lasts for about 3-4 weeks with proper care.
Store the sponge in a dry, cool place when not in use. Avoid using harsh chemicals or bleach on the sponge, as this can damage the fibers.
By following these steps, you ensure your luffa sponge stays clean and effective for as long as possible.
Creating your own luffa shower sponge at home is a simple, eco-friendly project that saves money and reduces waste. By growing and crafting luffa sponges, you enjoy a natural, chemical-free skincare tool that offers gentle exfoliation and promotes healthy skin. The process is straightforward and rewarding, from planting seeds to using the finished sponge. Embrace this sustainable hobby to enhance your self-care routine and make a positive impact on the environment.