Repotting houseplants is an essential aspect of indoor gardening that ensures the continued growth and vitality of your plants. This guide is designed to help you repot your houseplants without causing harm, promoting healthier growth and a more vibrant appearance. With these tips and tricks, you’ll gain the confidence to handle your leafy friends with care and expertise. From selecting the right pot to understanding root care, these steps will provide you with the knowledge needed to make your plants thrive. Let’s explore how repotting can be a smooth and beneficial process for your indoor garden.
Understanding the Right Time
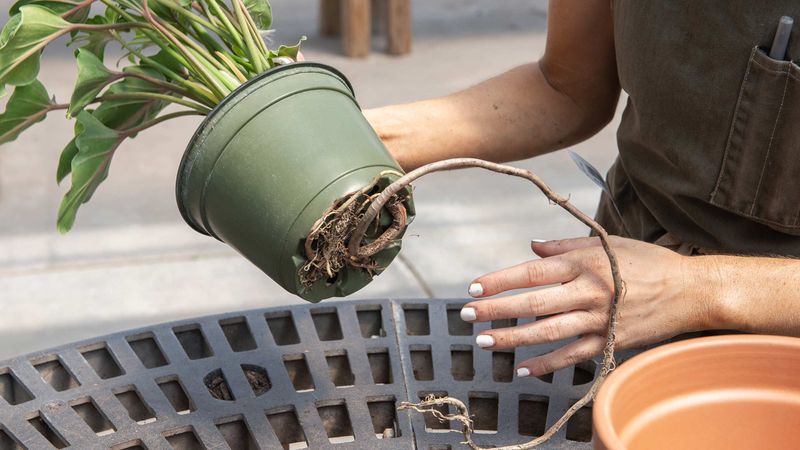
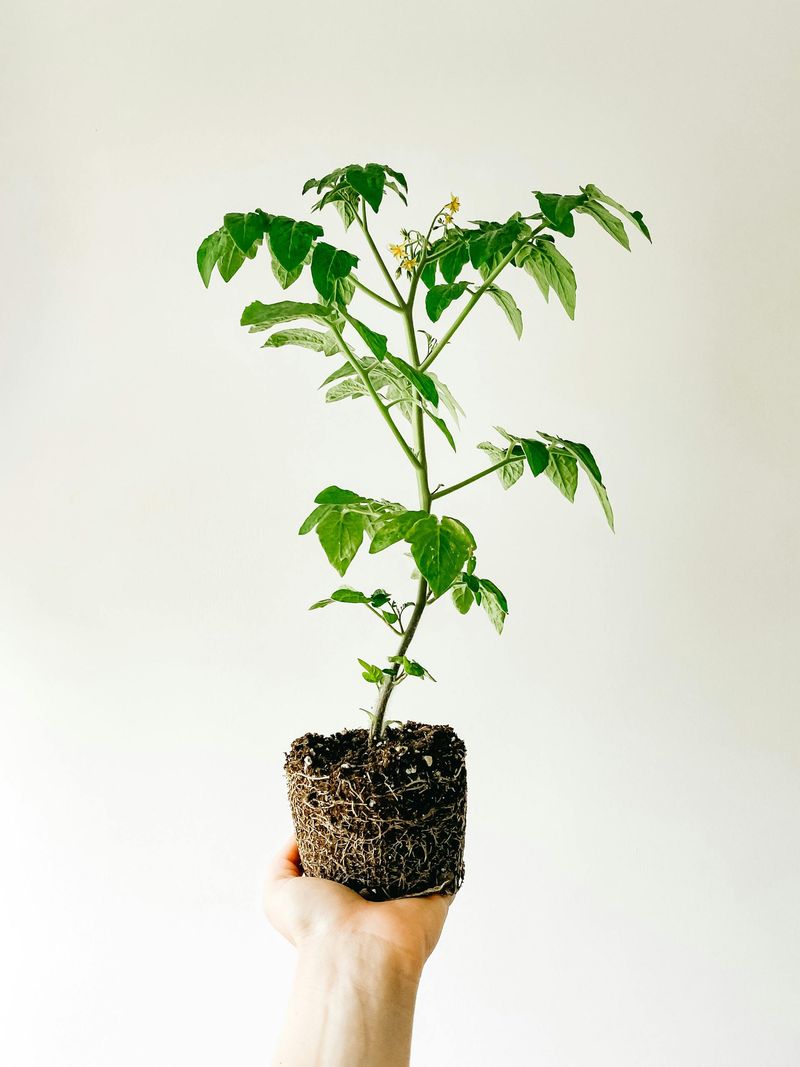
Recognizing when to repot is crucial for plant health. Look for roots growing through the pot’s drainage holes, soil that dries out quickly, or stunted growth. These signs indicate that your plant has outgrown its current home. Repotting during the growing season, usually spring or early summer, provides the best chance for recovery. This timing aligns with the plant’s natural growth cycle, promoting quick adaptation. Understanding these signals ensures your plants remain robust. Observing your plants closely will guide you in choosing the perfect time for repotting, maximizing their potential.
Choosing the Right Pot
The choice of pot affects your plant’s growth dramatically. Opt for a pot that is only slightly larger than the current one to avoid waterlogging and root rot. Ensure it has adequate drainage holes to prevent water buildup. The material of the pot, whether ceramic, plastic, or terracotta, can also influence soil moisture levels. Selecting the perfect pot is both an art and a science, blending aesthetics with functionality. Carefully considering these factors will enable your plant to flourish in its new environment, thriving with elegance and vigor.
Soil Choice and Preparation
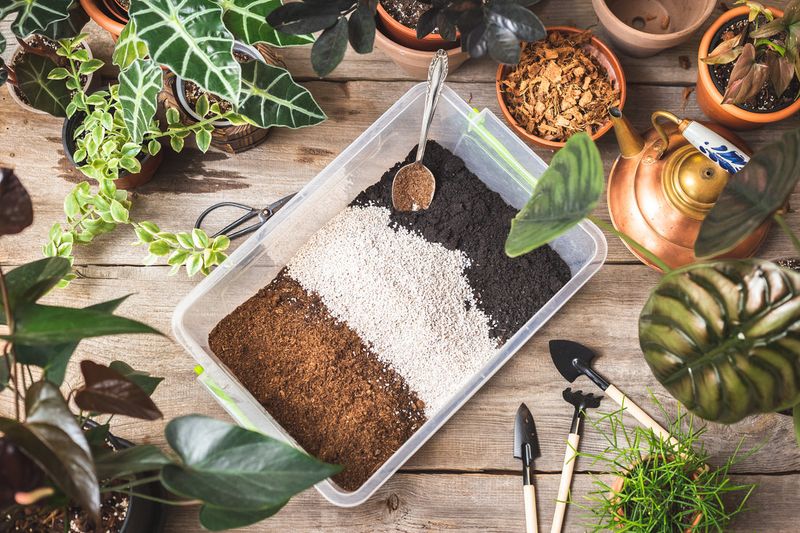
Selecting the right soil mix is pivotal for a plant’s health. Different plants have unique soil needs; for instance, succulents prefer sandy, well-draining soil, while ferns thrive in moisture-retentive mixes. Mixing your own soil allows customization for specific plant types. Adding perlite or sand enhances drainage, while peat moss can improve moisture retention. By understanding these nuances, you can create an ideal growing medium, tailored to your plant’s needs. This thoughtful preparation leads to more resilient, vibrant plants that showcase your gardening prowess.
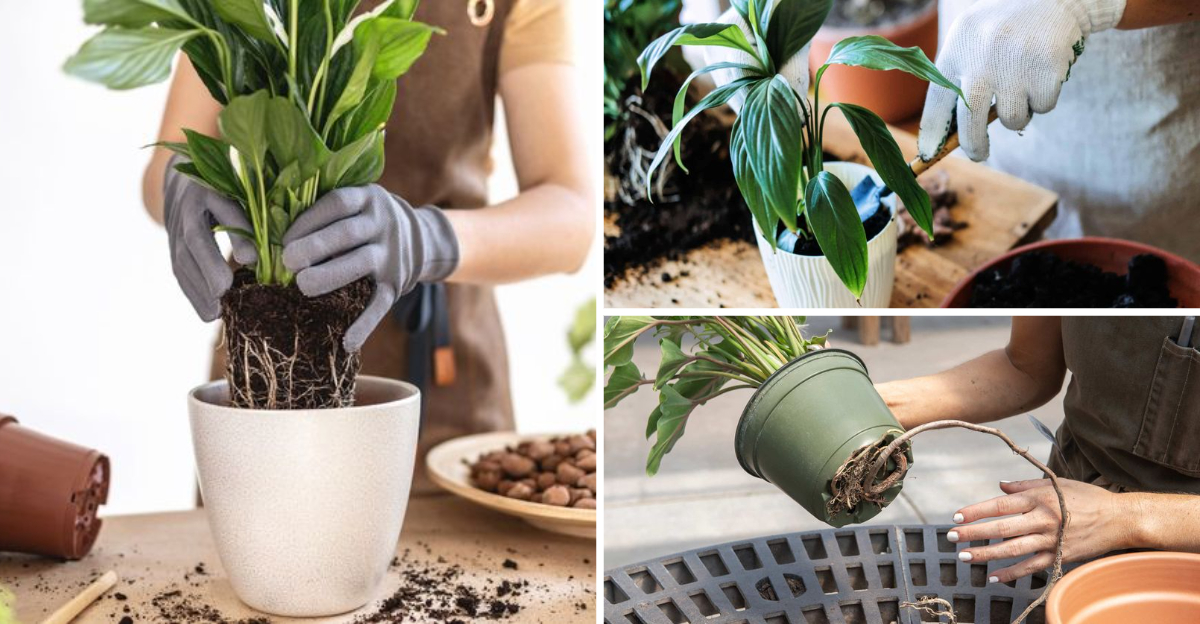
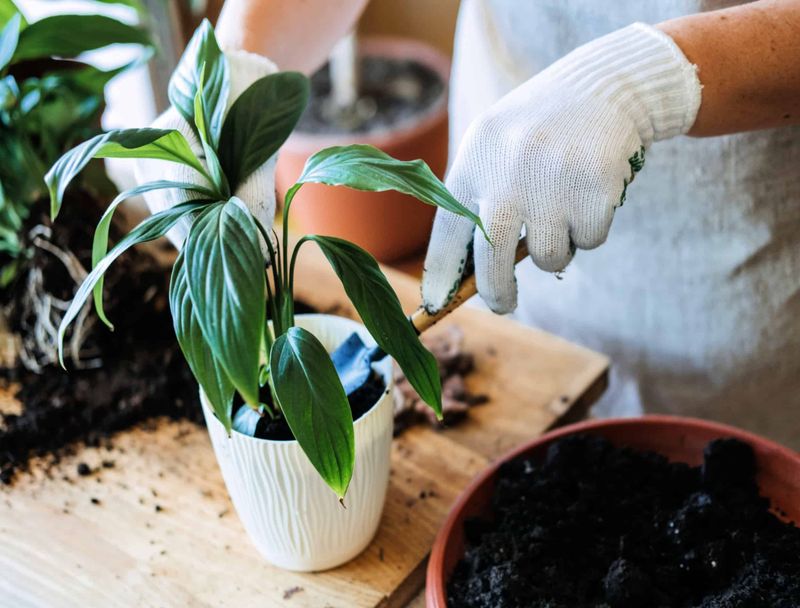
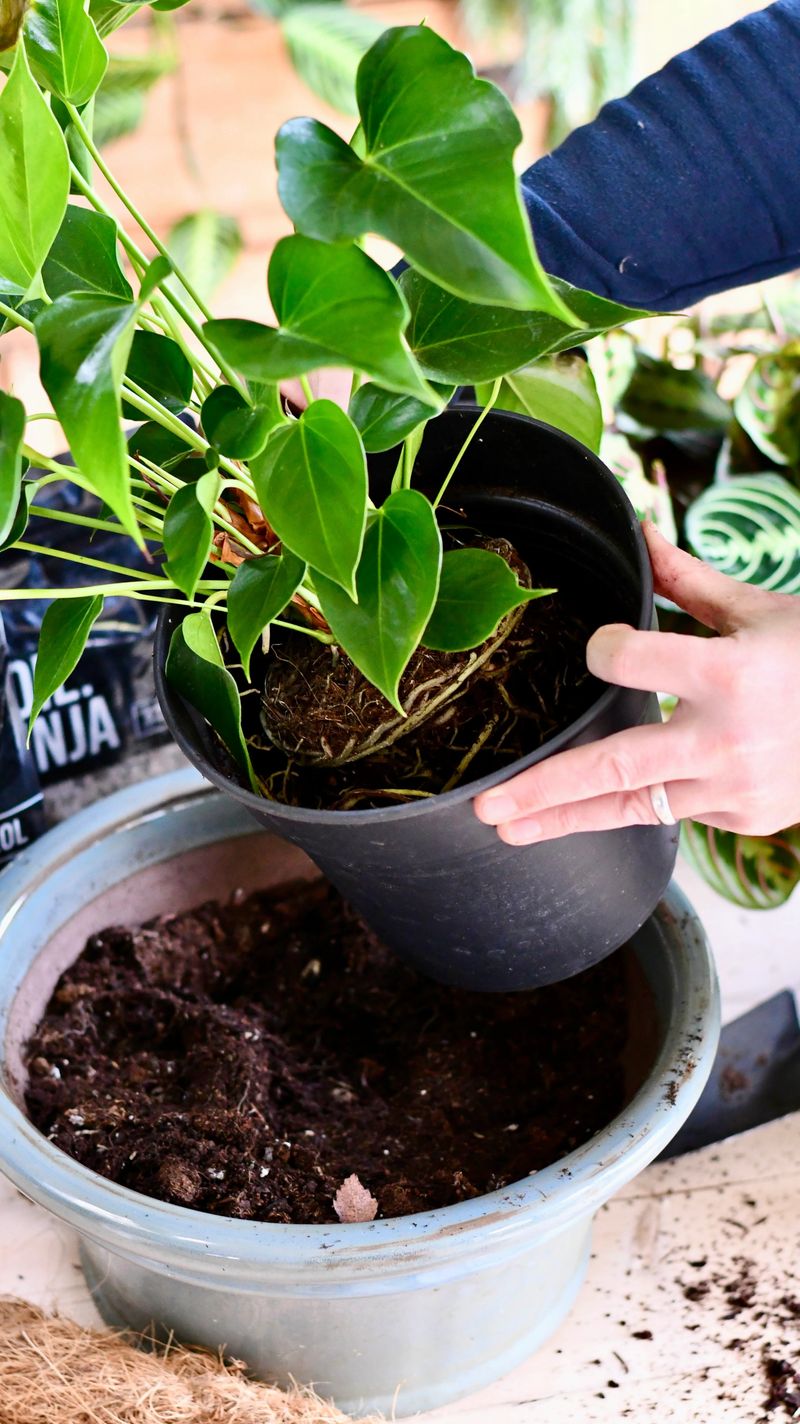
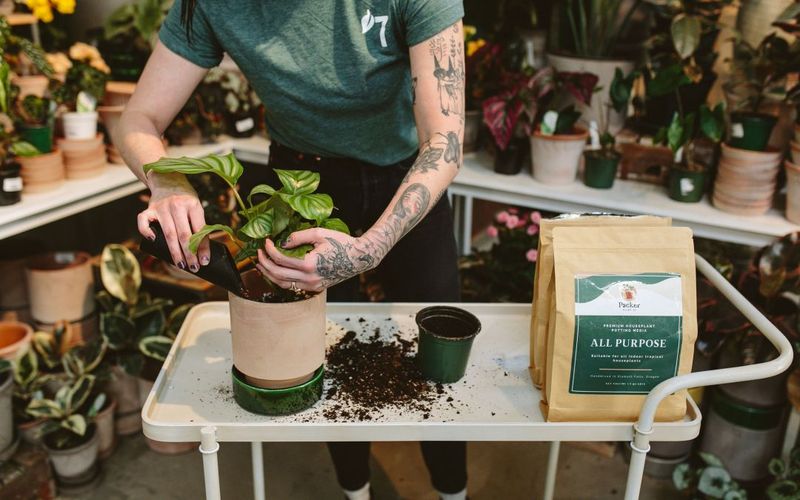
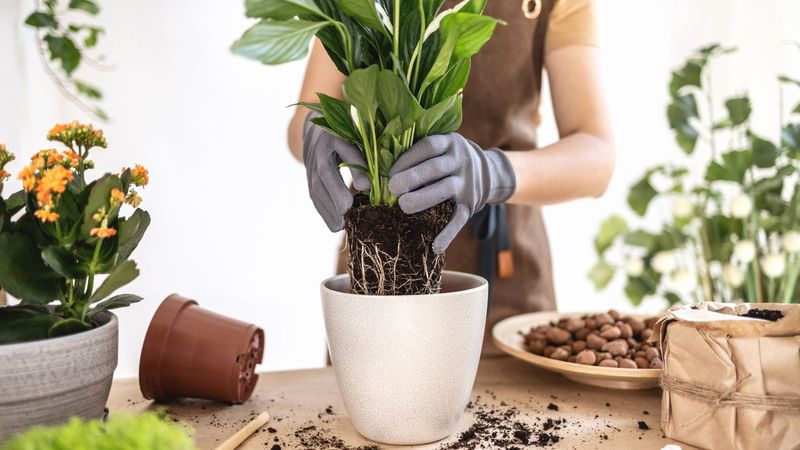
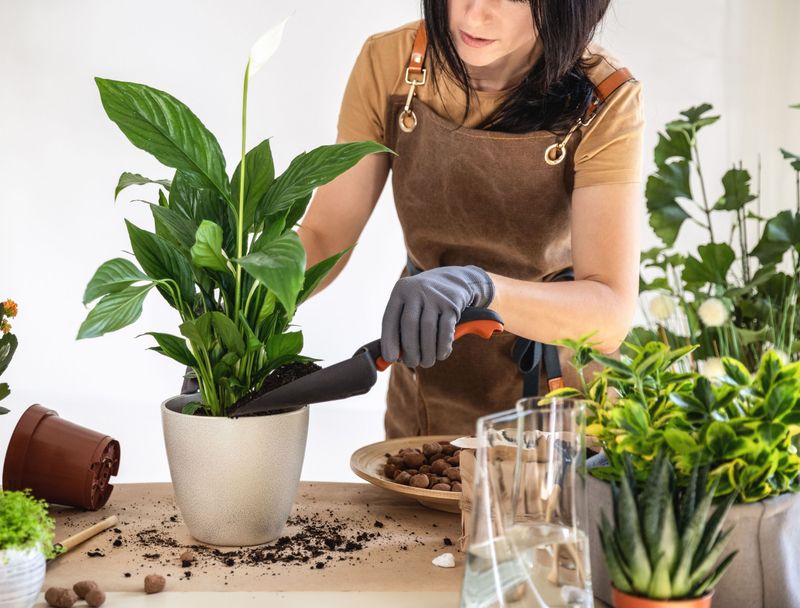
The Repotting Process
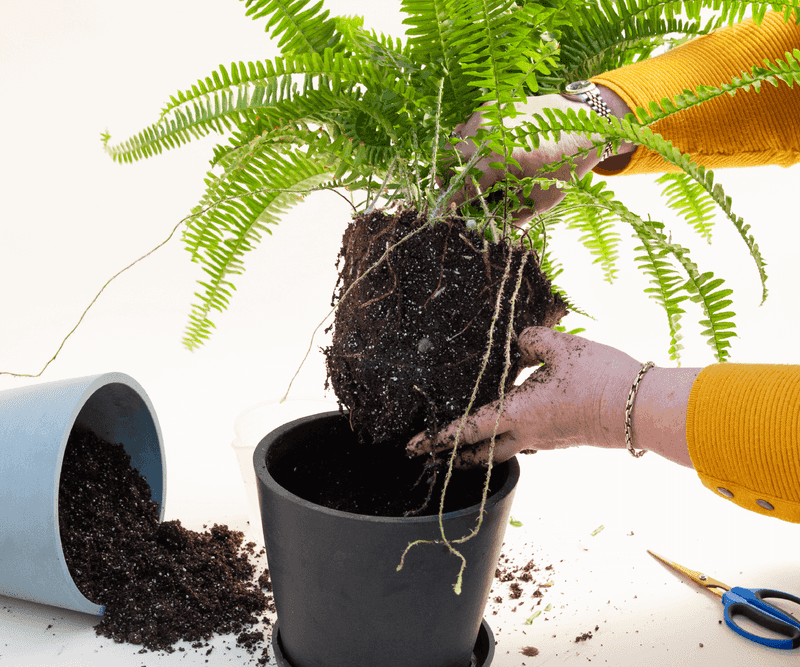
Repotting requires a delicate touch to prevent trauma to the plant. Start by gently loosening the plant from its pot, supporting both the root ball and foliage. Carefully tease apart any compacted roots, trimming those that are overly long or damaged. When placing the plant in the new pot, ensure it’s at the same soil level as before, filling in with fresh soil around it. This methodical approach minimizes stress, encouraging healthy growth. Handling your plant with care during this process ensures a seamless transition to its new home.
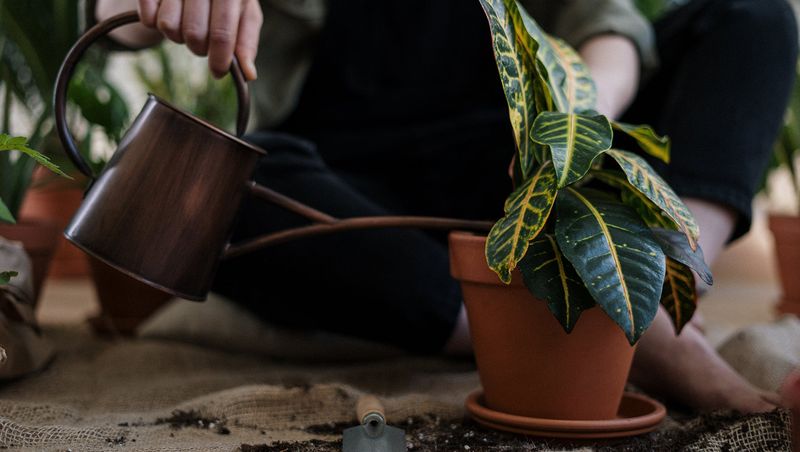
Watering After Repotting
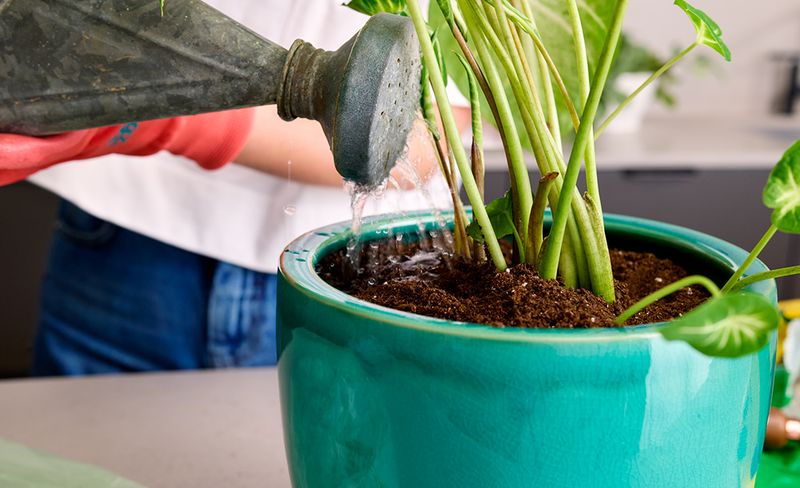
Post-repotting watering is vital to settle the soil and hydrate the plant. Use room-temperature water to avoid shocking the roots. Water thoroughly until it drains from the bottom, ensuring even moisture distribution. Be mindful not to overwater, as the plant’s reduced root mass may not absorb water as efficiently initially. Observing the plant’s response will guide future watering practices. This careful attention helps establish stability, supporting the plant’s recovery and growth. Proper watering sets the foundation for a thriving houseplant in its new setting.
Acclimatizing to New Surroundings
Helping your plant adjust to its new home is key to successful repotting. Gradually reintroduce it to sunlight, starting with indirect light and slowly transitioning to its usual spot. This gradual exposure prevents sunburn and stress. Monitor the plant for signs of distress, like wilting or leaf drop, adjusting its environment as needed. Patience and observation are your allies in this process. By carefully managing this transition, you ensure your plant becomes comfortably acclimatized, continuing to grow and flourish in its refreshed environment.
Fertilizing After Repotting
Fertilizing post-repotting can boost recovery and encourage growth. Wait a few weeks after repotting before applying fertilizer, as immediate feeding can shock the plant. Choose an organic fertilizer that matches your plant’s needs. Applying it sparingly ensures even distribution without overwhelming the plant. This thoughtful nurturing provides essential nutrients, supporting the plant’s health and vitality. Understanding the balance of feeding helps maintain robust, lush growth, enhancing the beauty of your indoor garden.
Managing Pests and Diseases
Repotting can expose pests or diseases that may have been hidden. Inspect the roots and foliage for any signs of infestation or infection. Use natural remedies, like neem oil or insecticidal soap, to treat these issues without harming the plant. A vigilant approach to pest management ensures your plant remains healthy. Regularly checking for signs of trouble and addressing them promptly protects your plant from further harm. This proactive care helps maintain a thriving, pest-free indoor garden.
Signs of Successful Repotting
A successful repotting is evident through new growth and vibrant foliage. Look for signs like fresh leaves, strong stems, and a healthy root system. These indicators show that your plant has adapted well to its new environment. Observing these positive changes reassures you that your efforts have paid off. Maintaining a regular care routine fosters continuous growth and vitality. By recognizing these signs, you celebrate your green thumb’s success, nurturing a flourishing indoor landscape.
Long-term Care and Maintenance
Long-term care ensures that your repotted plants continue to thrive. Regular pruning, consistent watering, and occasional feeding are key practices. Monitor the plant for any changes in growth habits or signs of stress, adjusting care as needed. Establishing a routine creates a stable environment for your plants to flourish. This ongoing commitment to care and observation fortifies the bond between you and your plants. Through diligent maintenance, your houseplants will reward you with beauty and serenity, enhancing your living space.
Utilizing Mycorrhizae for Root Health
Mycorrhizae are beneficial fungi that form symbiotic relationships with plant roots. These fungi enhance nutrient absorption, promoting vigorous growth. Before repotting, dust plant roots with mycorrhizal powder.
This step boosts resistance to stress and increases resilience against diseases. Did you know? Mycorrhizae have been used in agriculture for centuries.
Incorporating them into your repotting routine can significantly improve plant health. The roots will establish faster, and you’ll witness thriving foliage. Try this age-old technique and watch your plants flourish in their new environment.
Incorporating Biochar in Potting Mix
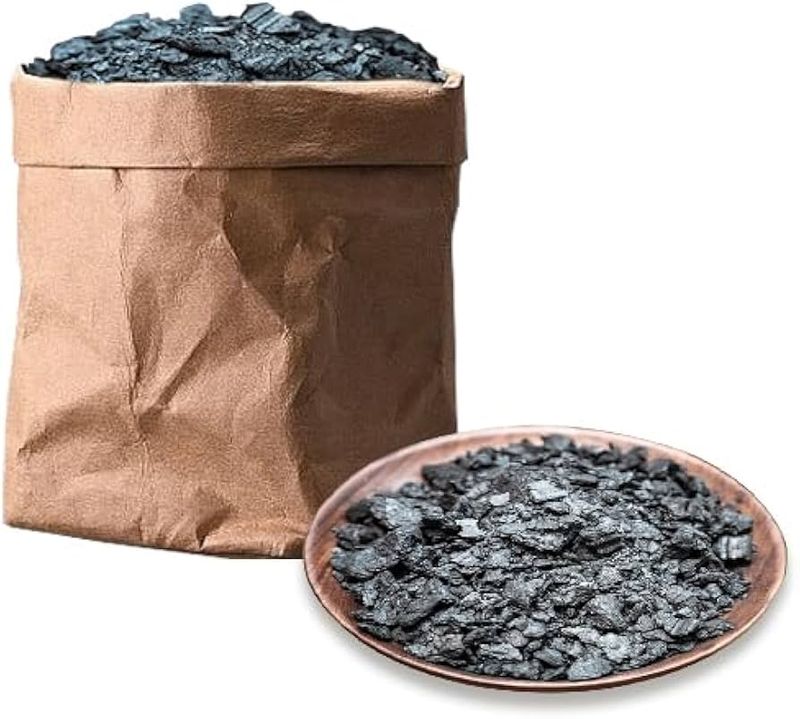
Biochar is a carbon-rich material that enhances soil fertility. Mix biochar into your potting medium to improve aeration and water retention.
Its porous nature creates a hospitable environment for beneficial microorganisms. This amendment is especially advantageous for houseplants, offering long-term nutrient supply.
Biochar’s ability to sequester carbon makes it an environmentally friendly choice. Adding this to your repotting mix will promote healthier root systems and vigorous plant growth. Embrace this sustainable practice to see improvements in plant vitality.
Adding Worm Castings for Nutrient Boost
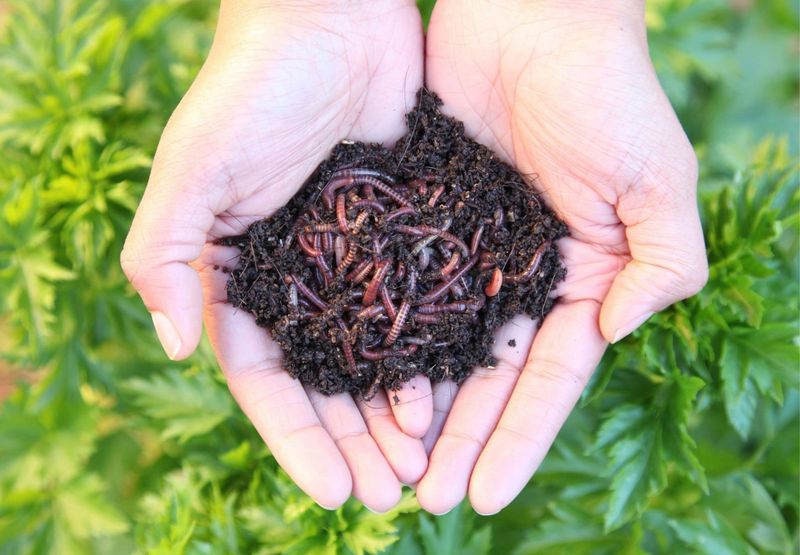
Worm castings, or vermicompost, are a nutrient powerhouse for plants. Mixing castings into your potting soil provides slow-release nutrients essential for growth.
These organic granules improve soil structure, enhancing water retention and aeration. Plants potted with castings tend to experience less transplant shock.
The natural enzymes and beneficial microbes in castings boost plant immunity. Incorporate this organic amendment during repotting to foster a thriving environment for your houseplants.
Creating a Humidity Dome Post-Repotting

After repotting, plants often benefit from increased humidity. A DIY humidity dome can create the perfect microclimate.
Use a clear plastic container or bag, ensuring it doesn’t touch the foliage. This setup reduces transplant shock by maintaining moisture levels.
Regularly airing out the dome prevents mold growth. Did you know? Humidity domes are commonly used in propagation to enhance root development. Implement this technique post-repotting to support your plant’s transition.
Using Root Hormones for Faster Establishment
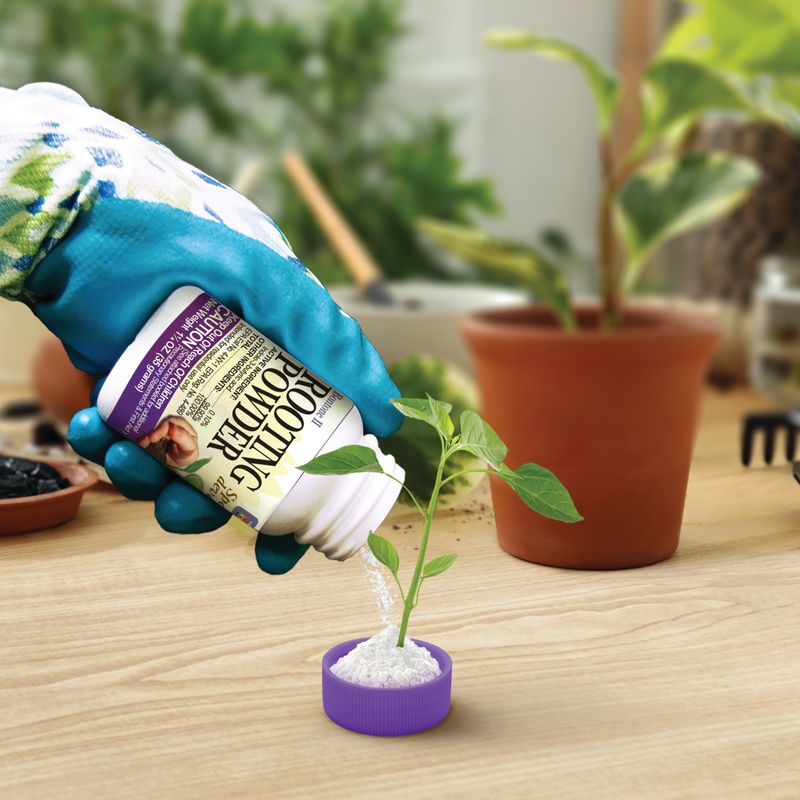
Root hormones can accelerate root development in newly repotted plants. These substances stimulate root growth, helping plants establish quickly in their new pots.
Available in powder and liquid forms, they are easy to apply before placing the plant in soil. This technique is beneficial for plants with delicate root systems.
Incorporating root hormones during repotting can result in faster recovery and robust growth. Consider this step to give your houseplants a head start.
Ensuring Proper Drainage with Pebbles

Proper drainage is crucial for plant health. Adding a layer of pebbles at the bottom of pots can prevent waterlogging.
This technique allows excess water to escape, reducing the risk of root rot. It’s especially useful for succulents and cacti.
Ensure the pebbles are clean to avoid introducing pathogens. This simple step can significantly enhance your plant’s wellbeing by ensuring optimal moisture levels.
Using Coffee Grounds as Natural Fertilizer
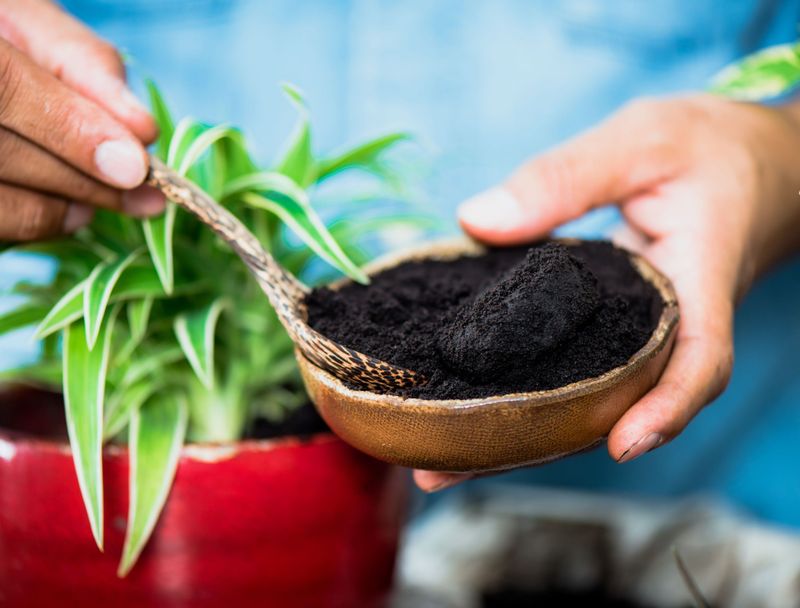
Coffee grounds can serve as a gentle fertilizer for houseplants. They provide a slow release of nitrogen, which supports leafy growth.
Mixing coffee grounds into potting soil can also improve drainage and soil texture. However, use them sparingly to avoid over-acidifying the soil.
This eco-friendly approach recycles kitchen waste into plant nutrition. Incorporate coffee grounds during repotting to enrich your soil naturally and cost-effectively.
Implementing Bottom Watering Technique
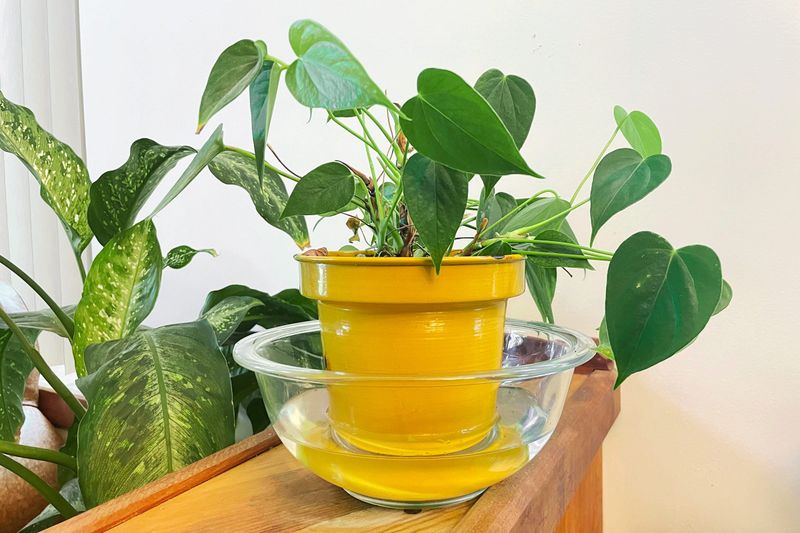
Bottom watering ensures even moisture distribution for potted plants. Place the pot in a shallow tray of water and allow it to absorb moisture from the bottom up.
This method minimizes the risk of overwatering and promotes healthier root development. It’s particularly effective for plants sensitive to water on their foliage.
After the plant has absorbed enough water, remove it from the tray to prevent waterlogging. Bottom watering is a practical technique to maintain consistent moisture levels, aiding in plant health post-repotting.