Bell peppers can be tricky to grow, but amazing harvests are possible with the right knowledge. Many gardeners struggle with poor yields, bitter flavors, or plants that never quite reach their potential. Armed with these proven secrets, you’ll discover how to grow the sweetest, most colorful peppers your neighborhood has ever seen.
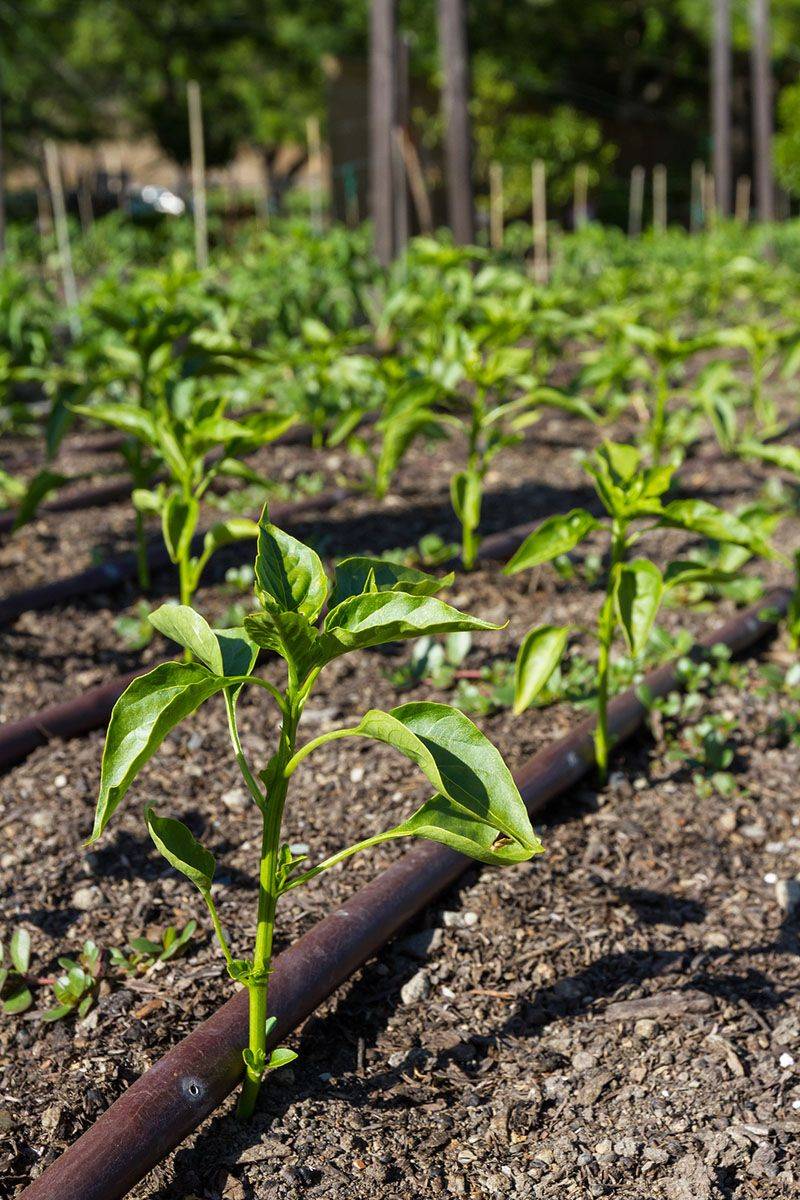
1. Start Seeds Indoors 8-10 Weeks Before Last Frost
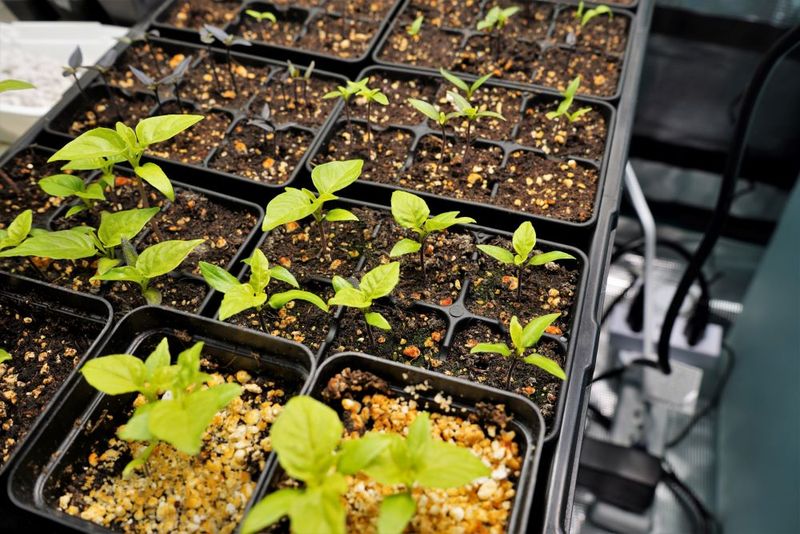
Bell peppers need a long growing season to develop their sweet flavor and thick walls. Starting seeds indoors gives them the head start they desperately need.
Warm soil temperatures around 70-80°F help seeds germinate faster. Use a heating mat under seed trays for best results.
Transplant seedlings outdoors only after soil reaches 60°F consistently. Cold soil stunts growth and delays pepper production significantly.
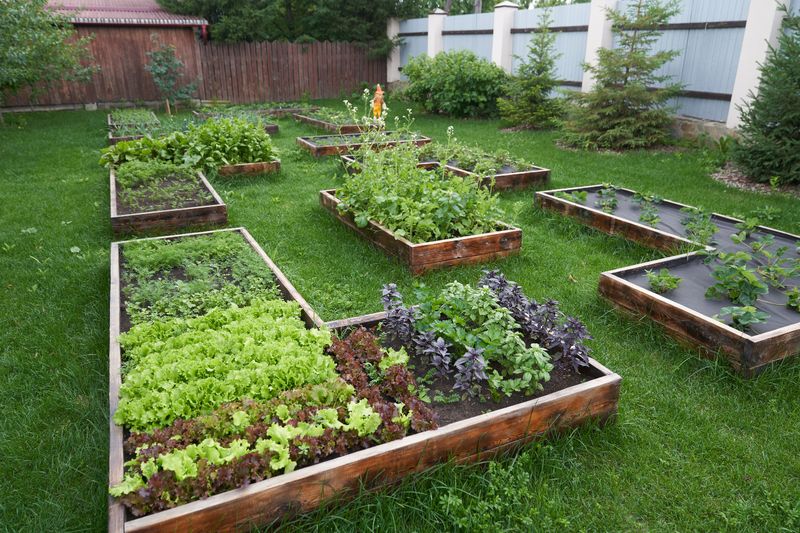
2. Choose Compact Varieties for Container Growing
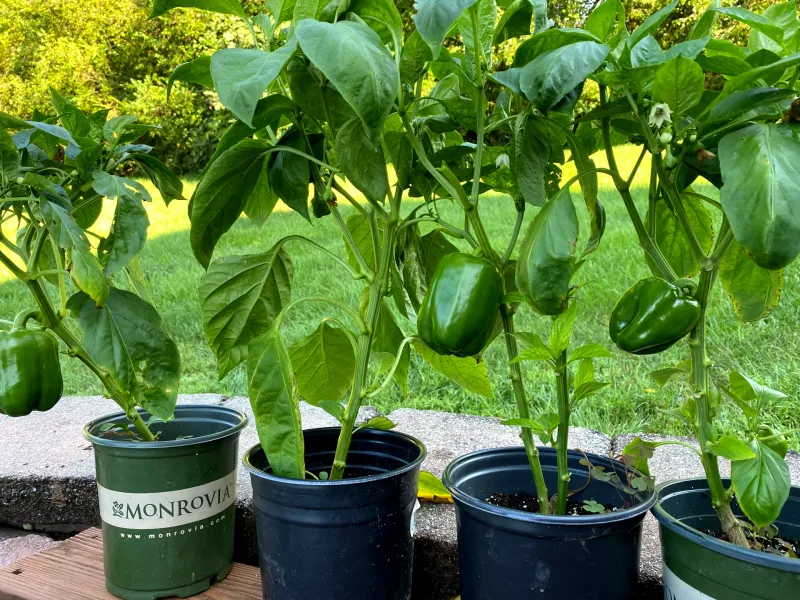
Not all bell peppers are created equal when it comes to container gardening. Compact varieties like ‘Mohawk’ and ‘Mini Belle’ thrive in pots.
Standard bell pepper plants can grow 3-4 feet tall and need massive containers. Dwarf varieties stay manageable while producing full-sized peppers.
Container growing allows better soil control and easier pest management. Use pots at least 12 inches deep for healthy root development.
3. Mulch Heavily to Retain Moisture and Heat
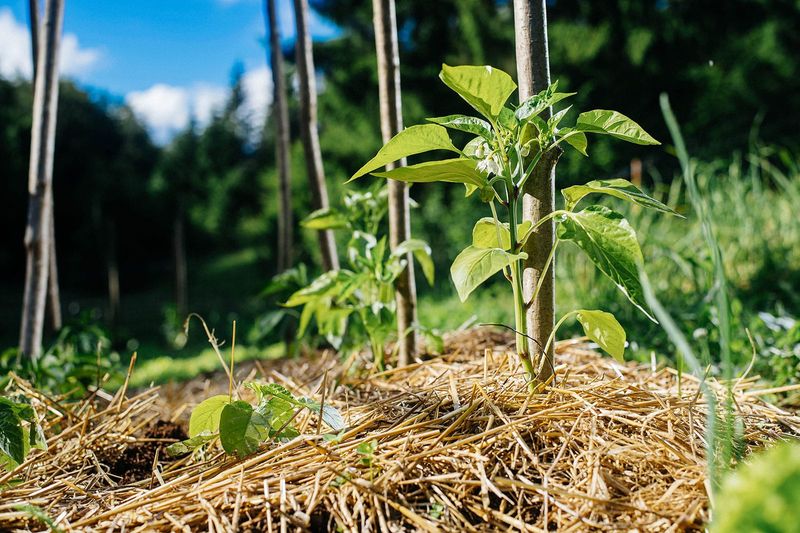
Bell peppers are thirsty plants that hate wet feet – a tricky combination to manage. Heavy mulching solves both problems beautifully.
Apply 3-4 inches of organic mulch around plants, keeping it away from stems. Straw, grass clippings, or shredded leaves work perfectly.
Mulch keeps soil temperature steady and reduces watering frequency. Consistent moisture prevents blossom end rot and bitter-tasting peppers.
4. Pinch First Flowers for Stronger Plants
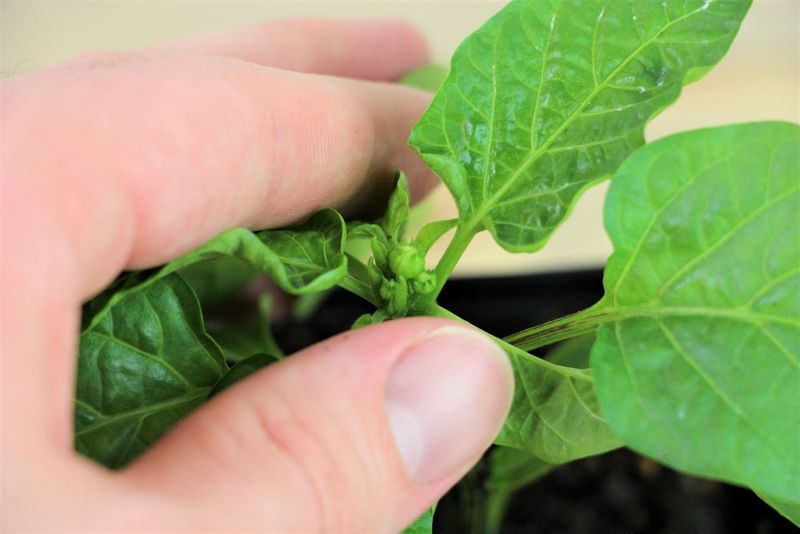
This secret breaks many gardeners’ hearts, but pinching early flowers creates healthier, more productive plants. Early blooms drain energy from root and leaf development.
Remove all flowers until plants reach 6-8 inches tall. This forces plants to build strong foundations first.
Stronger plants produce more peppers later in the season. The temporary sacrifice pays off with dramatically increased yields.
5. Provide Consistent Deep Watering
Shallow, frequent watering creates weak root systems and stressed plants. Bell peppers prefer deep, less frequent watering sessions.
Water slowly until moisture reaches 6-8 inches deep. Check soil moisture with your finger before watering again.
Consistent moisture prevents calcium uptake problems that cause blossom end rot. Install drip irrigation or soaker hoses for best results.
6. Support Plants Before They Need It
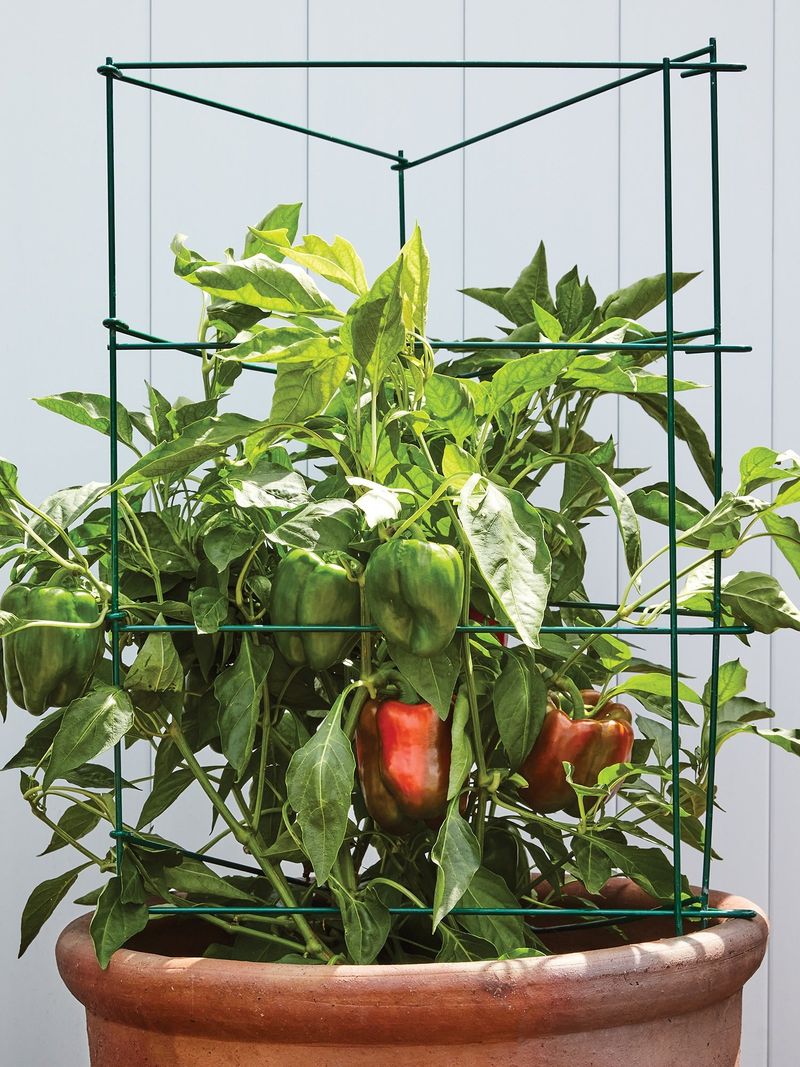
Bell peppers become top-heavy when loaded with fruit, often breaking branches or toppling over. Proactive support prevents disasters.
Install cages or stakes when transplanting seedlings. Plants grow into supports naturally without root disturbance.
Heavy pepper varieties especially need sturdy support systems. Tomato cages work well, but custom stakes offer better long-term stability.
7. Feed Regularly with Balanced Fertilizer
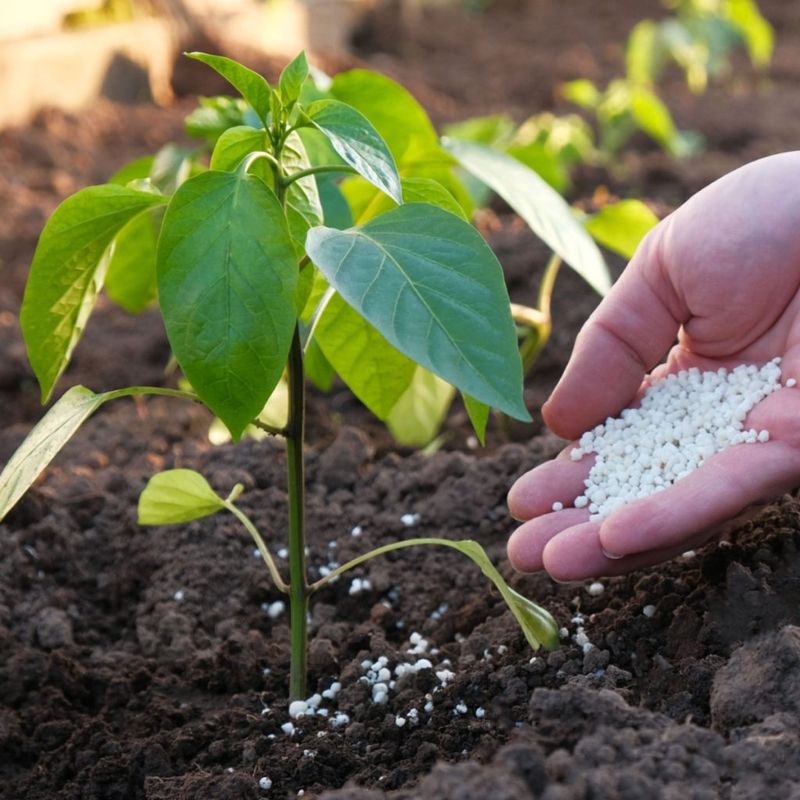
Bell peppers are heavy feeders that need consistent nutrition throughout the growing season. Poor nutrition leads to small, bitter peppers.
Apply balanced fertilizer every 2-3 weeks during growing season. Avoid high-nitrogen fertilizers that promote leaves over fruit.
Organic options like compost tea or fish emulsion work wonderfully. Watch for yellowing leaves, which often signals nutrient deficiency.
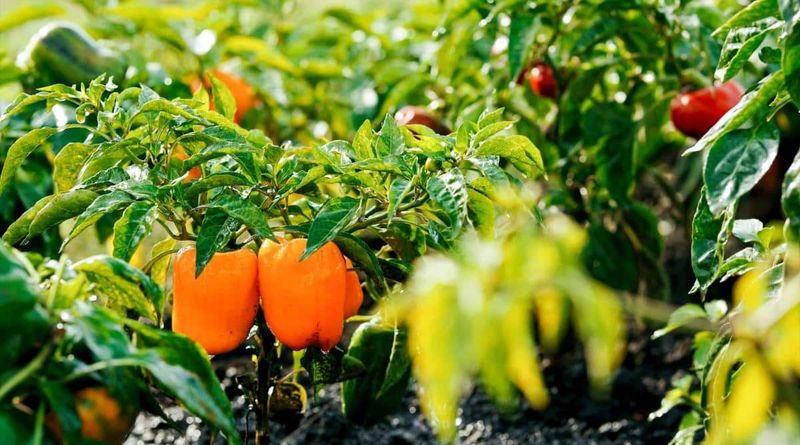
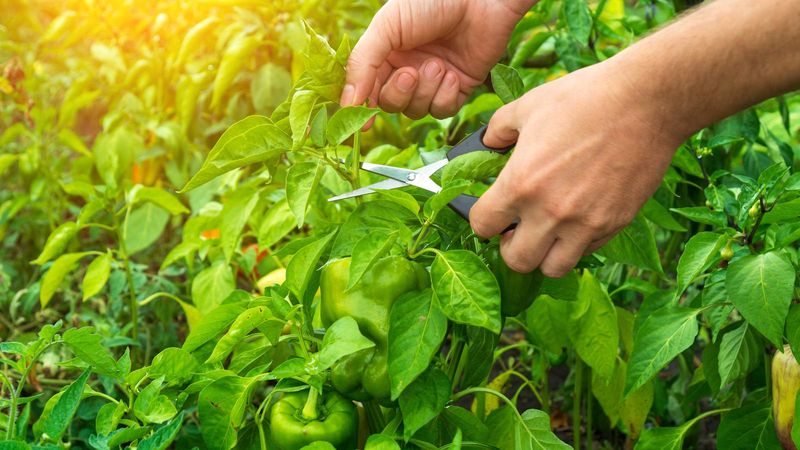
8. Harvest Green Peppers Early for More Production
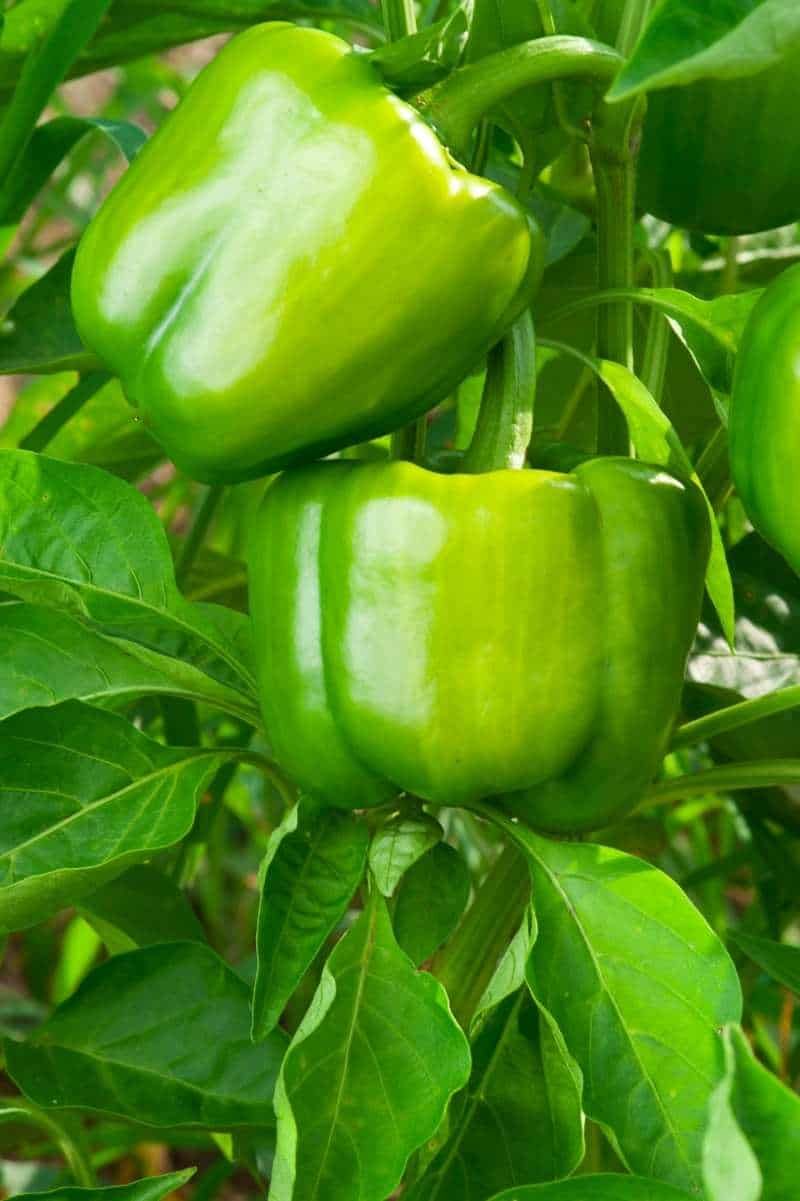
Waiting for peppers to turn red, yellow, or orange reduces overall plant productivity. Green peppers are fully mature and delicious.
Plants put enormous energy into ripening peppers to full color. Harvesting green allows plants to produce more peppers.
Leave some peppers to ripen for color variety. Balance early harvests with colored peppers for best of both worlds.
9. Companion Plant with Basil and Tomatoes
Basil planted near bell peppers reportedly improves pepper flavor while repelling harmful insects. This classic companion pairing works beautifully.
Tomatoes and peppers share similar growing requirements and pest challenges. Growing them together simplifies garden management.
Avoid planting peppers near fennel or brassicas. These plants can inhibit pepper growth and attract different pest problems.
10. Protect from Wind and Extreme Heat
Bell peppers love warmth but can suffer in extreme heat and strong winds. Afternoon shade in hot climates prevents sunscald.
Wind damages delicate branches and increases water loss through leaves. Windbreaks or sheltered locations work best.
Shade cloth during heat waves keeps plants productive. Temperatures above 90°F often cause flower drop and reduce fruit set.
11. Watch for Calcium Deficiency Signs
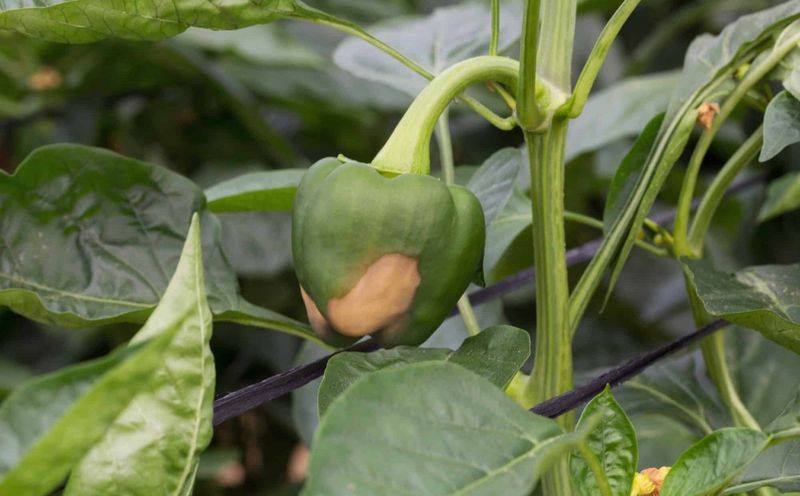
Blossom end rot appears as dark, sunken spots on pepper bottoms and signals calcium deficiency. Inconsistent watering often triggers this problem.
Calcium exists in soil but plants can’t absorb it without consistent moisture. Mulching and regular watering prevent most cases.
Avoid over-fertilizing with nitrogen, which interferes with calcium uptake. Maintain steady soil pH between 6.0-6.8 for optimal nutrient absorption.
12. Time Planting for Your Climate Zone
Bell peppers need 70-80 days from transplant to harvest, making timing crucial for success. Cold weather stops growth completely.
Northern gardeners should start seeds indoors by February. Southern gardeners can direct sow or transplant much later.
Plant after soil temperature reaches 60°F consistently. Cold soil causes transplant shock and delays pepper production significantly.
13. Prune Suckers for Better Air Circulation
Suckers are small shoots that grow between main stems and branches. Removing them improves air circulation and reduces disease risk.
Better airflow prevents fungal diseases that thrive in humid conditions. Prune suckers when they’re small and easy to remove.
Focus energy on main branches that produce peppers. Excessive foliage creates shade and reduces fruit production.
14. Rotate Crops to Prevent Disease Buildup
Planting peppers in the same location year after year allows soil-borne diseases to accumulate. Crop rotation breaks disease cycles naturally.
Avoid planting peppers where tomatoes, eggplants, or potatoes grew previously. These plants share similar diseases and pests.
Wait 3-4 years before replanting peppers in the same spot. Plant legumes or brassicas to improve soil health between pepper crops.
15. Hand-Pollinate for Better Fruit Set
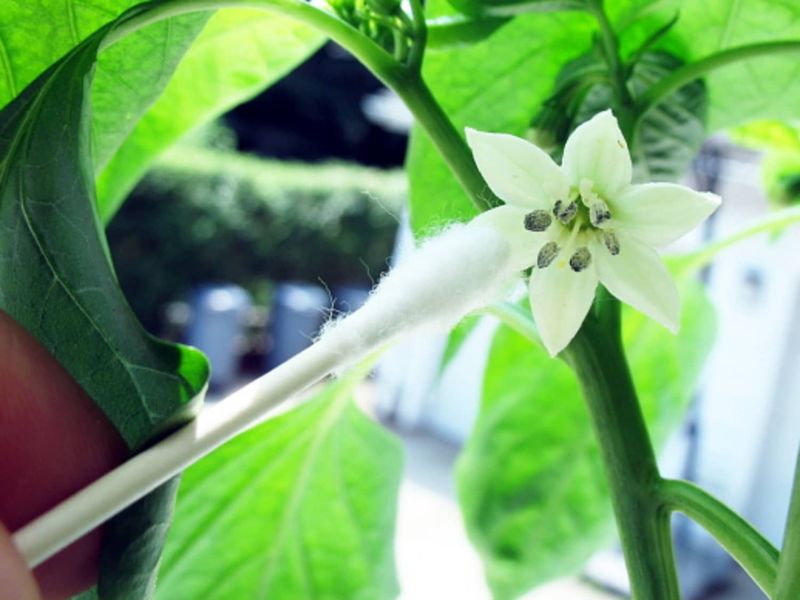
Bell peppers are self-pollinating but benefit from gentle assistance, especially in greenhouses or during poor weather.
Use a small paintbrush to transfer pollen between flowers. Work during morning hours when pollen is most viable.
Poor pollination results in misshapen or small peppers. Hand-pollination ensures every flower develops into perfect fruit.
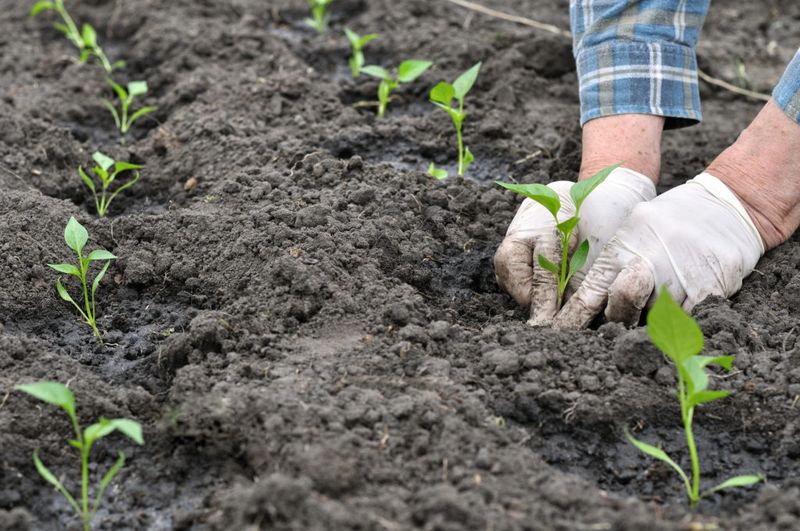
16. Gradually Harden Off Seedlings
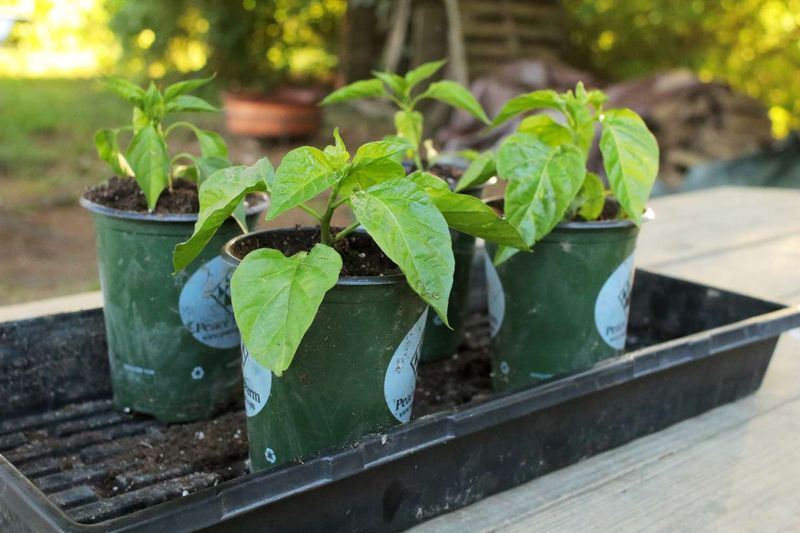
Indoor seedlings need gradual exposure to outdoor conditions before transplanting. Sudden changes shock plants and stunt growth.
Start with 2-3 hours of outdoor exposure, increasing daily. Protect from wind and direct sun initially.
Complete hardening takes 7-10 days but prevents transplant shock. Properly hardened seedlings establish faster and produce better yields.
17. Collect Seeds from Best Performing Plants
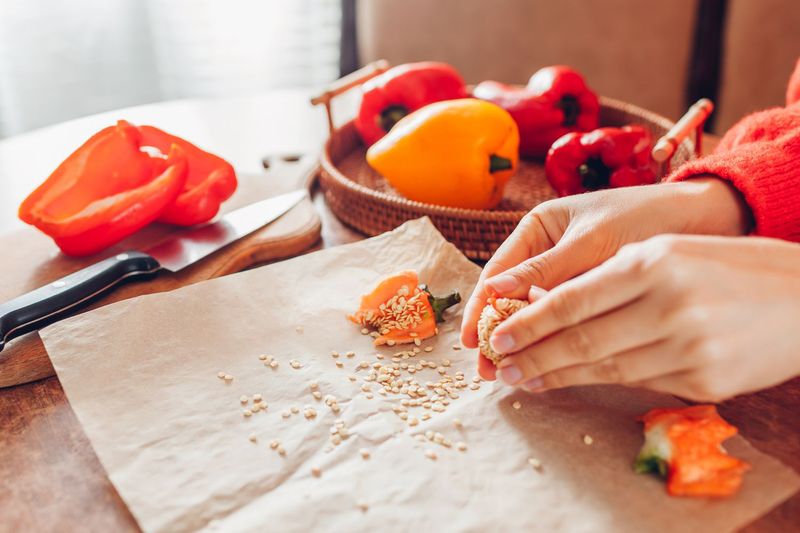
Save seeds from your most productive, disease-resistant plants to improve future crops. Select fully ripe, perfect peppers for seed collection.
Open-pollinated varieties produce true-to-type seeds. Hybrid varieties won’t reproduce parent characteristics reliably.
Dry seeds thoroughly before storing in cool, dry conditions. Properly stored pepper seeds remain viable for 2-3 years.