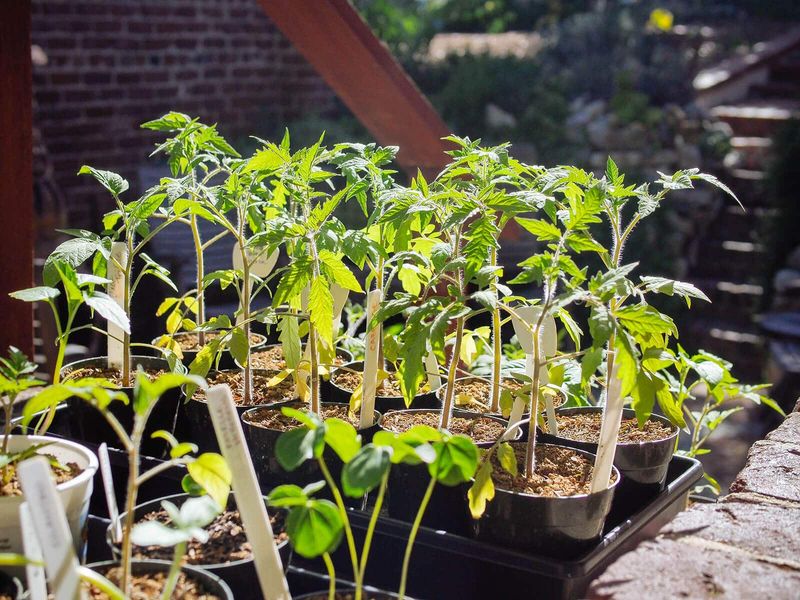
Timing is everything when it comes to planting tomatoes. These frost-sensitive plants need the right conditions to thrive.
Here are five crucial tips to ensure your tomato plants grow strong and healthy after the last frost.
1. Wait 1–2 Weeks After the Last Frost Date
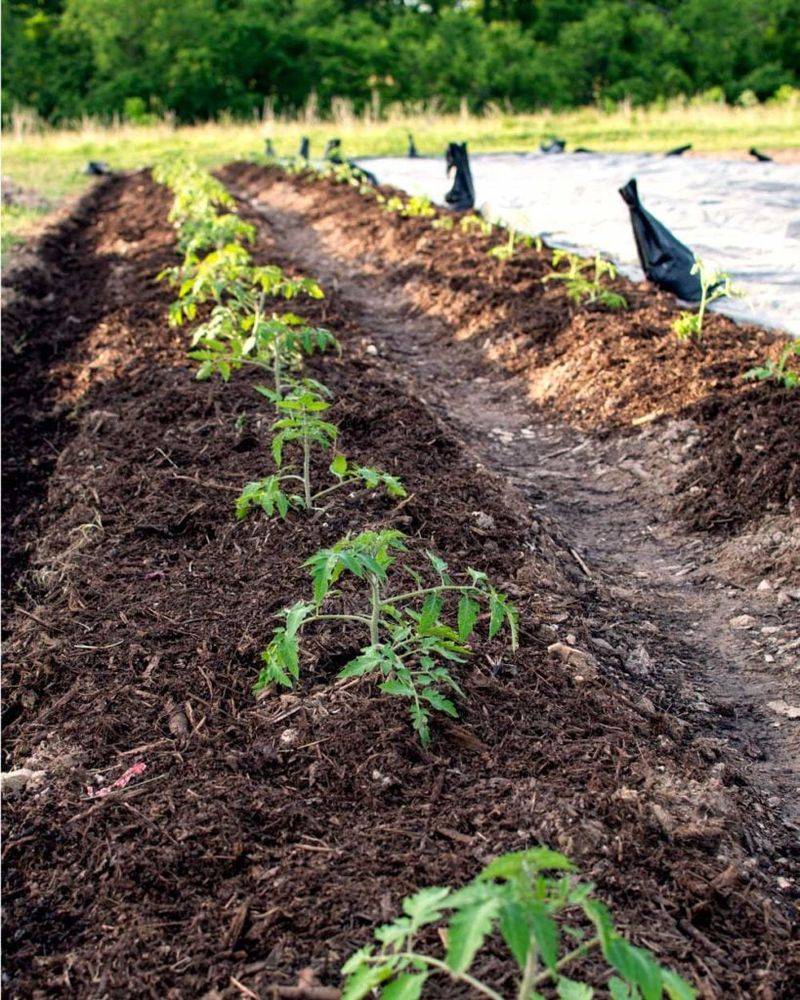
Tomatoes, known for their frost-sensitive nature, require careful timing for planting. Even a light frost can cause damage to these young plants, stressing them or halting their growth.
To ensure optimal growth, plant them 1 to 2 weeks after your region’s average last frost date. This waiting period allows soil and air temperatures to stabilize, providing a more conducive environment for growth.
An interesting tidbit: experienced gardeners often use local natural signs, like blooming lilacs, as indicators for planting tomatoes. Such wisdom can be a handy guide in your planting journey.
2. Check the Soil Temperature
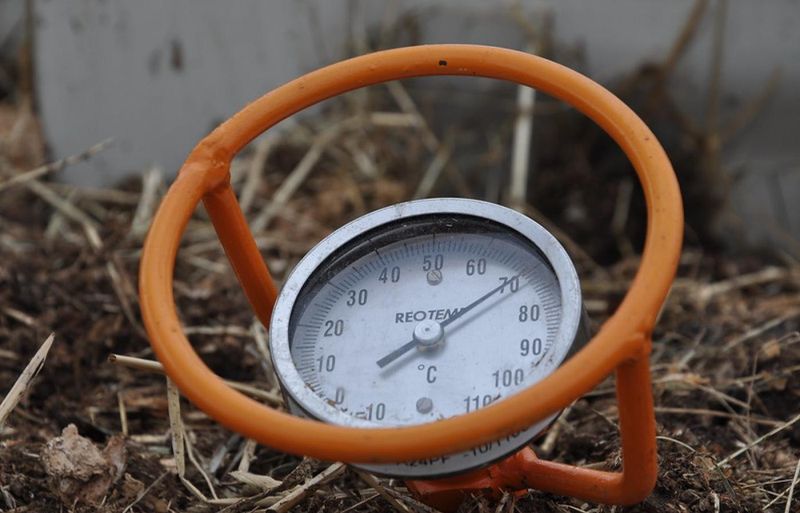
For tomatoes, soil temperature is a critical consideration. They thrive when the soil reaches at least 60°F (16°C), providing the warmth needed for roots to establish and thrive.
Using a simple soil thermometer, you can ensure the ground is ready for planting. If it’s cooler, consider warming the soil with black plastic mulch, which absorbs sunlight and retains heat.
Here’s a quirky fact: some gardeners even use their elbows to gauge soil warmth, feeling for comfort as a sign of readiness. It’s a charming, age-old practice that adds personality to your gardening routine.
3. Monitor Night Temperatures
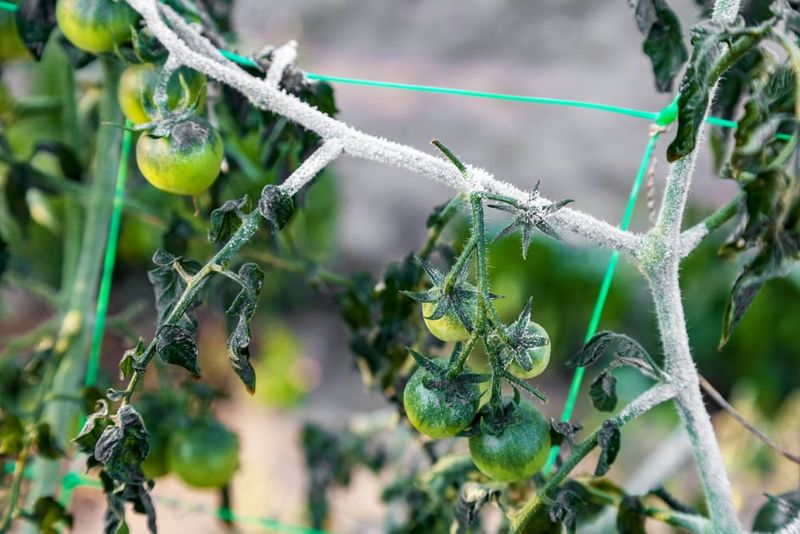
Nighttime temperatures play a significant role in tomato cultivation. Ideally, these should consistently stay above 50°F (10°C) to avoid plant stress and growth retardation.
Cold nights can lead to blossom drop, where flowers fall off before fruiting, impacting yield. Monitoring these temperatures helps in deciding the perfect planting time.
A historical nugget: ancient Roman farmers used stone walls to radiate heat during chilly nights, protecting their crops. It’s a testament to enduring agricultural ingenuity that modern gardeners also practice.
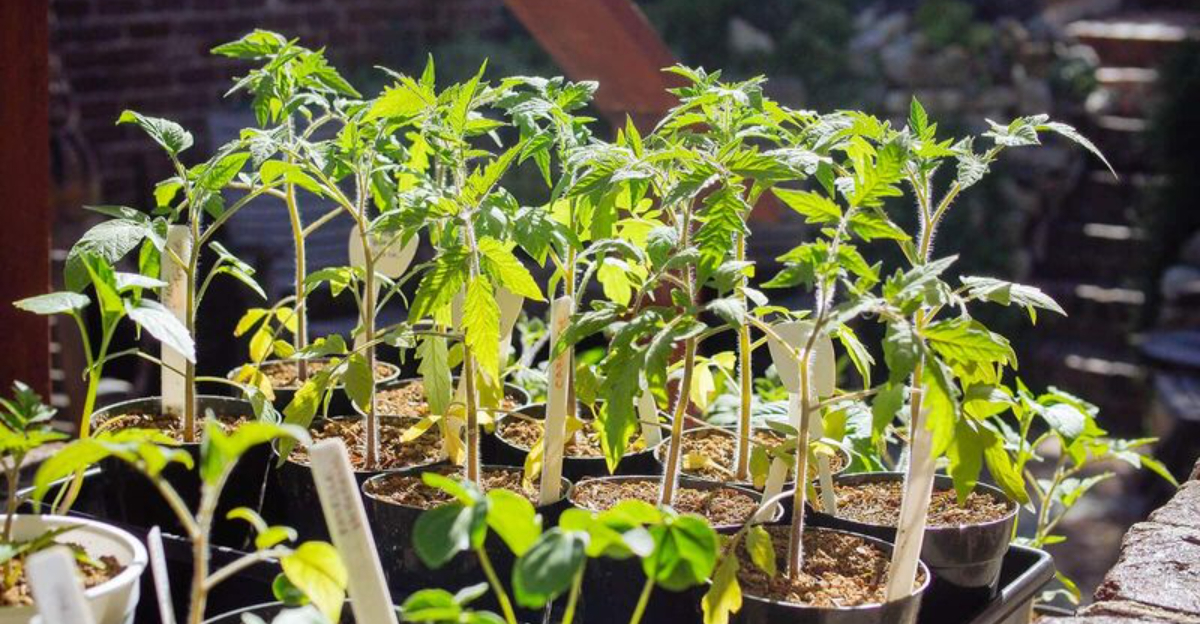
4. Harden Off Your Seedlings
If you’ve started tomatoes indoors, hardening off is a crucial step. This process involves gradually acclimating seedlings to outdoor conditions over 7–10 days.
Begin by setting them outside for a few hours in the shade, then slowly increase exposure to sunlight and the duration outside. This acclimatization minimizes transplant shock and strengthens the plants.
An engaging anecdote: a gardener once likened hardening off to a “boot camp” for plants, preparing them for the rigors of outdoor life. It’s a perspective that makes this process both practical and memorable.
5. Adjust Based on Your Region
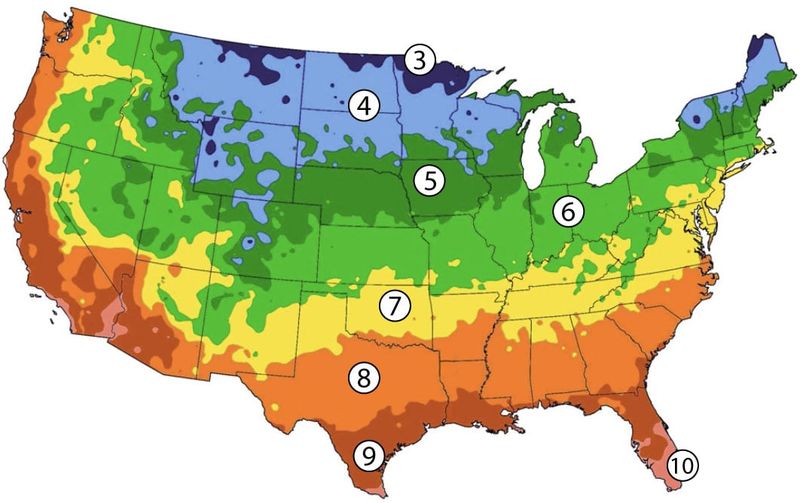
Regional variations significantly influence planting schedules. In northern zones, like USDA 3–5, late May to early June is ideal. Mid zones (6–7) suggest planting from late April to mid-May, while southern zones (8–10) can start as early as late March.
Understanding these regional guidelines ensures your tomatoes have the best start.
A fascinating tidbit: some regions celebrate “Tomato Day” marking the start of planting, reflecting local agricultural traditions. Such events bring communities together, celebrating a shared love for gardening.