Kokedama, a captivating form of Japanese garden art, brings a touch of nature into your home with style and simplicity.
This ancient technique transforms ordinary plants into stunning works of art that can be hung or displayed around your living space.
Perfect for plant lovers and interior design enthusiasts alike, creating a kokedama allows you to connect with nature while elevating your decor. Follow these 10 easy steps to cultivate your own indoor garden masterpiece.
1. Choose the Right Plant
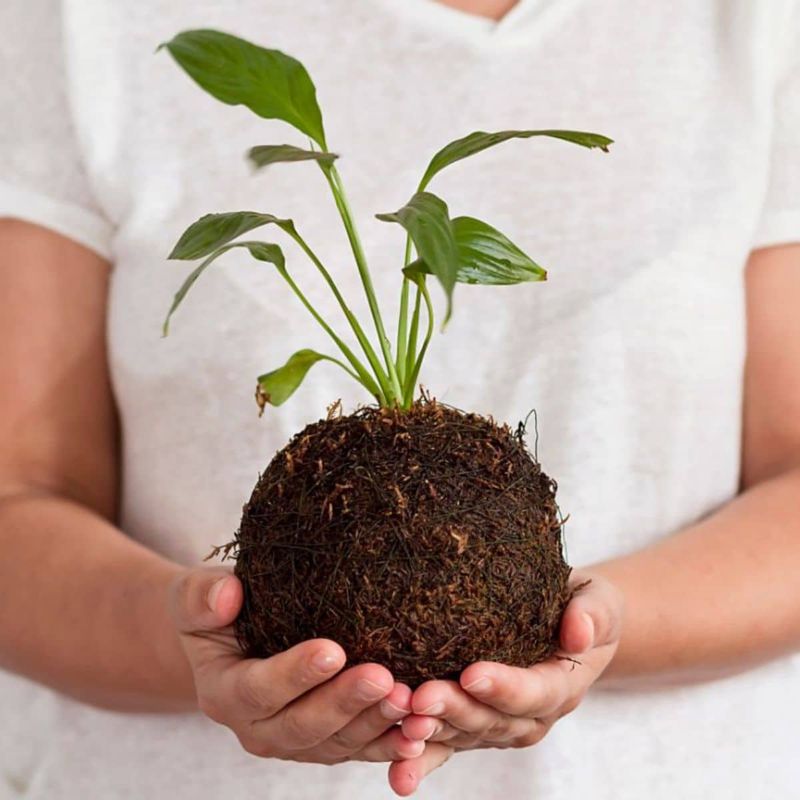
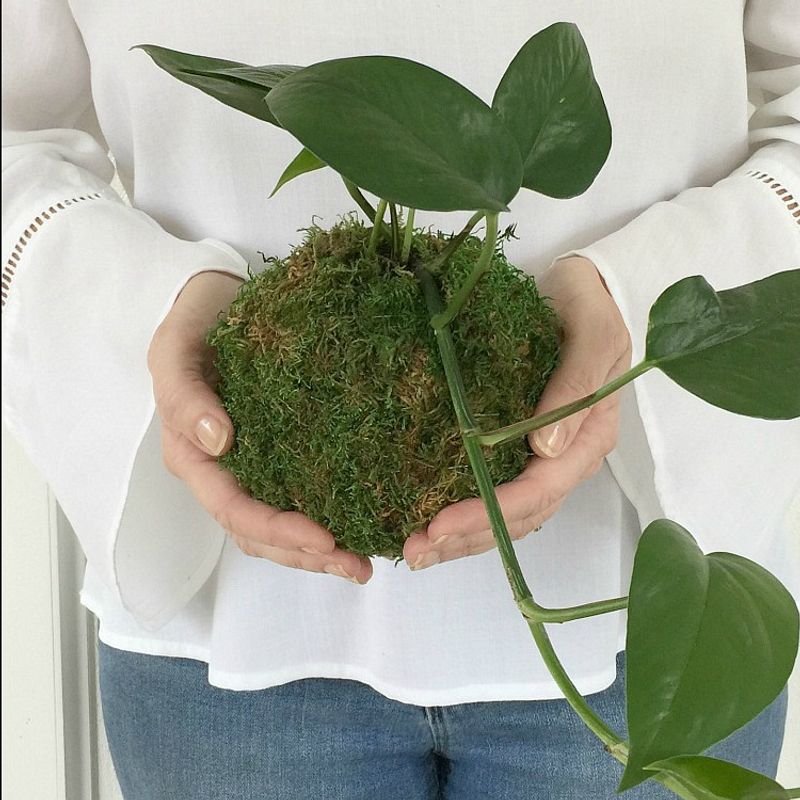
Selecting the right plant sets the stage for your kokedama masterpiece. Consider ferns, ivy, pothos, or peace lilies—plants that thrive in humidity and offer lush greenery. Each choice brings a unique texture and charm.
Imagine a peace lily with its glossy leaves and elegant white blossoms or the trailing vines of pothos cascading with grace. The plant you choose not only affects the aesthetic but also the care required, so choose mindfully.
2. Gather Your Materials
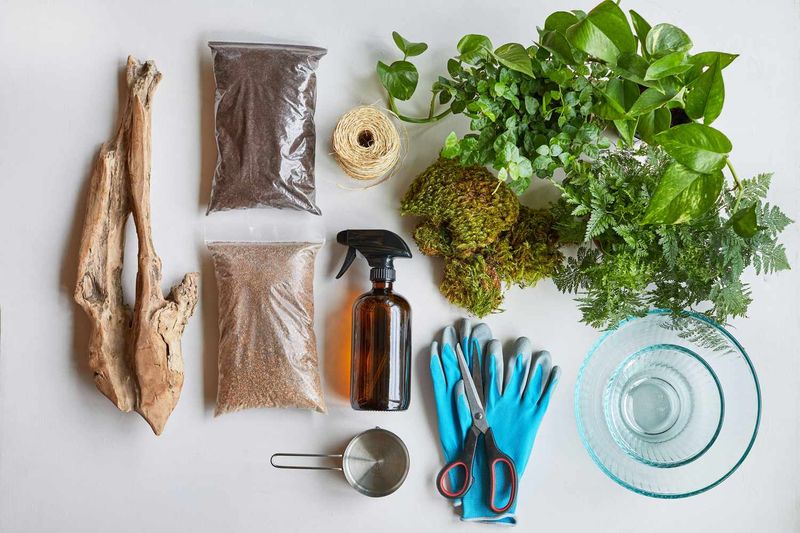
Gathering materials is a vital step, laying the groundwork for your kokedama project. You’ll need bonsai or akadama soil for structure, peat moss for moisture retention, and sheet moss for wrapping.
String or twine holds it all together, while scissors are essential for trimming. Water brings life to the assembly. Having everything ready ensures a smooth process, allowing your creativity to flow unhindered as you craft your living art piece.
3. Mix the Soil
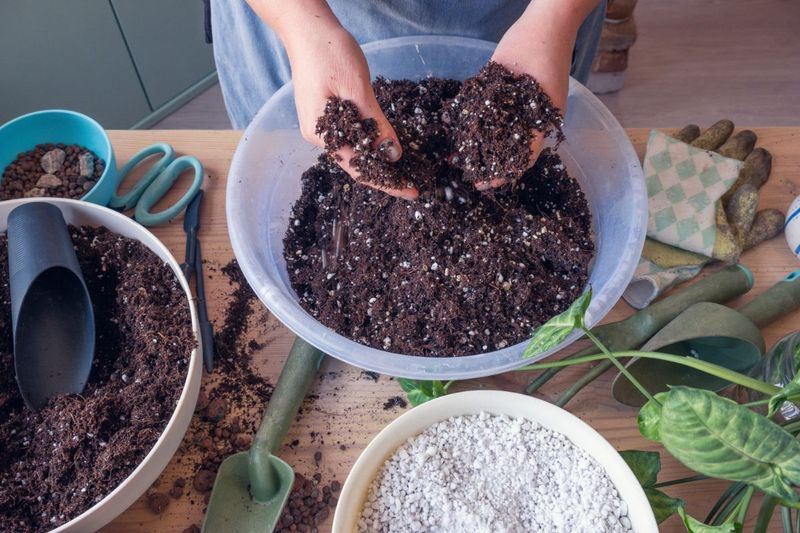
Creating the perfect soil mix is like crafting the canvas for your plant. Combine peat moss and bonsai soil in equal parts, mixing until the blend is cohesive yet pliable.
Moistening the mixture is crucial, as it must hold its form while accommodating plant roots. The right consistency resembles a moist sponge. This foundation supports plant growth and ensures your kokedama remains healthy and vibrant.
4. Form a Ball
With a soil mix in hand, sculpting a ball becomes an engaging sensory experience. Compact the mixture into a sphere, resembling the size of a grapefruit, ensuring it holds together.
The tactile nature of this step connects you with the earth, grounding your project. This ball serves as the core, cradling your plant in its nurturing embrace. Keep the ball firm yet gentle, a perfect union of form and function.
5. Prepare the Plant
Preparing your plant involves a delicate touch, respecting its growth while readying it for new surroundings. Gently remove the plant from its pot, shaking off excess soil yet preserving the root structure.
This transition requires patience, as maintaining root integrity is key for healthy adaptation. The experience deepens your connection with nature, as you prepare your plant for its kokedama journey.
6. Insert the Plant
Inserting the plant into the soil ball is an intimate moment, where plant and earth unite. Create a small opening in your ball, nestling the roots inside with care.
This union symbolizes balance and harmony, as the plant finds its new home. Ensure the plant is secure, allowing roots to spread and thrive. It’s a moment of connection, a pledge to nurture and care.
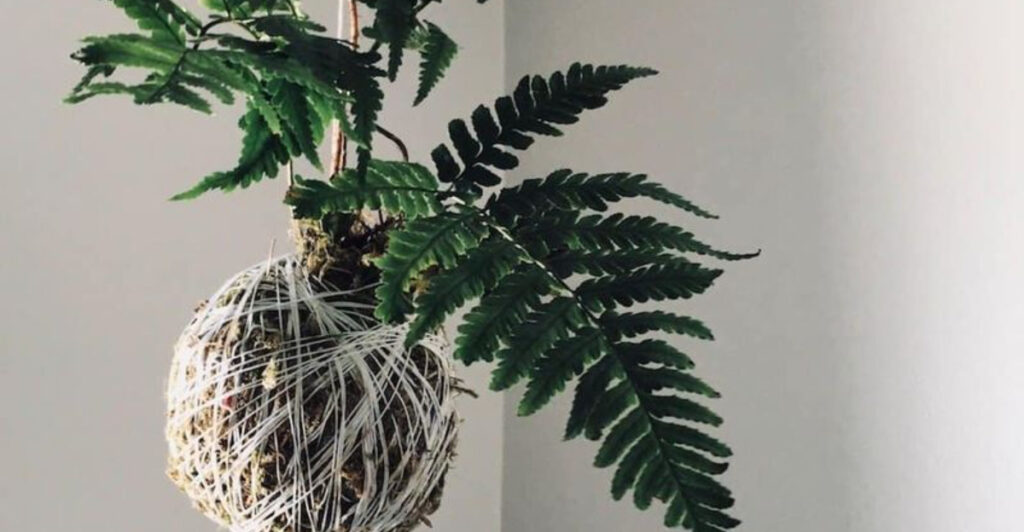
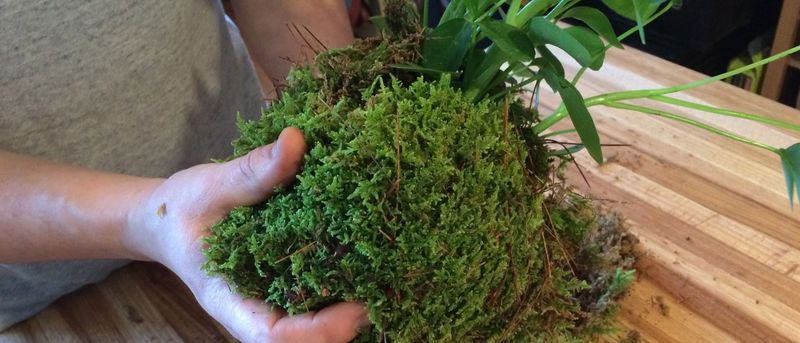
7. Wrap with Moss
Wrapping the soil ball in moss transforms it into a work of art. The moist sheet moss embraces the ball, holding it together with natural beauty.
This step is where the kokedama takes shape, its green covering adding texture and vibrancy. Pressing gently secures the form, allowing the moss to fuse with the soil, creating an eco-friendly container that breathes life.
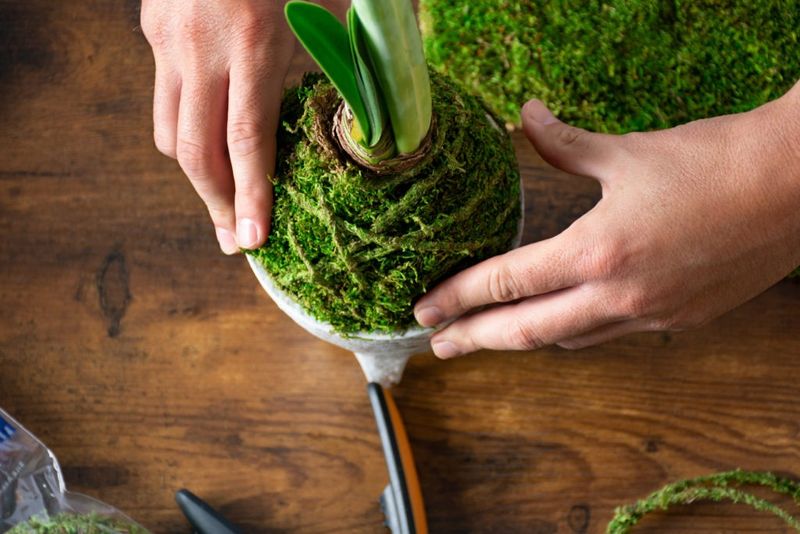
8. Secure with String
Securing your moss ball with string ensures stability and elegance. As you tie the string around, crisscrossing to hold the moss, a pattern emerges that is both functional and decorative.
This step is the finishing touch, where form meets function, and your kokedama is complete. The string binds the components, symbolizing unity and strength.
9. Water Your Kokedama
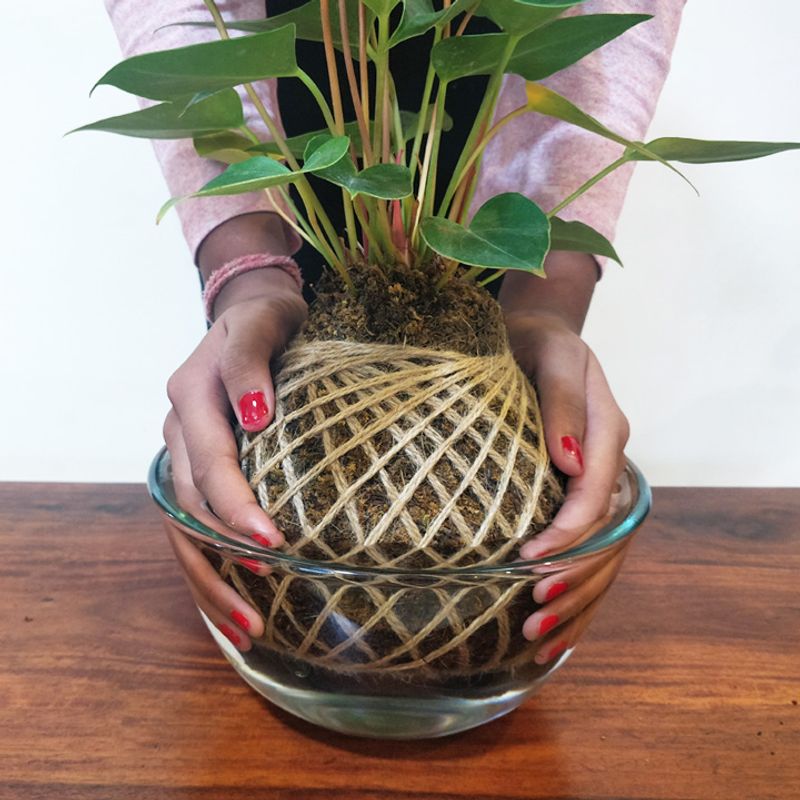
Watering your kokedama is vital for its health, providing nourishment and vitality. Soak the creation in a bowl of water for 10-15 minutes when dry, ensuring it absorbs the moisture it craves.
Allow it to drain thoroughly before re-hanging or displaying. This ritual sustains your kokedama, keeping it lush and lively, a testament to your care and dedication.
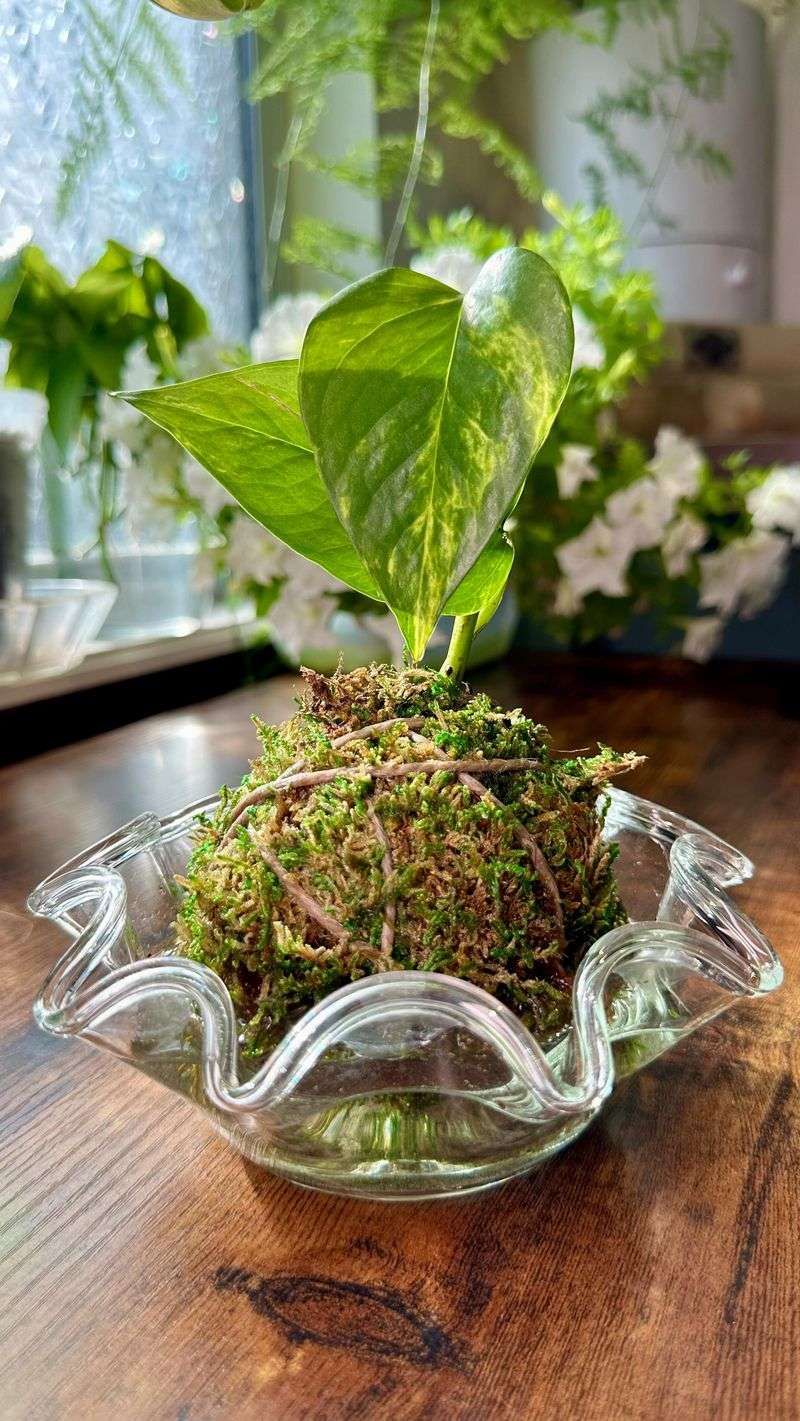
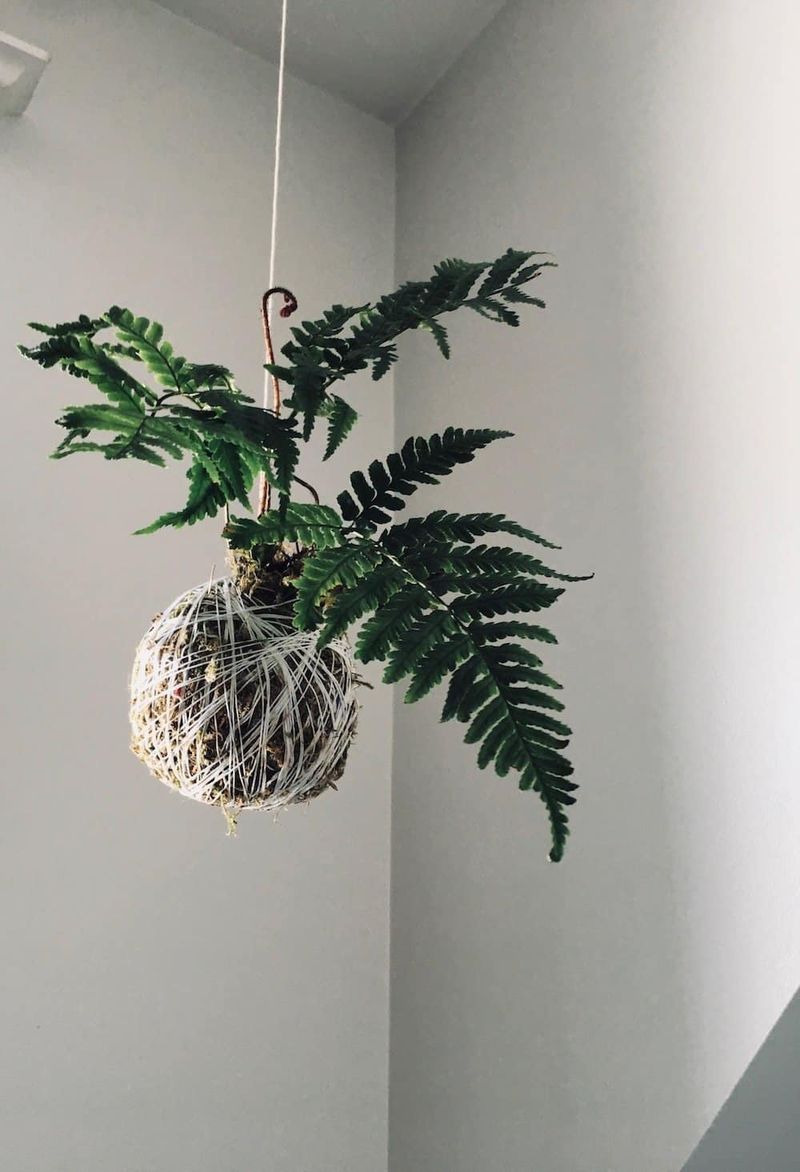
10. Display in Style
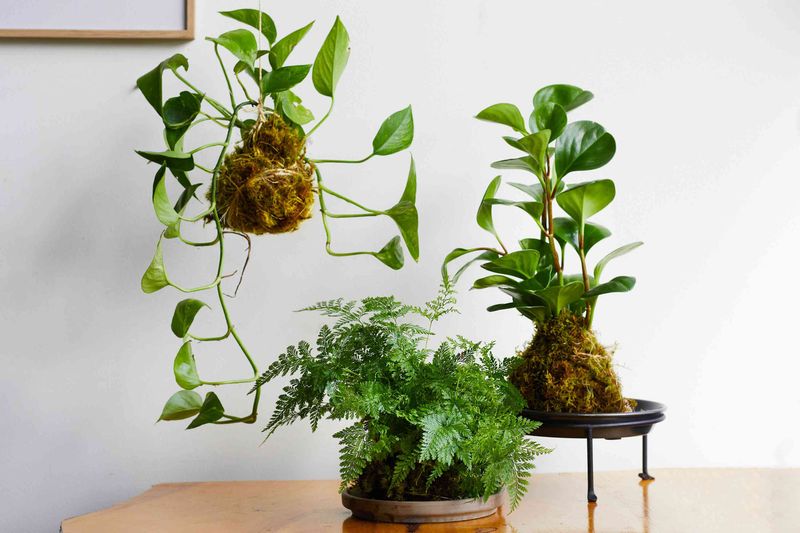
Displaying your kokedama is the final flourish, showcasing your creation in its full glory. Hang it with string for a floating effect, place it on a decorative tray for elegance, or group several together for a bold display.
Each arrangement offers a different aesthetic, transforming your space with nature’s artistry. It’s a celebration of creativity, where your kokedama becomes a living sculpture.