Starting seeds indoors is a rewarding way to kickstart your garden, especially when outdoor conditions aren’t ideal.
Whether you’re an experienced gardener or a beginner, having the right tools can make all the difference.
Let’s explore eight essential items that will help you grow healthy, robust seedlings indoors.
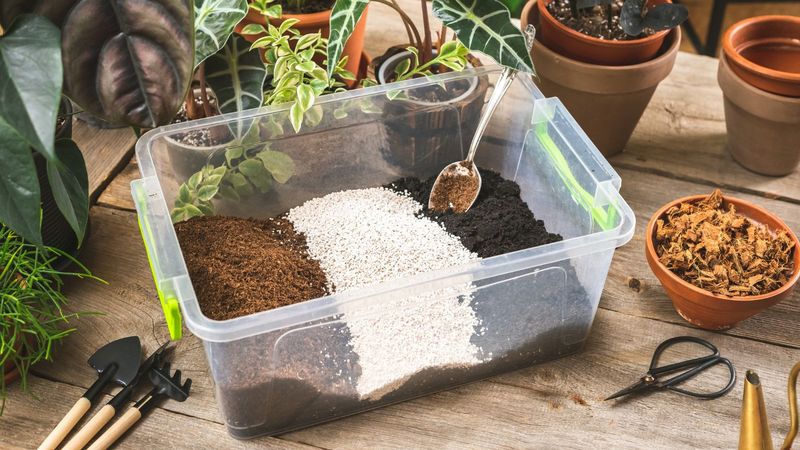
1. Quality Seed-Starting Mix
A quality seed-starting mix is crucial for growing healthy seedlings. Unlike regular potting soil, this mix is lightweight and fast-draining. Its sterile nature helps prevent disease, providing a safe environment for young roots. The mix’s texture ensures that air and water can reach the roots without getting trapped.
This helps in promoting strong growth. Look for a mix that includes peat moss, perlite, and vermiculite, as these ingredients aid in moisture retention and aeration. With the right seed-starting mix, your seedlings will have a strong start, ready to thrive once transplanted.
Maintain a balance by keeping the mix moist but not soggy.
2. Seed Trays or Containers
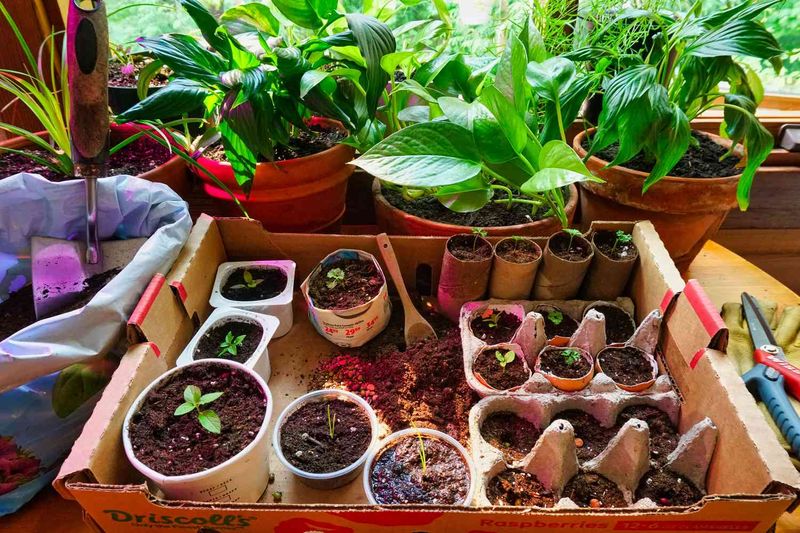
Seed trays or containers are versatile tools for starting seeds indoors. They come in various sizes and materials, providing flexibility for your gardening space. It’s essential to choose trays with drainage holes to prevent waterlogging, which can harm seedlings.
Using uniform-sized trays allows for consistent watering and lighting. Recycled containers like egg cartons or yogurt cups can be creative alternatives, just ensure they are clean and have holes.
Arrange your containers in a sunny spot or under grow lights to ensure they receive enough light. Keep an eye on moisture levels to maintain healthy growth.
3. Grow Lights
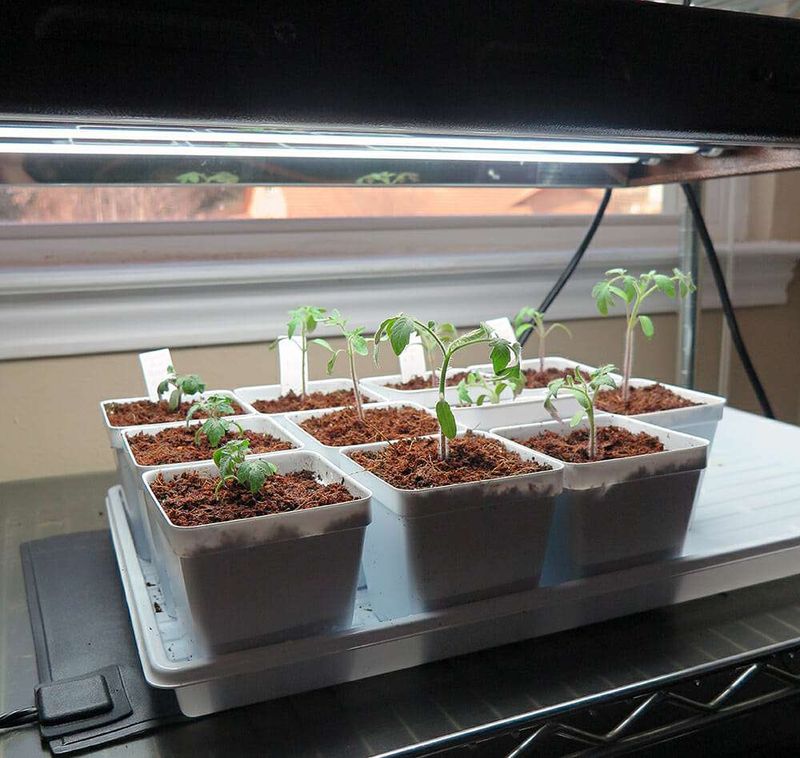
Grow lights are indispensable for indoor seed starting. They provide the full spectrum of light that plants need for photosynthesis, especially when natural light is limited. During winter or in low-light homes, these lights ensure seedlings receive adequate energy.
Position the lights several inches above the seedlings, adjusting as they grow to maintain optimal light exposure. Invest in a timer to automate the lighting schedule, offering your plants 12 to 16 hours of light daily.
This ensures strong, uniform growth, preparing your plants for a successful transition outdoors. Choose LED grow lights for energy efficiency and longevity.
4. Heat Mat
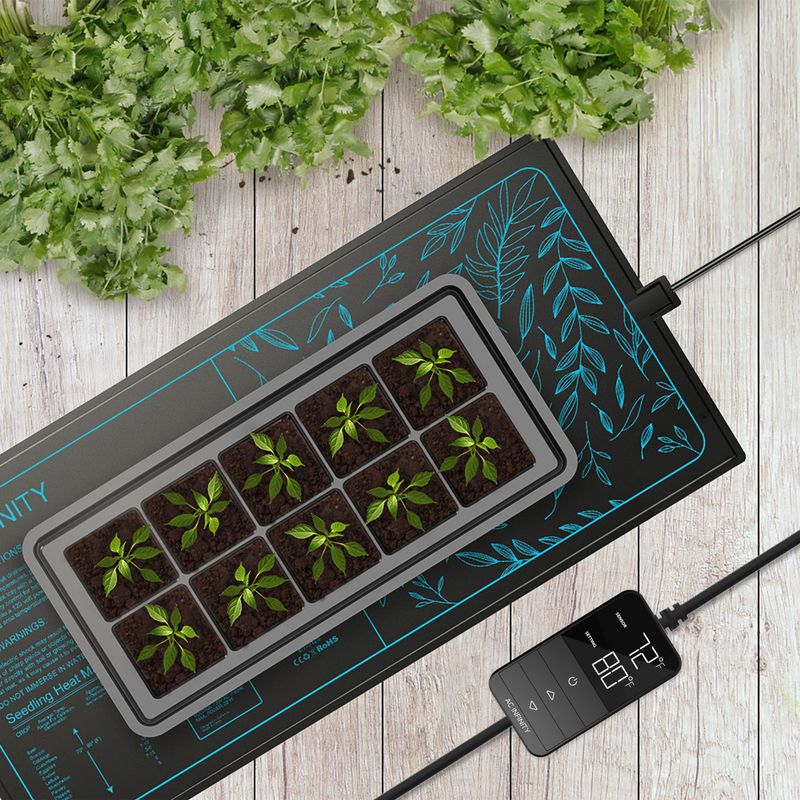
A heat mat is a valuable tool for seed germination, especially for heat-loving plants like tomatoes and peppers. It gently warms the soil, mimicking the ideal conditions found in spring. This warmth speeds up germination and improves seedling vigor.
Place the mat under your seed trays and monitor the temperature with a soil thermometer. Most seeds germinate well between 70-85°F. Keep the mat on during the initial stages of growth to promote healthy root development.
Once seedlings emerge, you can gradually reduce heat to acclimate them to room temperature. It’s an easy way to boost your indoor gardening success.
5. Clear Humidity Dome
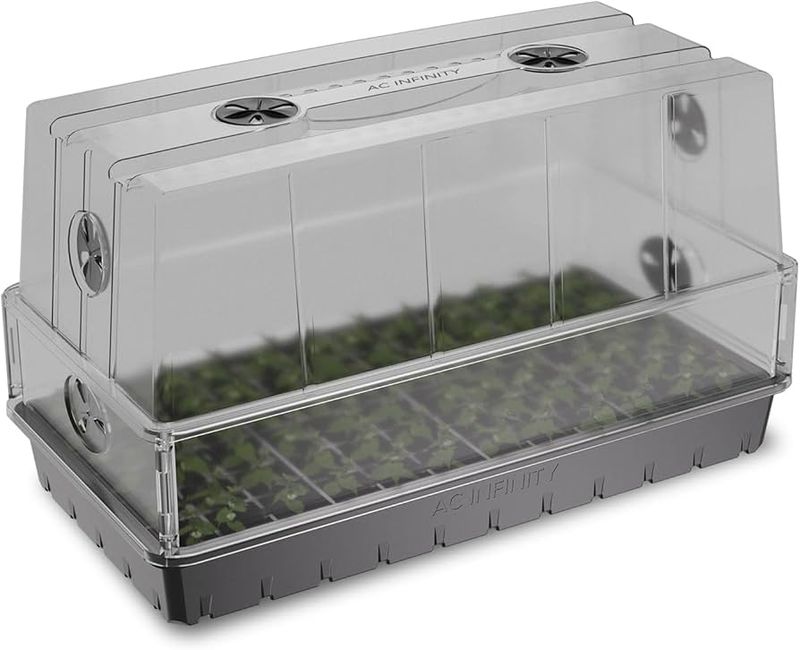
Clear humidity domes are perfect for creating a greenhouse effect, helping seeds sprout faster and more uniformly. They trap moisture and warmth, essential for encouraging germination. Domes reduce evaporation, so you won’t need to water as frequently.
Simply place the dome over your seed tray until seedlings start to touch the top. This indicates they’re ready for more airflow. Remove the dome gradually to adapt the seedlings to lower humidity levels.
The extra warmth and moisture under the dome provide an ideal environment for young plants to thrive. Ensure some ventilation to prevent mold growth.
6. Plant Labels
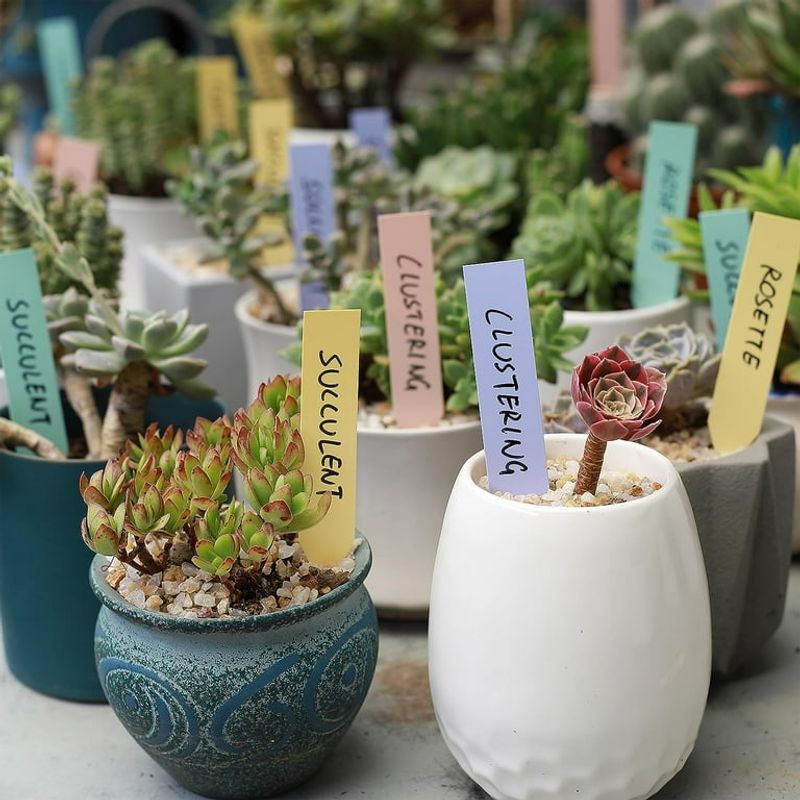
Plant labels are essential for keeping track of your seed varieties. Confusion can easily occur when seedlings look similar, so labeling helps identify each type. Use waterproof labels and a permanent marker for durability, ensuring labels remain legible even when watered.
Consider color-coding or using symbols for quick identification. Place labels at the edge of each container or directly in the soil. This simple step saves time and prevents mix-ups, especially if you’re growing multiple plant types.
Keep a gardening journal to accompany your labels, documenting growth progress and any observations. It’s a handy reference for future gardening projects.
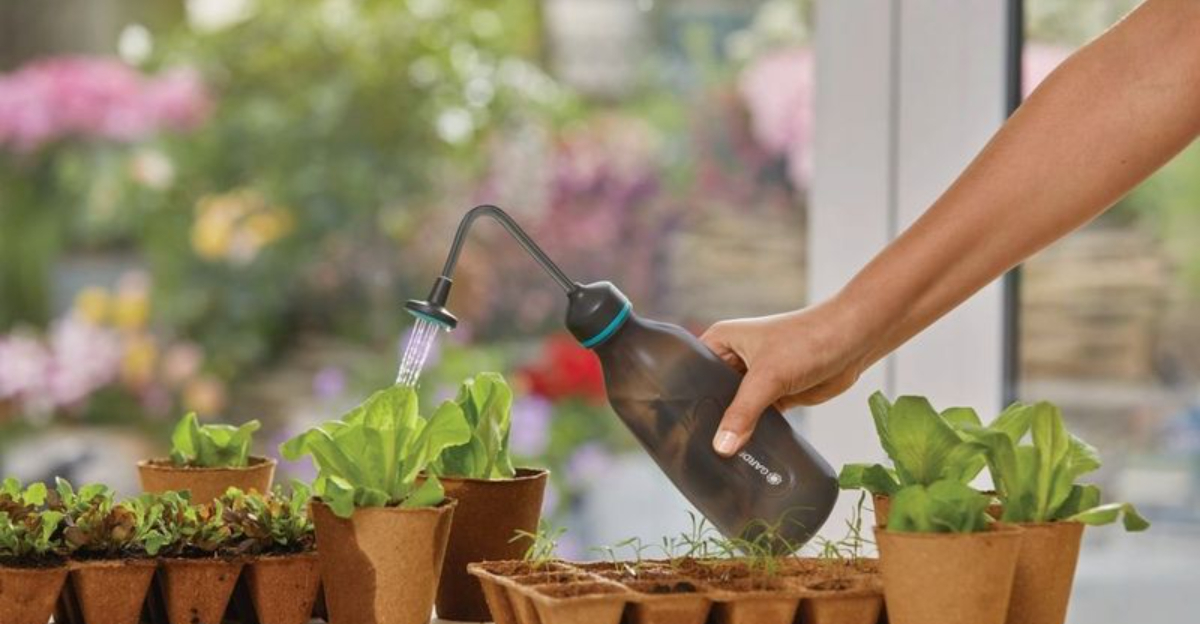
7. Spray Bottle or Gentle Watering Can
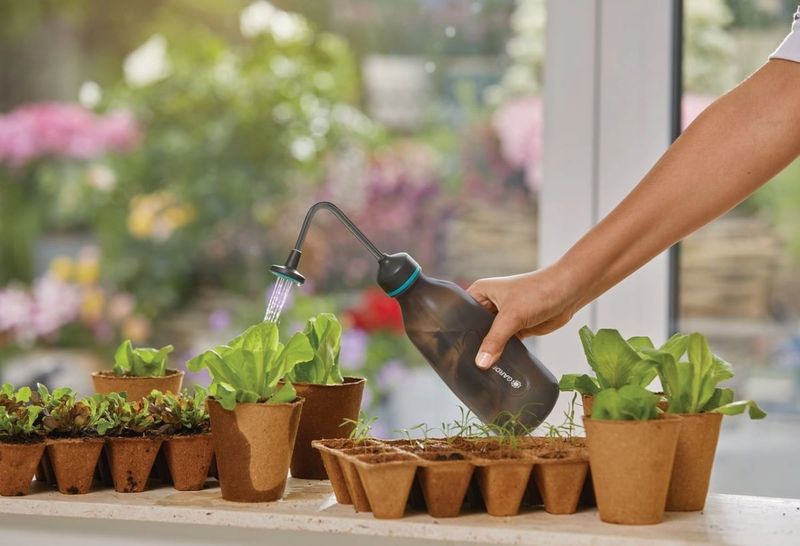
Young seedlings are very delicate, requiring careful watering to avoid damage. A spray bottle or gentle watering can ensures you provide moisture without disturbing the soil or harming shoots. The fine mist or gentle stream offers precise control.
Water seedlings regularly to keep the growing medium consistently moist but not saturated. This encourages strong root development without the risk of waterlogging.
A gentle watering practice helps prevent diseases like damping-off, which can affect seedlings. This approach also supports healthy, steady growth as your seedlings mature. Invest in a quality spray bottle or a watering can with a narrow spout for best results.
8. Timer (Optional but Handy!)
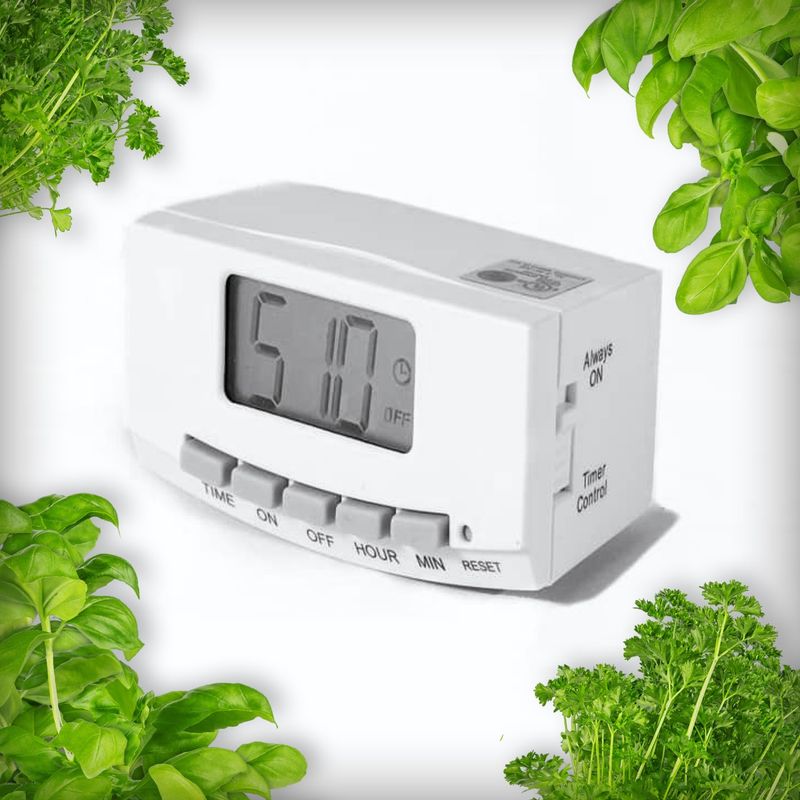
A timer is a helpful addition for managing your indoor garden’s lighting schedule. It automates on-and-off cycles, ensuring seedlings receive consistent light exposure. Set your timer to provide 12–16 hours of light daily, depending on plant needs.
This consistency supports robust growth and healthy development, freeing you from manual adjustments. Look for digital timers with programmable settings for flexibility.
While optional, a timer can be particularly useful for those with busy schedules. It’s an investment in efficiency that pays off with stronger seedlings. Consider syncing the timer with other devices, like humidifiers, for comprehensive care.
