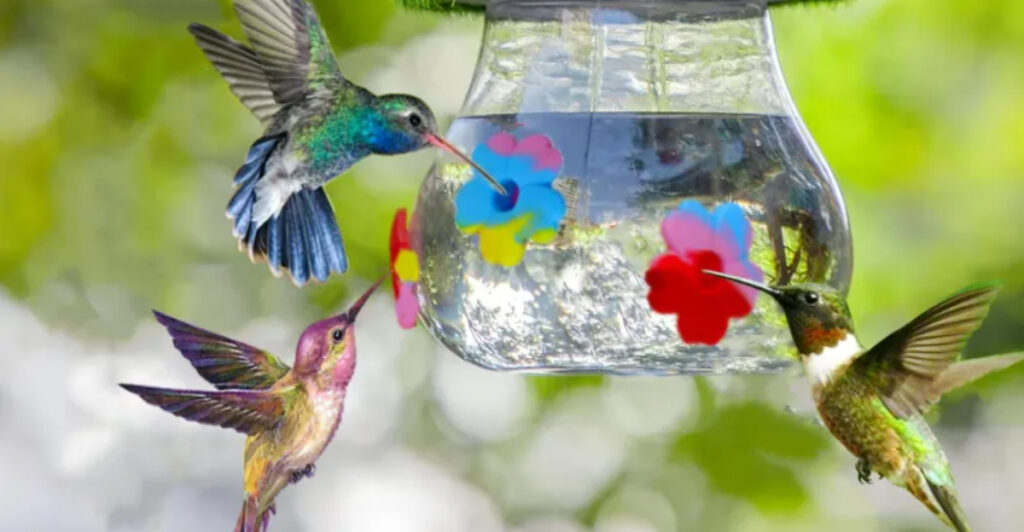
Hummingbird feeders are delightful additions to any garden, offering a glimpse of these remarkable creatures up close. However, the common issue of leaking can lead to wasted nectar and unwanted pests.
Fear not! We have compiled 11 ingenious tricks to keep your hummingbird feeder from dripping. From selecting the right design to making use of silicone seals, these tips will ensure your feathered friends remain well-fed without the mess.
Enjoy a leak-free feeding experience and keep your garden buzzing with activity and beauty.
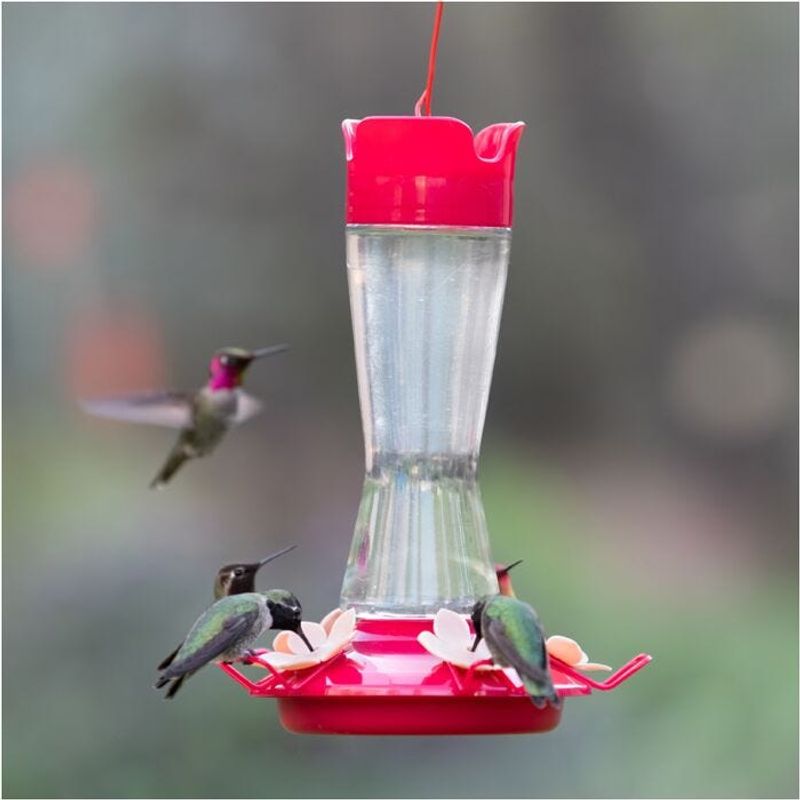
1. Use a Feeder Designed to Be Leak-Proof
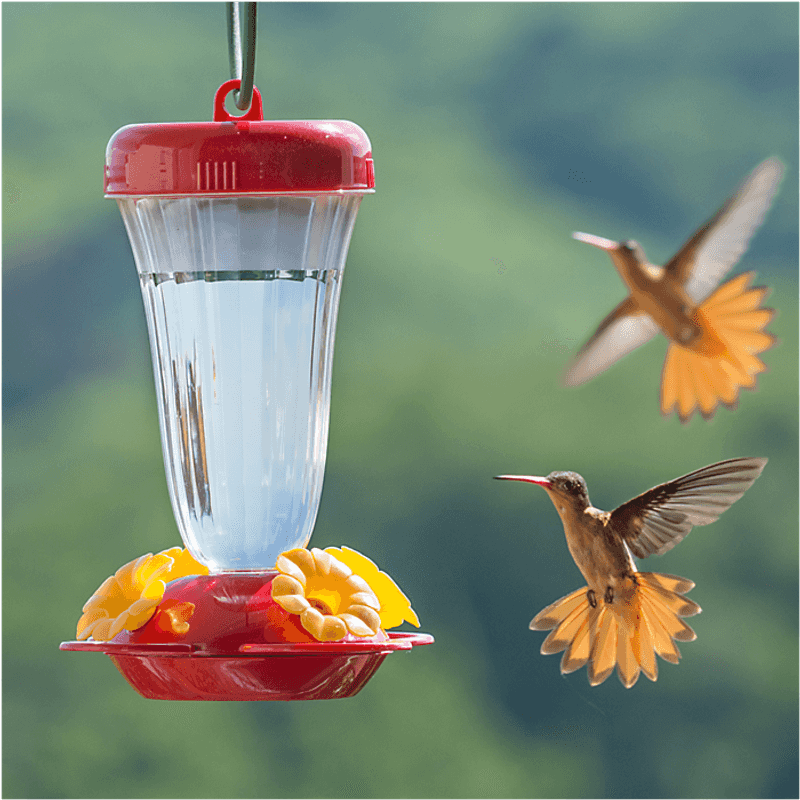
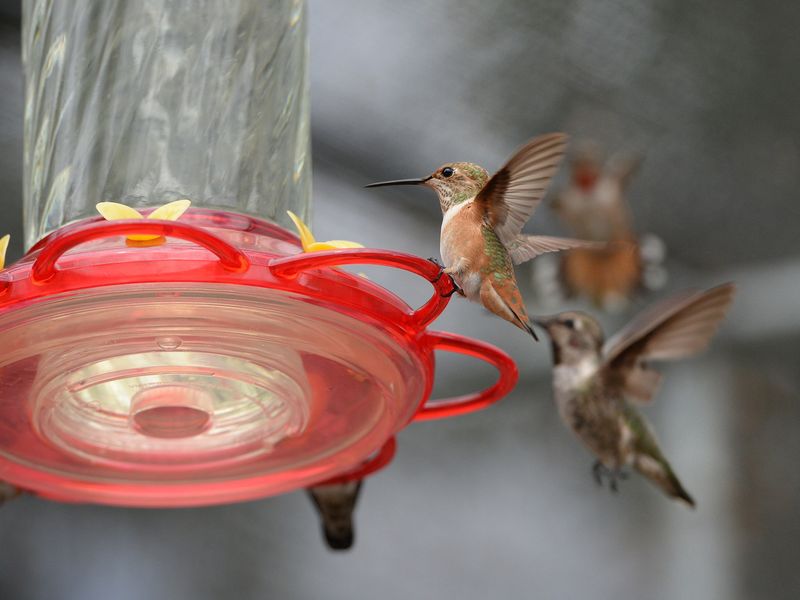
Selecting the right feeder is the first step in preventing leaks. Many cheap feeders have poor seals, leading to drips and spills. Consider investing in a gravity-fed, saucer-style feeder with a top reservoir. These designs are specifically crafted to minimize leaks compared to the traditional inverted bottle-style feeders. With their efficient design, saucer-style feeders reduce pressure on the nectar, preventing unwanted mess. It’s a wise choice for those seeking a tidy and efficient feeding solution. Remember, the right equipment can make all the difference in maintaining a clean feeding area.
2. Tighten All Connections
Ensure all connections of your hummingbird feeder are secure. Leaks frequently occur where parts screw together, so it is essential to make sure everything is snug. Avoid over-tightening, as this could warp the plastic or rubber gaskets, leading to even more problems. Regularly check these connections, as temperature changes can cause them to loosen. This small adjustment can make a significant difference in preventing leaks. Your diligence in maintaining tight connections will keep your feeder working efficiently and your garden mess-free.
3. Avoid Direct Sunlight
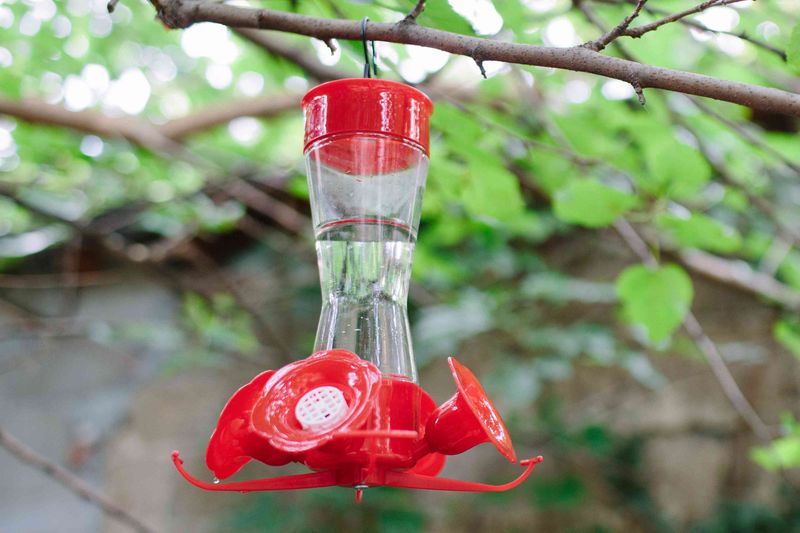
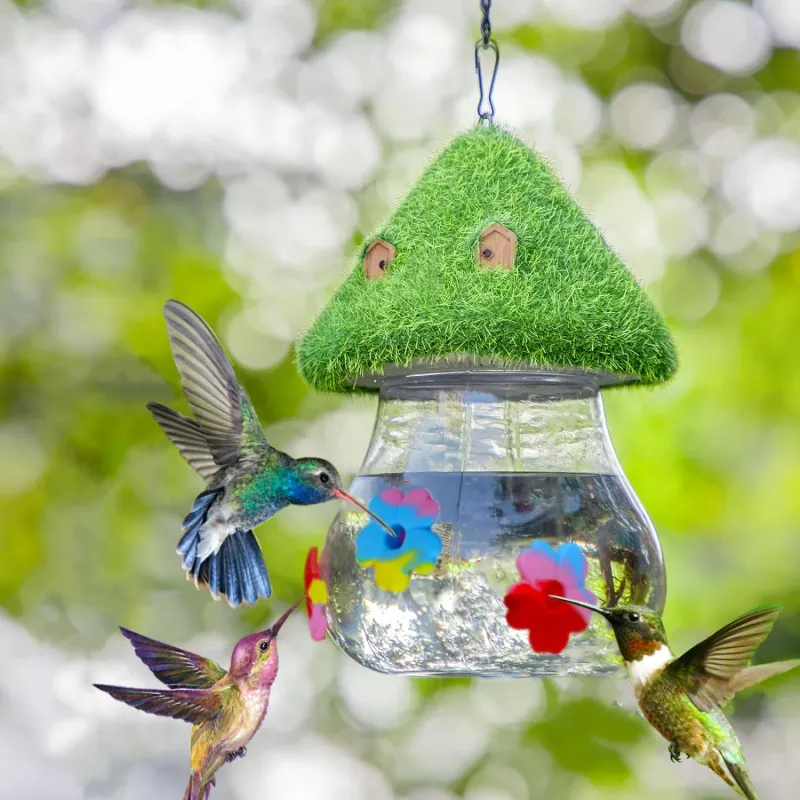
Place your feeder in a shaded or partially shaded location to avoid direct sunlight. Heat causes the liquid and air in the feeder to expand, pushing nectar out and causing leaks. By positioning your feeder away from direct sunlight, you reduce pressure and the risk of overflow. Consider the natural shade offered by trees or garden structures to keep your feeder cool. A well-placed feeder not only minimizes leaks but also provides a comfortable feeding spot for hummingbirds. Strategic placement ensures a pleasant experience for both you and the birds.
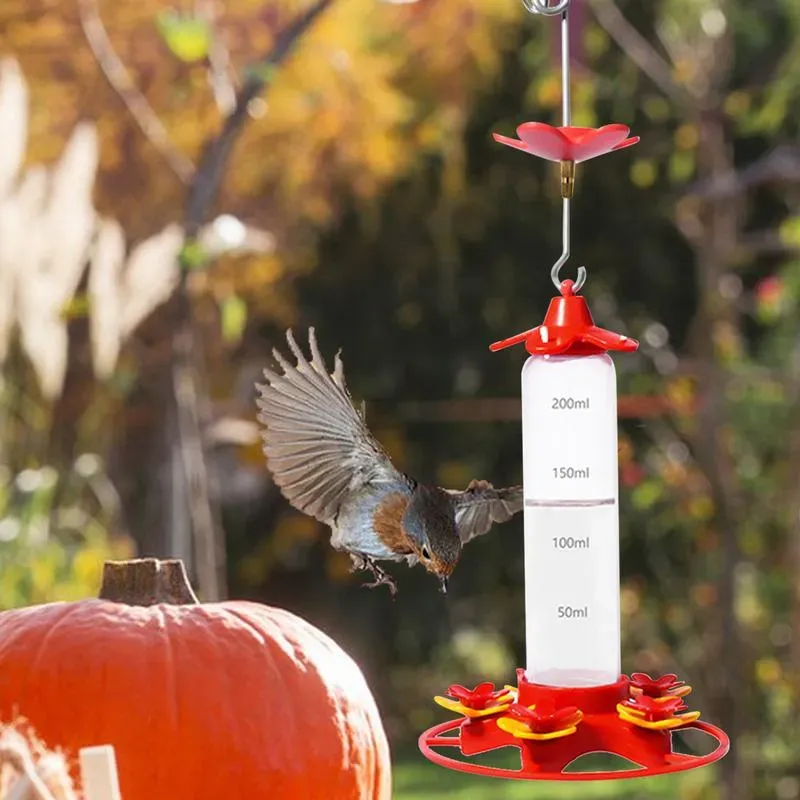
4. Don’t Overfill the Feeder
When filling your hummingbird feeder, leave a little air space at the top. Filling it to the brim increases pressure, leading to leaks. A small air gap allows for expansion without mess. This simple step can greatly reduce the risk of dripping, ensuring that nectar stays where it belongs—inside the feeder. Keeping the feeder slightly underfilled also means less wasted nectar, saving resources and reducing maintenance. By following this approach, you maintain a cleaner feeding area and a healthier environment for visiting hummingbirds.
5. Check for Cracks or Warped Parts
Regular inspection of your feeder is crucial to prevent leaks. Over time, plastic parts can develop tiny cracks or become warped, leading to significant leakage. Carefully examine the reservoir and base for any signs of wear. If you find any damage, it might be time to replace those parts. Keeping your feeder in good condition ensures a steady supply of nectar without unwanted spills. By being proactive, you maintain an inviting environment for hummingbirds. Your attention to detail keeps the focus on feeding rather than cleaning up spills.
6. Hang It Completely Level
A level feeder prevents uneven pressure and dripping. Use a bubble level or a visual guide to ensure your feeder hangs flat and stable. An unbalanced feeder can cause nectar to pool towards one side, leading to leaks. By taking the time to level your feeder, you maintain even pressure distribution, keeping the nectar contained. This simple adjustment contributes to a cleaner feeding environment and prevents unnecessary waste. A well-balanced feeder enhances the overall experience for both you and the birds, offering a seamless feeding solution.
7. Clean Regularly to Prevent Sticky Build-Up
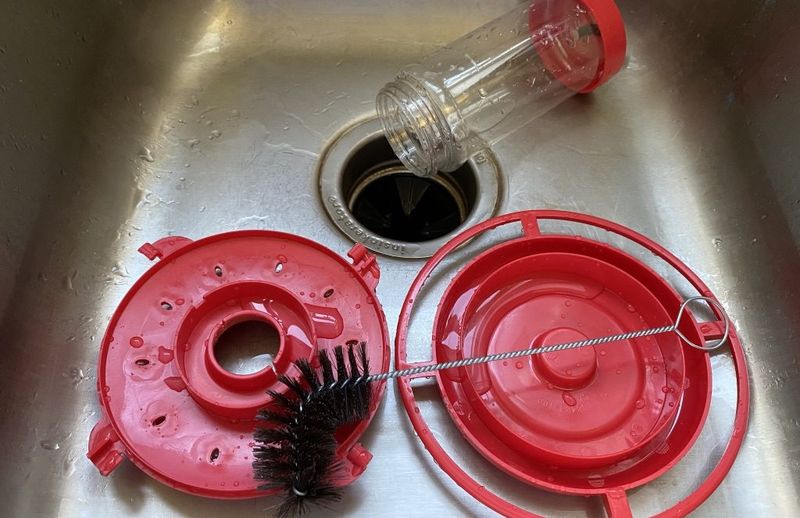
Regular cleaning is essential to prevent sticky build-up, which can clog valves and cause leaks. Clean your feeder at least once a week, especially in hot weather, to ensure the nectar remains fresh and enticing. Use a brush and mild soap to scrub away residue. This routine maintenance keeps your feeder operating efficiently and minimizes the chances of leaks. A clean feeder is more attractive to hummingbirds, ensuring they return frequently. By maintaining this habit, you provide a pleasant and hygienic feeding experience for your avian visitors.
8. Use the Right Nectar Recipe
A well-balanced nectar recipe can reduce leaks. Stick to the 4:1 water to sugar ratio, as it is not only perfect for hummingbirds but also less prone to dripping. A mix that’s too watery increases the risk of leaks, while a properly mixed nectar stays in place. By following this recommended recipe, you ensure the feeder functions effectively and the birds receive the nutrition they need. This attention to detail in preparing nectar supports a healthier feeding environment, attracting more hummingbirds to your garden.
9. Use Silicone Seals or Gaskets if Needed
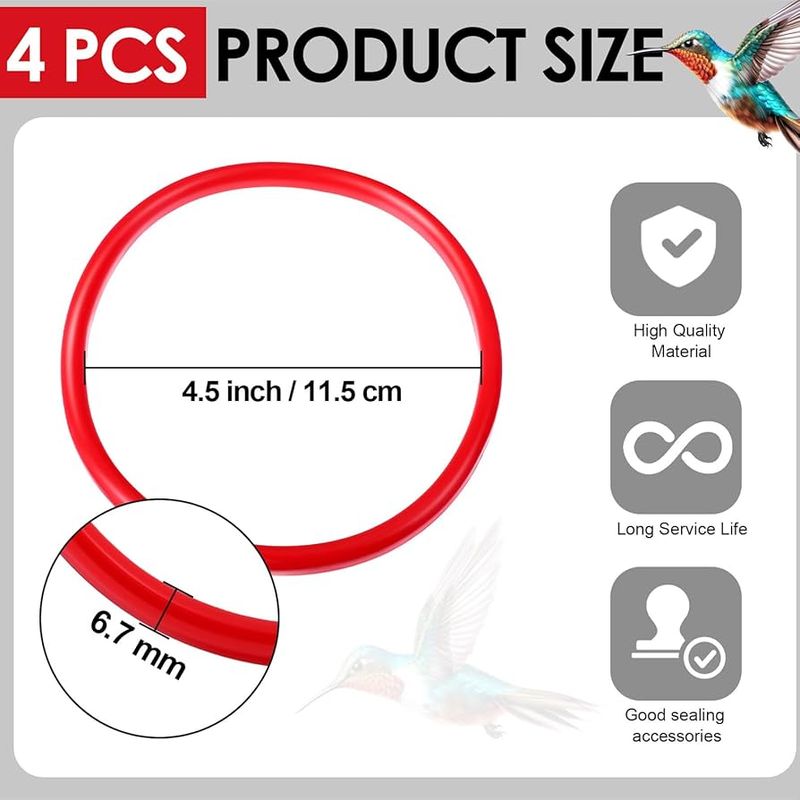
For some feeders, a food-safe silicone gasket or O-ring at connection points can improve the seal and prevent leaks. If your feeder continues to drip despite other measures, consider adding these components. Silicone seals offer an extra layer of protection against leaks, ensuring a snug fit between parts. This small addition can make a significant impact on the overall performance of your feeder. By employing silicone seals, you enhance the reliability and functionality of your feeding setup, providing a consistent and mess-free experience.
10. Watch for Insects—They Might Be Causing Leaks!
Insects such as ants and bees can be culprits in causing leaks. They may damage feeder ports or increase pressure by clogging openings. To combat this, use ant moats and bee guards to keep pests out. These additions ensure the feeder remains functional and drip-free. By managing insect activity, you maintain a welcoming space for hummingbirds, free from competition or interference. Keeping pests at bay allows your feeders to operate smoothly, providing hummingbirds with uninterrupted access to nectar.
11. Store Indoors During Extreme Heat
During extreme heat, feeders are more likely to leak due to the expansion of nectar and air. If temperatures soar above 90°F, consider bringing your feeder indoors or relocating it to a cooler spot temporarily. This precaution helps prevent leaks and preserves the quality of nectar. By adapting to weather conditions, you ensure the feeder remains effective and the nectar stays fresh. This simple adjustment keeps your garden clean and continues to attract hummingbirds, offering them a reliable source of nourishment.