
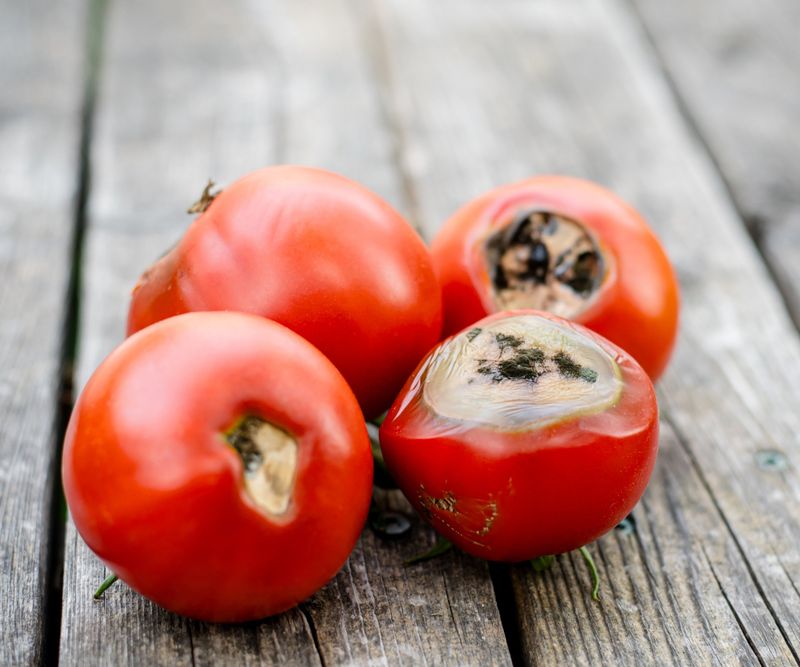
There’s nothing quite as heartbreaking as walking out to your garden and finding your tomatoes turning mushy, brown, or black before you ever get to taste them. Most of the time, rotting fruit isn’t bad luck or a random disease that came out of nowhere. It usually traces back to a handful of small habits that quietly sabotage your plants all season long. Fix these common slip-ups, and you’ll finally give your tomatoes the chance to ripen sweet and whole on the vine.
1. Watering Inconsistently
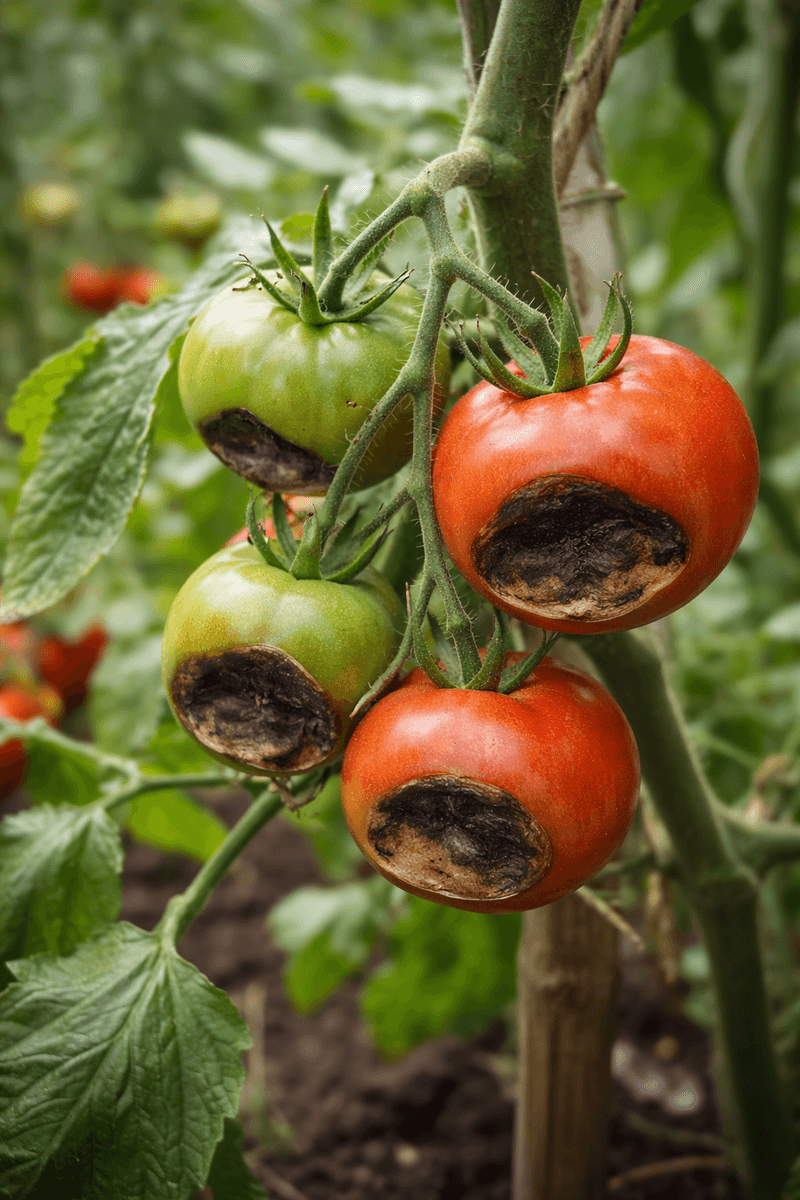
Picture your tomato plant like a sponge that panics every time it goes thirsty. When you water heavily one day, skip three, then soak it again, the fruit swells and shrinks unevenly. That stress often shows up as blossom end rot, the sunken black patch that ruins the bottom of the fruit.
The problem isn’t always too little water. It’s the roller-coaster of feast and drought that keeps the plant from moving calcium steadily into developing tomatoes.
Try to give your plants a deep, slow drink two or three times a week rather than a quick splash every day. Aim for the soil to stay evenly moist a few inches down, never bone-dry and never swampy.
A layer of mulch can help lock in that steadiness so the roots aren’t reacting to every hot afternoon. A simple moisture meter or your own finger pushed into the soil often tells you more than a watering schedule ever will.
Once you smooth out the ups and downs, you’ll likely notice fewer rotting bottoms and far more fruit that ripens clean.
2. Overhead Watering the Leaves and Fruit
Grabbing the hose and spraying the whole plant from above feels efficient, but it may be quietly setting up your tomatoes to rot. Water that sits on leaves and clings to fruit overnight creates the damp, cozy conditions fungal diseases love.
Early blight, late blight, and gray mold all spread faster when foliage stays wet for hours. Splashing water can also kick soil-borne spores up onto lower leaves and fruit.
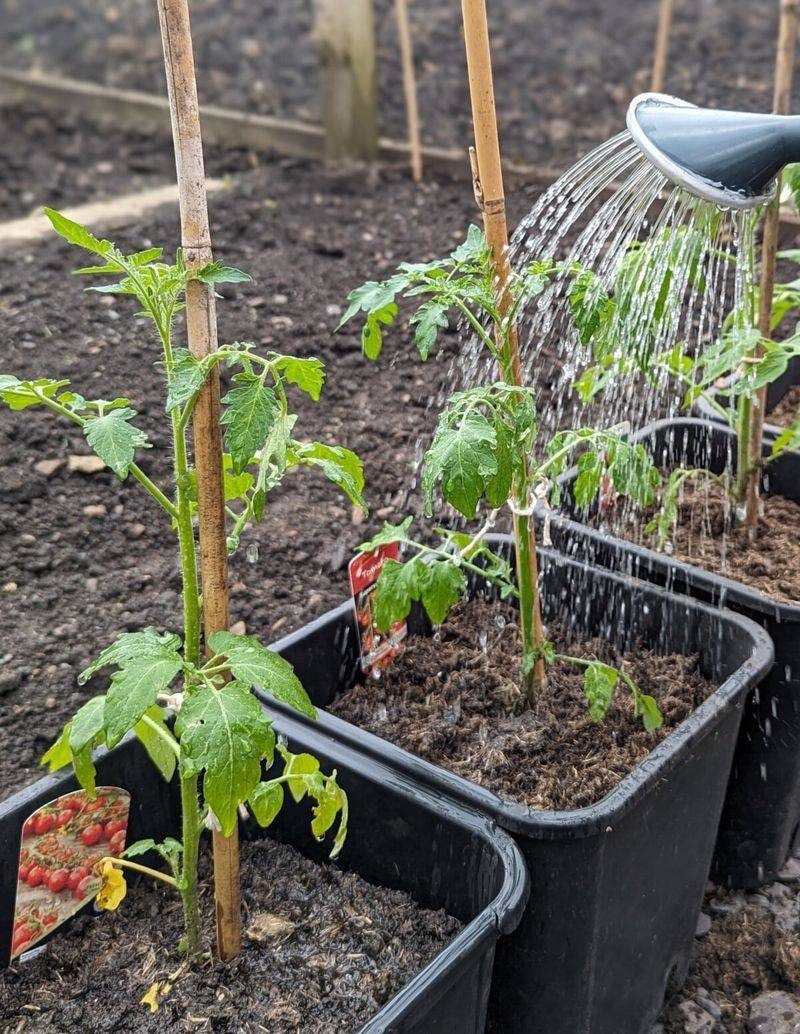
Direct your water to the soil instead of the canopy. A soaker hose or drip line laid along the base delivers moisture right where the roots need it while keeping the leaves dry.
If you must use a watering can, tip the spout low and pour at ground level. Morning watering gives any accidental splashes time to dry before evening.
Good spacing and a bit of pruning also help air move through the plant, which can reduce how long moisture lingers.
Switching to bottom-up watering is one of the easiest changes you can make, and it often cuts down on the mysterious spots and soft rot that show up mid-season.
3. Skipping Calcium in the Soil
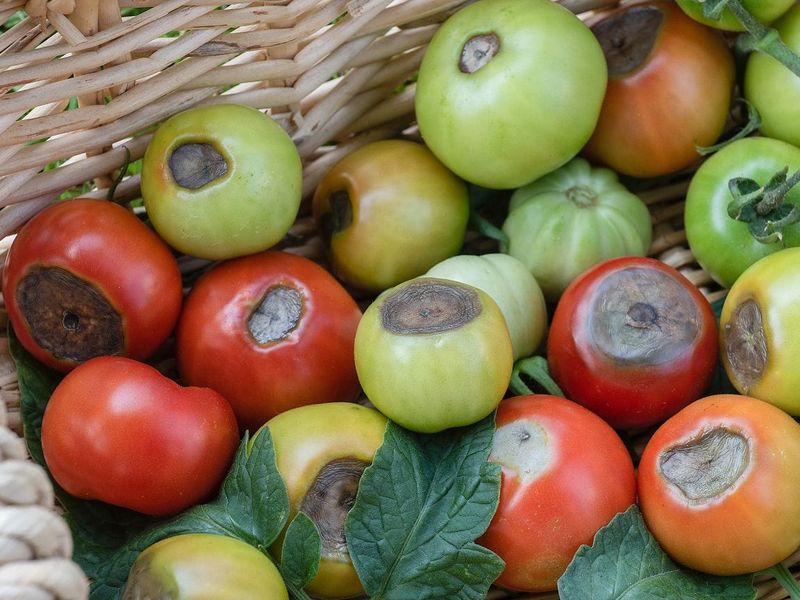
That ugly brown, leathery patch on the bottom of your tomatoes has a name, and calcium is usually at the heart of it. Blossom end rot happens when the fruit can’t get enough calcium as it grows, even if the soil technically contains some.
Sometimes the mineral is present but the plant simply can’t move it, often because of erratic watering or roots that are struggling. Other times the soil is genuinely short on it.
A soil test takes the guesswork out and tells you what your bed is actually missing. If calcium runs low, adding garden lime, gypsum, or crushed eggshells worked in before planting can help build up reserves.
Keep in mind that no single amendment fixes rot overnight, and steady watering has to work alongside it.
Avoid dumping on excess nitrogen fertilizer, which pushes leafy growth that competes with fruit for calcium. A balanced feeding schedule tends to serve tomatoes better.
Handle the calcium and the watering together, and you’ll usually see healthier fruit bottoms within a few new sets of tomatoes.
4. Crowding Your Plants Too Close
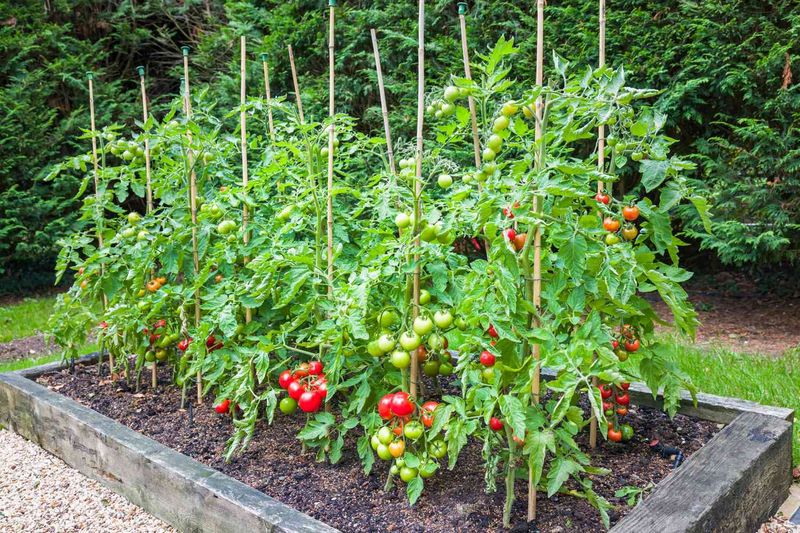
Tomatoes are surprisingly social plants that still need their personal space. Cram them shoulder to shoulder and you create a shady, humid jungle where air barely moves and moisture never fully dries.
Those stagnant conditions are a dream setup for fungal rot and mildew, which spread from leaf to leaf and fruit to fruit with ease.
Give each plant room to breathe, generally two to three feet apart for most varieties. Sprawling heirlooms may want even more elbow room than compact determinate types.
Proper spacing lets sunlight reach the lower fruit and helps breezes carry away dampness after rain or dew. It also makes it far easier to spot problems early and pick ripe fruit without bruising the neighbors.
If your plants are already packed in, selective pruning of crowded interior stems can open things up and improve airflow.
Staking or caging keeps foliage and fruit off the wet ground too, which further lowers the risk of soil-borne rot. A little breathing room now can save you a lot of mushy tomatoes later in the season.
5. Letting Fruit Touch Bare Soil
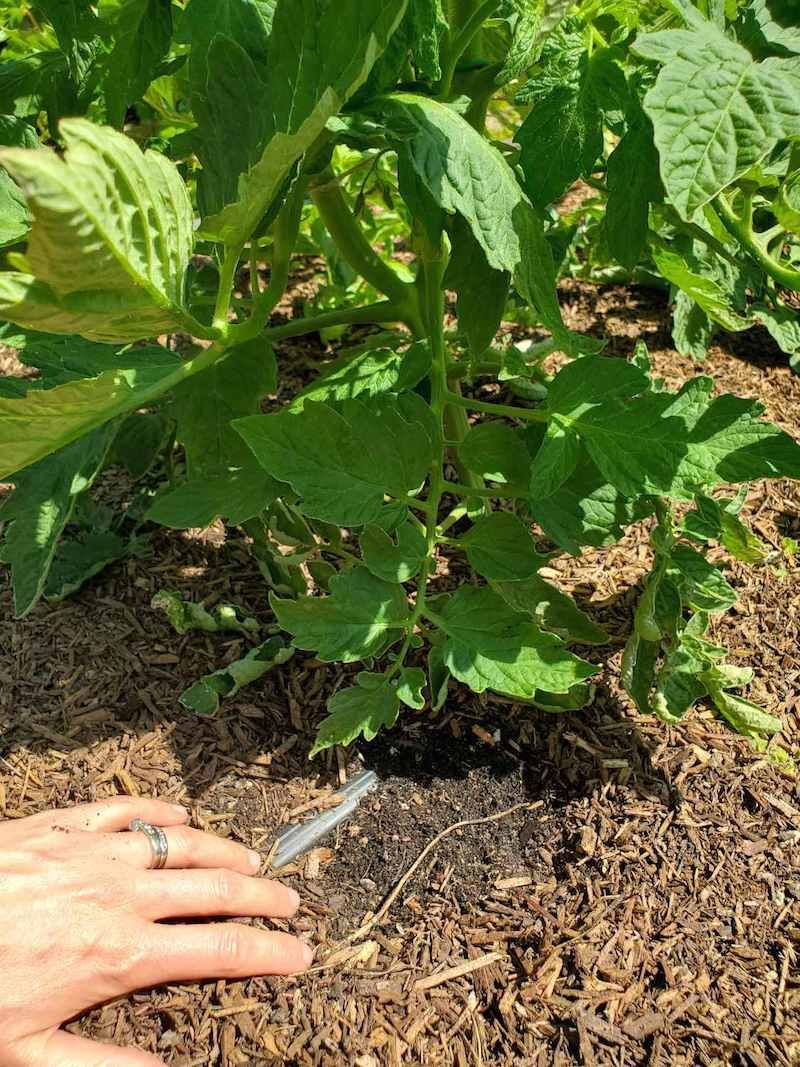
A tomato resting directly on the dirt is basically an open invitation for trouble. Soil holds moisture, fungi, and bacteria, and any fruit lying against it can quickly develop soft, rotting spots on the underside.
Slugs, pill bugs, and other ground crawlers also find low-hanging fruit far too easy to reach and nibble.
Keeping fruit up and off the ground is a simple fix that pays off all season. Sturdy cages, stakes, or trellises hold the plant upright so clusters dangle freely in the air.
Adding a clean layer of straw or wood-chip mulch beneath the plants creates a barrier between fruit and the damp earth if a branch does droop low.
Prune away the lowest leaves and stems that flop toward the ground, since they collect splashing soil and stay wet longest.
Check your supports as the plants grow heavier, because a loaded branch can sag onto the soil overnight.
Once your tomatoes hang in open air, they dry faster, ripen more evenly, and stay out of reach of the crawling crowd below.
6. Ignoring Early Signs of Blight
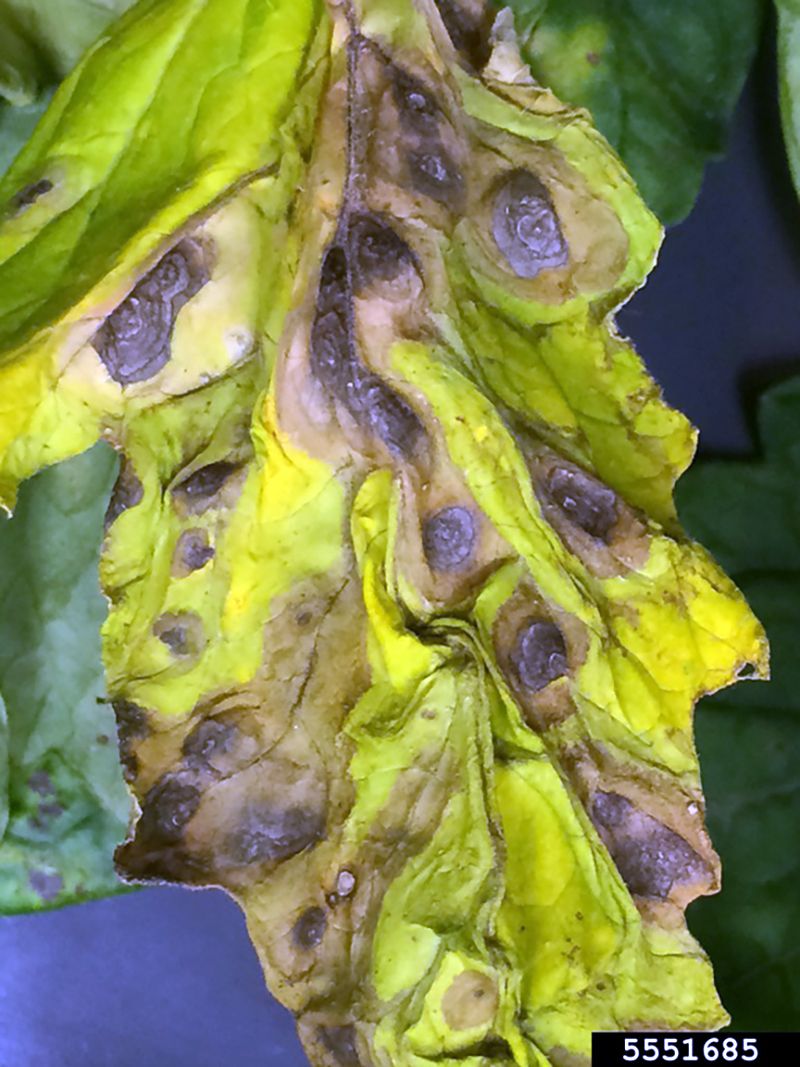
Blight rarely announces itself loudly. It starts as a few dark spots or yellowing patches on the lower leaves, and by the time the fruit is rotting, the disease has usually had a head start of a week or more.
Both early and late blight can march up the plant fast, turning stems and tomatoes brown and mushy along the way.
Walk your plants every few days and actually look under the leaves. Catching those first speckled or bull’s-eye-patterned spots early gives you a real chance to slow the spread.
Remove and bag any infected leaves right away rather than tossing them in the compost, where spores can linger.
Improving airflow, watering at the base, and mulching can all reduce how easily blight takes hold in the first place. Copper or biofungicide sprays may help protect healthy foliage, though they work best before disease is widespread.
Rotating where you plant tomatoes each year also keeps soil-borne spores from building up.
Stay watchful, act at the first spot, and you can often keep a small problem from swallowing the whole crop.
7. Over-Fertilizing With Nitrogen
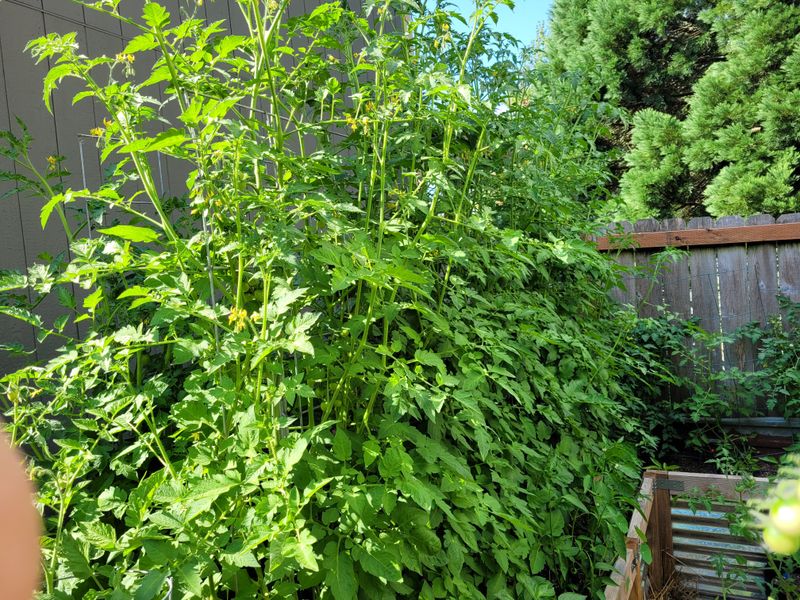
It’s tempting to think more fertilizer means more tomatoes, but pouring on nitrogen can backfire spectacularly. Heavy nitrogen pushes the plant to grow lush, leafy, jungle-thick foliage while producing fewer flowers and weaker fruit.
All that dense growth traps humidity and shades the fruit, creating exactly the damp conditions where rot thrives.
Even worse, a nitrogen surge can pull the plant’s energy and calcium toward new leaves and away from developing tomatoes, feeding straight into blossom end rot.
Reach for a balanced fertilizer, or one slightly higher in phosphorus and potassium, once the plant starts setting fruit. Those nutrients support blooms and firm, healthy tomatoes rather than endless greenery.
Follow the package rates instead of eyeballing a generous scoop, since too much of any feed can stress the roots.
A soil test early in the season helps you feed only what your bed actually needs.
If your plants look enormous but stubbornly refuse to fruit, ease off the nitrogen and give them time to shift gears. Balanced feeding usually rewards you with sturdier plants and cleaner, better-ripening fruit.
8. Planting the Wrong Variety for Your Climate
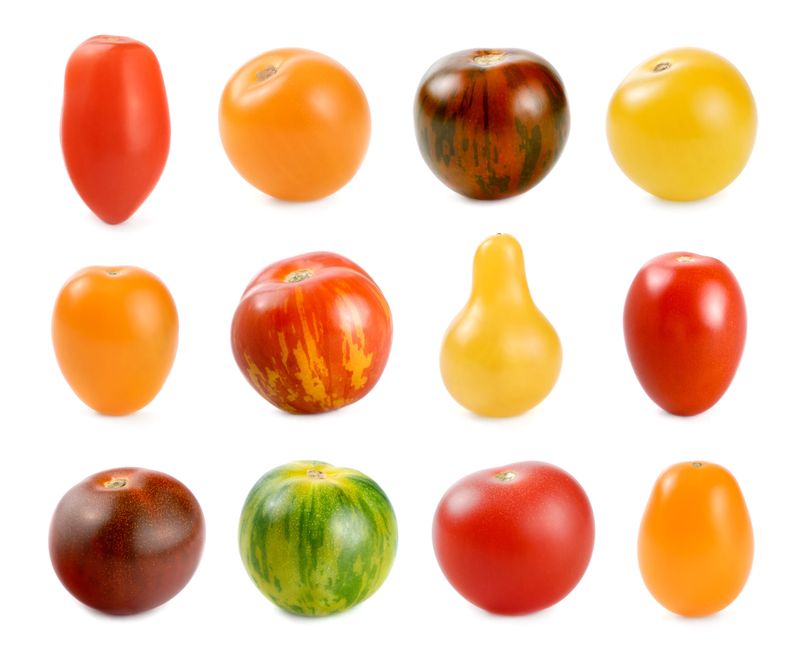
Not every tomato is built for every backyard, and picking the wrong one sets you up for disappointment before you even plant. A variety that needs a long, hot season will struggle to ripen in a short-summer northern zone, leaving fruit hanging green until it rots or frost ends the game.
Likewise, a type prone to cracking or disease can fall apart in humid, stormy regions.
Match the variety to your climate and growing season. Gardeners with shorter seasons benefit from early-maturing or determinate types that set and ripen fruit quickly.
Warmer, longer-season areas can enjoy the sprawling indeterminate heirlooms that need more time.
Look for disease-resistant varieties labeled with codes like VFN if blight or wilt has plagued your garden before. These may not be immune, but they often hold up far better.
Check your USDA hardiness zone and typical first-frost date, then read seed packets for days to maturity.
Choosing a tomato suited to where you actually live means fruit that has the time and toughness to ripen fully instead of rotting on a vine that ran out of season.