
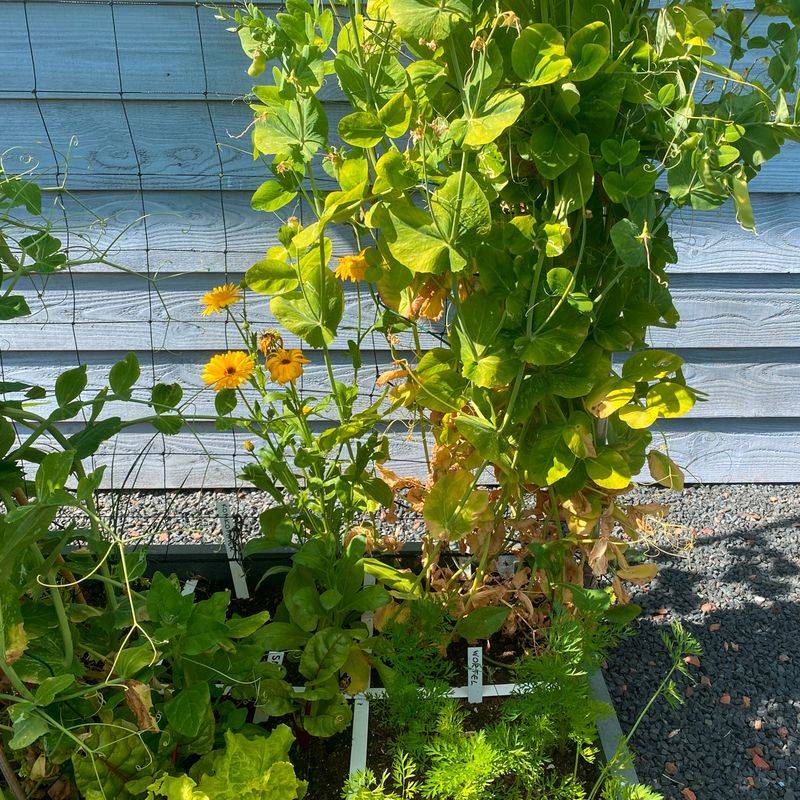
Yellow leaves on a pea plant can make any gardener nervous. Many people reach for the watering can or put it away, but leaf color alone rarely tells the whole story.
In Texas and Florida, the type of pea you grow, your soil, and your local season all matter. A few simple checks can help you figure out whether wet soil might be involved.
Yellow lower leaves are a warning, not a diagnosis
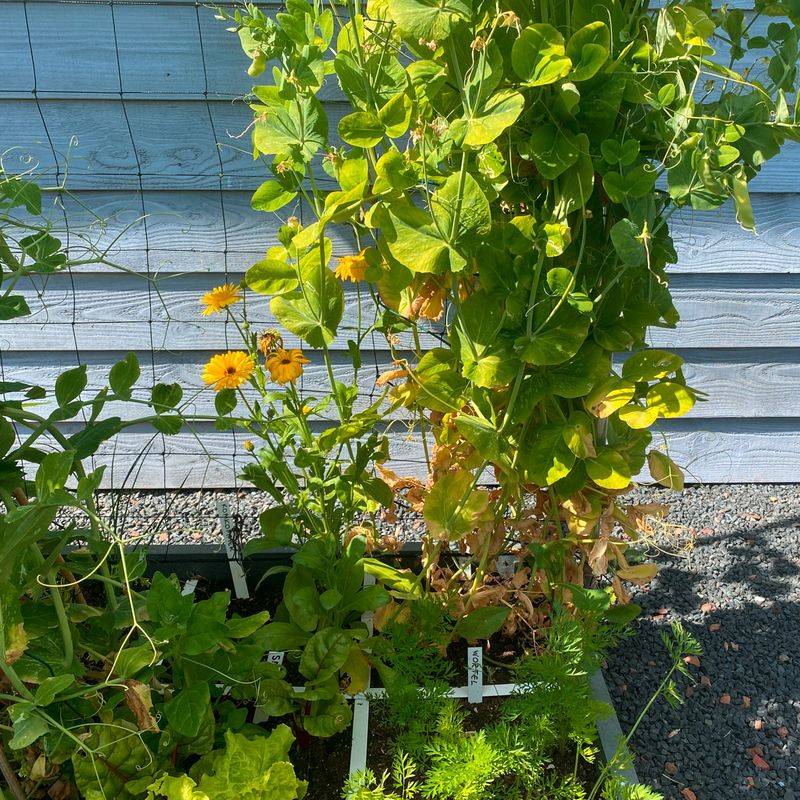
Older leaves at the bottom of a pea plant turning yellow can be unsettling. According to Montana State University Extension, pea root-rot problems can cause stunting and gradual yellowing that starts on the lower leaves and moves upward.
That pattern is a clue, but it does not prove that overwatering is the cause. Other things can produce similar symptoms, and a plant that grows slowly may be dealing with several stresses at once.
Wet, poorly drained soil is one possible contributor. Utah State University Extension notes that soggy soil can promote root rot and slow growth in garden peas.
So think of yellow leaves as a reason to investigate, not a verdict. The rest of this guide walks you through checking the pea type, the roots, and the moisture below the surface before you change anything.
No single step guarantees a cure, but together they give you a much clearer picture.
Identify the pea before using a planting calendar
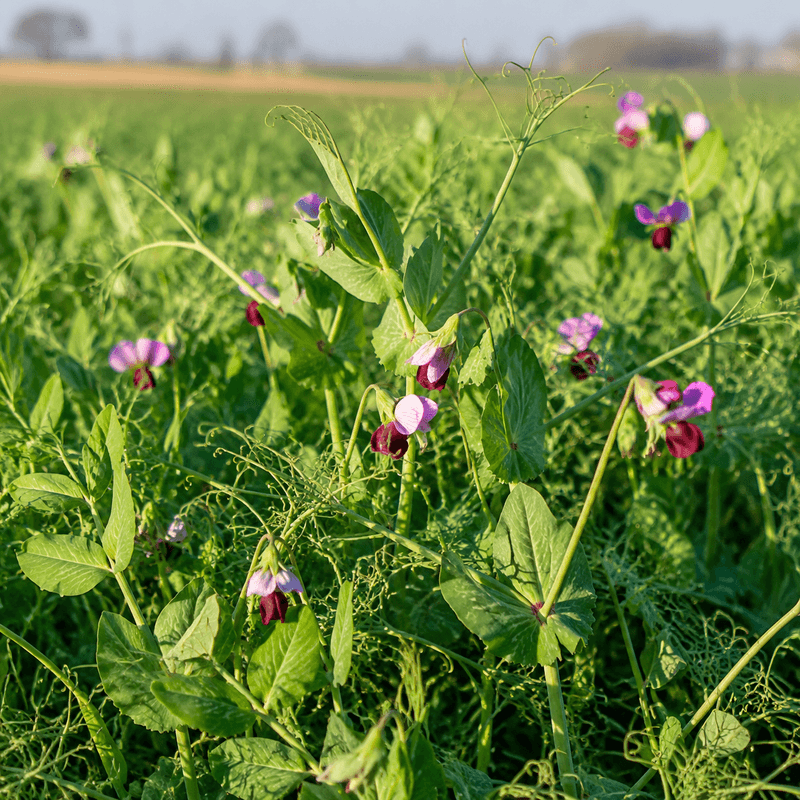
Two very different crops go by the name pea. English or garden peas are cool-season plants, while Southern peas, also called cowpeas, love heat.
Mixing them up is an easy way to end up with the wrong schedule.
In Florida, UF/IFAS lists English-pea planting from September through February in Central and South Florida, but January through March in North Florida.
Texas varies too. Texas A&M AgriLife Extension describes Southern peas as heat lovers and says a second crop can go in as late as July.
The Texas vegetable planting calendar gives separate windows for garden peas and Southern peas, and dates differ by region.
Before comparing your plants to any advice, confirm which pea you have and where you garden. One fall schedule cannot fit every pea in both states.
Inspect roots for signs consistent with root rot
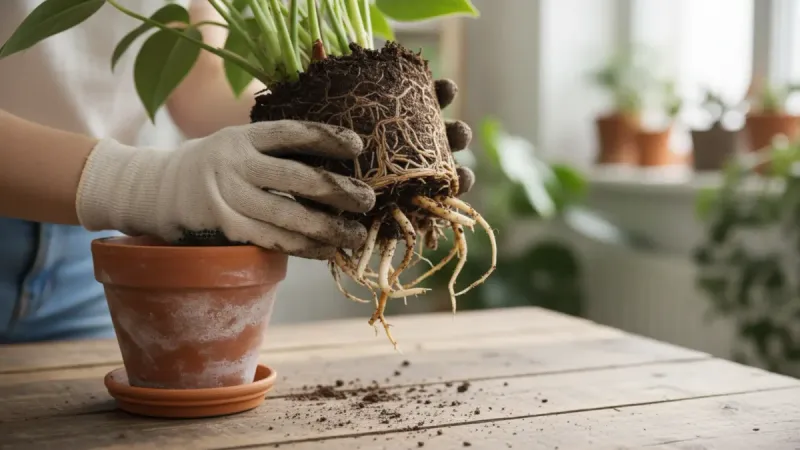
Persistently wet, poorly drained soil can favor some pea root rots. As Montana State University Extension explains for field peas, Aphanomyces root rot can stunt plants and cause yellowing from the bottom upward.
Affected roots may look discolored and have fewer fine side roots.
To check, pick one declining plant as a sample. Loosen the soil around it, lift it carefully, and rinse off the dirt if you can.
Healthy roots usually look firm and light in color with plenty of fine branching. Brown, soft, or decayed roots and sparse fine roots are signs consistent with a root-rot problem.
Keep in mind what this check can and cannot tell you. It can raise or lower your concern about root trouble, but it cannot name a specific disease or prove that watering caused it.
If you want a firm answer, your local county Extension office can help.
A lack of climbing does not identify the problem
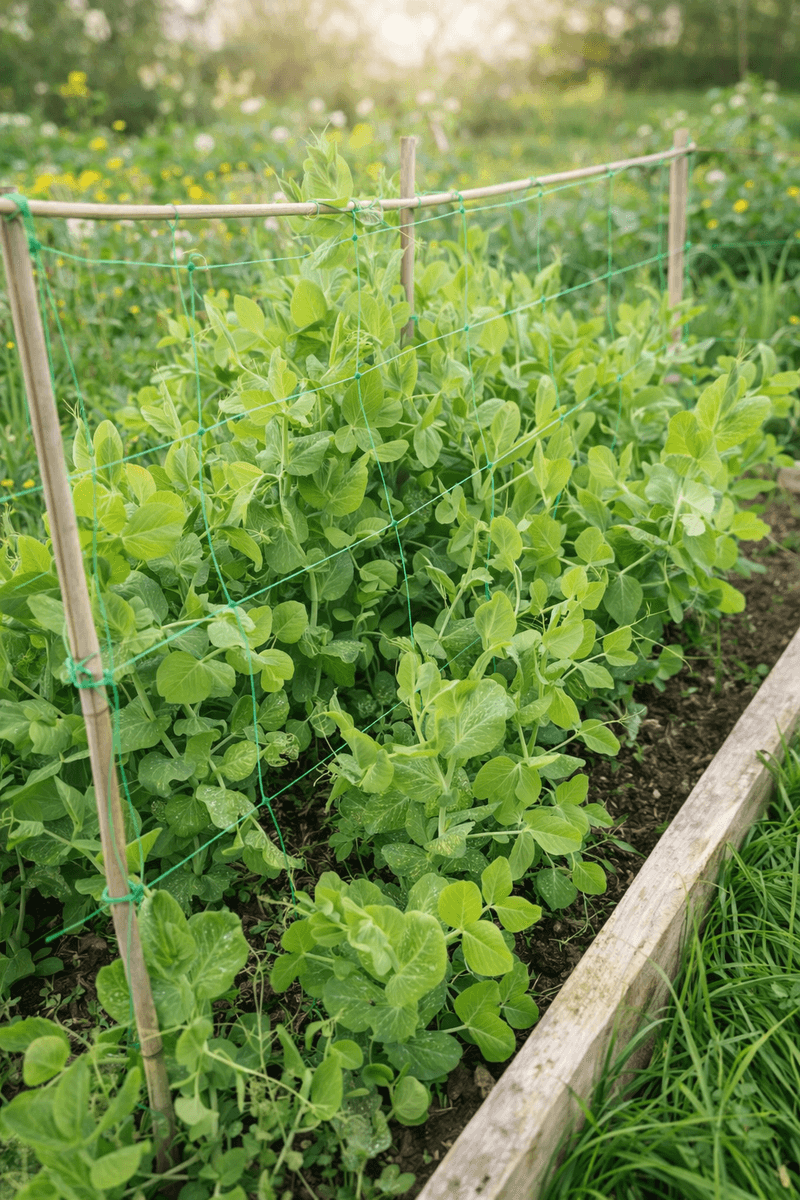
Some gardeners expect every pea to scramble up a trellis, then worry when one stays short. Growth habit varies a lot, so a plant that stays put is not necessarily in trouble.
Utah State University Extension notes that many garden-pea varieties are self-supporting, while taller types benefit from support.
Southern peas follow the same rule. Texas A&M says most varieties do not need trellising.
University of Maryland Extension also describes differences in pea height and support needs.
Check your seed packet or plant tag for the expected height and habit. If your variety is meant to stay bushy, a lack of climbing is simply normal.
Save your worry for other clues, like yellowing, stunting, or poor roots.
Check moisture below the soil surface
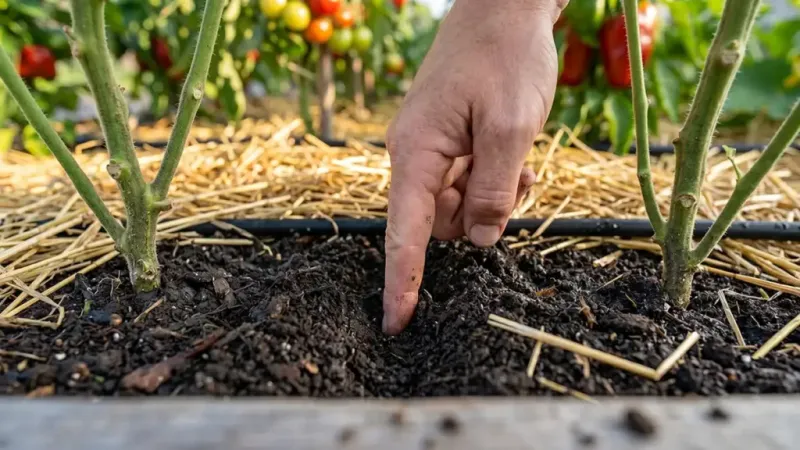
A dry-looking surface can fool you. The soil a few inches down, where pea roots do much of their work, may be damp or dry regardless of what the top looks like.
Dig a small hole near the plants with a trowel and look at the soil several inches deep. Squeeze a pinch: crumbly and slightly cool usually means moisture is present, while mud that drips or stays slick suggests the soil is holding too much water.
UF/IFAS guidance says to water garden beds deeply enough to wet several inches of soil, not just the surface, and warns that soggy conditions can lead to rotting roots.
The finger-to-the-first-joint test is meant for containers. In a garden bed, it is better to look deeper.
A dry top inch is only a rough surface clue. It does not prove the root zone needs water.
Adjust watering to the pea type and soil conditions
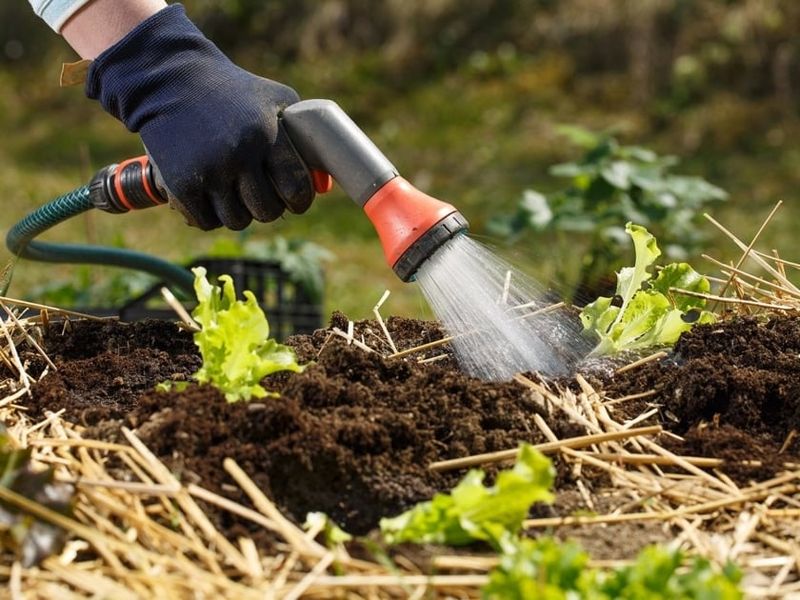
Once you know what is happening below the surface, you can adjust. The goal is steady moisture without waterlogging, and the right rhythm depends on your pea type.
For garden peas, Utah State University Extension recommends regular watering and letting the soil partly dry between irrigations. Water matters especially after flowering, so avoid letting plants go dry at that stage.
For established Southern peas, Texas A&M suggests well-drained soil and watering about weekly during dry weather, while avoiding overwatering.
Treat those as starting points, not fixed rules. Sandy soil may dry faster, and heavy clay may stay wet longer, especially after rain.
If yellowing or stunting continues, inspect the roots again rather than relying on a top-inch rule to fix things. Peas will tell you more through their roots than their leaves.