
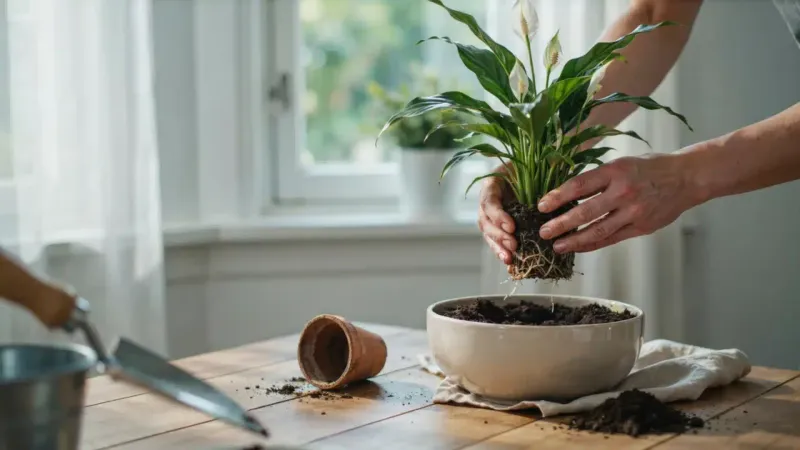
You water your peace lily, keep it out of the cold, and still those crispy brown tips keep creeping across the leaves. Winter is tough on this tropical plant, even in warm Southern homes where the heater or AC runs off and on all season.
The tricky part is that brown tips rarely have just one cause, so fixing only one problem may not stop the damage. Here are 12 practical fixes that target each culprit so new leaves can come in clean and green.
1. Switch to Filtered or Rainwater
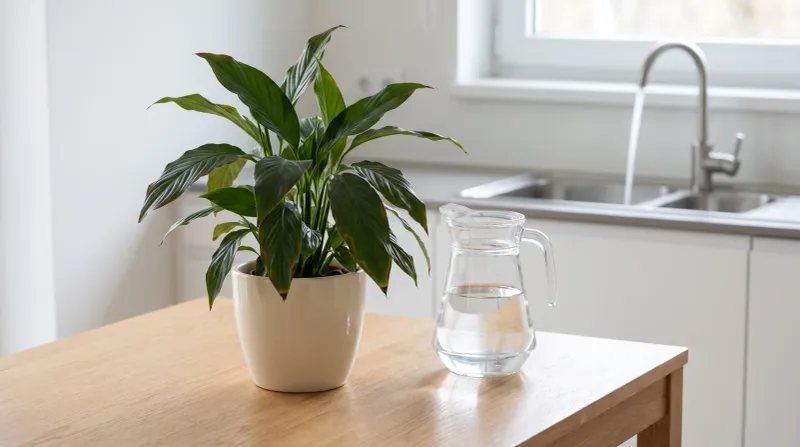
Plenty of growers blame themselves for overwatering when the real trouble is flowing straight from the kitchen faucet. Peace lilies are known to be sensitive to fluoride, chlorine, and dissolved salts, and many Southern cities, including parts of Texas and Florida, have fairly hard municipal water.
Those minerals travel up through the plant and tend to collect at the leaf edges, where water evaporates. Over time, the tips may turn tan, then brown, then crispy.
Winter can make it worse because the plant drinks more slowly, giving minerals more time to concentrate.
The fix is simple. Try watering with filtered water, distilled water, or rainwater collected from a clean barrel.
If tap water is your only option, letting it sit uncovered overnight may help some chlorine escape, though fluoride and salts will stay behind.
Keep in mind that tips already browned will not turn green again. What you are protecting is the new growth.
Give it a few weeks, and you should start noticing cleaner edges on fresh leaves as they unfurl. If tips still brown after the switch, keep reading, because another culprit is likely working alongside your water.
2. Flush Built-Up Fertilizer Salts
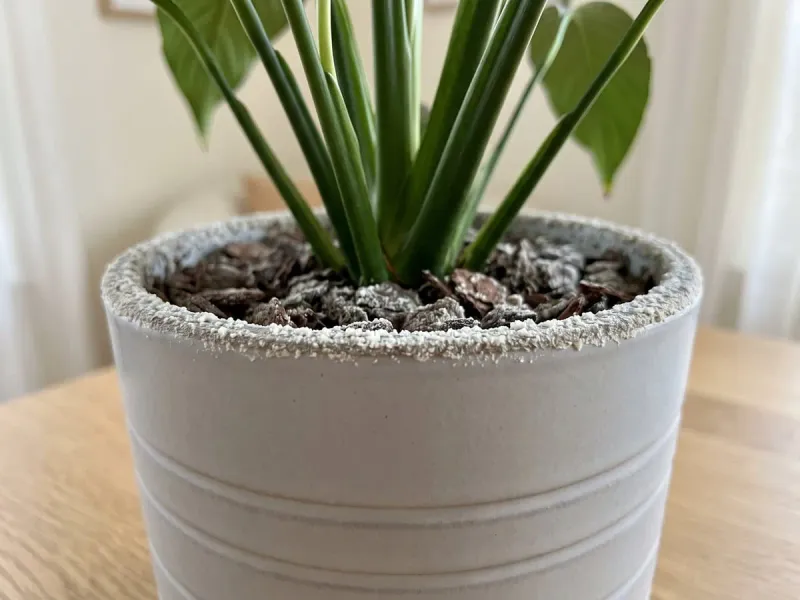
A white, crusty ring on the pot rim or soil surface is a big clue. That crust is usually leftover fertilizer salt, and it can pull moisture away from roots, leaving leaf tips scorched even when the soil feels damp.
Flushing is like hitting a reset button. Carry the pot to a sink or tub, then slowly pour room-temperature filtered water through the soil for a couple of minutes.
Aim for roughly three to four times the pot’s volume, letting it drain freely out the bottom.
Scrape off any visible crust on top of the soil and wipe the pot rim clean. Then let the plant drain completely before setting it back in its saucer.
Standing water is the last thing you want after a good rinse.
Doing this once every few months may keep salts from returning, especially if you fed the plant heavily during the long Southern growing season. Many gardeners in Florida and Texas push fertilizer from spring into fall, and that leftover buildup often shows up as brown tips once winter slows everything down.
A good flush can reduce the stress quickly.
3. Pause Feeding Until Spring
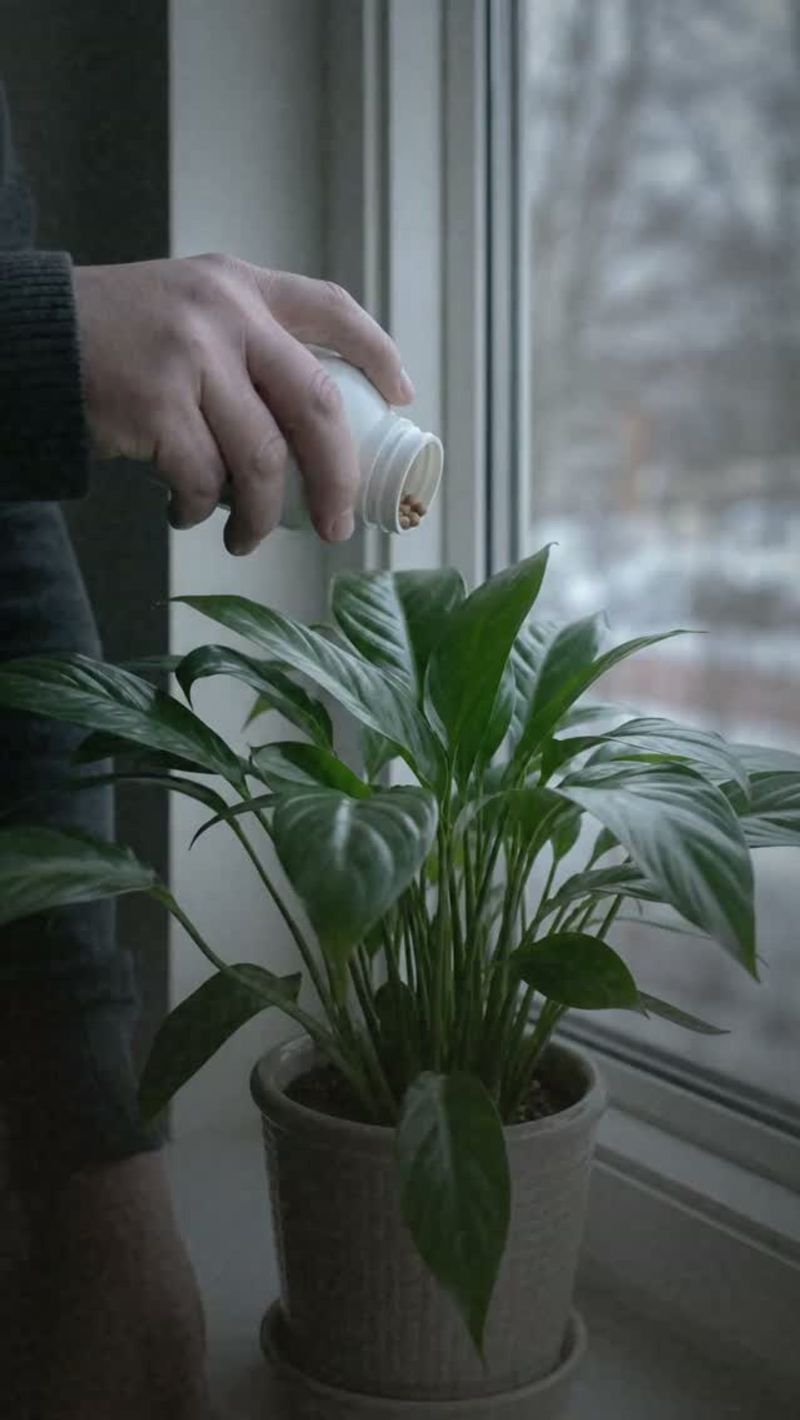
Feeding a resting plant is a bit like serving a big dinner to someone who just ate. Peace lilies slow their growth when days get shorter, even in mild Southern winters, so they simply use less fertilizer.
Extra nutrients that go unused sit in the soil as salts. Those salts can burn root tips, and the damage often shows up as browning on leaf edges a few weeks later.
It is one of the most common reasons a plant that looked great in October looks crispy by January.
From late fall through roughly February, try skipping fertilizer altogether or cutting it to a quarter-strength dose once every couple of months. If your plant sits in a bright spot and keeps pushing out new leaves, a light feeding may be fine.
If growth has stalled, hold off.
When spring warmth returns and new shoots appear, resume a balanced, diluted houseplant fertilizer every four to six weeks. Starting gently helps you avoid shocking the roots.
Pairing this pause with an occasional flush, covered above, gives your peace lily a clean slate for the active season ahead.
4. Water on a Finger Test, Not a Calendar
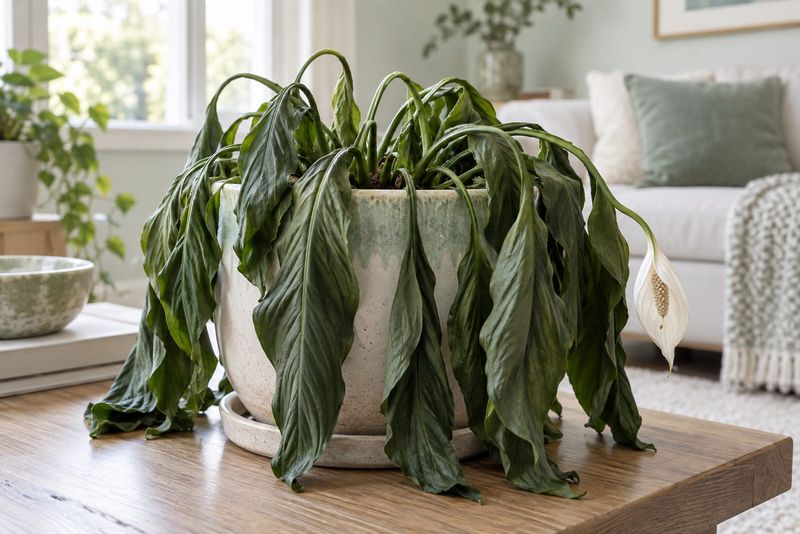
Watering every Sunday sounds tidy, but your peace lily does not read calendars. In winter, soil can stay wet much longer, and roots sitting in soggy mix may start to rot.
Damaged roots cannot carry water upward, so leaf tips brown out even though the pot feels heavy.
On the flip side, a plant left bone-dry too long will often droop dramatically and then show brown tips after it recovers. Both extremes cause the same symptom, which is why guessing rarely works.
Here is a better habit. Push your finger about an inch into the soil.
If it feels dry at that depth, water thoroughly until it drains out the bottom. If it still feels cool and moist, wait a few days and check again.
A cheap moisture meter can help if you prefer numbers over fingertips. Many indoor peace lilies in heated Southern homes need water about every seven to ten days in winter, but your home may differ.
Light, pot size, and room temperature all change the schedule, so let the soil tell you.
5. Boost Humidity Around the Leaves
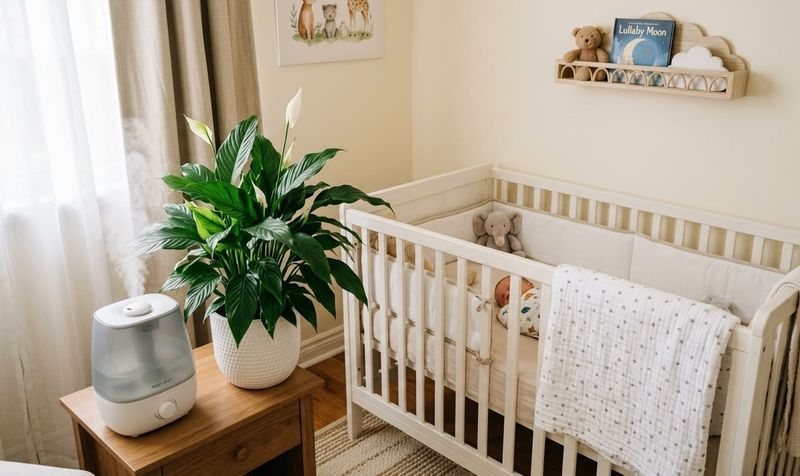
Humid Gulf Coast summers spoil peace lilies, and then winter heating flips the script. Once the furnace or heat pump kicks on, indoor humidity can drop well below forty percent, even in Houston or Tampa.
Dry air pulls moisture from the thin leaf edges faster than roots can replace it. The result is often a narrow brown band along the tips that slowly creeps inward.
It tends to show up first on older leaves.
A few easy options may help:
Set the pot on a pebble tray filled with water, keeping the pot bottom above the waterline. Group your peace lily with other houseplants so they share moisture.
Run a small cool-mist humidifier nearby during the driest weeks.
Misting feels helpful, but the effect usually fades within minutes, so it is not a strong long-term fix. A simple hygrometer, often just a few dollars, can show you whether your room is truly dry.
Aiming for around fifty percent humidity or higher is a reasonable target for this rainforest native, and your leaf tips will likely thank you.
6. Move It Away From Heat Vents
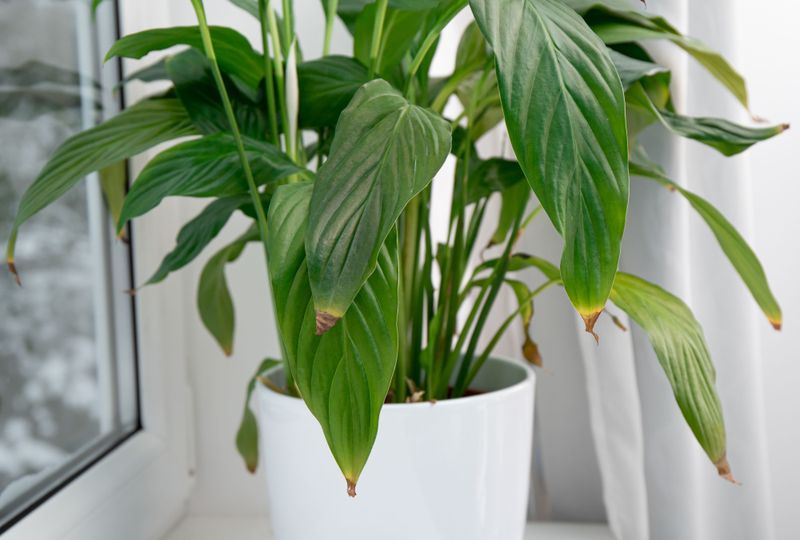
Picture standing in front of a hair dryer all day. That is roughly what a peace lily experiences when it sits beside a floor register or wall vent.
Blasts of hot, dry air can scorch tender leaf edges within days. Damage usually appears on the side facing the vent, which makes this culprit fairly easy to spot.
If only one side of your plant is browning, check where the air is coming from.
Southern homes often have vents placed near windows, the exact spot people like for houseplants. Space heaters, fireplaces, and even the warm top of a refrigerator create the same problem.
Move the plant at least three to four feet from any heat source. A spot with steady indirect light and calm air works best.
If you cannot relocate it, a simple vent deflector may redirect airflow away from the leaves.
Remember that ceiling fans running constantly can also dry foliage. Easing up on the fan or shifting the plant out of its direct path may reduce stress noticeably.
Small changes in placement often matter more than any product you could buy.
7. Guard Against Cold Drafts and Chilly Glass
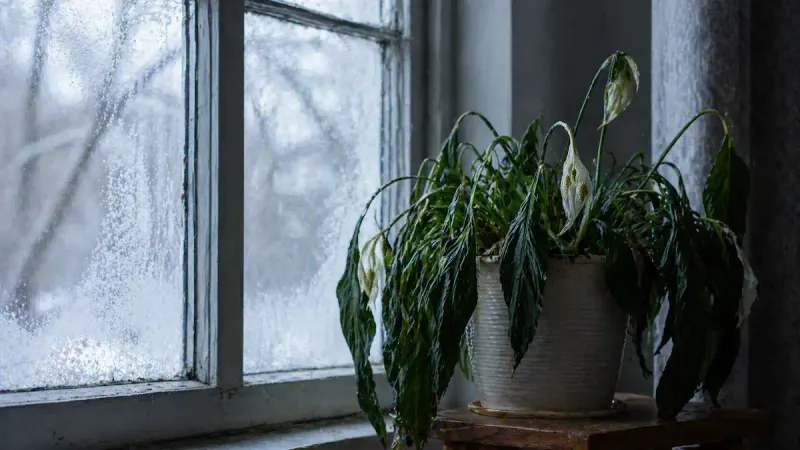
Texas learned the hard way during recent winter storms that a warm state can still get bitter cold. Peace lilies dislike temperatures below roughly fifty-five degrees, and a leaf touching icy window glass may take damage overnight.
Cold injury often looks a little different from dry-air browning. Edges may turn dark brown or nearly black, sometimes with a water-soaked look before they dry out.
Exterior doors that open often can blast the plant with chilly air, too.
On cold nights, pull the pot back a foot or more from windows, or slide a curtain between plant and glass. Avoid leaving it in an unheated sunroom or Florida room when a cold front rolls through.
Also think about the trip home from the store. Plants bought in December can get chilled in a cold car, and the damage might not show for a week.
Warm, steady temperatures between sixty-five and eighty degrees suit this plant best. Keeping it in that range through the occasional Southern freeze can reduce browning and help the plant hold onto healthy leaves until spring.
8. Check the Roots for Rot or Crowding
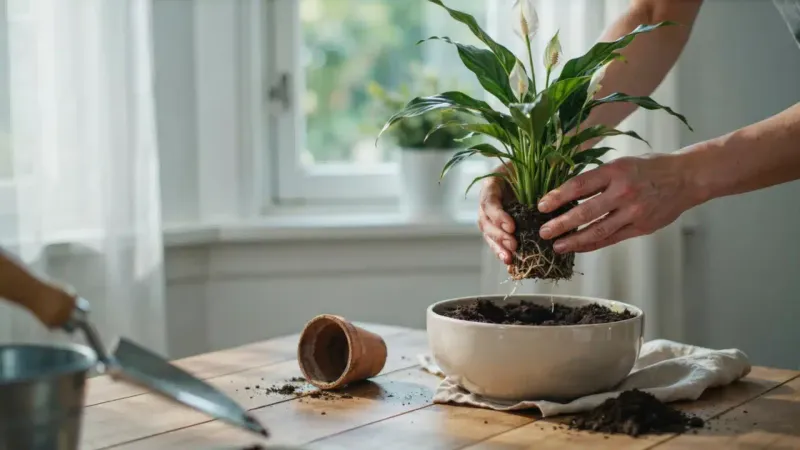
Sometimes the leaves are just messengers. When browning keeps spreading despite good watering and humidity, the real story is often hiding underneath the soil.
Gently slide the plant out of its pot. Healthy roots look white or light tan and feel firm.
Rotting roots are dark brown, mushy, and may smell sour. Snip off any damaged sections with clean scissors and repot into fresh, well-draining mix.
The opposite problem shows up, too. If roots are circling tightly around the pot with very little soil left, the plant is root-bound.
Crowded roots may struggle to take up water evenly, leading to dry tips.
Winter is not the ideal season for a big repot, so if roots look crowded but healthy, consider waiting until spring and moving up just one pot size. Rotting roots, however, usually need attention now.
Always choose a container with drainage holes. Decorative pots without holes are a common trap, and water pooling at the bottom can quietly ruin roots.
A plastic nursery pot slipped inside a cachepot offers the best of both worlds.
9. Give It Bright, Indirect Light
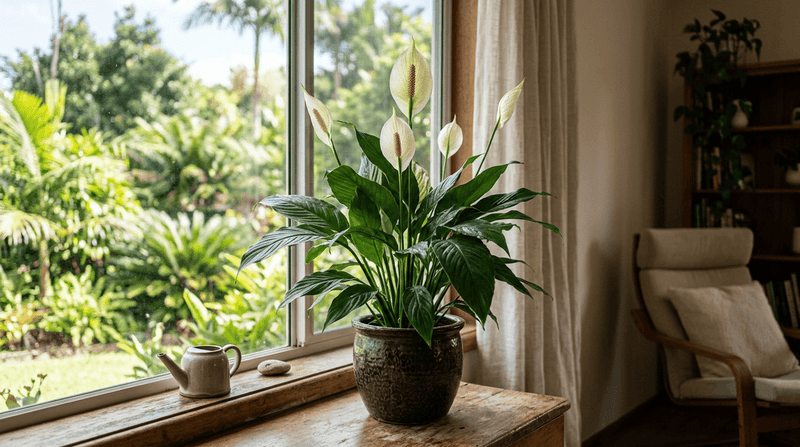
Here is a quirky fact: peace lilies earned their reputation as low-light plants, yet they rarely look their best in a dim corner. Light matters for brown tips in two opposite ways.
Too little light slows growth, so the plant uses less water. The soil stays wet longer, roots suffer, and tips begin to brown.
Too much direct sun, which can happen in Florida even in winter, may bleach and scorch leaves, leaving pale or crispy patches.
The sweet spot is bright, filtered light. An east-facing window works nicely, as does a spot a few feet back from a south or west window with a sheer curtain.
Winter sun sits lower in the sky, so a plant that was safe in July might now get direct afternoon rays across its leaves. Take a quick look at the light pattern around midday and late afternoon.
If your home is short on natural light, a simple LED grow bulb placed overhead may help keep growth steady. Healthy growth means healthier roots, and that tends to show up in cleaner leaf edges.
10. Trim Brown Tips the Smart Way
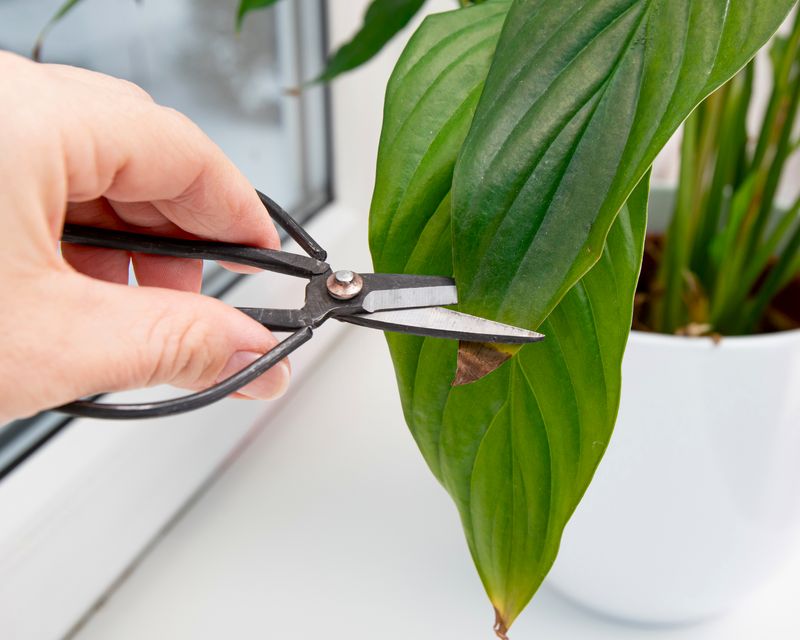
Brown tips will not heal, but you can still make the plant look tidy again. Trimming them is mostly cosmetic, though it may also help you notice whether new browning appears after your fixes.
Grab a pair of clean, sharp scissors. Wiping the blades with rubbing alcohol between plants can reduce the chance of spreading disease.
Cut along the natural shape of the leaf, mimicking its pointed tip rather than snipping straight across. Leave a very thin sliver of brown at the edge.
Cutting into green tissue can create a fresh wound that may brown again.
If a leaf is more than half brown or yellow, remove the whole thing at its base. The plant will redirect energy toward healthier foliage.
Once trimmed, keep an eye on those edges for a couple of weeks. If they stay clean, your changes are working.
If brown starts creeping again, one culprit is still hanging around, and it is time to recheck water quality, humidity, and placement. Think of trimming as a progress marker, not a cure.
11. Wipe Dust and Inspect for Pests
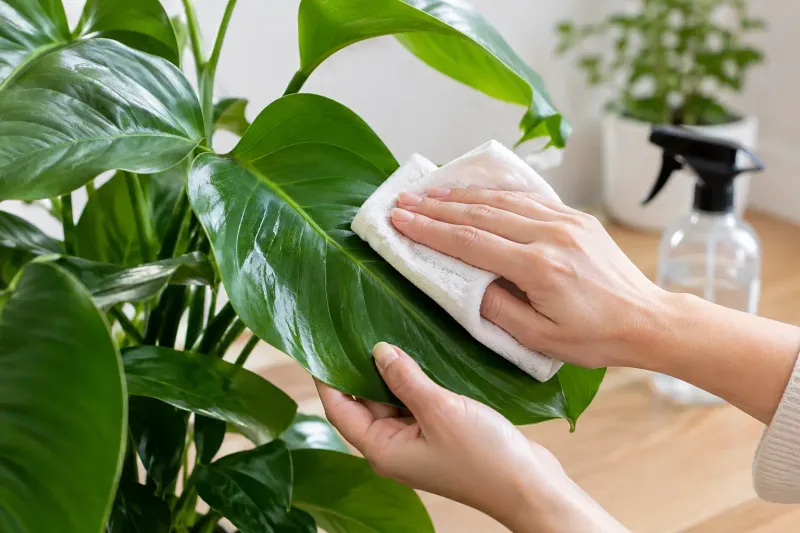
Dust might seem harmless, but a gray film on those big glossy leaves blocks light and can make the plant work harder. Southern homes with constant AC or heating airflow often collect dust quickly.
Every few weeks, wipe each leaf gently with a soft damp cloth, supporting the leaf from underneath with your other hand. Skip leaf shine sprays, which may clog pores.
While you are cleaning, flip the leaves over. Spider mites love dry winter air and can cause stippling, webbing, and browning edges.
Mealybugs look like small cottony clumps tucked into leaf joints. Scale shows up as tiny brown bumps.
Catching pests early makes a big difference. A strong rinse in the shower may knock many mites off.
Insecticidal soap or neem oil can reduce infestations when applied according to the label, usually over several weeks.
Isolate an infested plant from your other houseplants until the problem clears. Pests that build up quietly over winter can spread fast once spring arrives.
Regular cleaning gives you a built-in weekly checkup, and that habit alone may prevent many headaches.
12. Keep Conditions Steady Until Spring
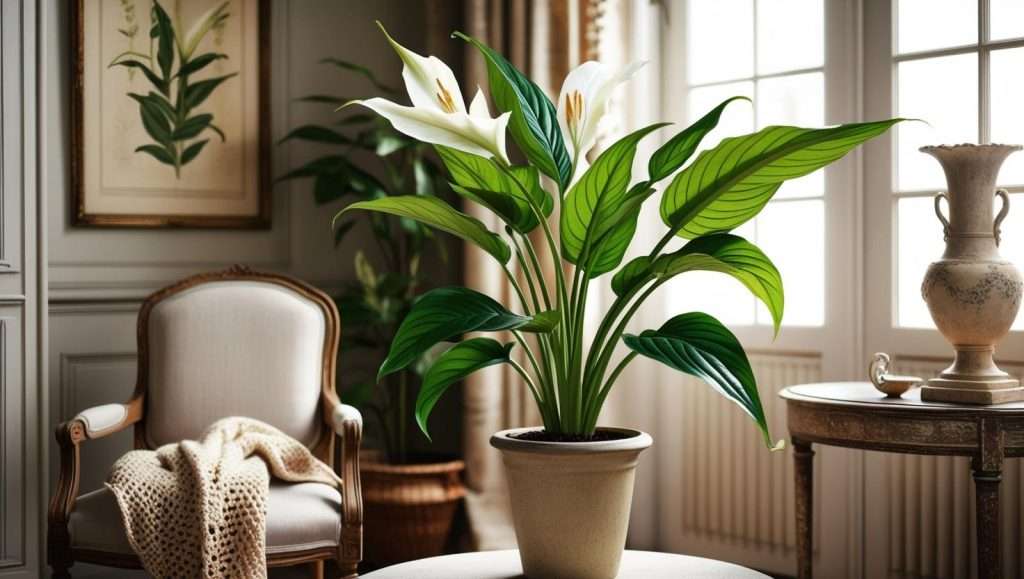
After all these fixes, the best thing you can do may be the hardest: leave it alone. Peace lilies tend to sulk when moved, repotted, and fussed over all at once.
Pick a good spot with bright indirect light, steady warmth, and decent humidity, then stick with it. Frequent changes in temperature or location can stress the plant and lead to fresh browning.
Keeping a simple log helps. Jot down when you water, flush, or trim.
Within a month, patterns usually appear, and you will know exactly what your plant needs in your home.
Remember that improvement shows up on new leaves, not old ones. A peace lily may take several weeks to push out a fresh leaf in winter, so patience pays off.
Once spring warmth settles in across Texas and Florida, growth picks up quickly. That is the best time to repot, resume feeding, and remove any leaves that still look rough.
With several culprits handled together, your plant has a much better chance of rolling into the growing season with clean green leaves and maybe a few white blooms.